How to remove an old kitchen backsplash
Short answer
To take off an old backsplash: switch the outlet breakers off and prove them dead, cover the counter, sink and floor, start at an edge or an outlet opening, work along the run with the tool angled toward the wall (never levering on the countertop), scrape leftover adhesive wet, and patch the wall flat. Difficulty 3 of 5; for a first-timer, plan on about half a day. Stop before you break or scrape anything if the home is from before 1980 and the old tile adhesive, the mastic, or the wallboard has not been tested: old backsplash mastic and joint compound may contain asbestos, and paint from before 1978 may contain lead.
Draft guide written from standard practice, not yet reviewed by a licensed pro. Follow product labels where they differ.
In an older home, test the adhesive before you break anything.
Difficulty 3 of 5 · about half a day · careful
Stop here
Photo of your room, the look you pick, then this guide with the materials counted for your room.
What you need
- Heavy-duty contractor bags
- Rosin paper or cardboard and painter's tape for the counter
- Joint compound and drywall tape for repairs
- Asbestos lab test and lead test kit (homes from before 1980)
Tools
- Non-contact voltage tester and a plug-in outlet tester
- Stiff putty knife, flat pry bar, and a hammer
- Utility knife
- Spray bottle of water
- Shop vac with a HEPA filter
- 4 ft level or straightedge
- Safety glasses, gloves, and an N95 or better respirator
Step by step
Step 1 of 9
What is it, and how old is the home?
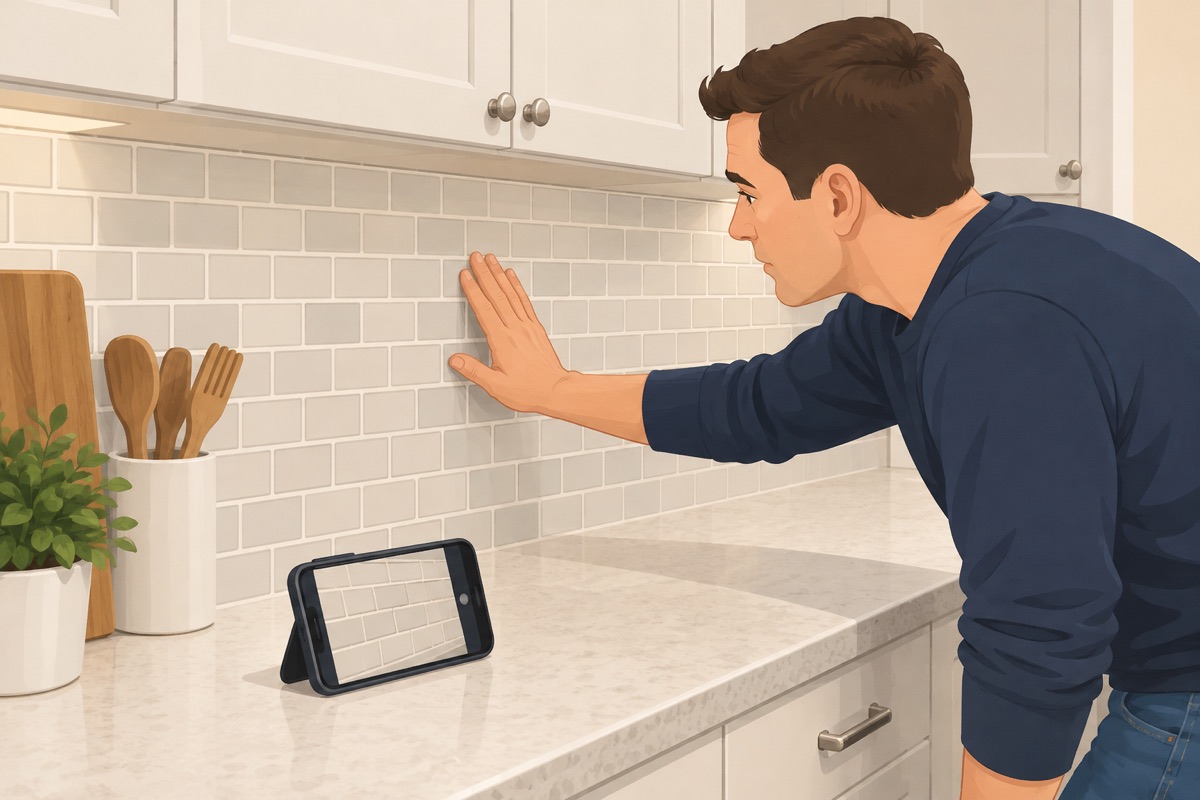
Look at what you have: tile set in mortar or mastic, peel-and-stick tiles, or panels glued to the wall. No old backsplash, only a painted wall? Then there is nothing to remove: mark this job done, and the backsplash job starts at the bare wall. In a home from before 1980, have the adhesive and the wallboard tested before anything is broken: mist the spot, cut a small piece of every layer, seal each in its own bag, or have a certified asbestos consultant take the samples. In a home from before 1978, test any paint you will disturb.
Step 2 of 9
Breakers off, and prove it
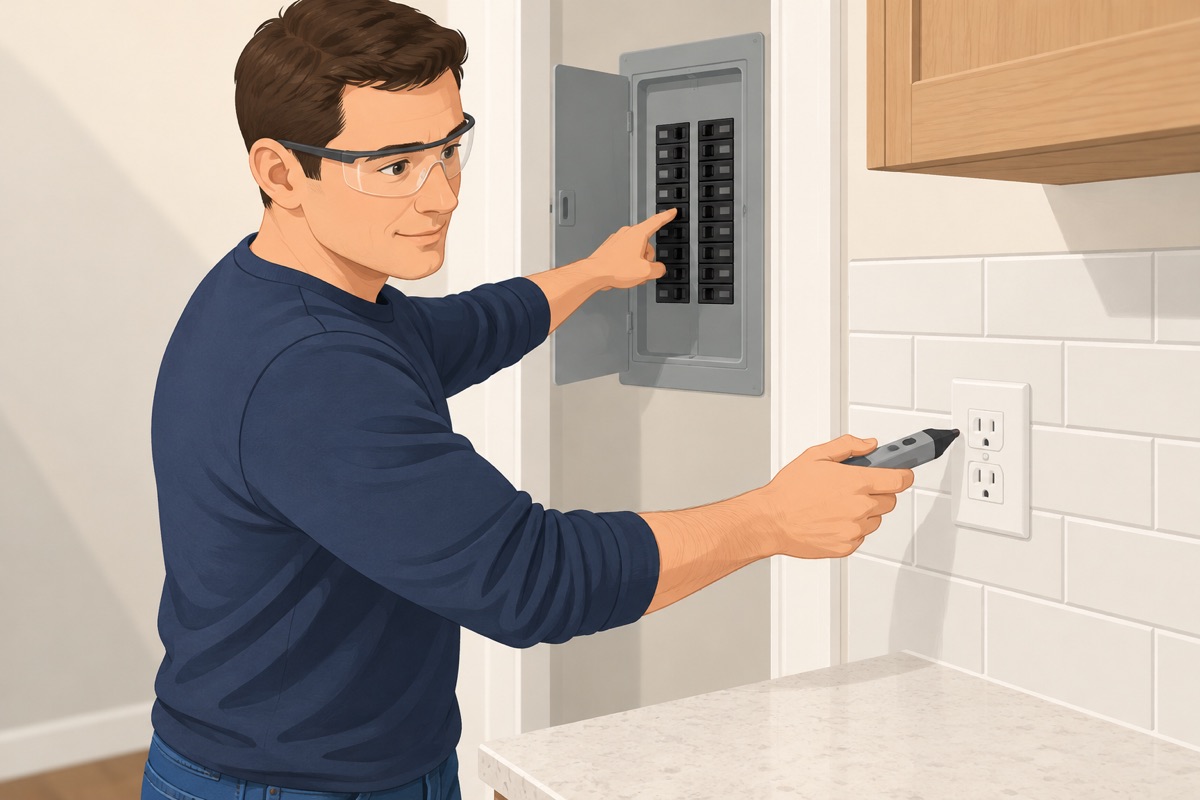
Turn off the breakers for the outlets and switches on the backsplash wall — kitchens often have two or more circuits there. Prove the non-contact tester on a live outlet, then test every outlet and switch on the wall, and confirm with the plug-in tester. Take the cover plates off and keep the screws. Leave the breakers off and taped while you work.
Step 3 of 9
Cover the counter, the sink, and the floor
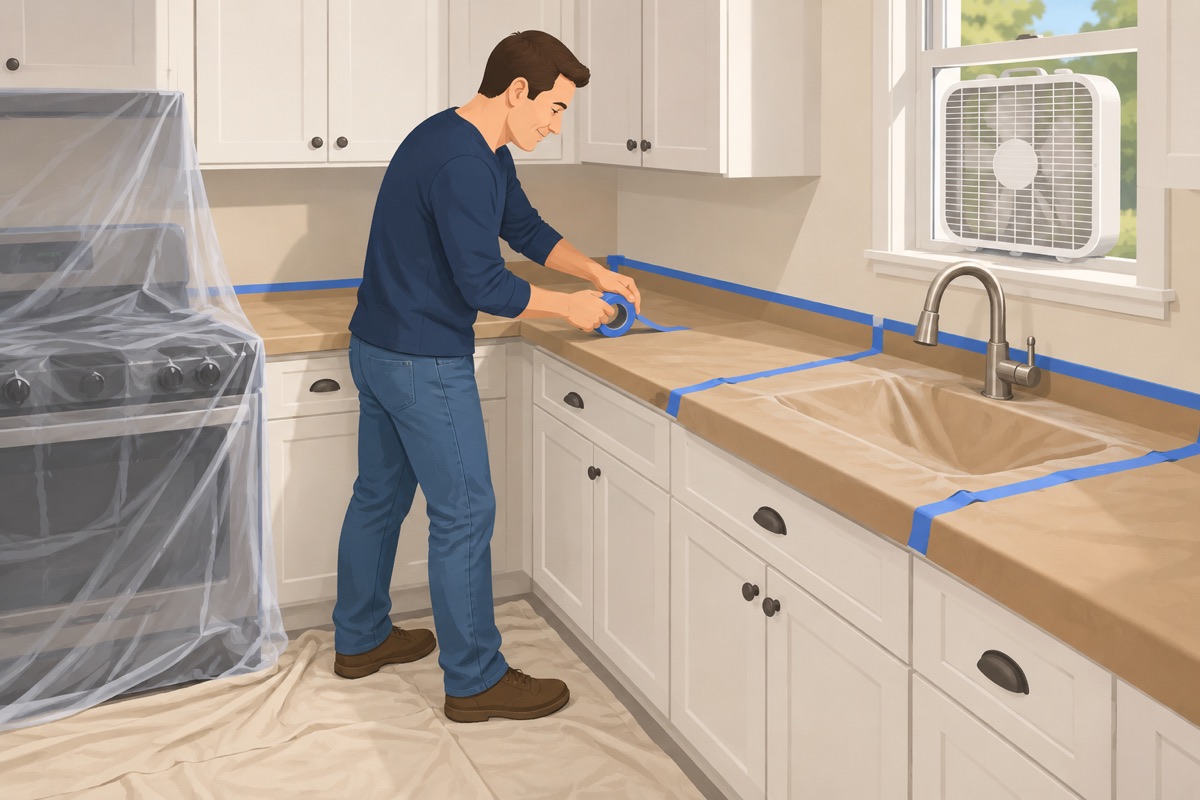
Tape rosin paper or cardboard over the countertop and the sink, and plastic over open shelves and the range. Lay a drop cloth on the floor. Run a fan out a window and keep the door to the rest of the home closed.
Safe to start?
- Home built in 1980 or later, OR the old tile, adhesive and wallboard tested negative for asbestos and any paint you disturb tested negative for lead
- The breakers for the wall's outlets and switches are off and taped, and every device tested dead
- The countertop, the sink, and the floor are covered
- Safety glasses, gloves, and an N95 or better respirator are on
Step 4 of 9
Start at an edge or an outlet opening
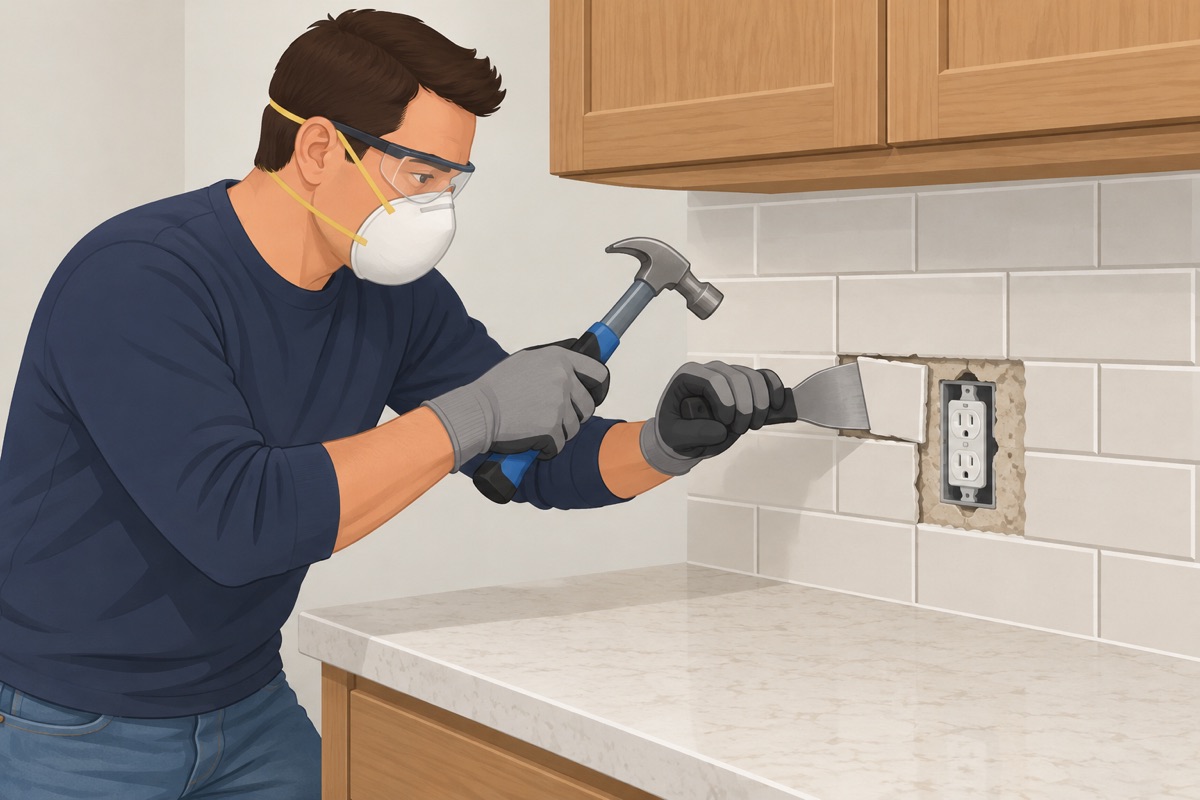
Begin at the end of the run or at an outlet opening. Slip the stiff putty knife behind the first tile, tap it with the hammer at a low angle, and lever the tile off. Work along the course, one tile at a time. Panels: start at a corner, slide the knife behind, and peel slowly so as little of the wall's paper as possible comes with it.
Step 5 of 9
Work along the run, away from the countertop
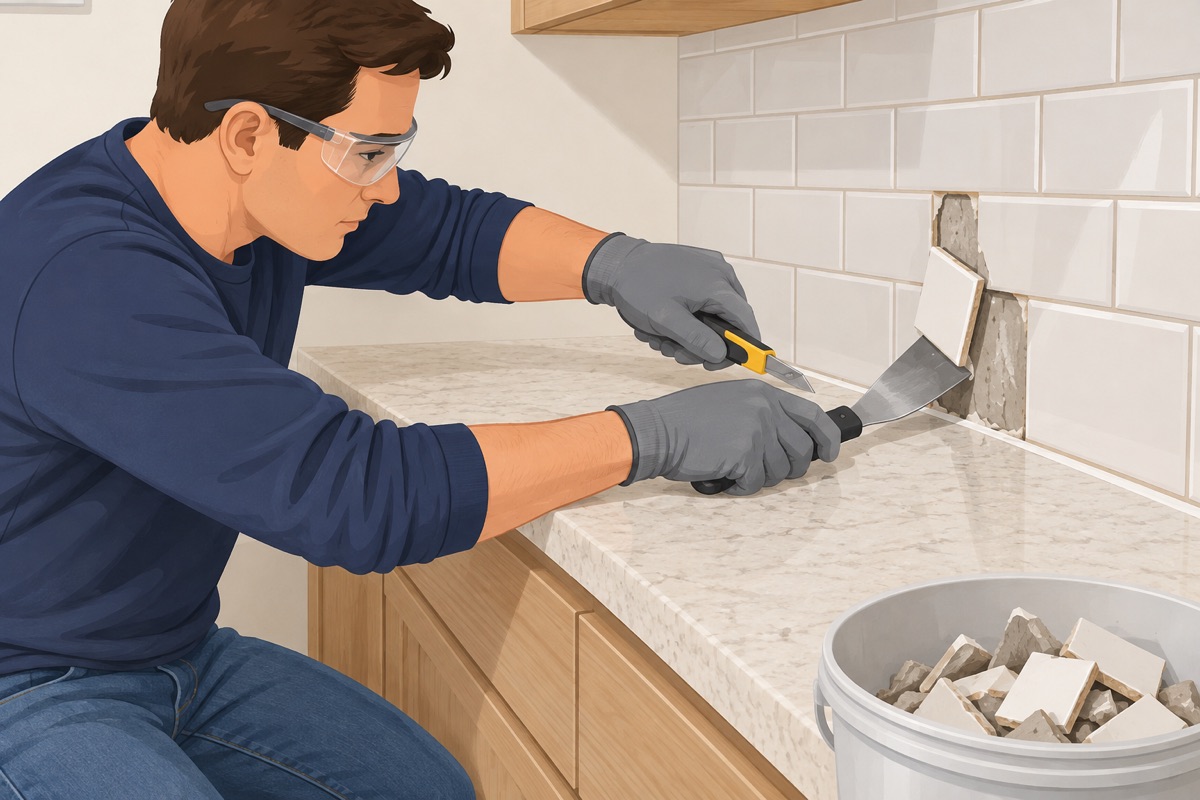
Keep the tool angled toward the wall, never levering against the countertop edge or the cabinets. Where the tile meets the counter, cut the caulk joint with the utility knife first. Bag the pieces as you go, half full.
Step 6 of 9
Look at the wall and every box
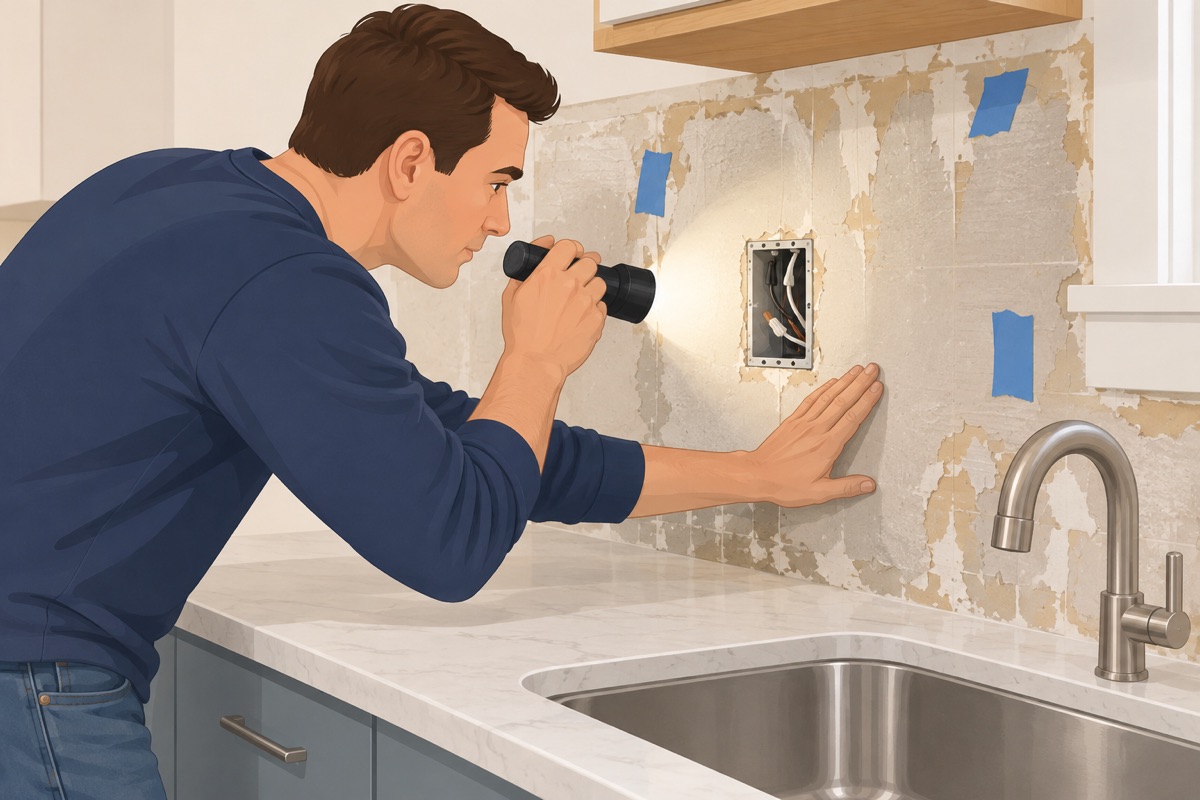
Look at each outlet and switch box: tight in the wall, not cracked, not scorched. Look behind the sink for wet, soft, or moldy drywall. Mark every spot where the paper tore or the wall gouged. Anything on the stop-gate list stops the job here.
Step 7 of 9
Scrape the leftover adhesive, wet
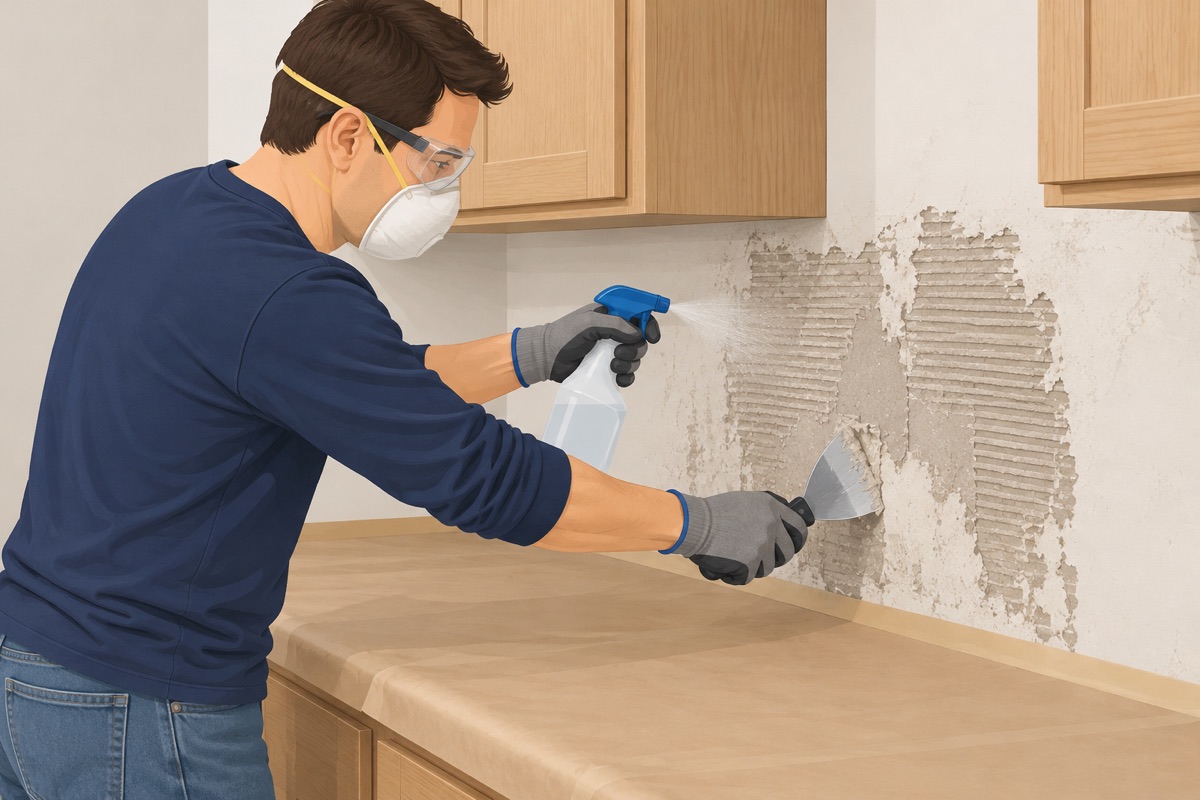
Mist the old adhesive, wait a minute, and scrape it with the knife held low. Do not dry-sand or grind old mastic. Mortar bumps that will not scrape off are knocked down until the wall is flat to the straightedge.
Step 8 of 9
Patch the torn and gouged spots
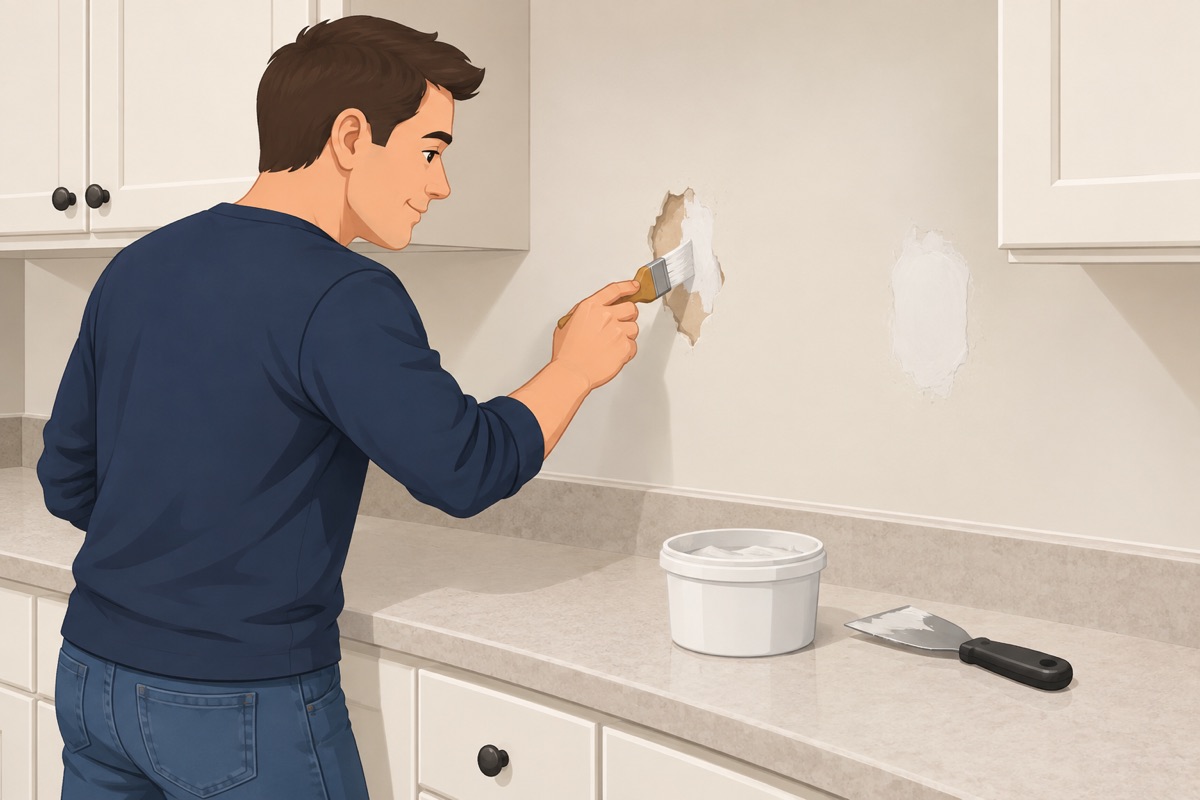
Seal torn drywall paper with a primer made for torn paper before any compound, so it does not bubble. Fill gouges with joint compound and let it dry for the time on its label. A big hole, or wet or soft drywall, gets a new piece of drywall instead.
Step 9 of 9
HEPA-vacuum, plates back on, power back
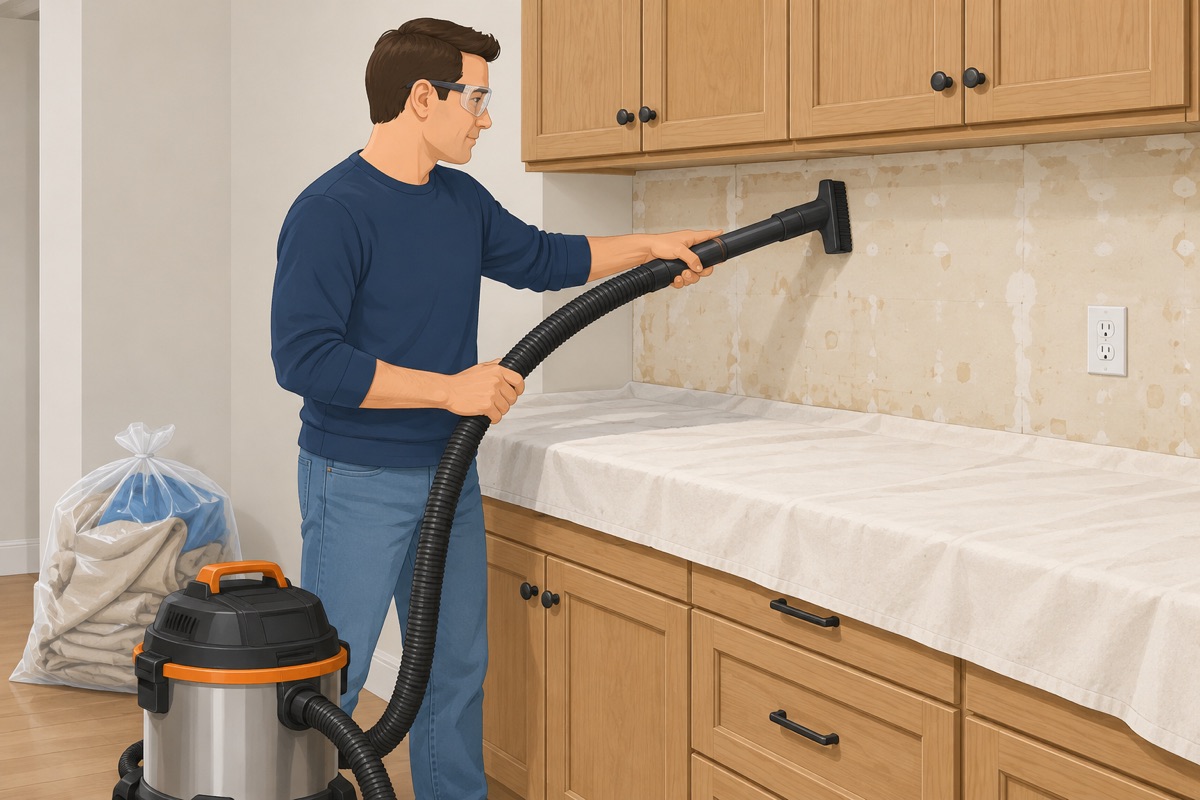
Vacuum the wall, the counter cover, and the floor with the HEPA shop vac, then wipe with a damp cloth. Fold the covers inward and bag them. Put the cover plates back on and turn the breakers on until the backsplash job.
Quality check
- All of the old backsplash is off, and the adhesive was scraped wet, not sanded
- Every outlet and switch box is tight in the wall and not damaged
- The wall behind the sink is dry and sound
- Torn paper is sealed and gouges are filled, and the wall is flat to the straightedge
- Cover plates are back on, the breakers are on, and the dust is vacuumed with a HEPA vacuum
Common mistakes
- Breaking old tile before the adhesive is tested. In a home from before 1980, the mastic behind an old backsplash may contain asbestos, and breaking and scraping it puts the fibers in the kitchen air. Test first; it costs a few days, not your lungs. Mistake #1 in this task.
- Working around live outlets. A pry bar or a wet knife next to a live outlet is a shock. Kitchens often have more than one circuit on a wall: test every device after the breakers are off.
- Prying against the countertop. The countertop edge is the easiest thing to lever against and the most expensive thing to break. Keep the tool angled toward the wall, and cut the caulk at the counter first.
- Dry-scraping or sanding old mastic. Dry scraping and sanding make the finest dust, and in an old home that dust is the one you tested for. Mist it and scrape; never sand or grind old adhesive.
Questions
How do you remove a tile backsplash without damaging the wall?
Turn off the breakers for the outlets and switches on that wall and prove them dead. Start at the end of the run or at an outlet opening: slip a stiff putty knife behind the first tile, tap it at a low angle and lever the tile off, one at a time along the course. Keep the tool angled toward the wall, cut the caulk joint at the counter first, then mist the leftover adhesive and scrape it with the knife held low. Seal torn drywall paper with a primer made for it before any compound.
How do I protect the countertop when removing a backsplash?
Tape rosin paper or cardboard over the countertop and the sink, and lay a drop cloth on the floor. Never pry against the countertop edge or the cabinets: the countertop edge is the easiest thing to lever against and the most expensive thing to break. Cut the caulk where the tile meets the counter before you start.
Is there asbestos in old backsplash adhesive?
It can be. In a home from before 1980, old backsplash mastic and joint compound may contain asbestos, and paint from before 1978 may contain lead. The guide says to test first, never dry-scrape or sand old mastic, and to hire a licensed abatement contractor or follow your state's rules if a test is positive.
When should I stop and call a pro?
Stop before you break or scrape anything if the home is from before 1980 and the old tile adhesive, the mastic, or the wallboard has not been tested: old backsplash mastic and joint compound may contain asbestos, and paint from before 1978 may contain lead. Test first; if a test is positive, hire a licensed abatement contractor or follow your state's rules. Stop and call an electrician if an outlet or switch box is loose, cracked, or scorched, or pulls out of the wall when the tile comes off, or if a box would have to be moved or extended. Stop and plan a drywall repair if the wall comes off in large pieces, or is wet, soft, or moldy behind the sink: the new backsplash needs a sound, dry wall, and wet drywall is replaced, not patched. Never pry against the countertop: stone and laminate chip and crack.