How to replace a kitchen sink
Short answer
To swap a kitchen sink: read the new sink's sheet, measure the old opening, shut the water off at the sink's valves, unhook the supplies, drain and dishwasher hose, take the disposal off first, lift the old sink out, set the new one with the maker's sealant and clips, then test the drain with a bucket. Difficulty 3 of 5; for a first-timer, plan on 1 weekend. Read the “Stop here” box below before step 1.
Draft guide written from standard practice, not yet reviewed by a licensed pro. Follow product labels where they differ.
Difficulty 3 of 5 · 1 weekend · careful
Stop here
Photo of your room, the look you pick, then this guide with the materials counted for your room.
What you need
- Kitchen sink
- Basket strainer (one per bowl without a disposal)
- Kitchen sink drain kit: tailpiece, trap, slip nuts
- Plumber's putty or 100% silicone, as the sink and strainer makers say
- Mounting clips (usually in the box)
Tools
- Basin wrench
- Adjustable wrench and channel-lock pliers
- Utility knife and a plastic putty knife
- Hacksaw (trimming a tailpiece or trap arm)
- Bucket, towels, headlamp
- Rubbing alcohol and clean rags
- A helper to lift the sinks
Step by step
Step 1 of 11
Read the sink's sheet and decide who does what
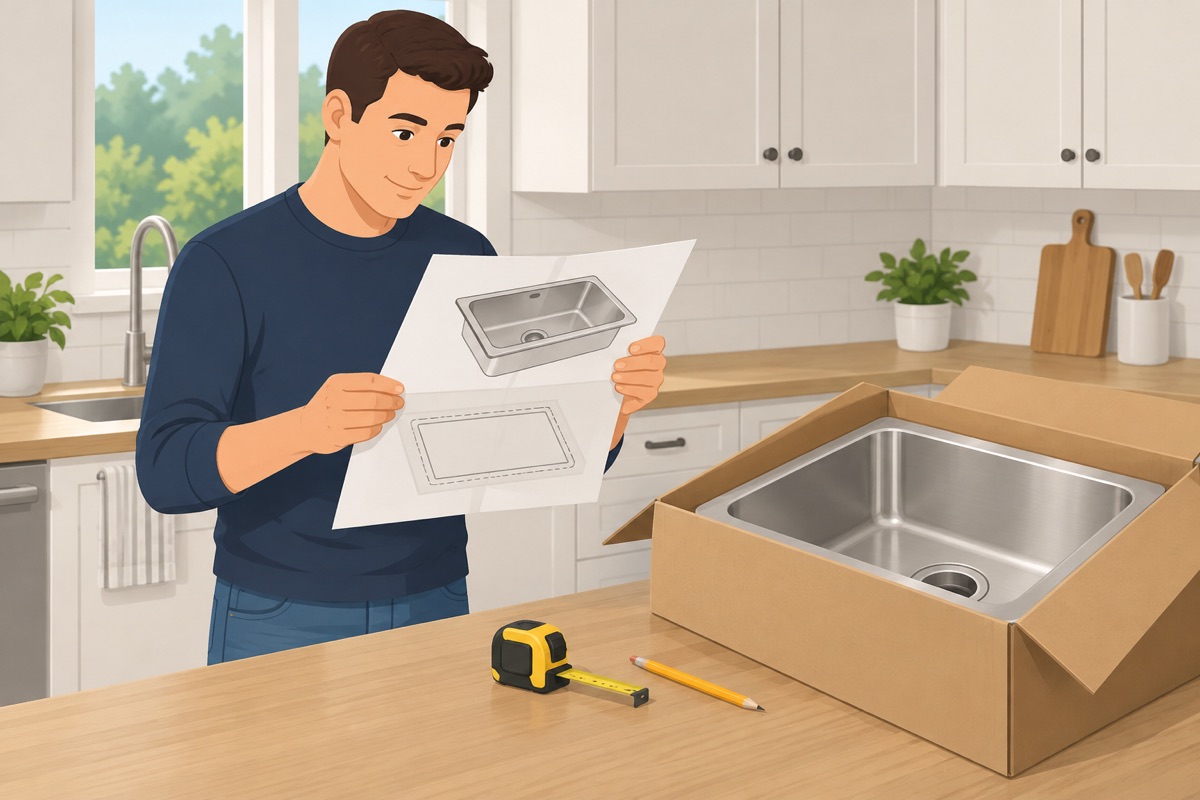
Find the new sink's spec sheet and installation sheet: how it mounts (drop-in, undermount, or apron-front), the cutout size, and the smallest base cabinet it fits. A drop-in sink that fits the old opening is yours from start to finish. An undermount or apron-front sink goes in with a new countertop: the fabricator or the countertop installer mounts it and cuts the opening to the sink, and an apron-front sink also needs an apron-front sink base. Then your part is the drain, from step 8 on.
Step 2 of 11
Measure the opening and the cabinet under it
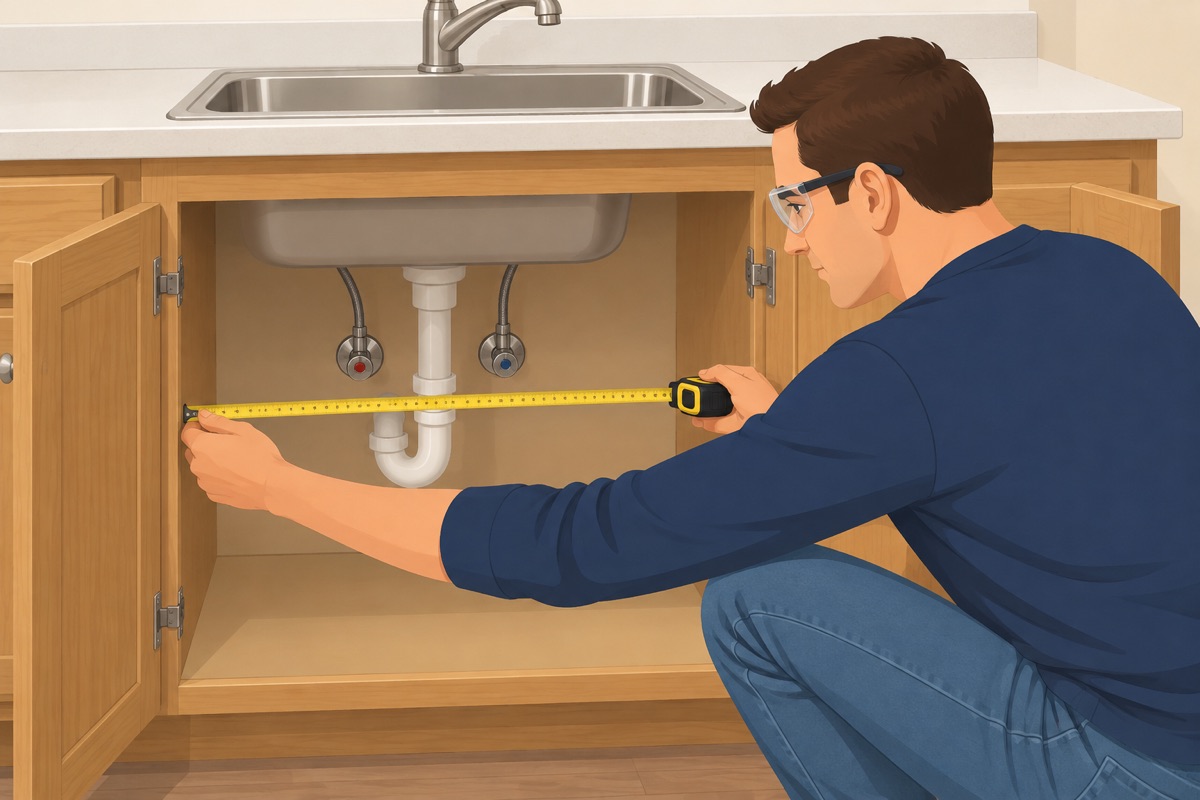
Measure the old sink's opening, the inside width of the sink base, and where the drain stub and the valves sit. Compare them with the new sink's sheet. A drop-in rim must cover the old opening on every side with room for its clips; a sink that needs a bigger opening in stone is the stop-gate.
Step 3 of 11
Water off at the sink and prove it
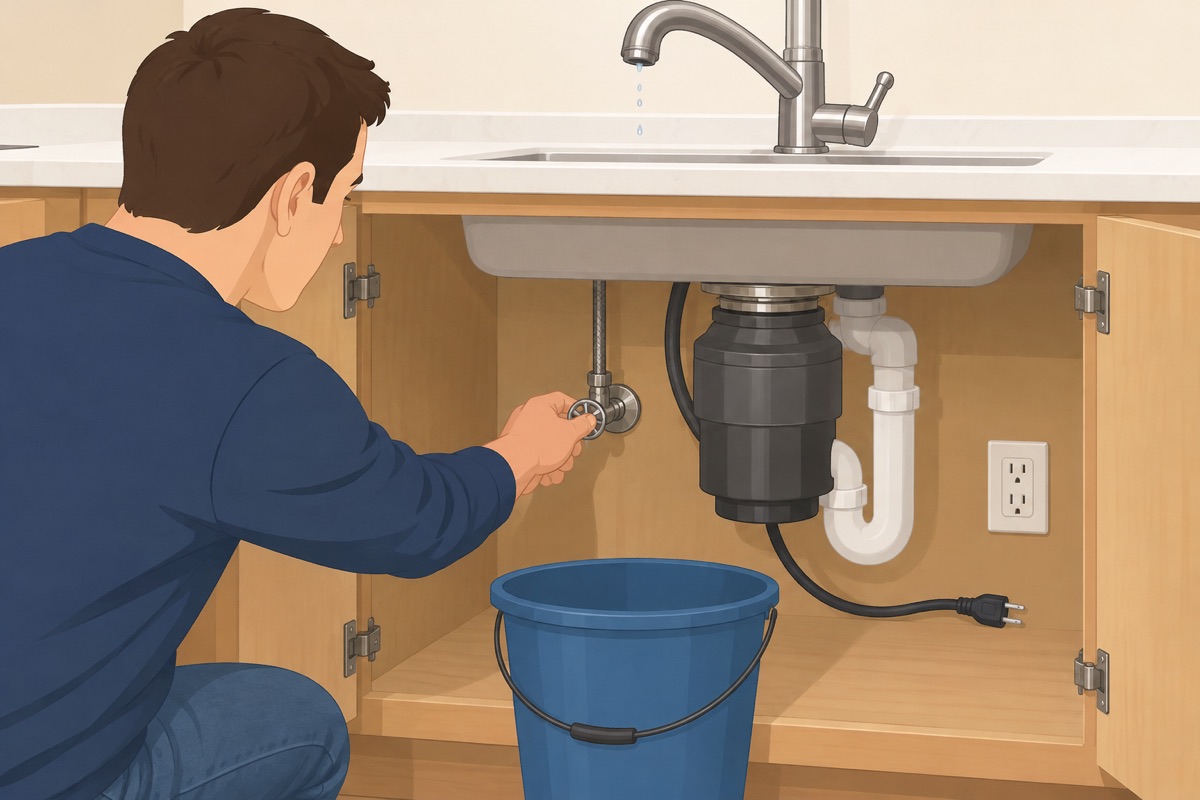
Empty the sink base. Close both shutoff valves under the sink and open the faucet: the flow should stop completely. If a valve will not close all the way, weeps at the stem, or will not turn, stop here. Unplug the disposal; if it has no plug and is wired into a box, an electrician disconnects it.
Safe to start?
- Both shutoff valves close fully — no drip at the faucet, no weep at the stem
- The new sink fits the opening you have, or the countertop installer sets it in a new top
- The disposal is unplugged, or an electrician disconnects one that is wired in — or there is no disposal
- No gas line will be moved or touched
- Bucket, towels, and a headlamp under the sink
Step 4 of 11
Unhook the supplies, the drain, and the dishwasher hose
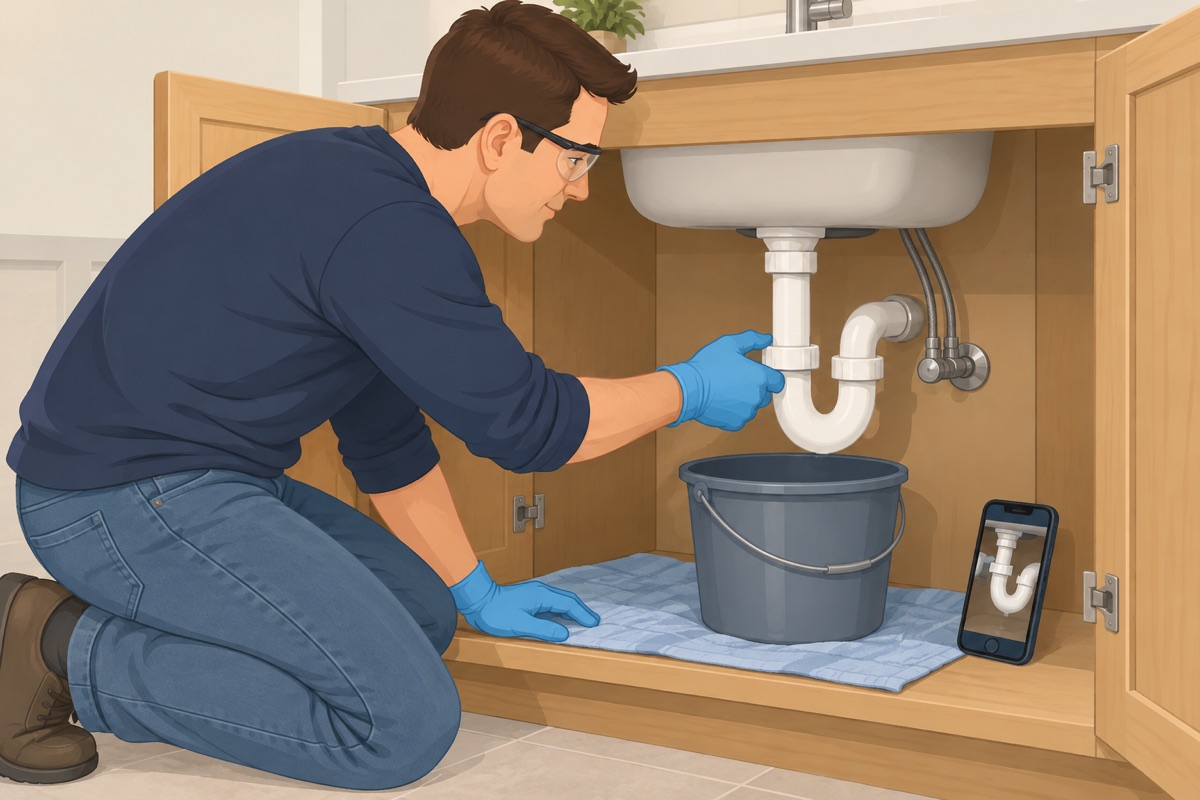
Photograph everything under the sink first. Bucket under the trap. Loosen the supply lines at the valves, then the trap's slip nuts, and let the water drain out. Loosen the clamp and pull the dishwasher drain hose off the disposal or the drain fitting; note how it runs up to the air gap or the high loop so it goes back the same way.
Step 5 of 11
Take the disposal off first
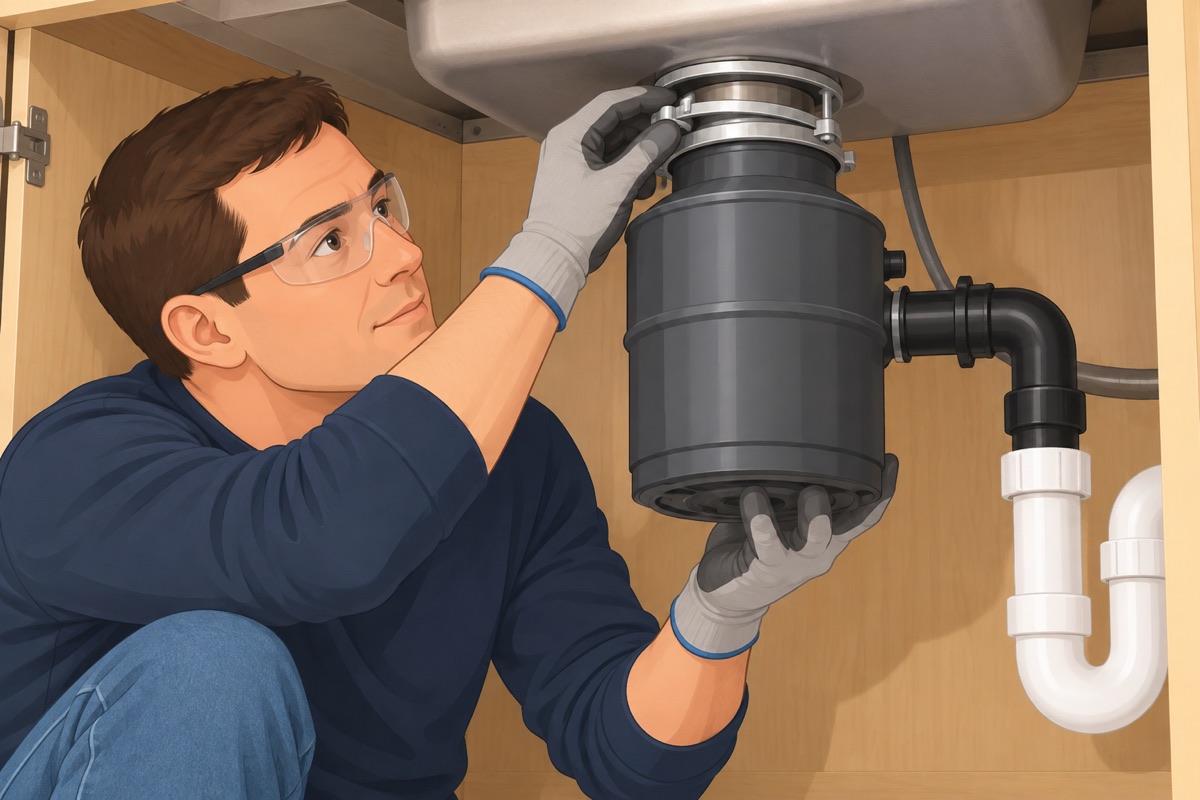
Support the disposal from below, then turn its mounting ring the way its manual says until it drops free. Set it aside: it goes back on the new sink unless you are replacing it.
Step 6 of 11
Free the old sink and lift it out
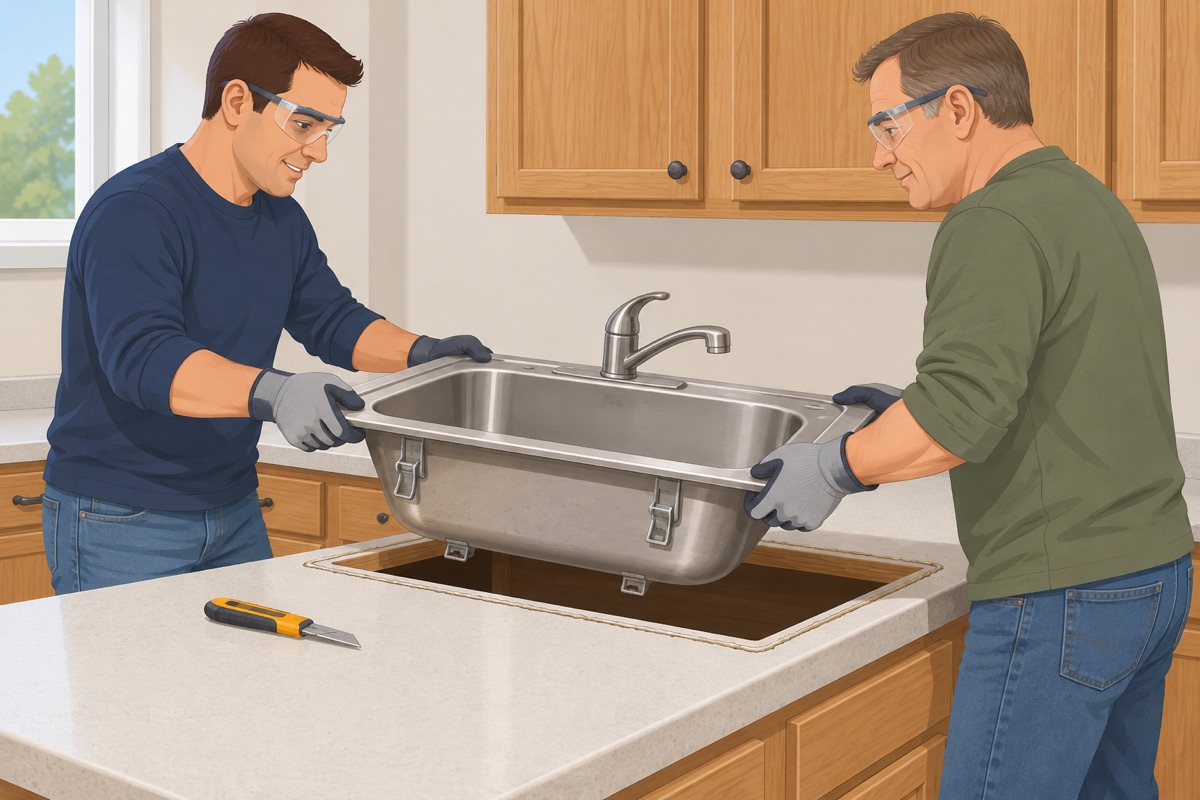
Drop-in sink: loosen the clips from below, cut the caulk around the rim with a utility knife, and lift the sink out with a helper. If the faucet sits on the sink and will be reused, take it off now with the basin wrench and keep its parts. An undermount sink under a top that stays, or a sink that will not come free without prying against the countertop: stop and read the stop-gate.
Step 7 of 11
Clean the deck and look at the cabinet floor
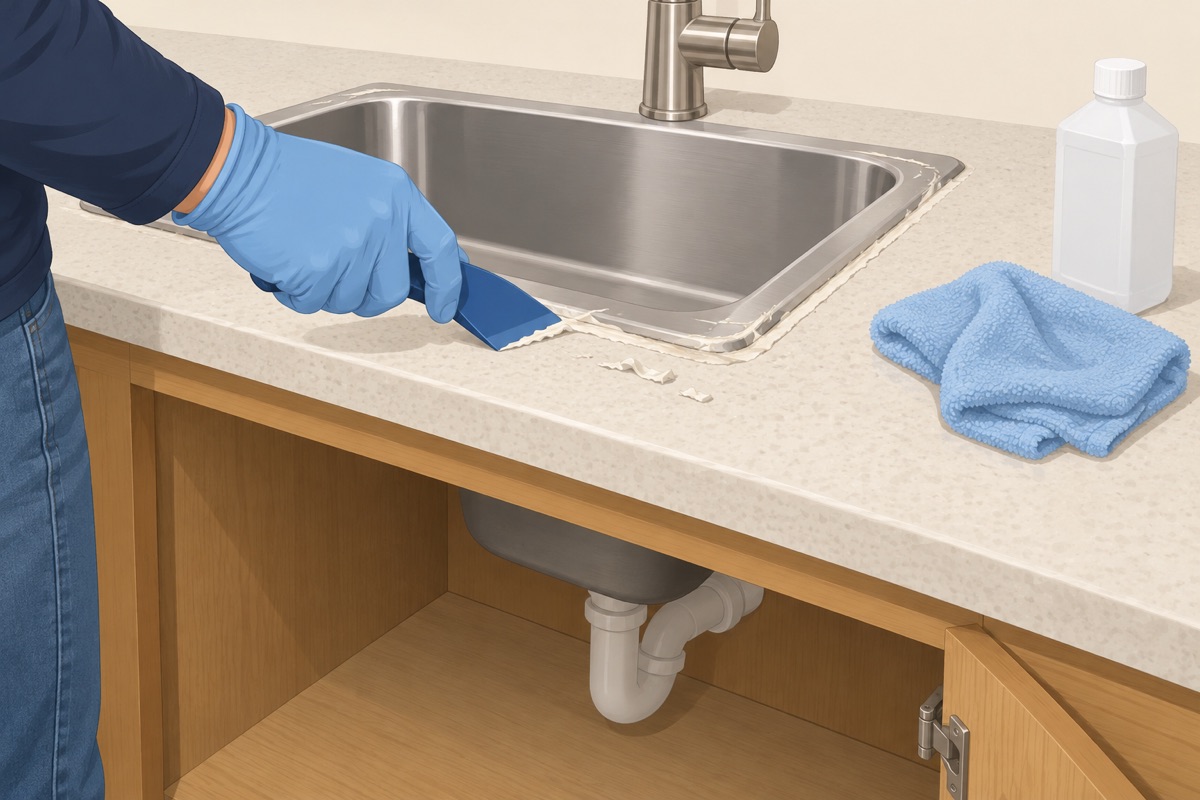
Scrape the old caulk and putty off the counter around the opening with the plastic putty knife and clean it with rubbing alcohol. Look at the cabinet floor and the wall behind it for stains, soft wood, or mold. Anything soft or dark is fixed before the new sink goes in.
Step 8 of 11
Fit the strainer and the disposal flange to the sink
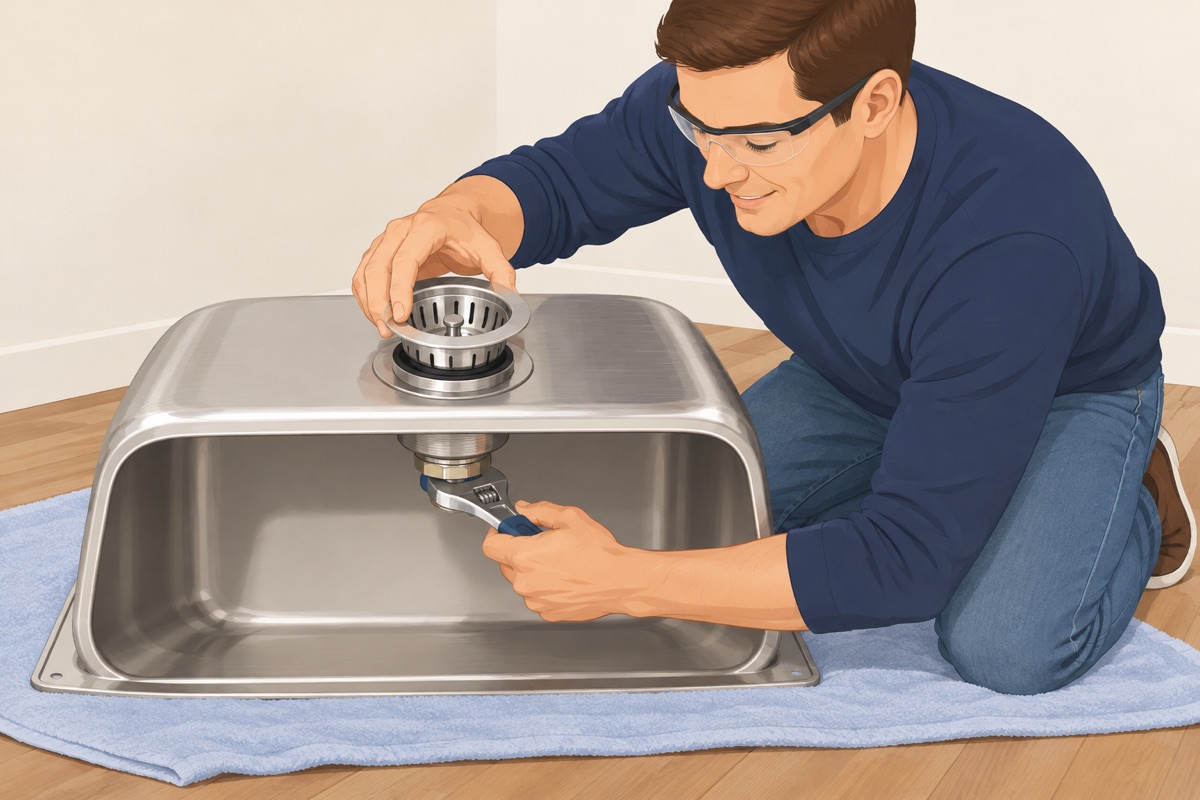
A drop-in sink: do this with the sink upside down on a padded surface. Basket strainer: putty or the supplied gasket under the flange, as its instructions say; snug the locknut from below. Disposal bowl: the disposal's own sink flange and mounting ring, as its manual says. An undermount or apron-front sink set by the countertop installer: fit these once it is mounted and its adhesive has cured for the time on its label.
Step 9 of 11
Set the sink
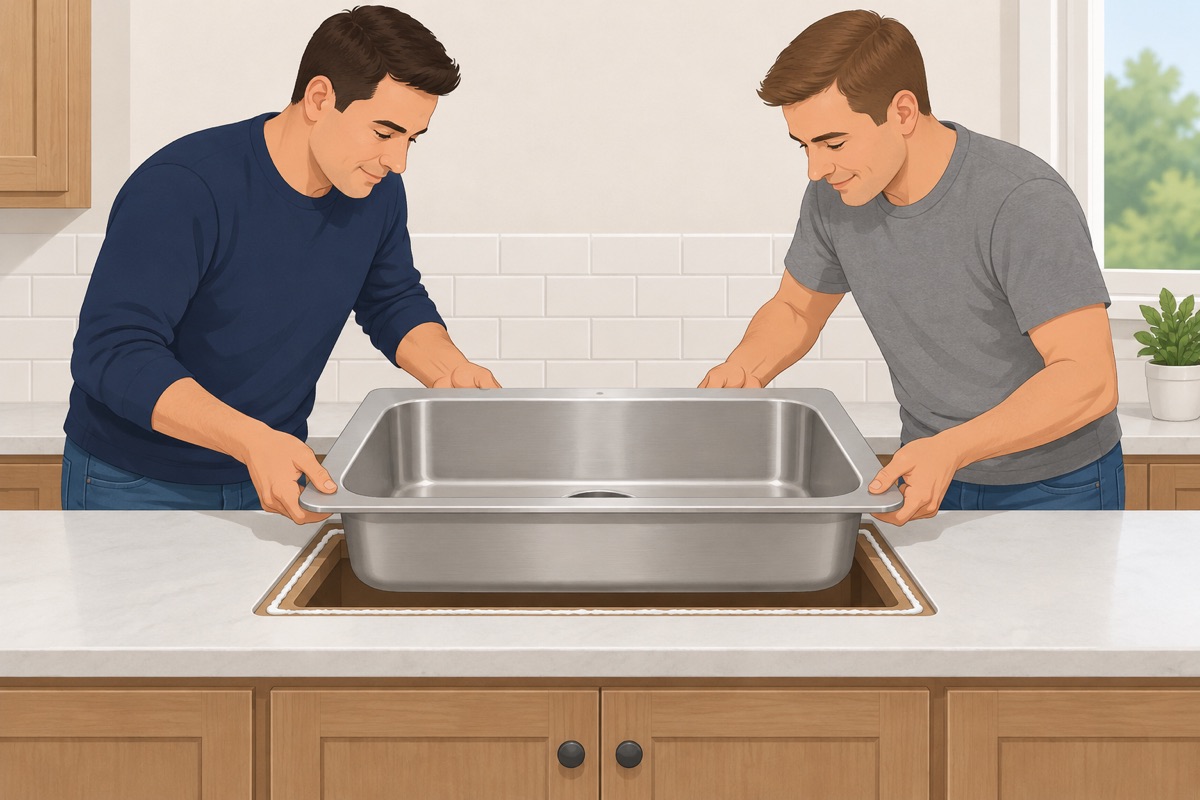
Drop-in: run the sealant the sink maker names around the opening, lower the sink straight down with a helper, center it, and tighten the clips from below a little at a time, working around the sink, until the rim sits tight and even. Wipe off the squeeze-out. Undermount or apron-front set by the installer: check their work instead — the sink is level, the countertop edge meets it evenly all around, and it sits on the support the sink maker calls for.
Step 10 of 11
Hang the disposal and connect the drain
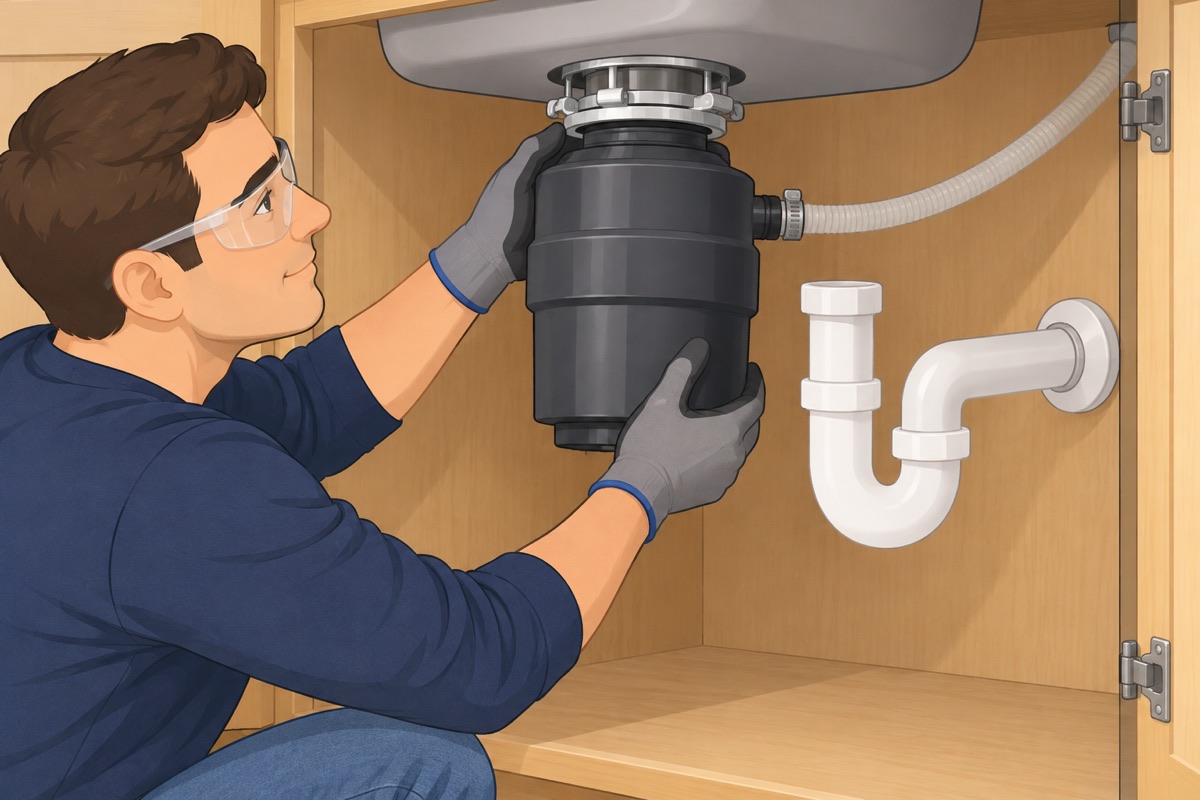
Lift the disposal onto its mounting ring and turn it until it locks. A new disposal: knock out its dishwasher plug first if a dishwasher drains into it. Dry-fit the tailpiece, the trap, and the trap arm so the trap hangs level and the arm slopes down toward the wall; cut a tailpiece with the hacksaw rather than force a bend. Slip nuts go hand-tight plus a small turn. Clamp the dishwasher hose back on, running up to the air gap or a high loop as your local code and the dishwasher's manual say.
Step 11 of 11
Test the drain with a bucket
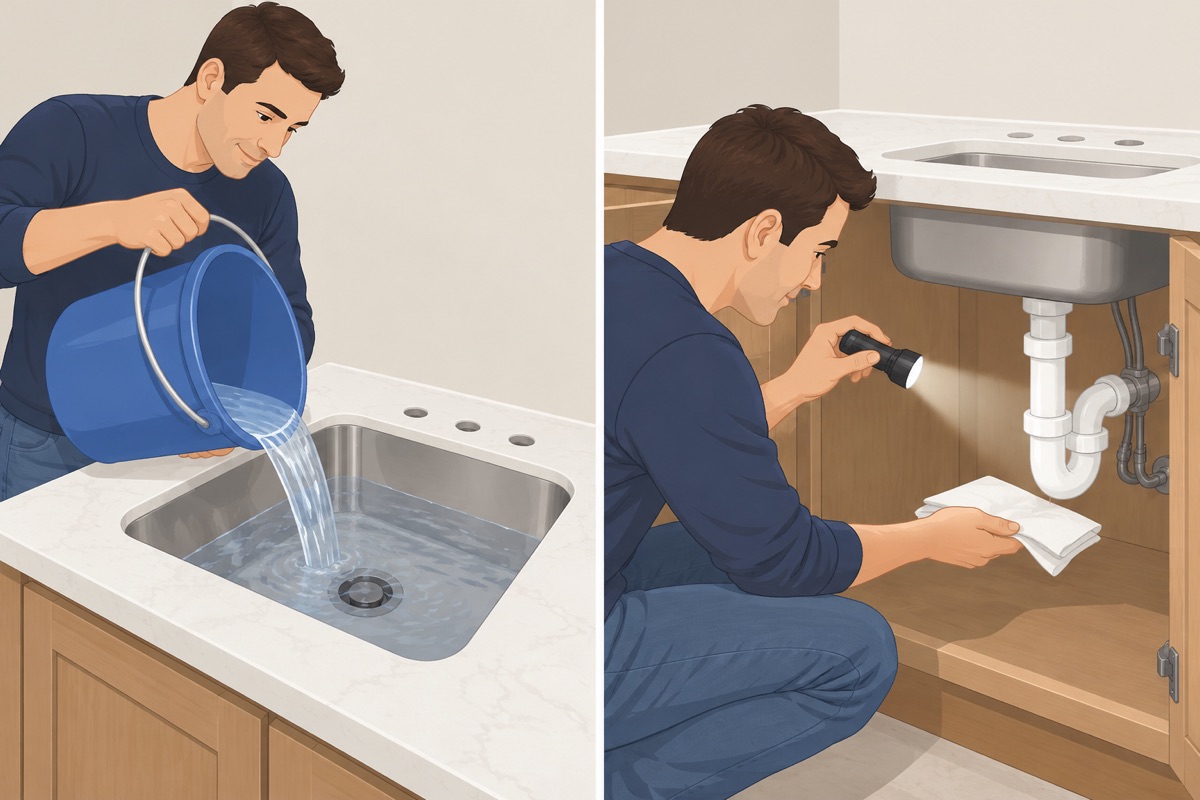
The faucet is not connected yet, so plug the sink, pour in a few buckets of water, then pull the plug and watch every joint under the sink while the water runs out. Plug the disposal back in and run it with water. Dry everything and lay paper towels under the joints. The faucet and its supply lines go on in the plumbing trim-out; look at these towels again after its leak test.
Quality check
- The sink is tight to the counter, sealed all around, and does not move when pressed
- No drip at the strainer, the disposal, the trap, or the dishwasher hose after the bucket test
- If a dishwasher drains here: its hose runs up to the air gap or a high loop, clamped at both ends
- If there is a disposal: it runs, and an electrician reconnected it if it is wired in
- The cabinet floor under the sink is dry and sound
Common mistakes
- Forcing an old shutoff valve. Old multi-turn valves under a sink often snap or start leaking at the stem the moment you lean on them, and then the water to the kitchen cannot be closed. If a valve will not close gently and fully, stop: a plumber replaces it before the sink comes out. Mistake #1 in this task.
- Buying a sink for the wrong opening. A drop-in rim has to cover the old opening on every side, with room for its clips. A sink that needs a bigger hole in stone, or an apron-front sink without its cabinet, turns a sink swap into a countertop and cabinet job.
- Lifting the old sink with the disposal still on it. A disposal is heavy and hangs from the sink on its ring. Take it off first, supported from below, or it drops or twists the sink out of your hands.
- A new disposal with the dishwasher plug still in. A new disposal ships with its dishwasher inlet blocked. Connect the dishwasher hose without knocking the plug out and the dishwasher cannot drain. Knock it out and fish the plug out of the disposal.
- Overtightening the slip nuts. Plastic slip nuts crack and washers crush when they are cranked. Hand-tight plus a small turn; if a joint weeps, snug it a little at a time.
Questions
How do I replace a kitchen sink?
Empty the sink base and close both shutoff valves under the sink, then open the faucet: the flow must stop completely. Unhook the supply lines, the trap and the dishwasher hose, take the disposal off first, loosen the clips from below, cut the caulk around the rim and lift the old sink out with a helper. Set the new sink with the sealant its maker names, tighten the clips a little at a time, hang the disposal and connect the drain, then pour in a few buckets of water and watch every joint.
How do I know a new kitchen sink will fit the old countertop opening?
Measure the old sink's opening, the inside width of the sink base, and where the drain stub and the valves sit, then compare them with the new sink's sheet. A drop-in rim has to cover the old opening on every side with room for its clips. A sink that needs a bigger hole in stone, or an apron-front sink without its cabinet, turns a sink swap into a countertop or cabinet job.
What mistakes should I avoid when replacing a kitchen sink?
Forcing an old shutoff valve, buying a sink for the wrong opening, lifting the old sink with the disposal still on it, leaving the dishwasher plug in a new disposal, and overtightening the slip nuts. Plastic slip nuts crack and washers crush when cranked: hand-tight plus a small turn, and snug a weeping joint a little at a time.
When should I stop and call a pro?
Stop and hire a pro if: a shutoff valve under the sink will not close all the way, weeps at the stem, or will not turn — that is a plumber's job, and forcing an old valve usually breaks it; the new sink needs a bigger or different opening in a stone or solid-surface countertop — cutting the top is the fabricator's job; you are replacing an undermount sink under a countertop that stays — it is glued and clipped from below, and freeing it can crack the top, so ask the countertop fabricator; or you picked an apron-front (farmhouse) sink and the cabinet under it is not an apron-front sink base — cutting the cabinet face and building the support the sink maker calls for is a cabinet installer's or carpenter's job, and the countertop opening is cut to the sink by the fabricator. A garbage disposal wired into a box (no plug under the sink) is disconnected and reconnected by an electrician; one on a plug you only unplug. Never move the drain or the supply lines inside the wall, and never touch a gas line. If the home is from before 1980, the old countertop's adhesive and the coating under an old steel sink may contain asbestos: do not sand, grind or scrape them — test first.
You may also need
- How to install a faucet, toilet and shower head yourself: step by step
- How to install a butcher block countertop yourself: step by step
- How to install kitchen cabinets yourself: step by step
- How to remove a toilet, vanity and faucets yourself: step by step
- How to waterproof a shower yourself: step by step