How to install a porch railing kit yourself: step by step
A railing is only as strong as its posts. Pick a kit rated for code, anchor every post into solid concrete or solid framing, keep the gaps under 4 in, and push on it hard before anyone leans on it.
Difficulty 3 of 5 · 1 weekends · careful
Stop here
Photo of your room, the look you pick, then this guide with the materials counted for your room.
What you need
- Aluminum or composite railing kit (rail sections)
- Railing posts with base mounts
- Post anchors (wedge anchors for concrete, structural screws for wood, per the kit)
- Concrete patch or anchoring cement
Tools
- Hammer drill with a masonry bit — Bit size per the anchor's label.
- Drill/driver or impact driver
- Miter saw with a blade for the rail material — Aluminum needs a non-ferrous metal blade; composite per the kit.
- Socket wrench set
- 4 ft level
- Post level
- Tape measure
- Chalk line
- Hammer
- Safety glasses, work gloves, hearing protection
Step by step
Step 1 of 12
Check the height and the rules
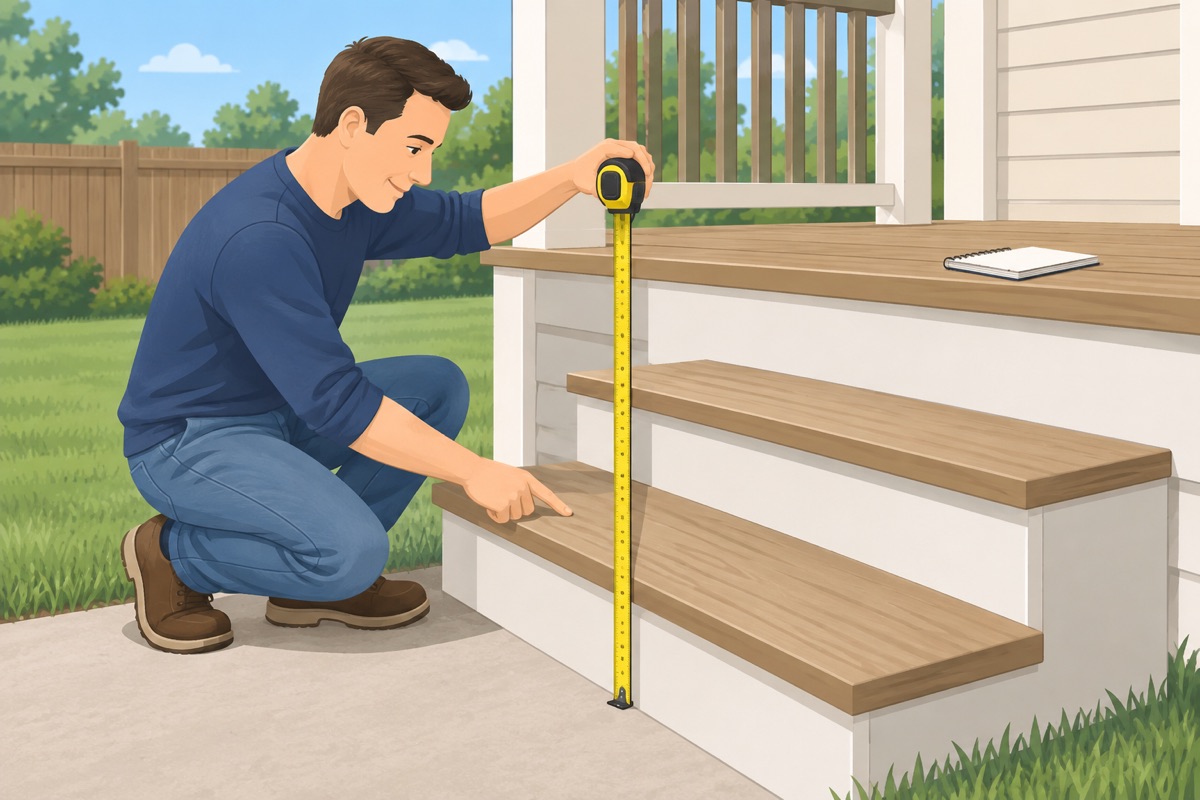
Measure from the ground to the porch floor at the open edges and count the stair risers. Ask your city what it requires at your height (a guard is usually required at 30 in or more) and ask your HOA. Buy a kit whose label says it meets the residential code for guards and handrails, including the 200 lb load.
Step 2 of 12
Measure the open edges
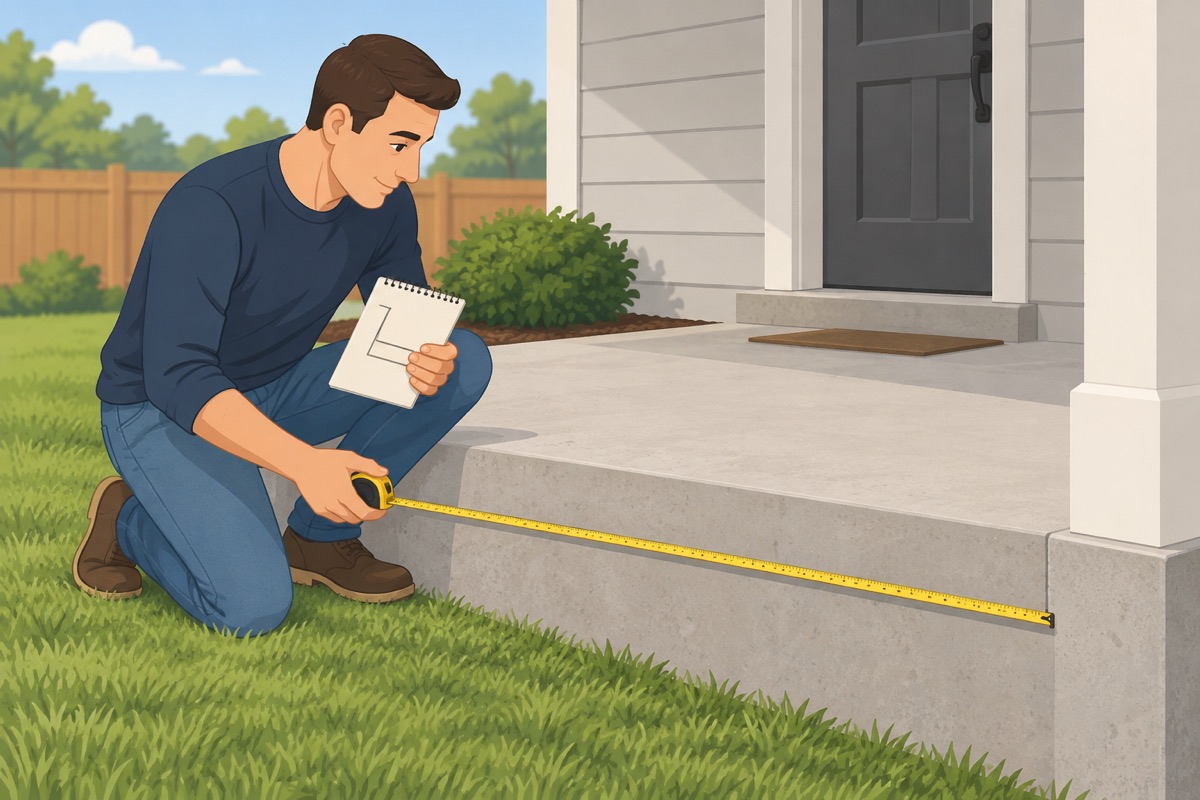
Measure each open side of the porch from the wall or corner to the next corner, and the length and slope of each stair. Sketch it with every measurement.
Step 3 of 12
Plan the posts
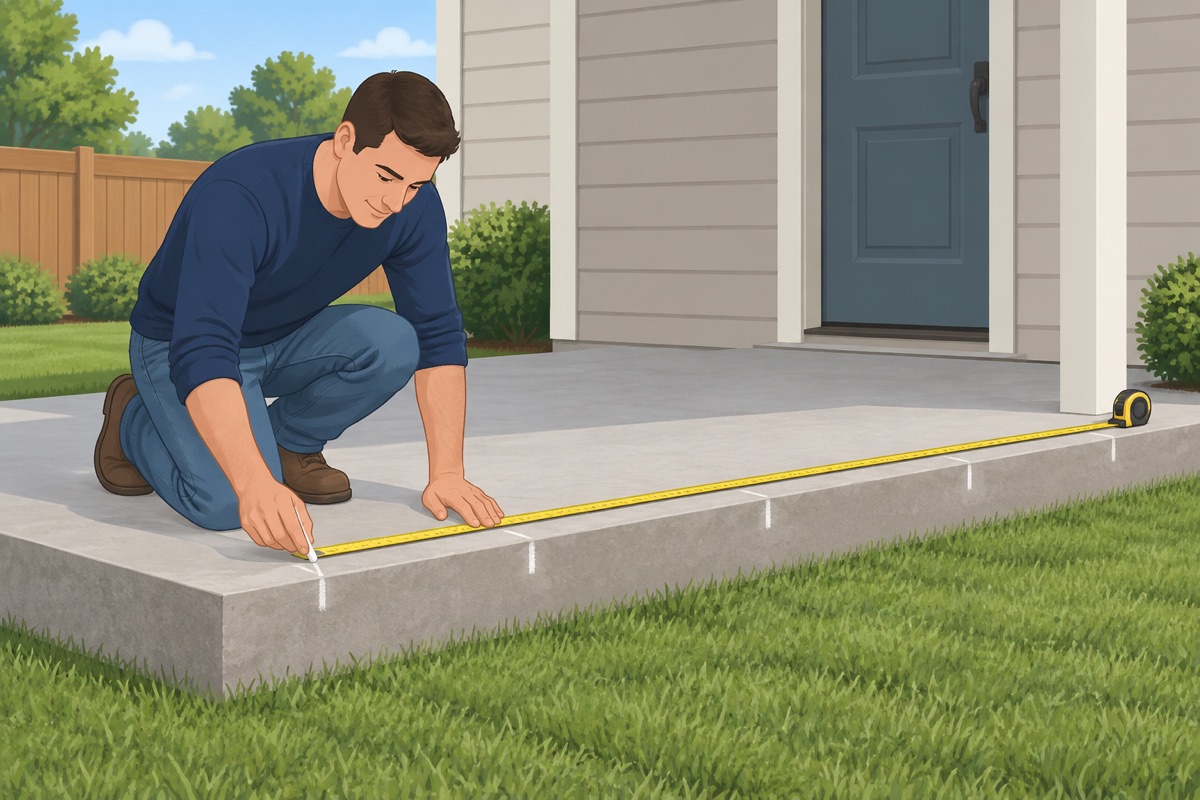
Put a post at every corner, at each end, at each side of a stair or gate, and in between no farther apart than the kit allows (often 6 ft). Spread them evenly so the sections match.
Step 4 of 12
Check what each post will anchor into
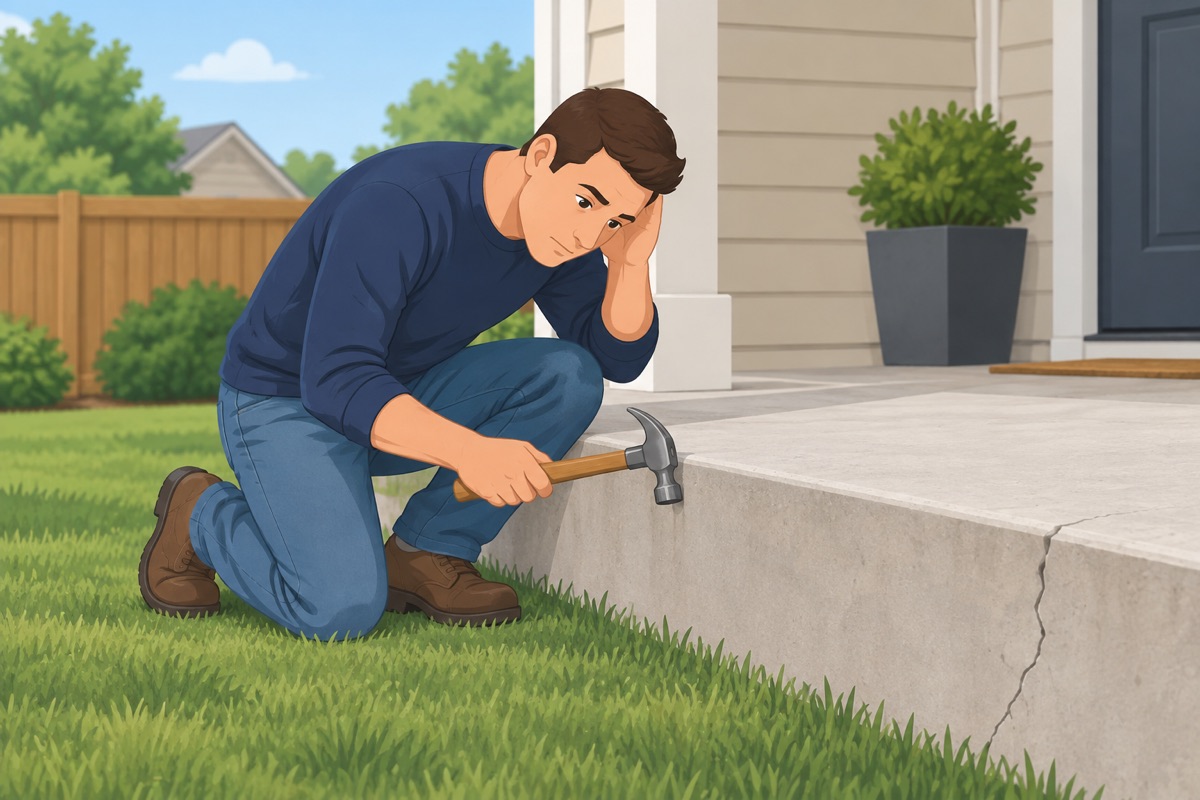
For concrete, tap along the edge with a hammer: a hollow sound or a crack means no anchor there. Look at the edge for the thickness. For wood, find the joist or rim under each post — deck boards alone are not enough. If any post has no solid anchor, stop and call a contractor.
Step 5 of 12
Mark the post spots
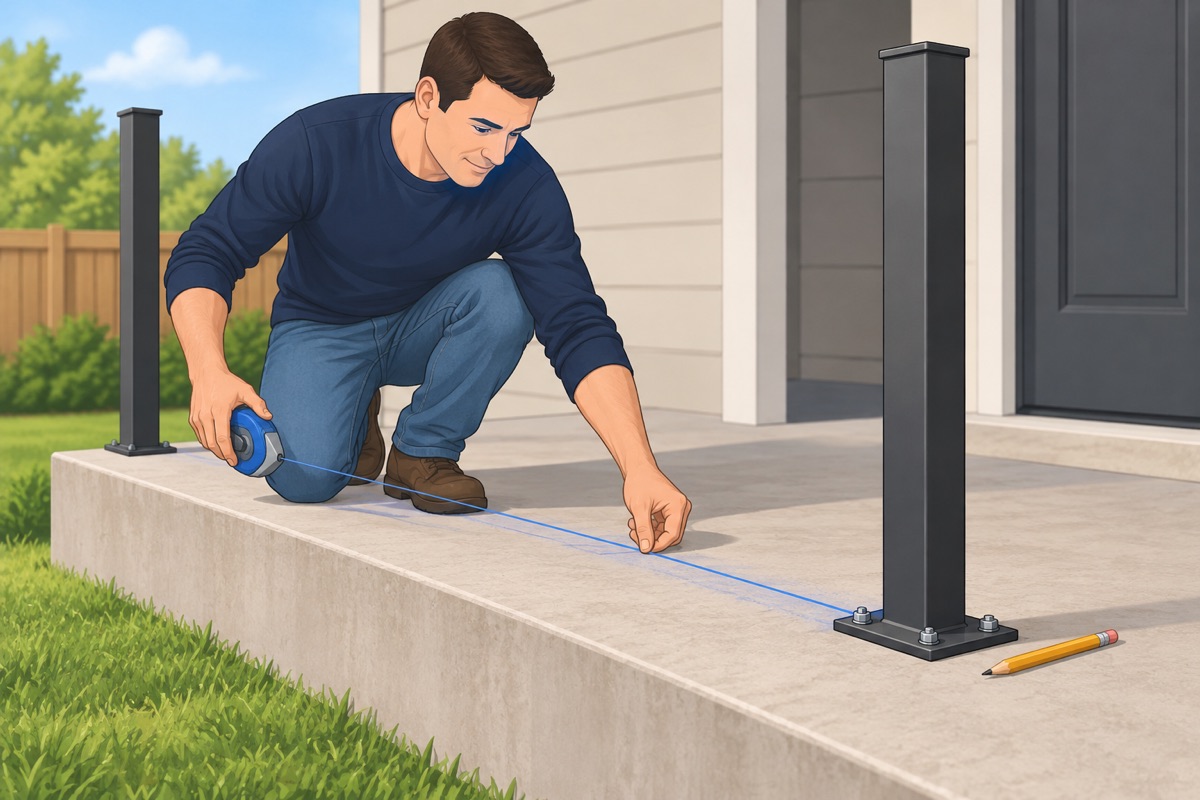
Snap a chalk line along each edge, set back by the edge distance on the anchor's label. Set each post base on its mark and mark its holes.
Step 6 of 12
Drill the anchor holes
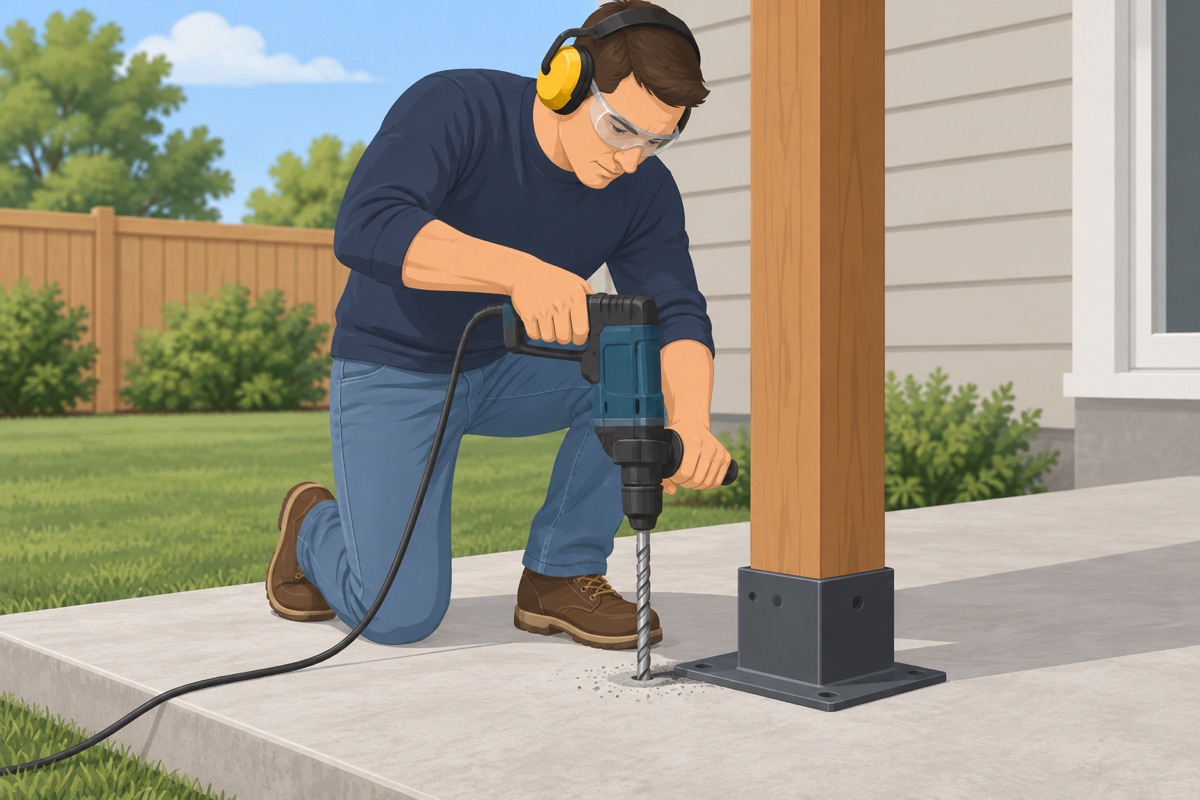
For concrete, drill with the hammer drill to the depth on the anchor's label, then blow and brush the dust out. For wood, drill the pilot holes the structural screw label gives, into the framing.
Before you drill
- The porch is under 30 in high and the stairs have 3 risers or fewer, or you have a contractor and a permit
- Every post spot has solid concrete or solid framing under it
- Every hole keeps the edge distance on the anchor's label
- The kit's label says it meets the residential code for guards and handrails
Step 7 of 12
Set the posts
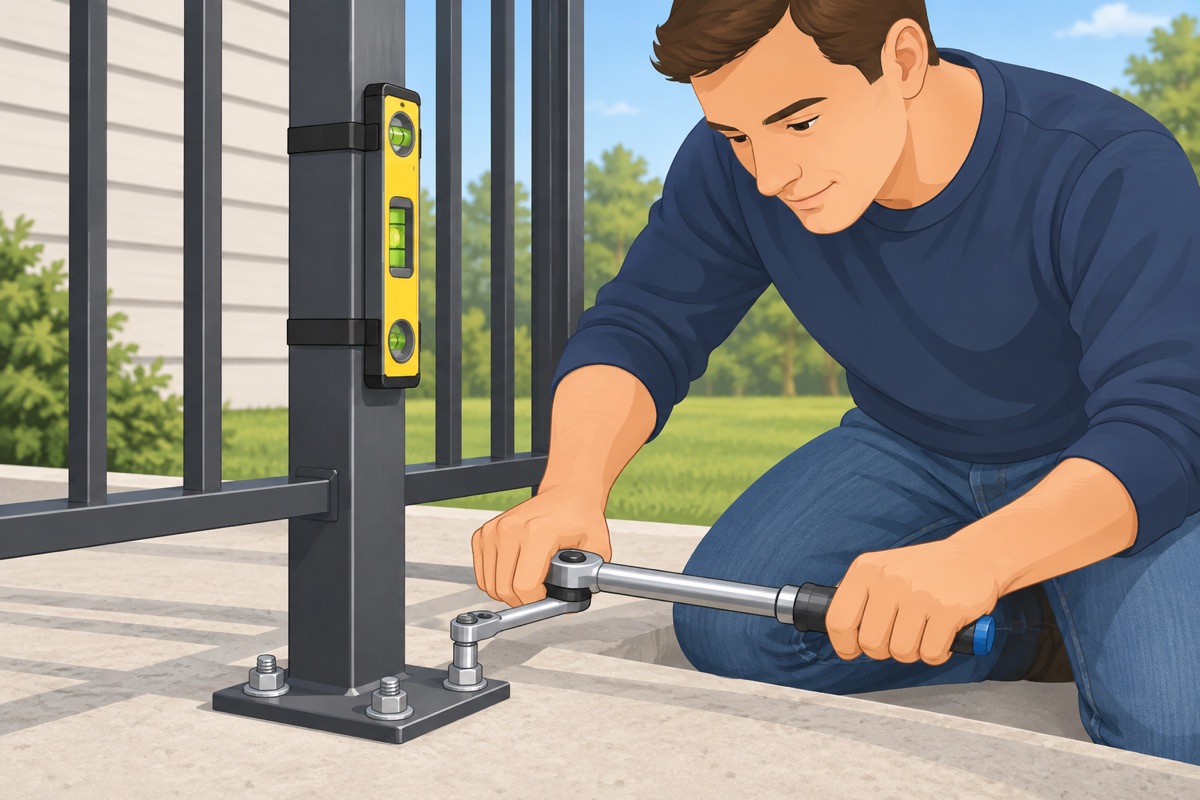
Fasten each post base with the anchors the kit names and tighten the nuts to the torque on the anchor's label. Use only the kit's shims, and plumb each post on two faces with the post level.
Step 8 of 12
Cut the sections to length
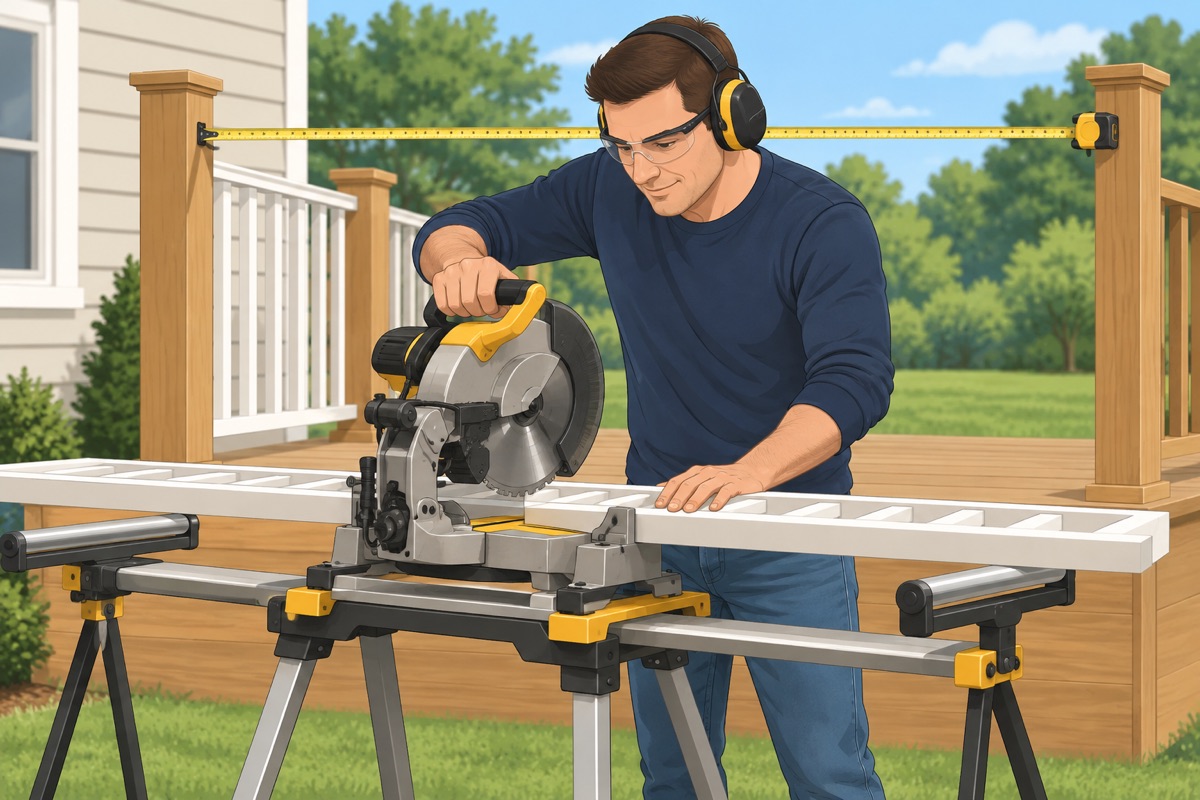
Measure between the posts at the top and the bottom and cut each section as the kit says, trimming from both ends so the gaps at the posts stay equal. Keep every gap under 4 in.
Step 9 of 12
Hang the rail sections
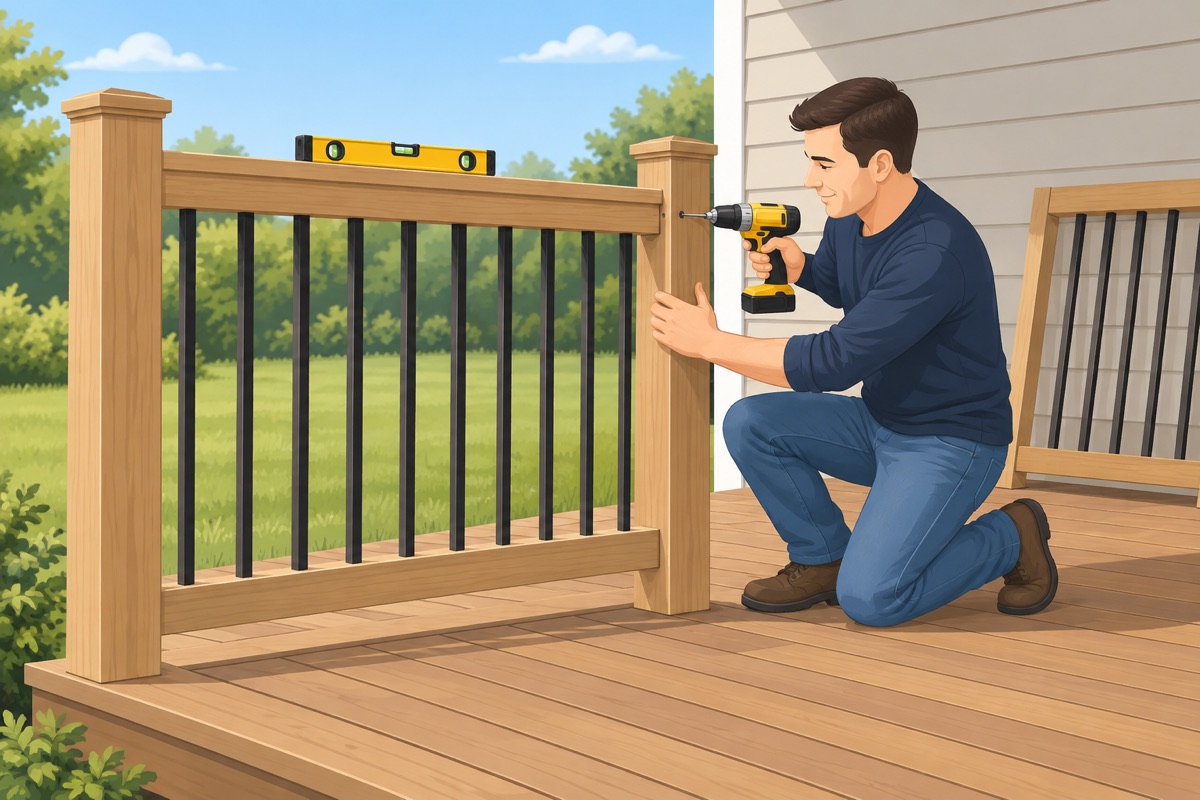
Fasten the brackets to the posts, set each section in, check it level, and fasten it per the kit. Check the gaps: a 4 in ball must not pass anywhere.
Step 10 of 12
Install the stair rail
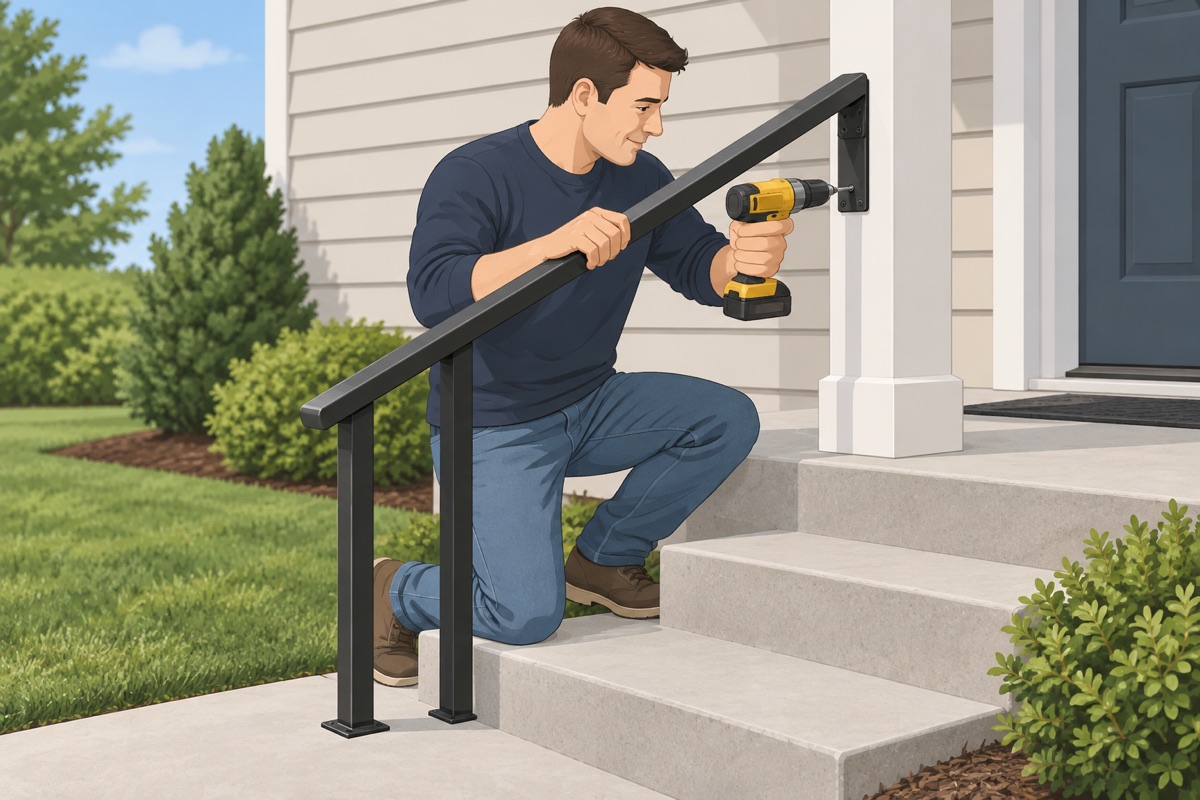
Use the kit's stair sections and angle brackets. Keep the top of the handrail 34–38 in above the stair nosings, and make sure a hand can wrap around it all the way.
Step 11 of 12
Hang the gate, if there is one
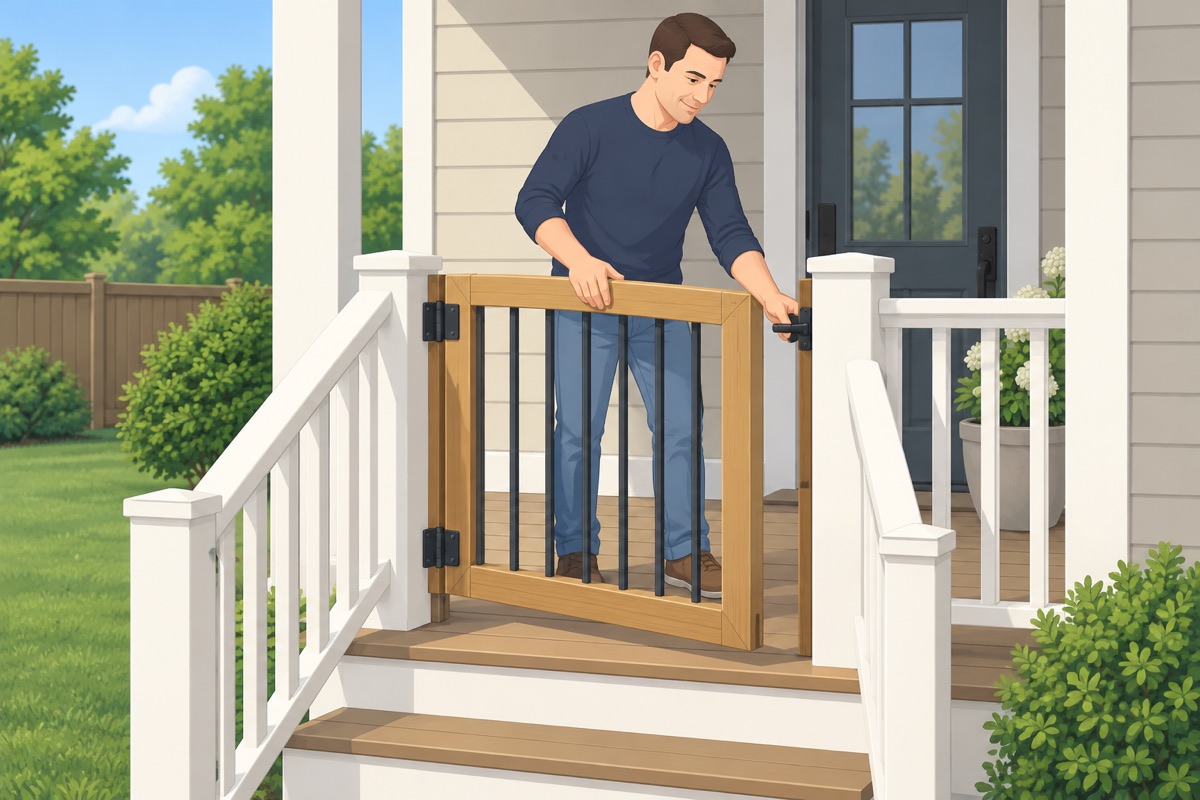
Hang the gate with the kit's hardware so it does not swing out over a step. Check that it latches every time.
Step 12 of 12
Push on it hard before anyone leans on it
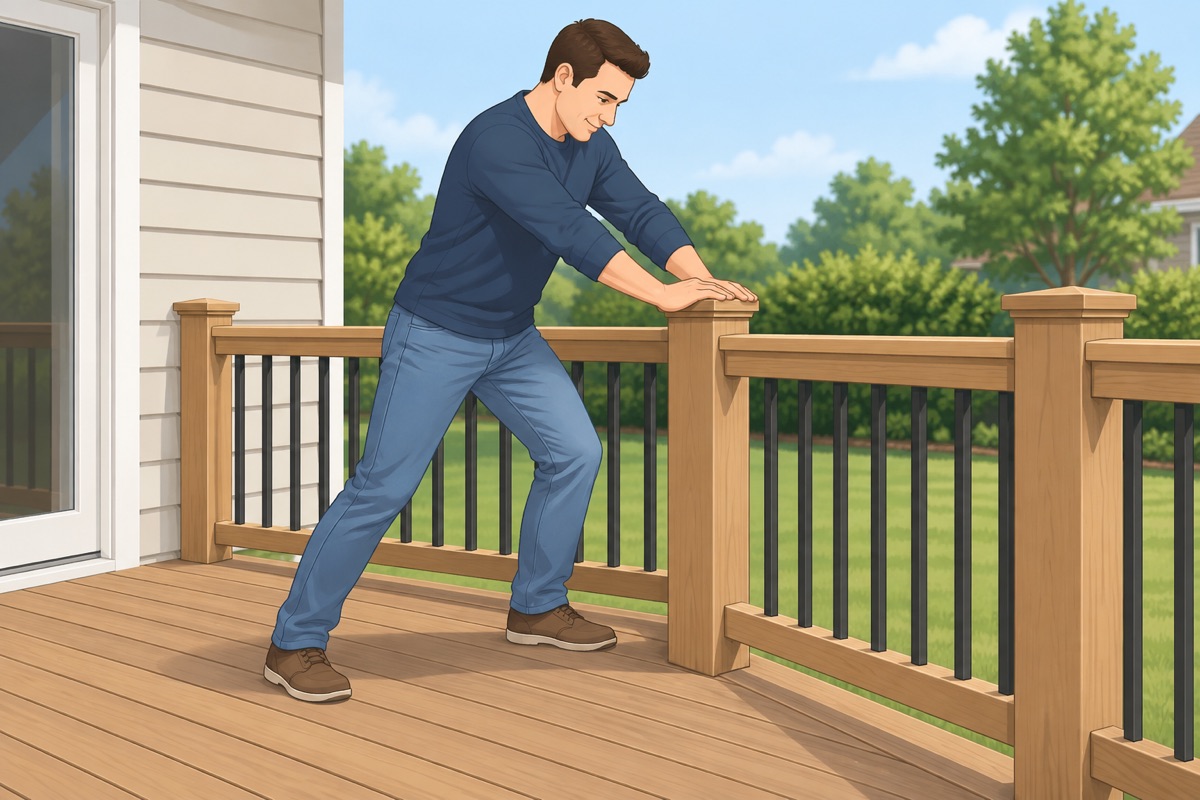
Push hard at the top of each post and the middle of each section, in and out. Nothing should move at the base. Re-tighten the anchors, put on the post caps, and check them again after a month.
Before anyone leans on it
- No post moves at its base when you push hard at the top
- Every gap is under 4 in
- The stair handrail is 34–38 in above the nosings
- Every anchor is tightened to the torque on its label
Common mistakes
- Anchoring into a hollow stoop. Many stoops are a thin concrete shell over rubble or air. An anchor there pulls out the first time someone falls against the rail. Tap first; no solid concrete, no DIY post. Mistake #1 in this task.
- Anchors too close to the edge. The concrete breaks out and the post comes loose. Keep the edge distance on the anchor's label.
- Screwing posts to the deck boards only. Deck boards are not structure. Posts go into the framing, with the blocking the kit calls for.
- Gaps a child can get through. Cutting a section short can leave a wide gap at the end. Keep every gap under 4 in, including at the posts and under the bottom rail if the kit says so.
- A stair rail at the wrong height. Too low and it tips you over, too high and you cannot grip it. Keep the handrail 34–38 in above the stair nosings.
Draft guide written from standard practice, not yet reviewed by a licensed pro. Follow product labels where they differ.
Get this job planned for your roomRelated guides
- How to measure a door opening before buying a door yourself: step by step
- How to install a prehung interior door yourself: step by step
- How to install door casing yourself: step by step
- How to install baseboards yourself: step by step
- How to fill nail holes and caulk trim yourself: step by step
- How to build a wood or vinyl privacy fence yourself: step by step