How to build a shed from a kit yourself: step by step
A kit shed goes together from the manual; what makes it last is the base. Check the size and setback rules before you buy, build a level gravel pad, assemble with a helper, and anchor it down.
Difficulty 3 of 5 · 2 weekends · careful
Stop here
Photo of your room, the look you pick, then this guide with the materials counted for your room.
What you need
- Shed kit (the one you picked)
- Base gravel (crushed, compactable)
- Pressure-treated timbers for the frame (ground-contact rated)
- Shed anchor kit
- Landscape fabric
Tools
- Flat and pointed shovels
- Wheelbarrow
- Steel garden rake
- Plate compactor — About $80–110/day. A hand tamper works for a small pad.
- Stakes, mason's line and a line level
- 4 ft level
- Tape measure
- Circular saw
- Drill/driver or impact driver
- Two ladders and a helper
- Safety glasses, work gloves, hearing protection
Step by step
Step 1 of 13
Check the rules before you buy

Ask your city what size and height of shed you can build without a permit (often 120 sq ft of floor — check with your city), how far it must sit from the property line, the fence and the house, and whether your HOA has rules. Write the numbers down and pick a kit that fits them.
Step 2 of 13
Pick the spot
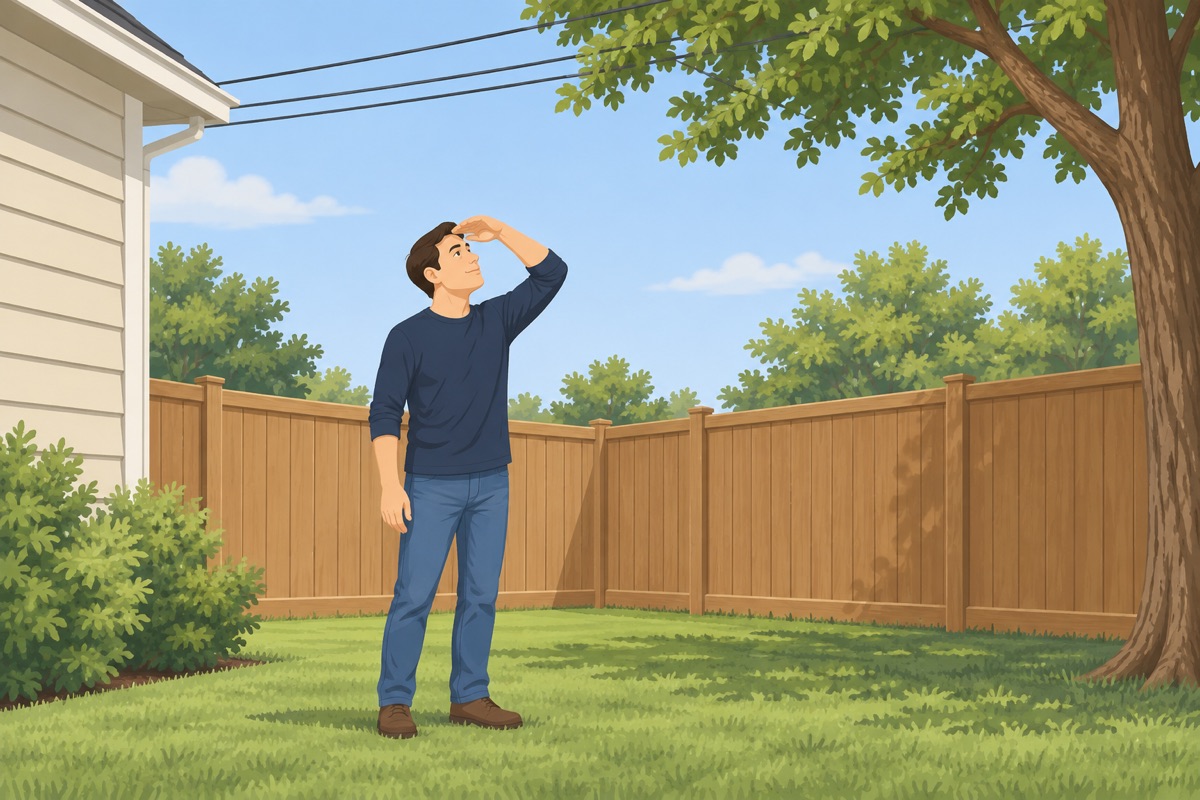
Choose the flattest spot that drains, out of low spots where water stands, clear of overhead wires and tree limbs, with room to open the doors and walk around the shed. Call 811 before you dig the pad.
Step 3 of 13
Choose the base
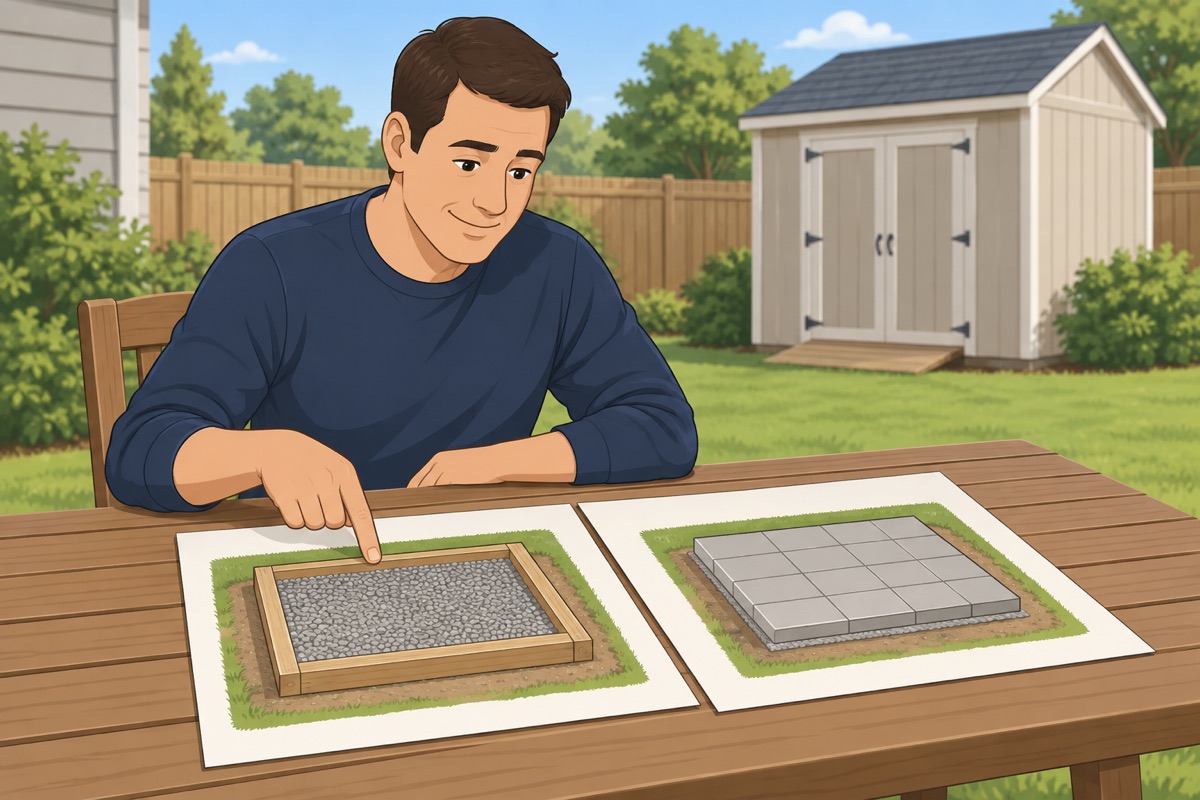
Use what the manual allows: 4 in of compacted gravel inside a treated timber frame, or a paver pad. Make the pad a little bigger than the shed floor, as the manual says. Never set the shed on bare soil.
Step 4 of 13
Mark the pad and square it
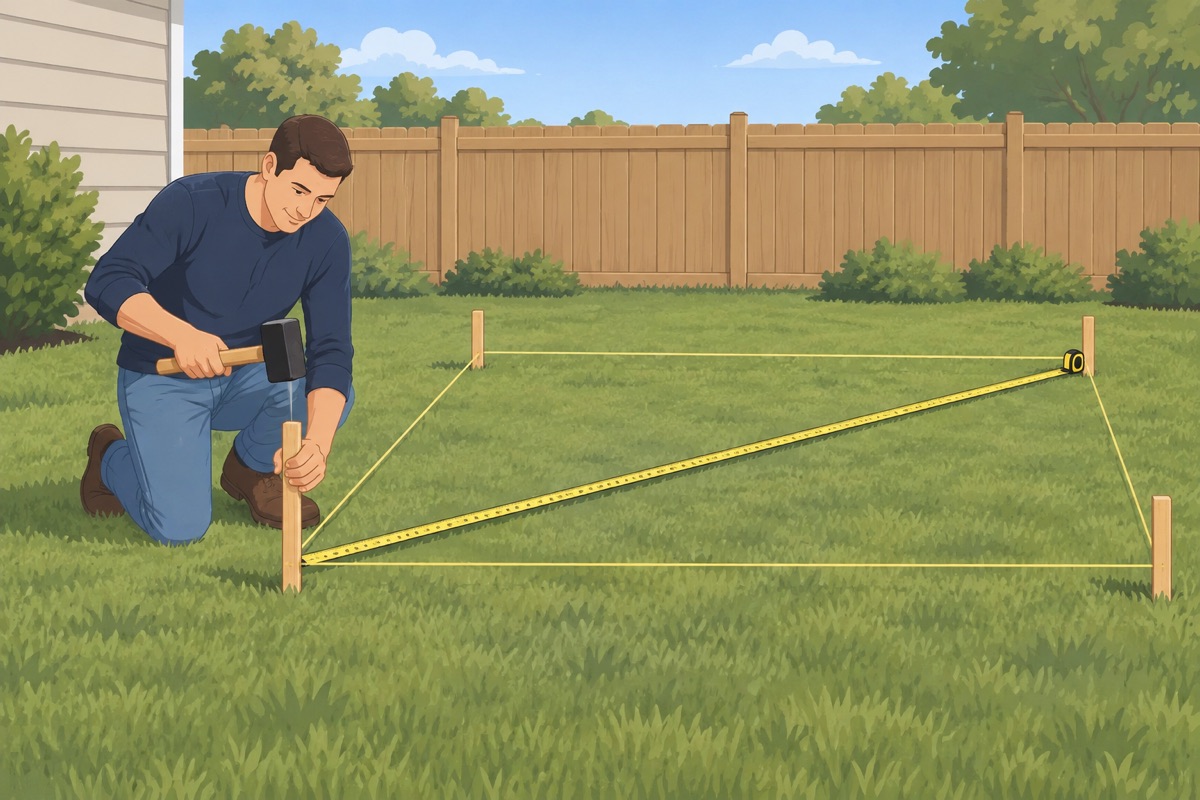
Drive stakes at the corners and pull a string around the pad. Check the corners with the 3-4-5 rule and measure both diagonals — they must match.
Step 5 of 13
Dig out the pad and set the frame
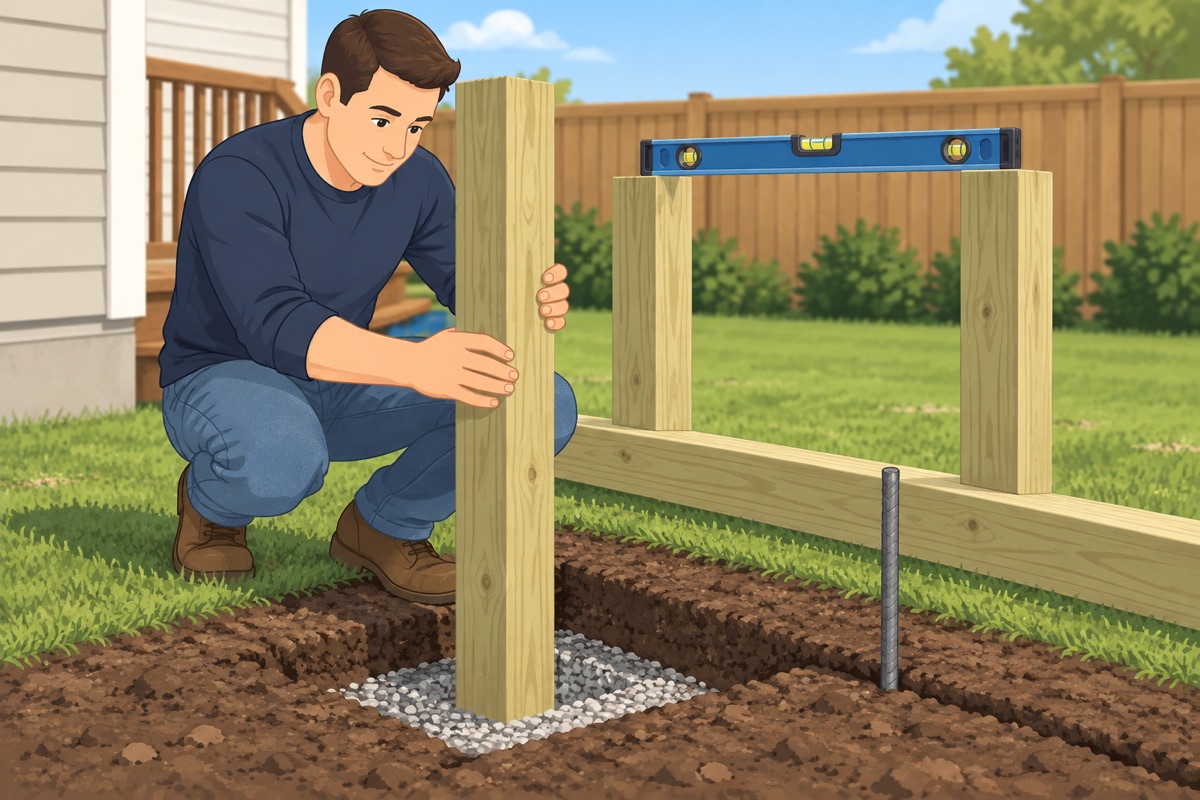
Remove the grass and loose topsoil inside the strings. Set the treated timbers around the pad, level them with each other, and pin the corners with rebar or long spikes.
Before you dig
- 811 marks are in and every utility on the ticket answered
- The shed's size and height are within what your city allows without a permit, or you have the permit
- The pad keeps the setbacks from the property line and the house
- The spot drains and is not in a low spot
Step 6 of 13
Fill and compact the gravel
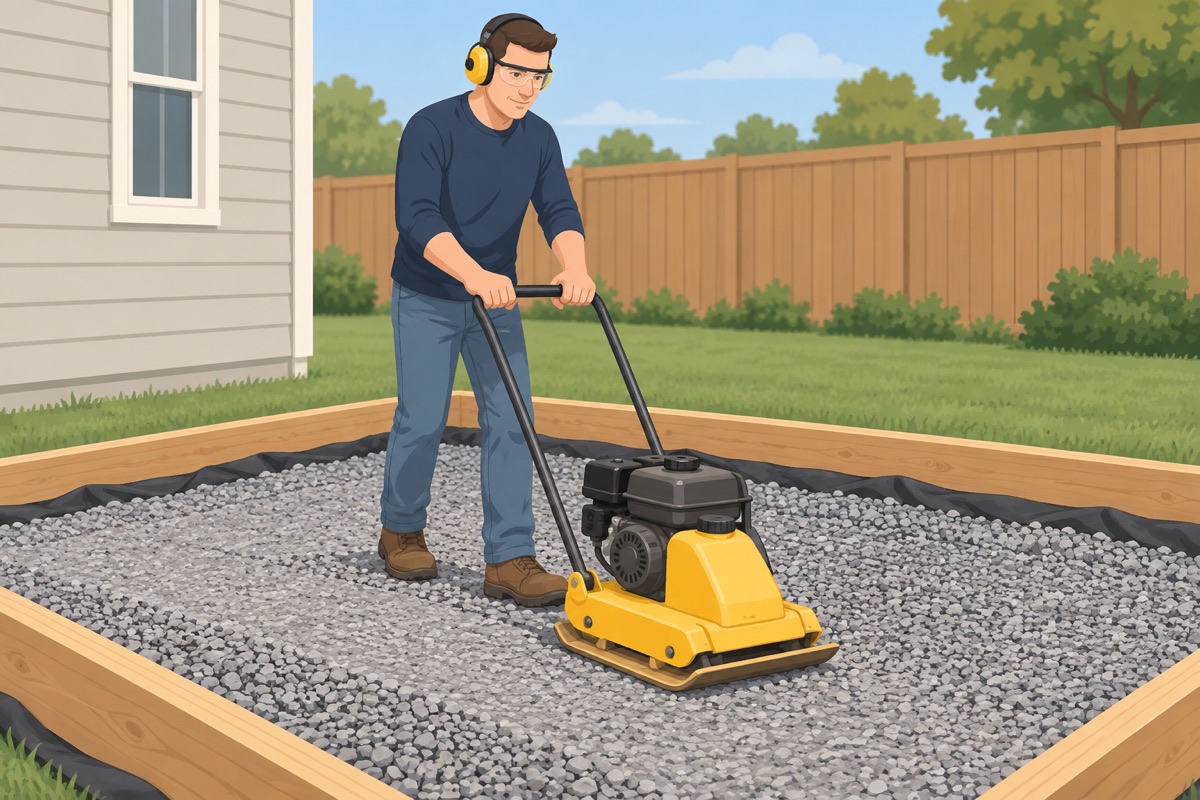
Lay landscape fabric inside the frame, then fill with gravel in 2 layers of about 2 in, dampening and compacting each one until your boot leaves no print.
Step 7 of 13
Check that the pad is level
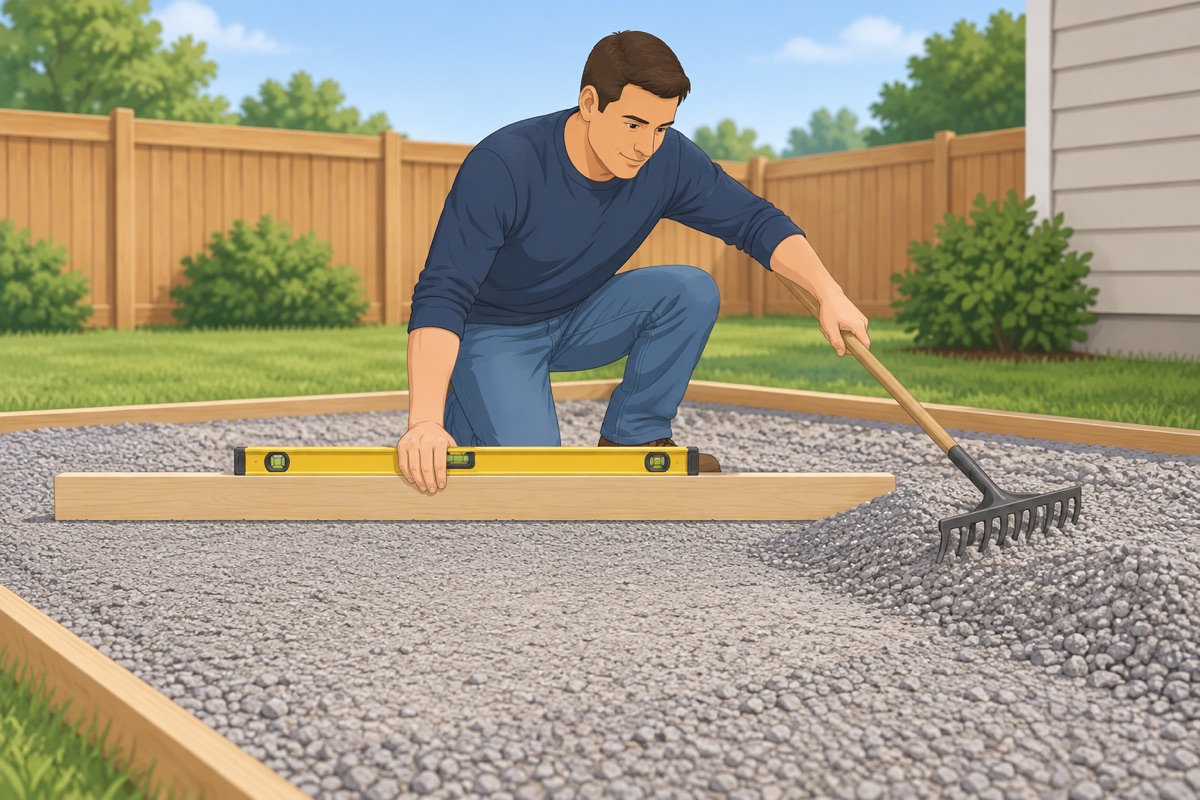
Lay a straight board across the pad in several directions with the 4 ft level on it. Rake gravel from the high spots into the low ones and compact again until it is level within what the manual allows.
Step 8 of 13
Unbox and check the parts
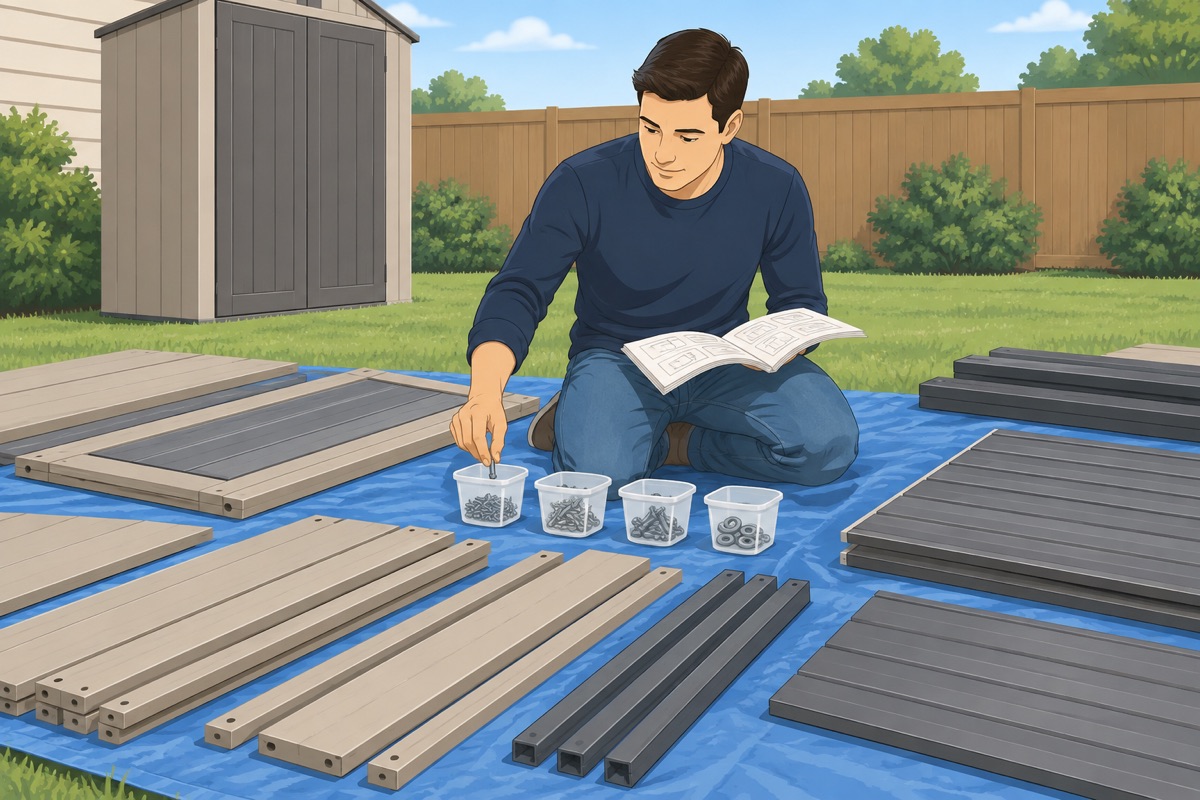
Lay every part out on a tarp and check it against the manual's list. Sort the screws and bolts by size. Read the manual through once before you start.
Step 9 of 13
Build the floor and square it
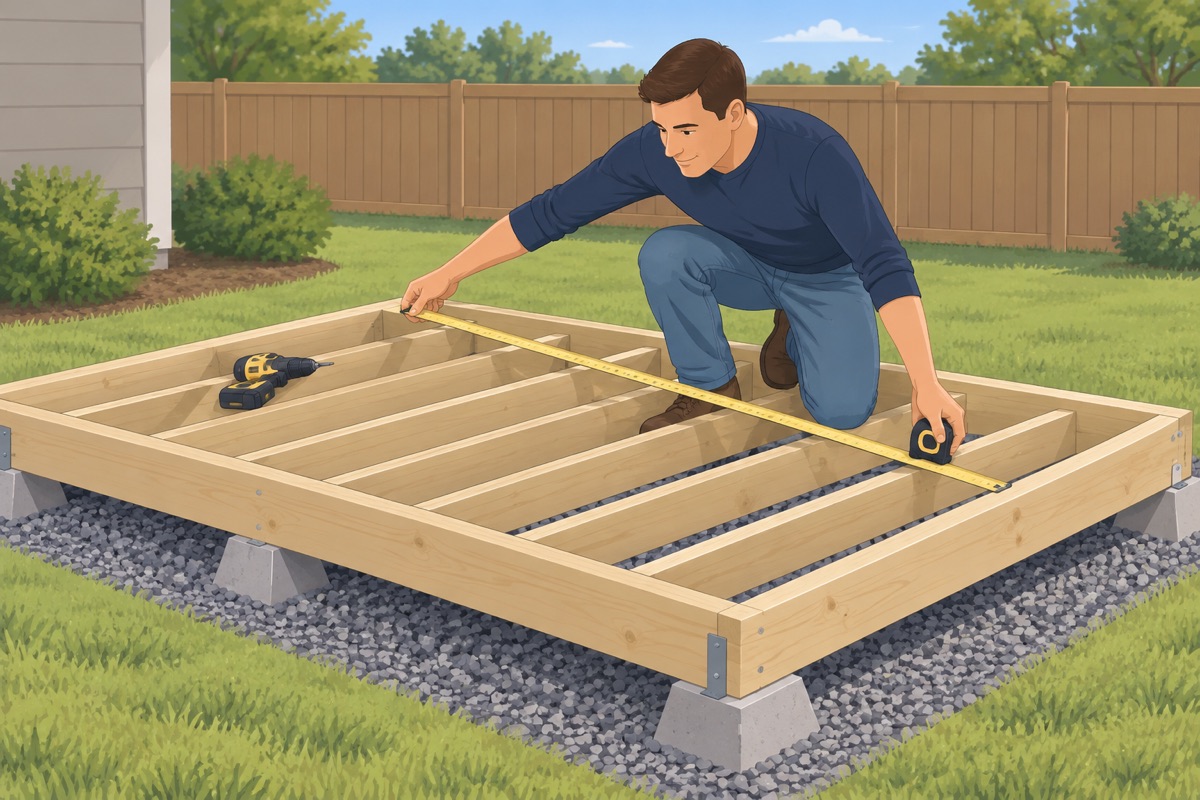
Build the floor or the floor frame on the pad as the manual shows. Measure both diagonals and adjust until they match, then fasten.
Step 10 of 13
Raise the walls with a helper
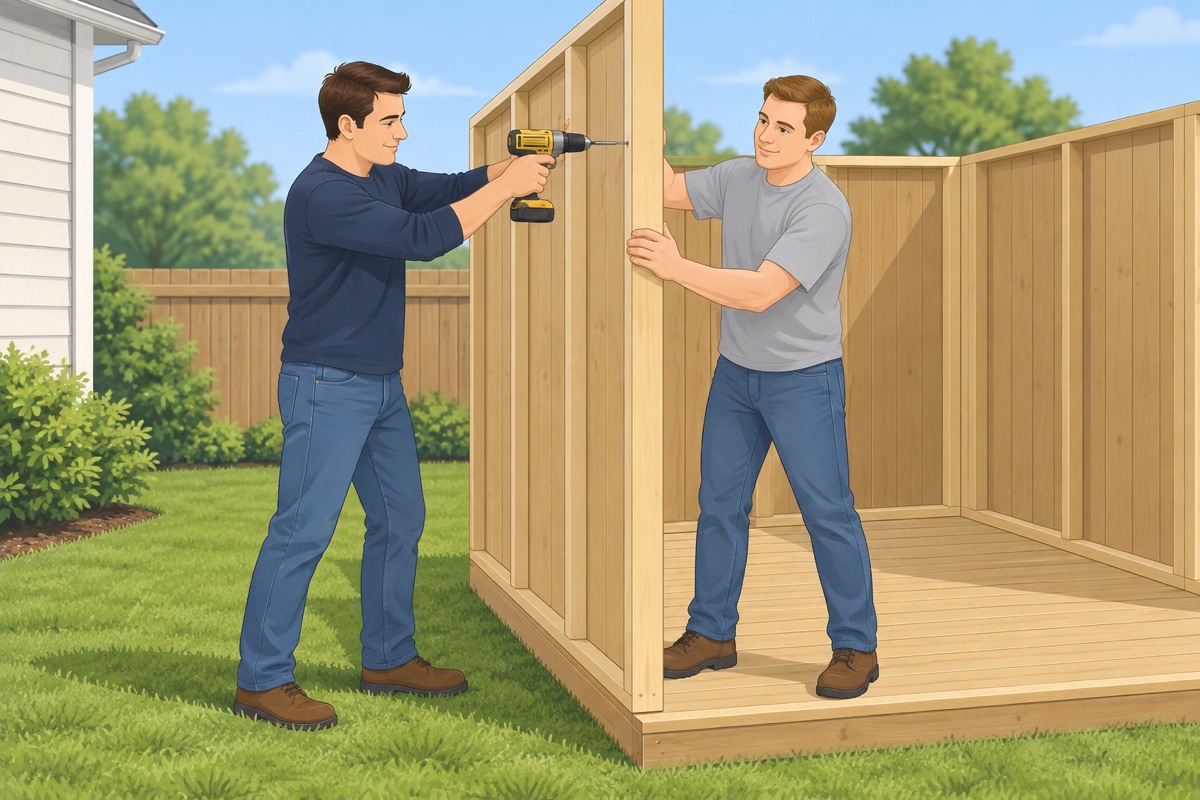
On a still day, stand each wall panel with a helper holding it, brace it, and fasten it as the manual says before you move to the next one.
Step 11 of 13
Put on the roof
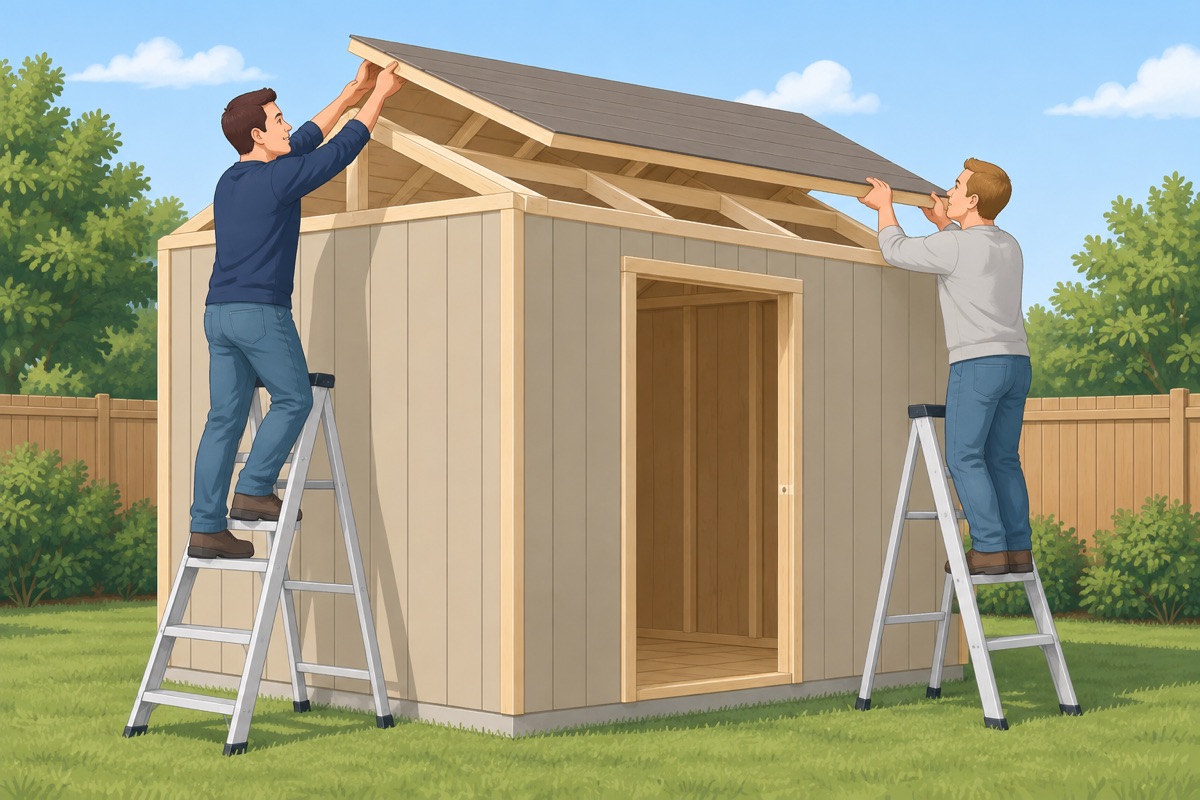
Set the roof supports and panels per the manual, working from ladders with a helper. Do not stand or kneel on the roof unless the manual says it can take your weight.
Step 12 of 13
Anchor the shed to the base
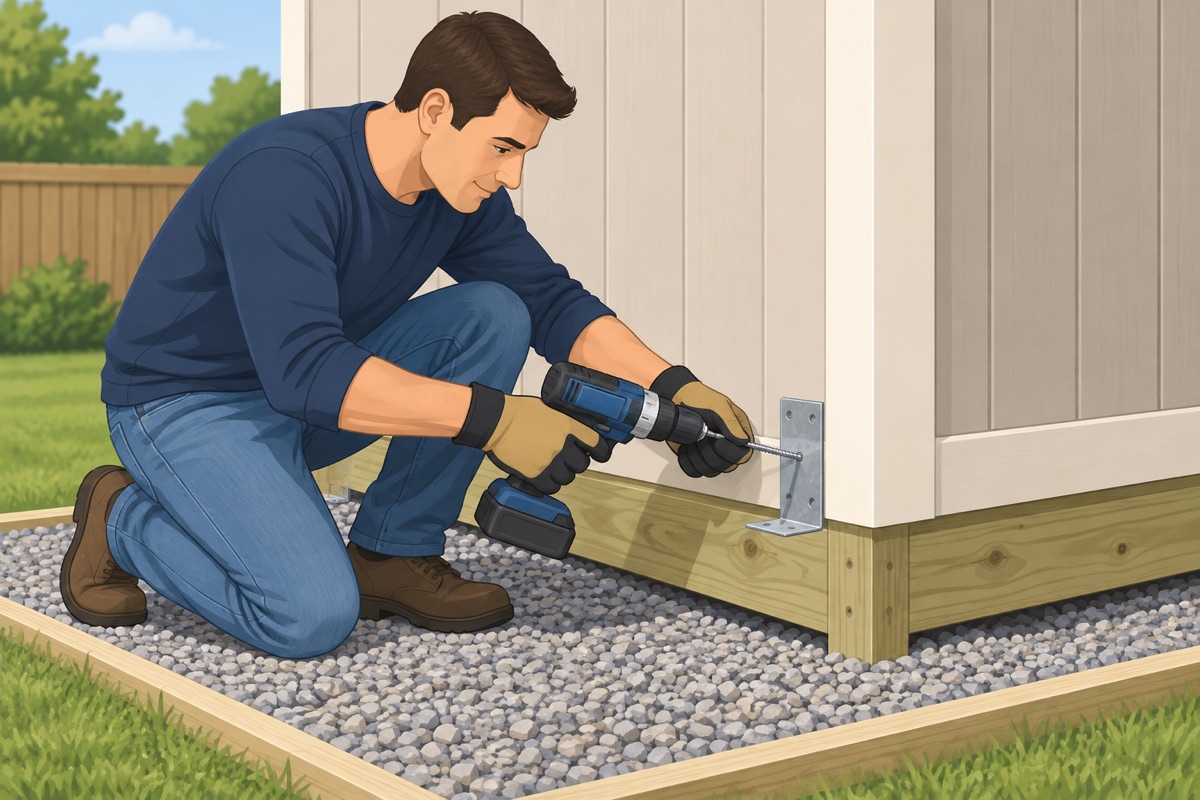
Fasten the anchors the manual names for your base: ground anchors, screws into the timber frame, or concrete anchors into pavers or a slab. Tighten them as their label says.
Before you load the shed
- Every anchor the manual calls for is in and tight
- The doors open and close without rubbing
- The floor is level and does not rock
- No power, lights or water are run to it without an electrician or plumber and a permit
Step 13 of 13
Hang the doors and check it next season
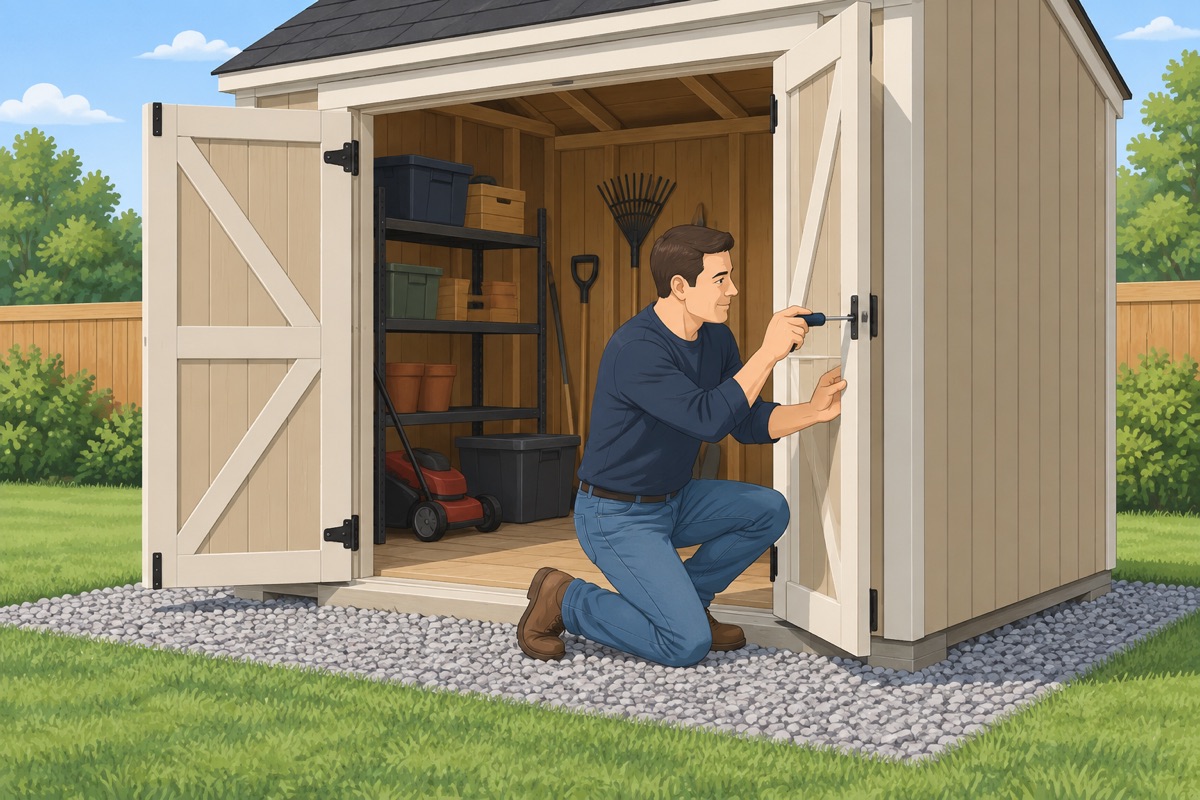
Adjust the doors and seal the seams if the manual calls for it. Store fuel and chemicals as their labels say, never next to a heat source. After the first season, check the anchors and the level of the floor.
Common mistakes
- Buying the shed before checking the rules. A shed a few feet too big or too close to the fence can mean a permit, a fine, or moving it. Check size, height and setbacks with your city and HOA first.
- Setting the shed on bare soil. The floor rots, one corner sinks, the frame racks and the doors stop closing. Build a level, compacted base that drains.
- A floor frame out of square. The wall panels will not line up with the holes and the roof will not close. Match the diagonals before you fasten anything to the floor.
- Raising walls on a windy day. A wall panel is a sail. Work on a still day, with a helper holding and bracing each panel until it is fastened.
- Leaving it unanchored. An empty shed can slide or tip in a strong wind. Anchor it to the base the way the manual says before you fill it.
Draft guide written from standard practice, not yet reviewed by a licensed pro. Follow product labels where they differ.
Get this job planned for your roomRelated guides
- How to measure a door opening before buying a door yourself: step by step
- How to install a prehung interior door yourself: step by step
- How to install door casing yourself: step by step
- How to install baseboards yourself: step by step
- How to fill nail holes and caulk trim yourself: step by step
- How to build a wood or vinyl privacy fence yourself: step by step