How to install a shower door yourself: step by step
A framed or semi-frameless sliding or pivot door kit on an existing tiled tub or shower. Measure in three places, drill the tile without cracking it or hitting a pipe, seal only the sides the kit says, and let the silicone cure before the first shower.
Difficulty 3 of 5 · 1 weekends · careful
Stop here
Photo of your room, the look you pick, then this guide with the materials counted for your room.
What you need
- Shower door kit (framed or semi-frameless) sized for your opening
- 100% silicone sealant for kitchen and bath
- Glass-and-tile or diamond drill bit, in the size the kit's anchors need
- Wall anchors (usually in the kit)
- Painter's tape
Tools
- Tape measure
- 4 ft level
- Cordless drill and driver (drill mode only — never hammer mode on tile)
- Spray bottle of water to keep the bit cool
- Fine-tooth hacksaw (if the kit's track has to be cut to length)
- Caulk gun
- Utility knife and a plastic scraper for old silicone
- Rubbing alcohol and clean rags
- Safety glasses
- A helper for the glass panels
Step by step
Step 1 of 12
Check the opening and the kind of door
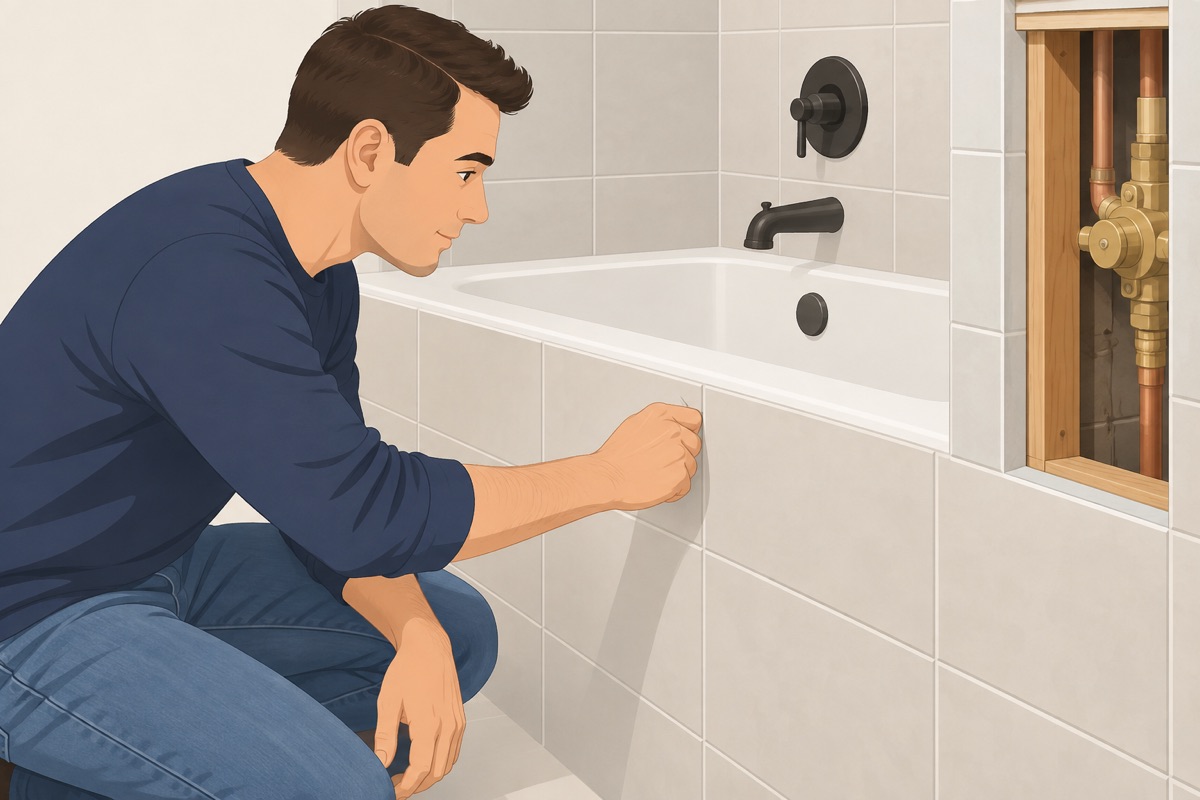
Look at the tile and grout around the opening: no loose, cracked, or hollow-sounding tile where the frame will go. Find the wall with the valve. Read the stop-gate — a frameless heavy-glass door with wall-mounted hinges is not this guide.
Before you buy the kit
- The door is a framed or semi-frameless kit, not frameless heavy glass on wall hinges
- The tile and grout where the frame goes are sound, with no loose or cracked tile
- You know which wall has the valve
- You have a helper for the day the glass goes up
Step 2 of 12
Measure the width at three heights
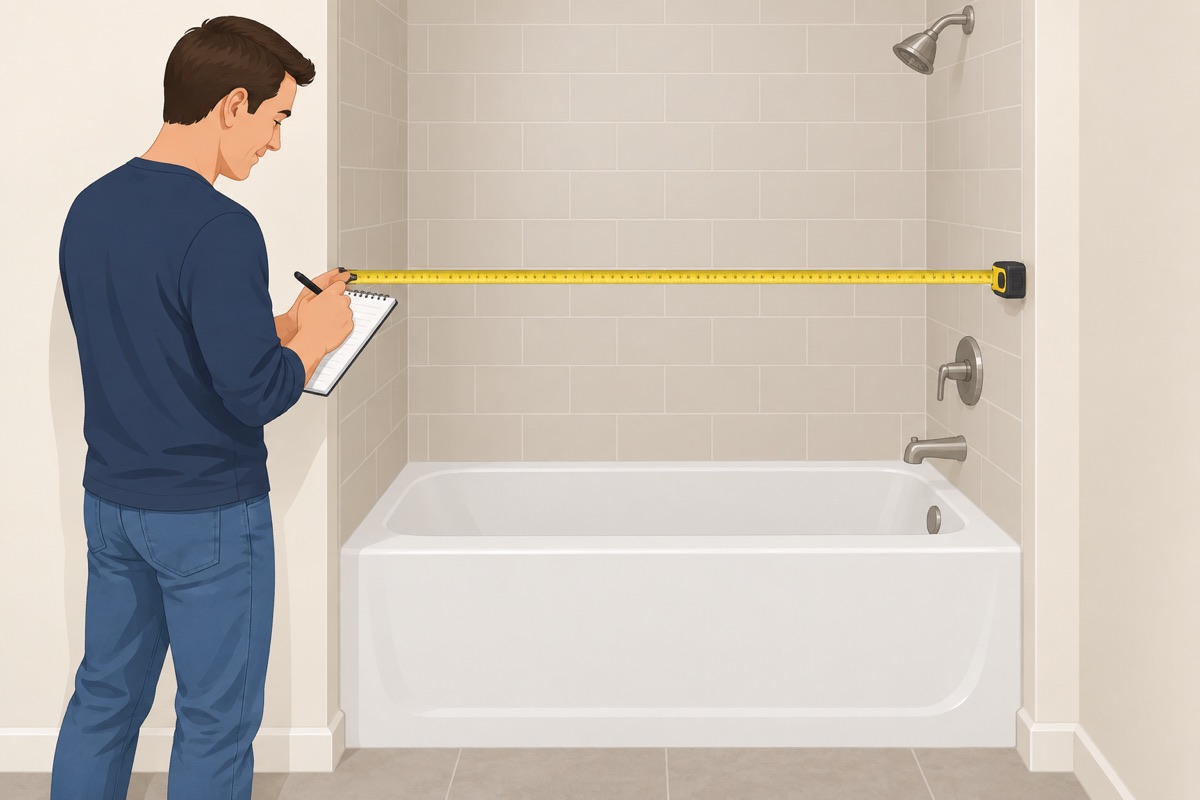
Measure wall to wall across the opening at the top of the tub or curb, at the middle, and at the height where the top of the door will be. Write down the smallest and the largest. Measure the height from the tub or curb to below the shower head. Order the kit whose range covers both widths.
Step 3 of 12
Check the walls for plumb and the tub or curb for level
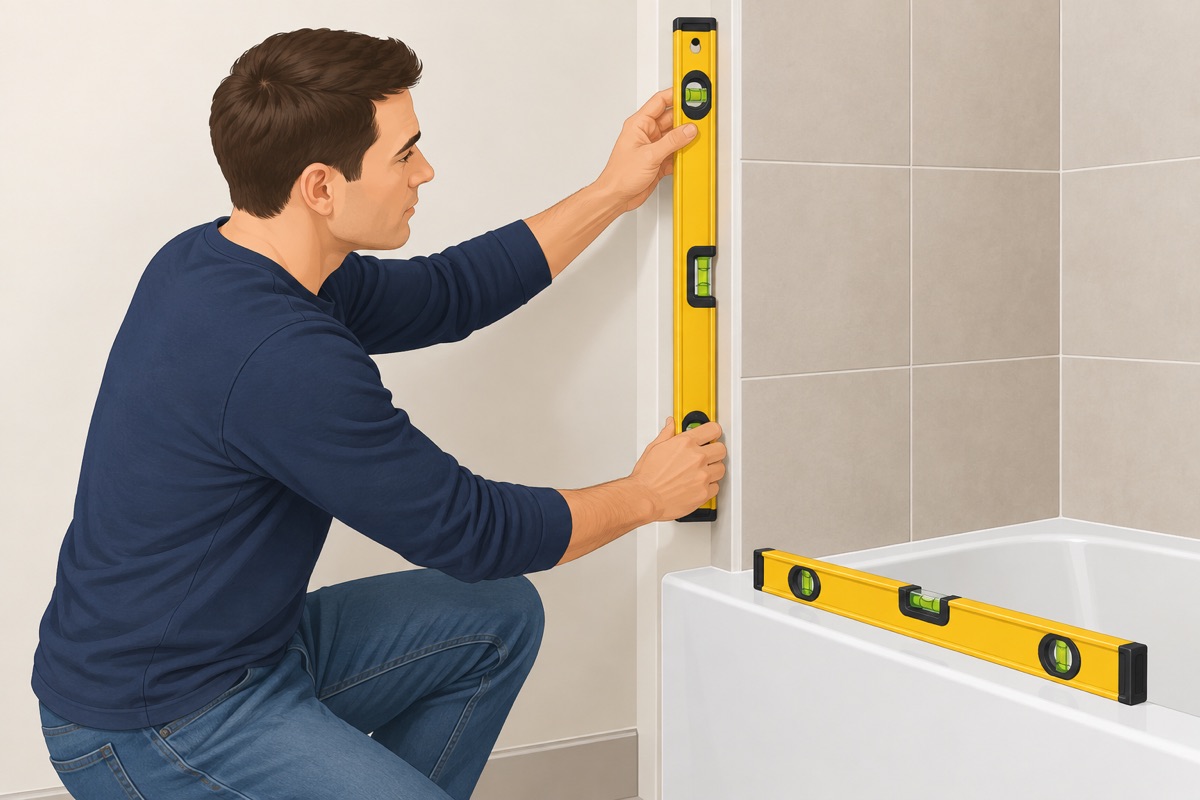
Hold the level on each wall where the jamb will stand and note how far off plumb it is from top to bottom. Set the level on the tub edge or the curb along the opening. Compare both with what the kit's instructions allow. If either is out by more than that, stop — the door will not close or seal.
Step 4 of 12
Unpack, count the parts, and clean the opening
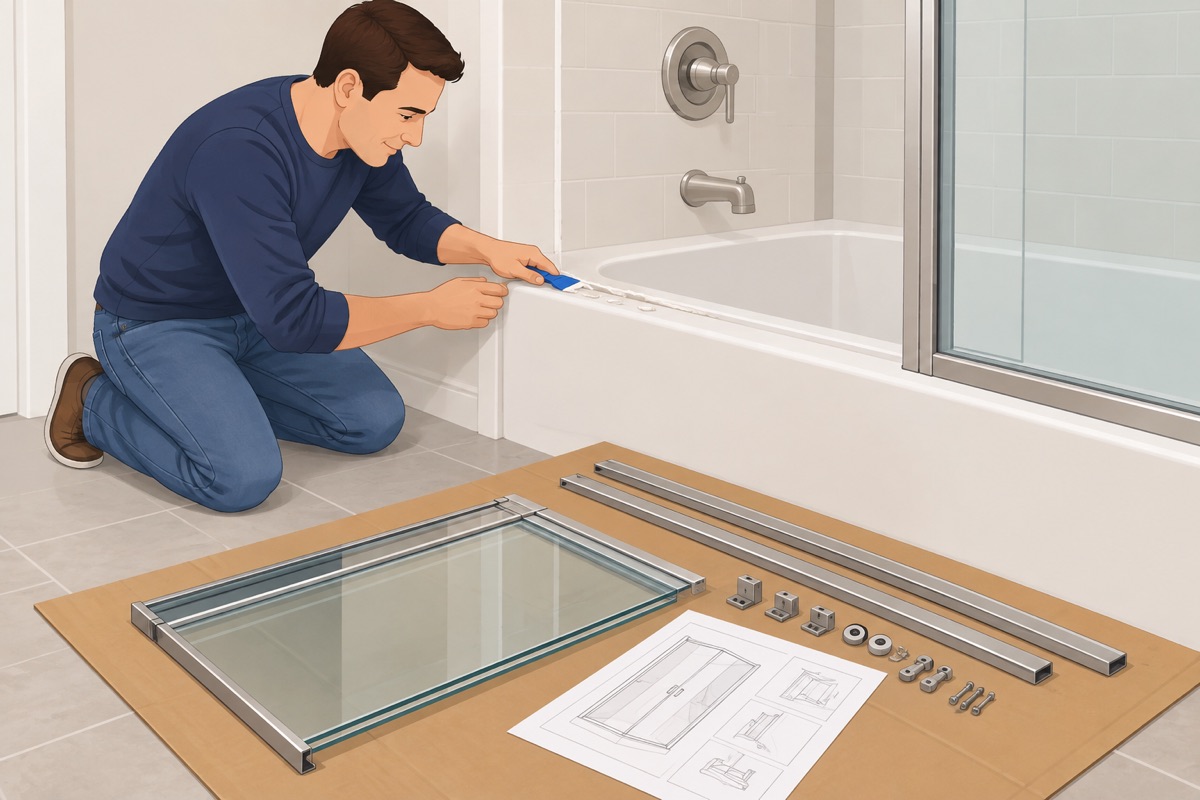
Check every part against the parts list and read the whole instruction sheet before you drill. If an old door is there, lift the panels out first, then unscrew the frame, cut the old silicone with the utility knife, and scrape it off. Clean the tub edge and the tile where the frame sits with rubbing alcohol and let it dry.
Step 5 of 12
Dry-fit the frame and mark the holes
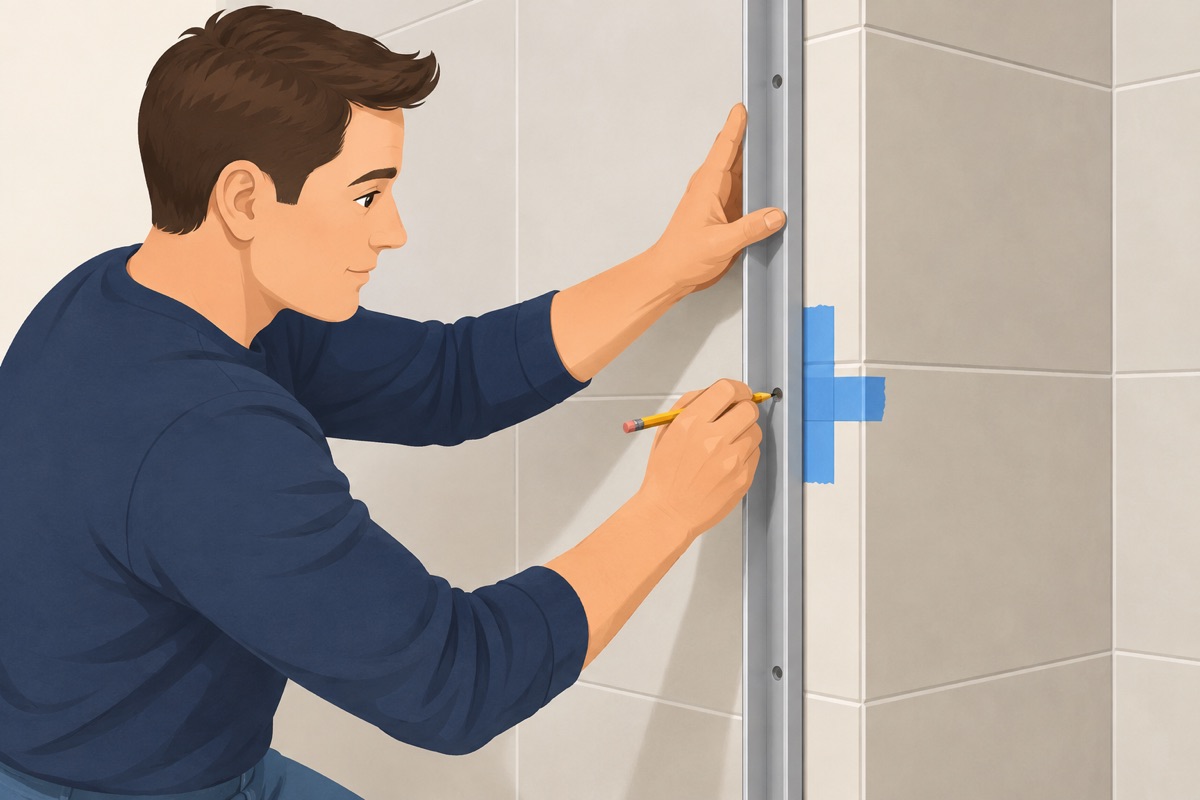
Cut the bottom track to length if the kit says to, and set it where the instructions show. Stand each wall jamb on it, hold the level on the jamb until it is plumb, and mark the tile through every screw hole. Put a cross of painter's tape over each mark and re-mark on the tape. On the valve wall, check that no mark sits below the valve in line with it.
Step 6 of 12
Drill the tile slowly, in drill mode
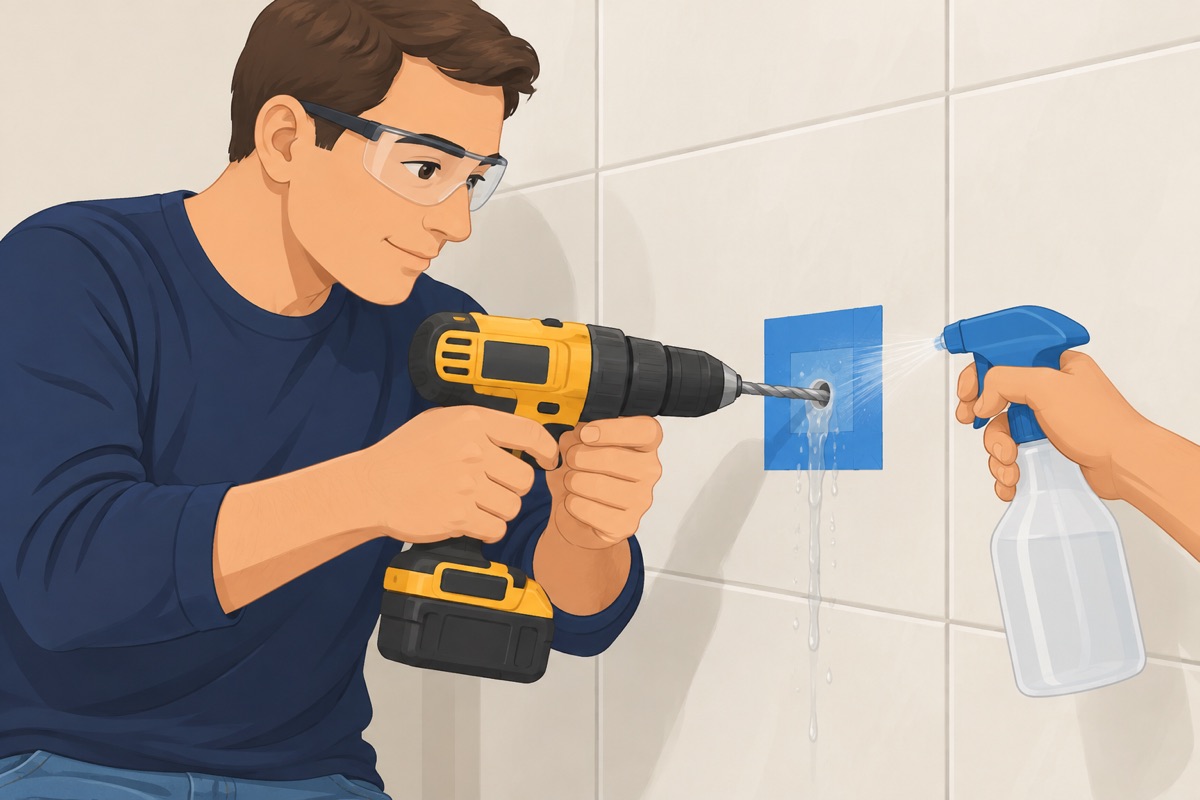
Use the glass-and-tile or diamond bit in the size the kit's anchors need. Drill mode, slow speed, light steady pressure, and a spray of water on the bit so it stays cool. Once through the tile, drill only as deep as the anchor. If a tile cracks, stop and read the stop-gate.
Before the first hole
- The jamb was plumb when you marked, and every mark is on tape
- No mark on the valve wall is below the valve, in line with it
- The drill is in drill mode, not hammer mode
- The bit is a glass-and-tile or diamond bit in the size the kit names
- Safety glasses on
Step 7 of 12
Clean the holes and set the anchors
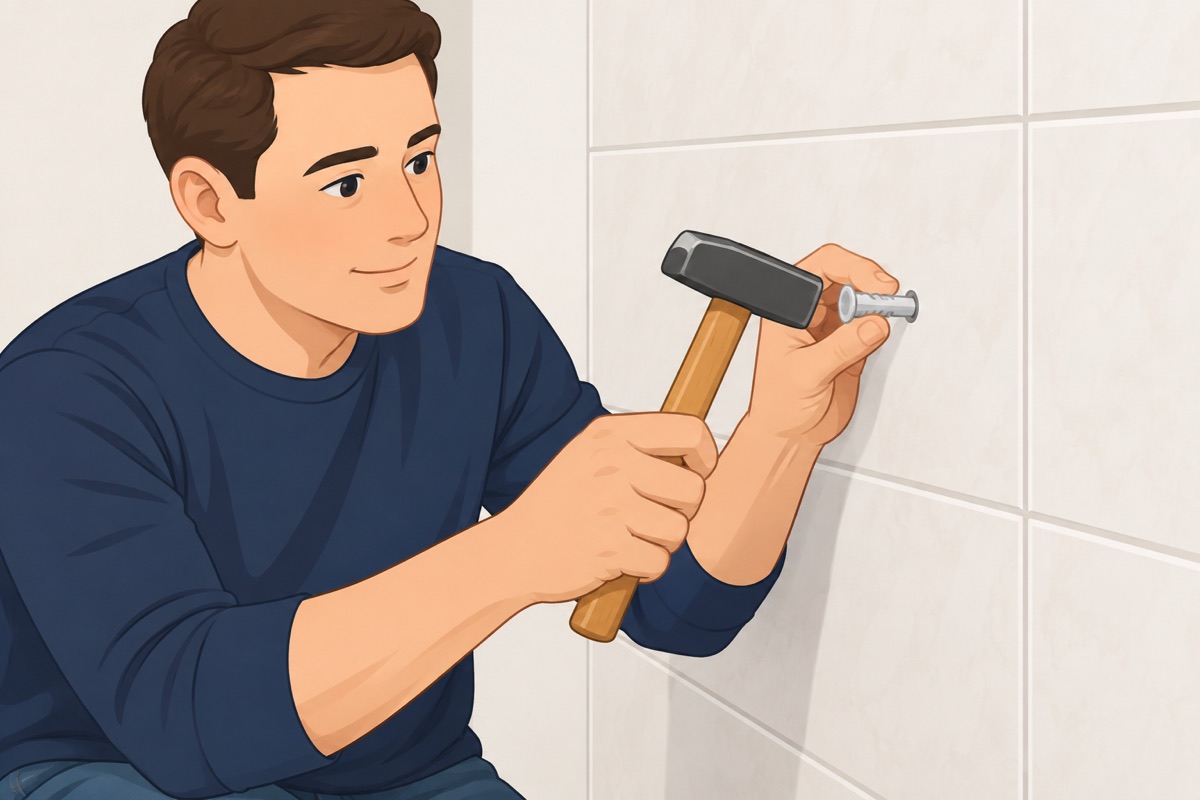
Vacuum or blow the dust out of each hole and wipe the tile. Tap the anchors in until they sit flush with the tile face. An anchor that spins or sinks means the hole is too big — follow the kit's instructions, or move the jamb only if the kit allows it.
Step 8 of 12
Fasten the track and the wall jambs
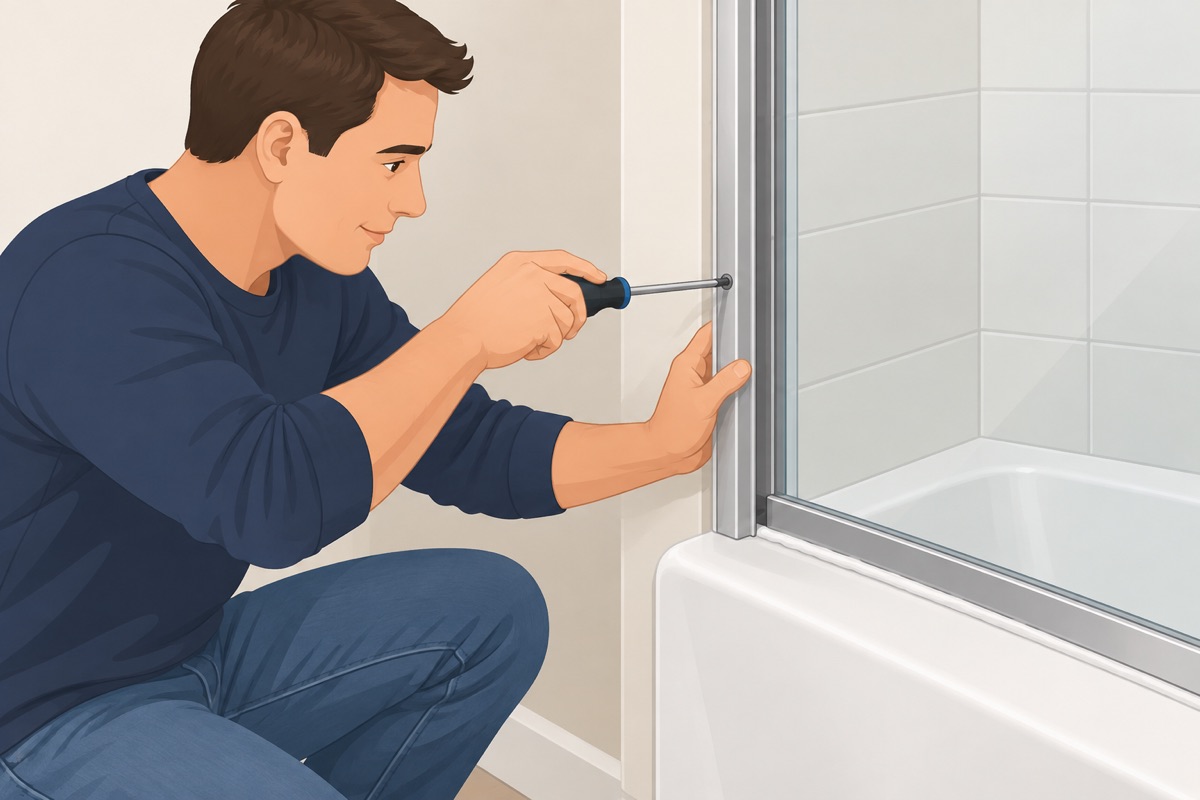
If the kit says to bed the bottom track in silicone, do it now, on the line its drawing shows. Set the track, stand the jambs, check them for plumb again, and drive the screws. Snug them only — overtightened screws crack tile.
Step 9 of 12
Hang the glass with a helper
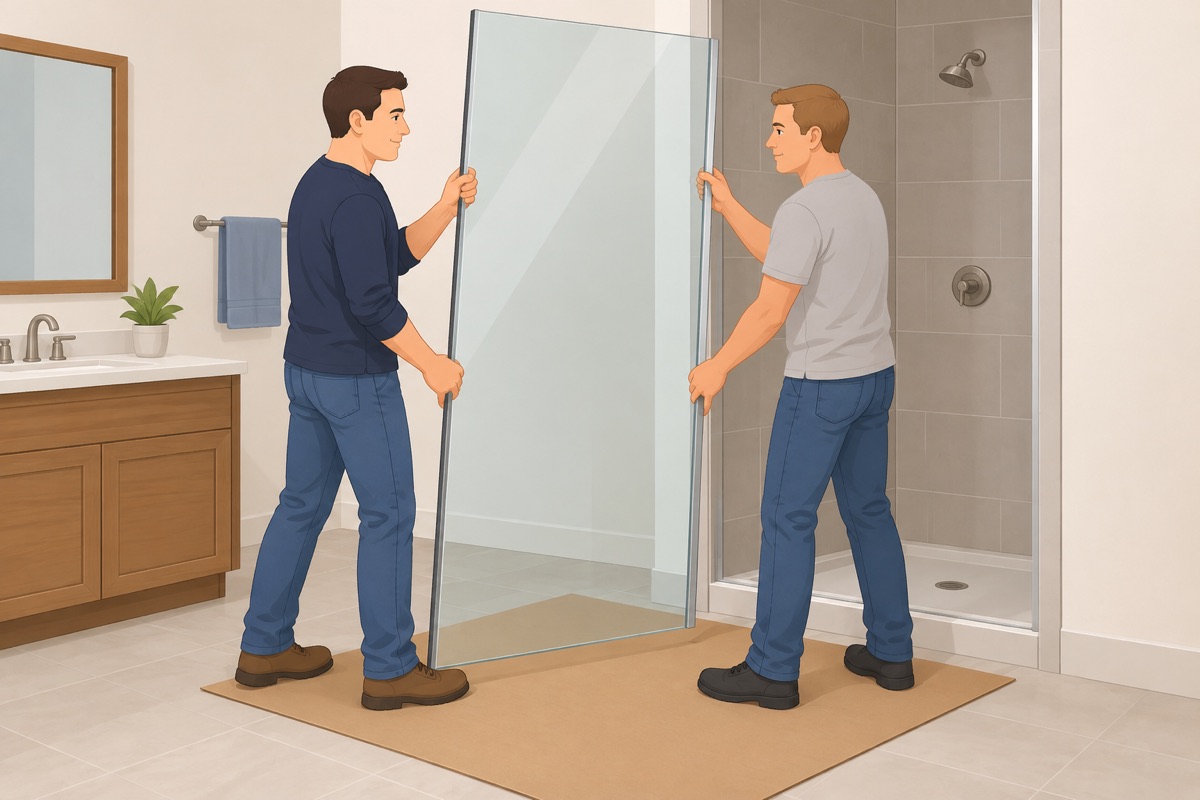
Carry each panel upright, by its edges, with your helper on the other end. Never set glass down on its corner or on tile — stand it on cardboard. Hang the panels on the header rollers or set the pivot door in its hinges exactly as the instructions show.
Step 10 of 12
Adjust the door until it closes square
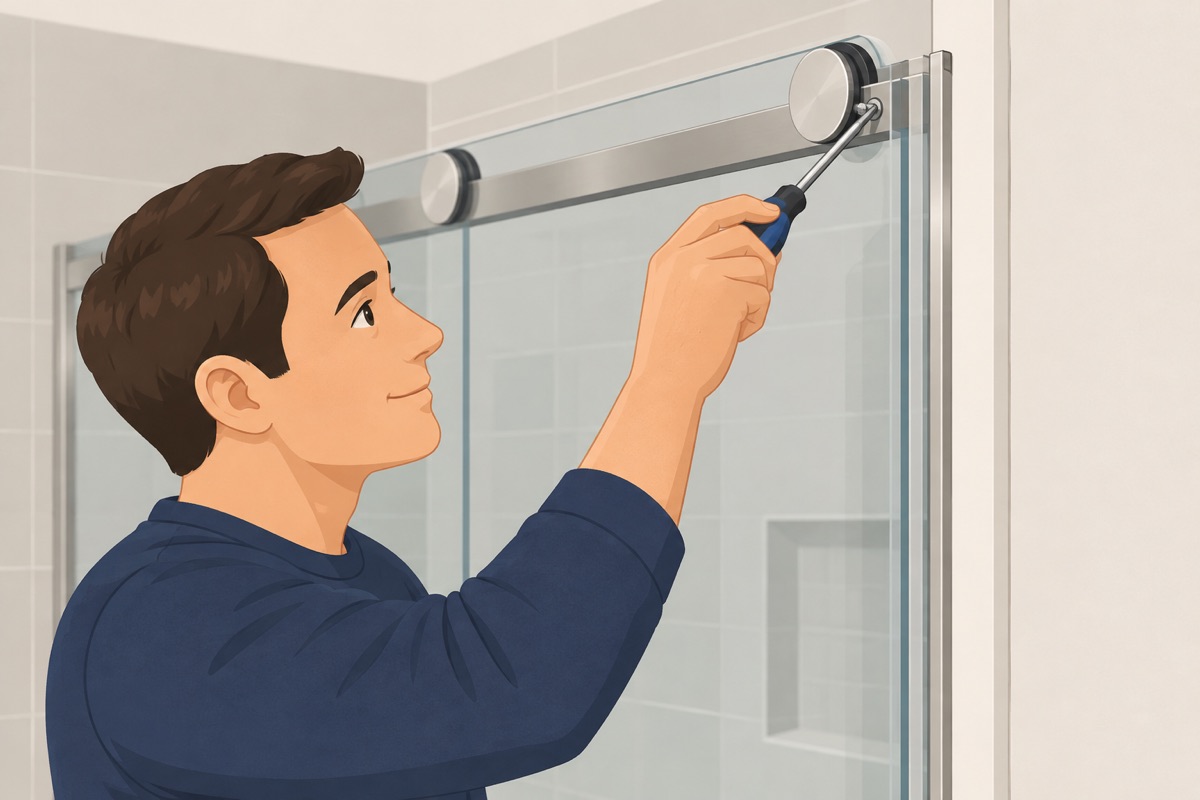
Adjust the rollers or the pivot until the door closes without dragging, the gaps are even from top to bottom, and the panels overlap the way the drawing shows. Fit the bottom guide, the seals and sweeps, and the handles.
Step 11 of 12
Silicone only where the kit says
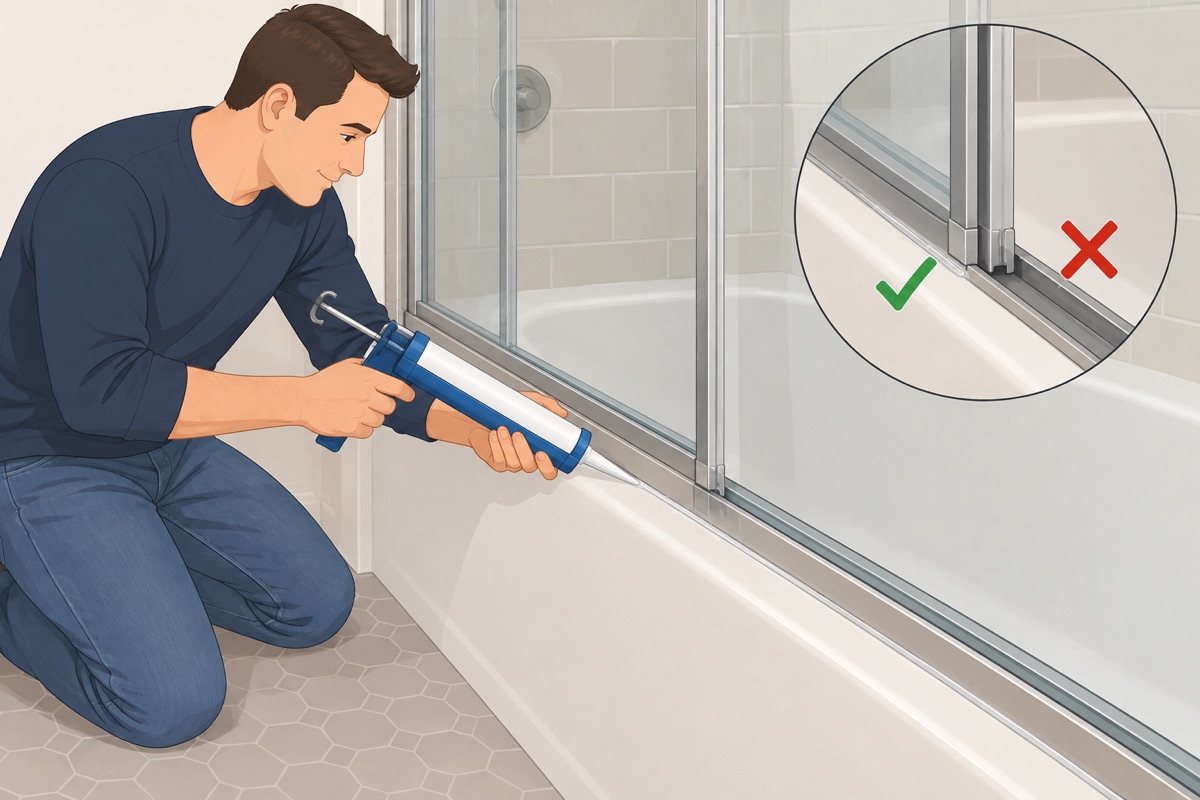
Find the weep holes in the bottom track and leave them and the side the kit marks as open alone. Tape both sides of each joint the kit says to seal, run a thin bead of silicone, smooth it with a wet fingertip, and pull the tape while the silicone is still wet.
Before you seal
- You found the weep holes in the bottom track and they stay open
- You know from the kit's drawing which joints get silicone and which do not
- The joints are clean and dry
Step 12 of 12
Let it cure, then test it
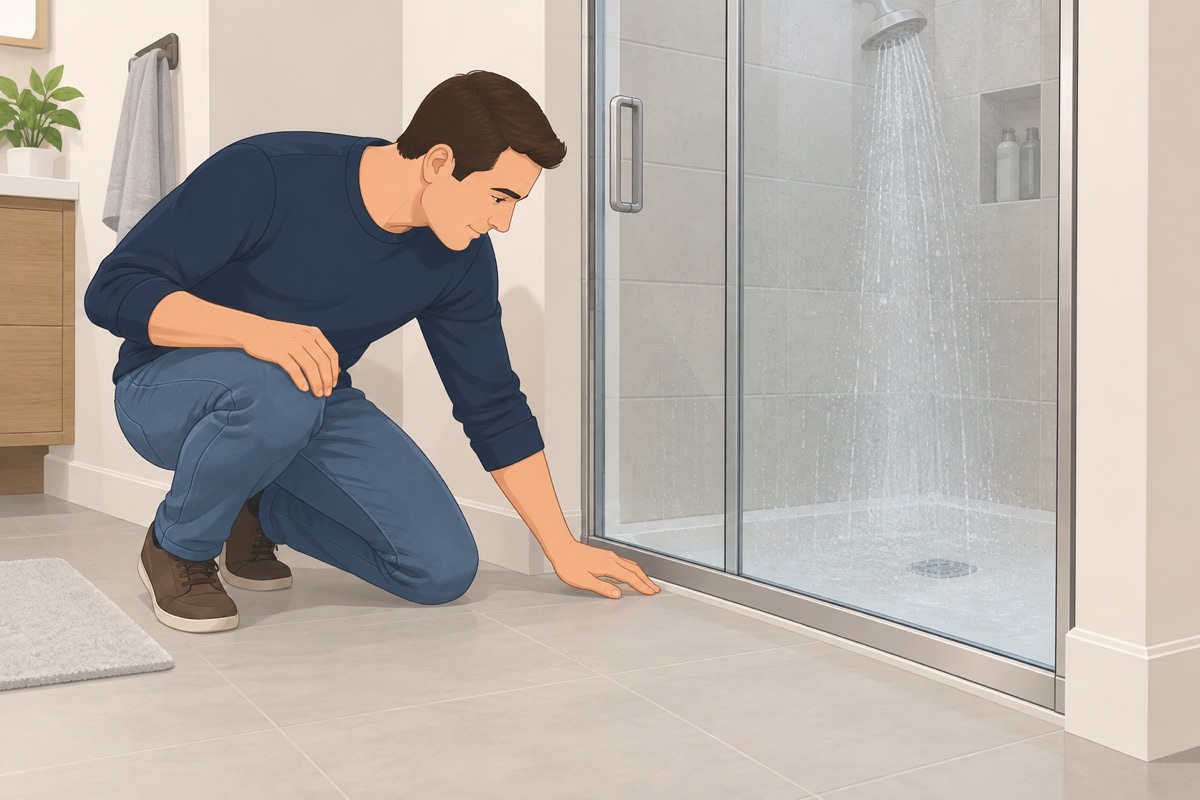
Keep water off the door for at least 24 h, or longer if the silicone label says so. Then run the shower against the closed door for a few minutes and look outside it: no water on the floor, no drip at the corners of the track.
Before the first shower
- The silicone has cured for the time on its label
- The door slides or swings closed without dragging
- No water on the floor after running the shower against the closed door
- No cracked tile around any screw
Common mistakes
- Measuring the opening in one place. Tub and shower walls are rarely parallel. Measure at the bottom, the middle, and the top, and order for the range — the kit has only so much adjustment.
- Drilling where the pipes run. On the wall with the valve, pipes run up to the shower head, down to the spout, and into the valve from below. A drill hole in a pipe is a leak inside the wall. Keep every hole out of the valve's line, and drill only as deep as the anchor.
- Drilling tile in hammer mode, or too fast. Hammer mode and high speed crack glazed tile, and a cracked tile lets water behind the wall. Drill mode, slow speed, light pressure, and water on the bit. Mistake #1 in this task.
- Sealing the side that is meant to drain. Most kits have weep holes in the bottom track so water inside the frame drains back into the tub or shower. Silicone over them traps water. Seal only the sides the kit's drawing shows.
- Showering before the silicone cures. Water on uncured silicone washes it out of the joint and leaves a gap you cannot see. Wait at least 24 h, or longer if the silicone label says so.
Draft guide written from standard practice, not yet reviewed by a licensed pro. Follow product labels where they differ.
Get this job planned for your roomRelated guides
- How to waterproof a shower yourself: step by step
- How to tile shower walls yourself: step by step
- How to grout tile and caulk the corners yourself: step by step
- How to install a bathroom vanity and sink yourself: step by step
- How to install a kitchen backsplash yourself: step by step
- How to install kitchen cabinets yourself: step by step