How to install a floating (wall-hung) bathroom vanity
Short answer
A floating vanity hangs only on what is inside the wall. Difficulty 3 of 5; for a first-timer, plan on 1 weekend. Read the “Stop here” box below before step 1.
Draft guide written from standard practice, not yet reviewed by a licensed pro. Follow product labels where they differ.
Read the installation sheet, check the drain and supplies meet the cabinet where they are, find a stud or solid blocking behind every bracket screw, hang the cabinet level at the maker's height, press-test it before the top goes on, then connect like-for-like.
Difficulty 3 of 5 · 1 weekend · careful
Stop here
Photo of your room, the look you pick, then this guide with the materials counted for your room.
What you need
- Wall-hung vanity with top and sink
- Mounting screws the maker lists
- Lumber for blocking (only if the wall is open)
- Braided stainless supply lines
- P-trap kit
- Vessel-height faucet (only for a sink that sits on top of the counter)
- 100% silicone caulk
Tools
- Stud finder
- 4 ft level and a torpedo level
- Drill/driver and bits
- Tape measure
- Basin wrench
- Adjustable wrench and channel-lock pliers
- Hacksaw (trimming a tailpiece or trap arm)
- Bucket, towels, headlamp
- Safety glasses
- A helper to hold the cabinet
Step by step
Step 1 of 11
Read the installation sheet first
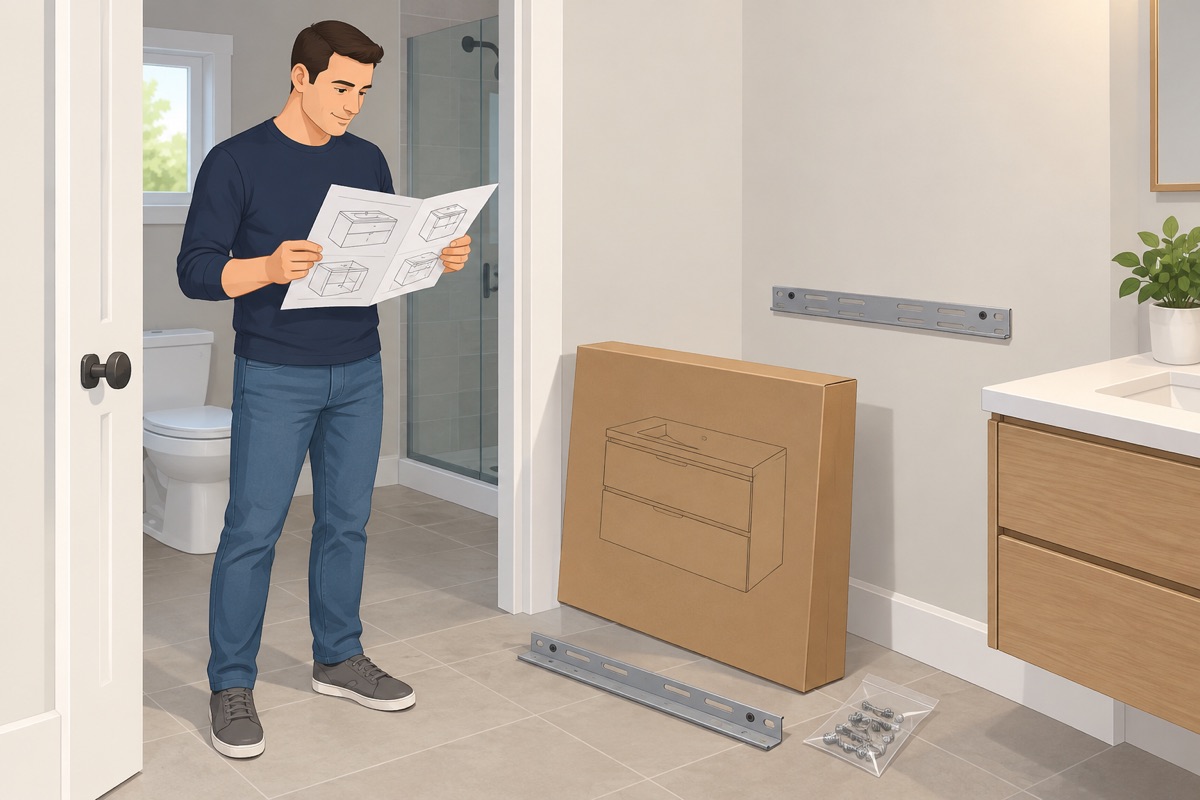
Find the vanity's installation sheet: the height it hangs at, the bracket or rail it uses, the screws it asks for, the weight it is rated for with its top, and where the drain and the supplies have to come out of the wall to fit inside the cabinet. Where the sheet is more specific than this guide, the sheet wins.
Step 2 of 11
Water off, and the old vanity out
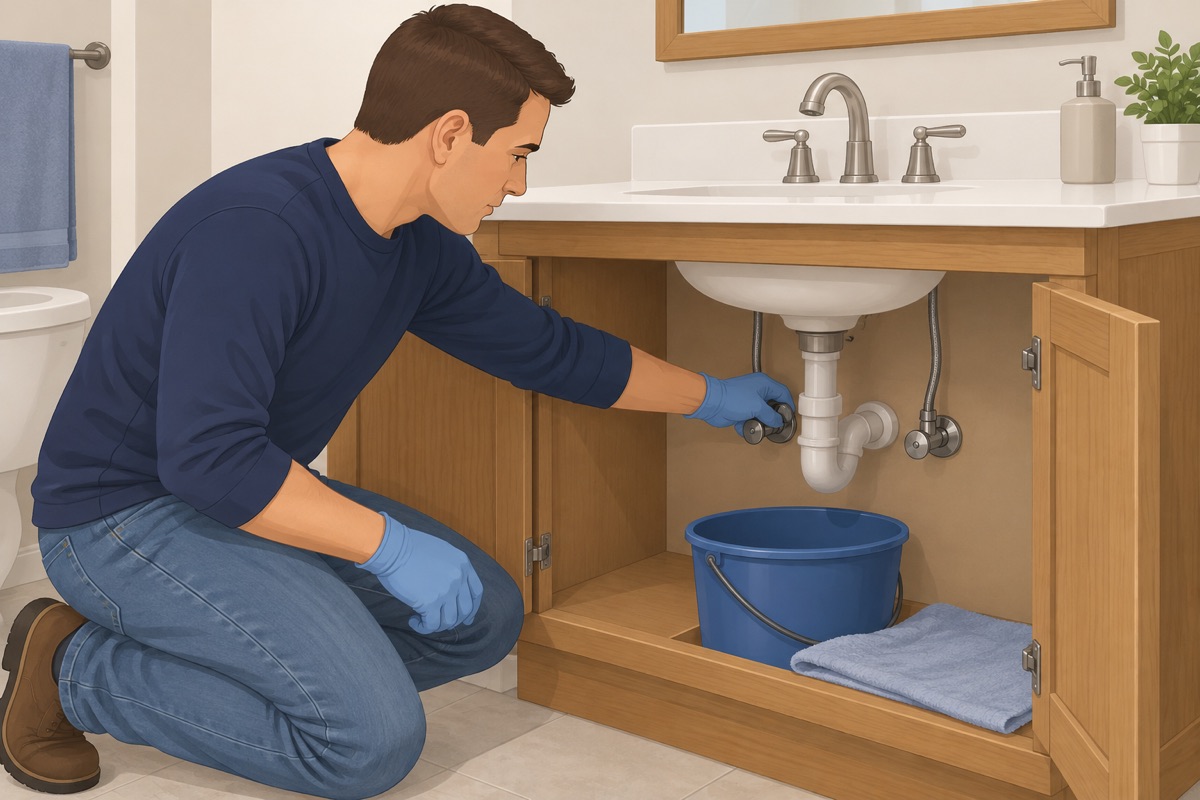
Close both shutoff valves and open the faucet: the flow must stop completely. If a valve will not close, stop — that is a plumber's job. If the old vanity is still there (the fixtures job usually takes it out): bucket under the trap, loosen the supply nuts and the trap, cut the caulk at the wall, back out the screws, and lift it out. Look behind it for water stains, soft drywall, or mold.
Step 3 of 11
Mark the height and check the drain and the supplies
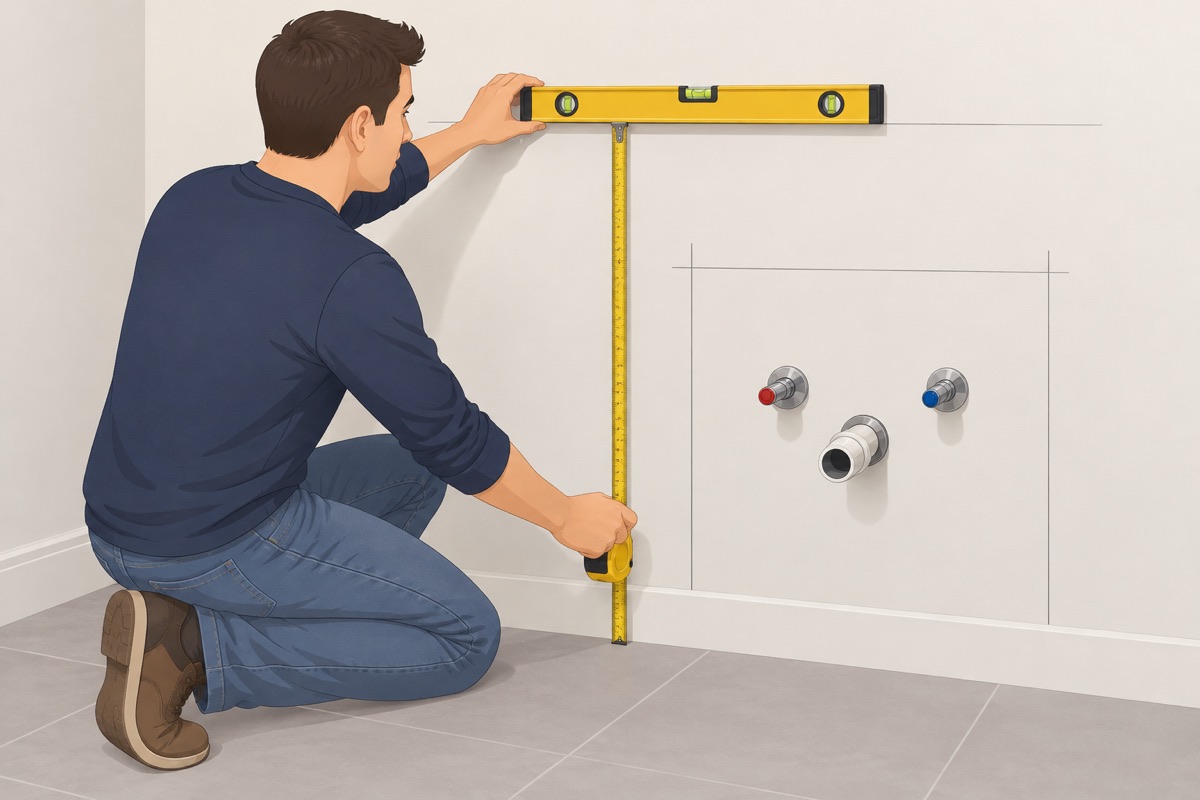
Mark the vanity's height from the finished floor as its sheet gives, and draw a level line across the wall. Hold the cabinet's outline to that line: the drain stub and both valves must land inside the cabinet with room for the trap. If they sit too low or too far to the side, stop — moving pipes inside the wall is the plumber's part, before anything is hung.
Step 4 of 11
Find solid wood behind every bracket

Find the studs along the line with the stud finder and confirm each one with a small nail or drill bit in a spot the cabinet will cover — a shallow test hole, well away from the valves, the drain, and any outlet or switch, because this wall carries pipes and often wires. The brackets or the rail must land on studs or solid blocking, as many as the sheet asks. Wall open? Add blocking between the studs at the bracket height, fastened tight to the studs, before the wall closes. Wall closed and the studs do not line up with the brackets: stop — see the stop-gate.
Ready to hang it?
- Both shutoff valves close fully — no drip, no weep at the stem
- The drain stub and both valves land inside the cabinet's outline at the height you marked
- Every bracket or rail screw lands in a stud or solid blocking — no drywall anchors
- The vanity, its top and its sink are within the weight its mounting is rated for
- The wall behind is dry and sound, and you know what is behind any tile you drill
- A helper is here to hold the cabinet while you fasten it
Step 5 of 11
Cut the cabinet back for the pipes
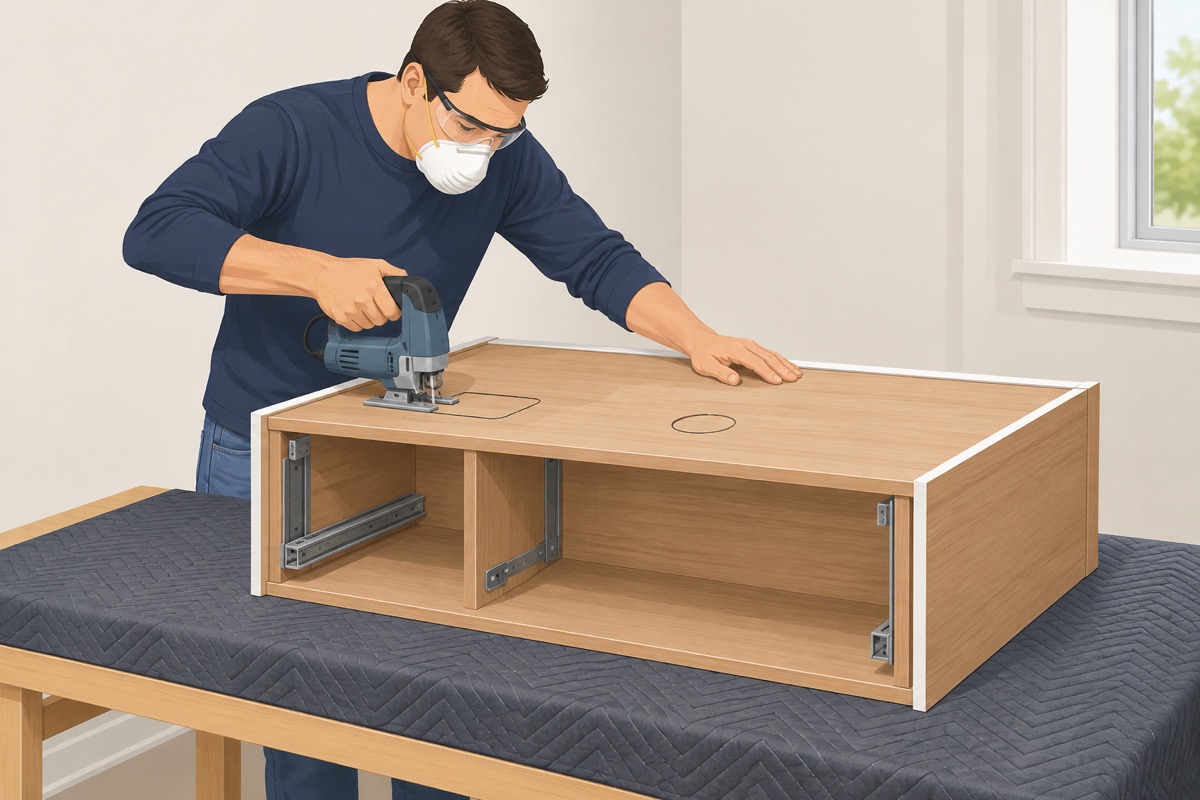
Mark the drain and the supplies on the back of the cabinet and cut the openings a little oversize, so it slides home over the pipes without forcing them. Dry-fit, pull it back, adjust.
Step 6 of 11
Fasten the bracket or rail, then the cabinet
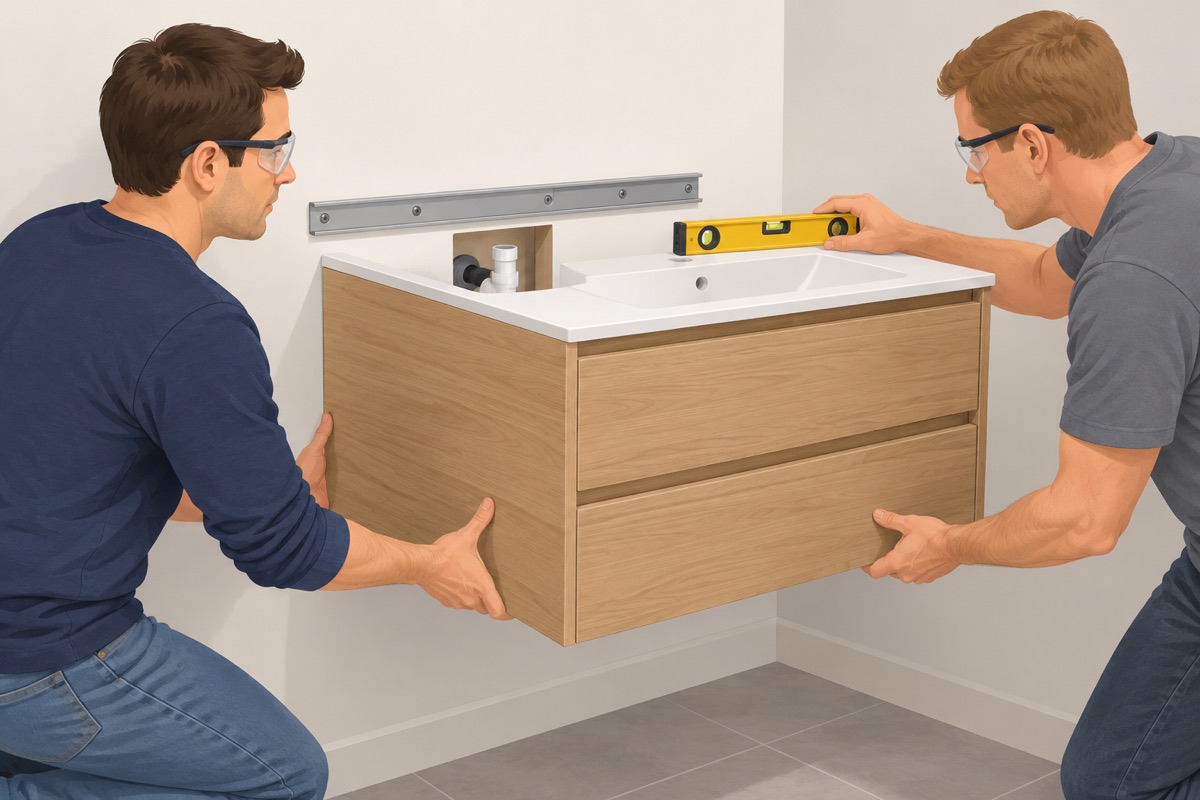
Screw the bracket or rail to the studs or blocking on your level line, with the screws the sheet names, and check it for level again. Lift the cabinet on with your helper, fasten it the way the sheet shows, and check level side to side and front to back. Snug, not crushing.
Step 7 of 11
Press-test it before the top goes on
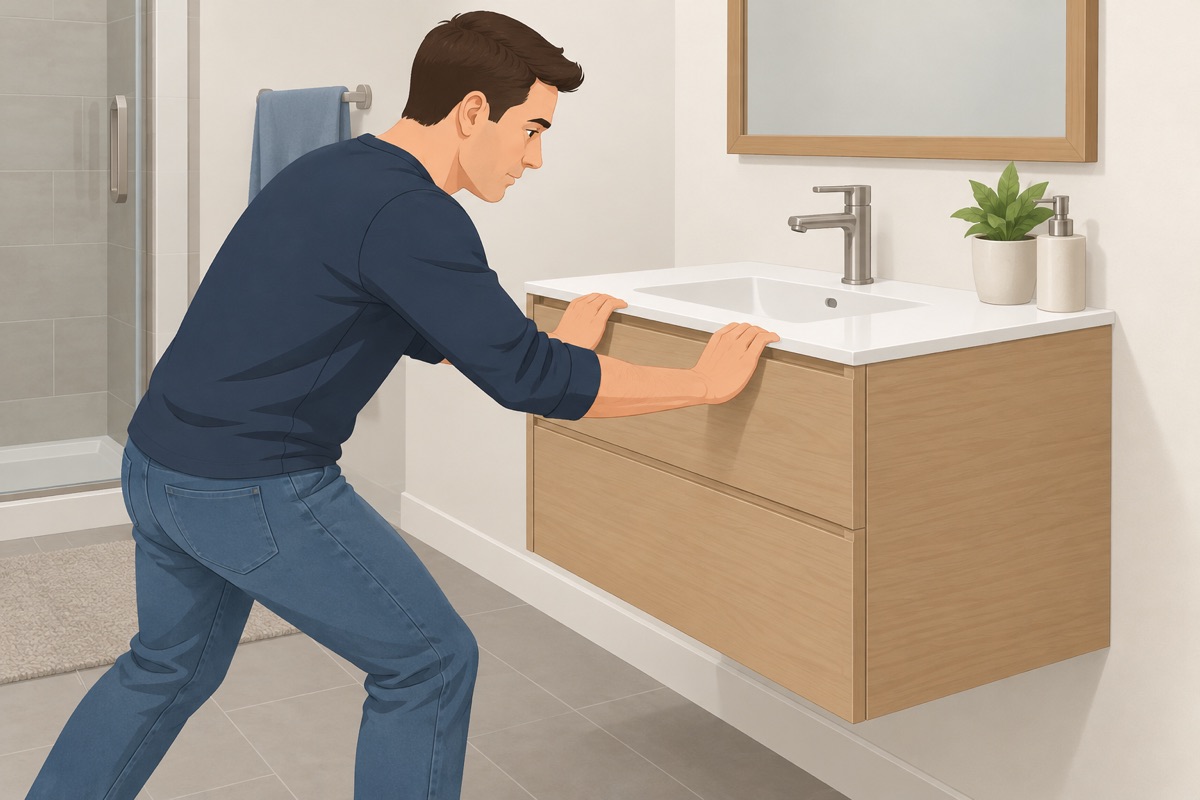
Press down firmly on the front edge and pull on it. Nothing may move, creak, or open a gap at the wall. If anything moves, take it down and find out why before you go on.
Step 8 of 11
Fit the faucet and the drain to the top, then set the top
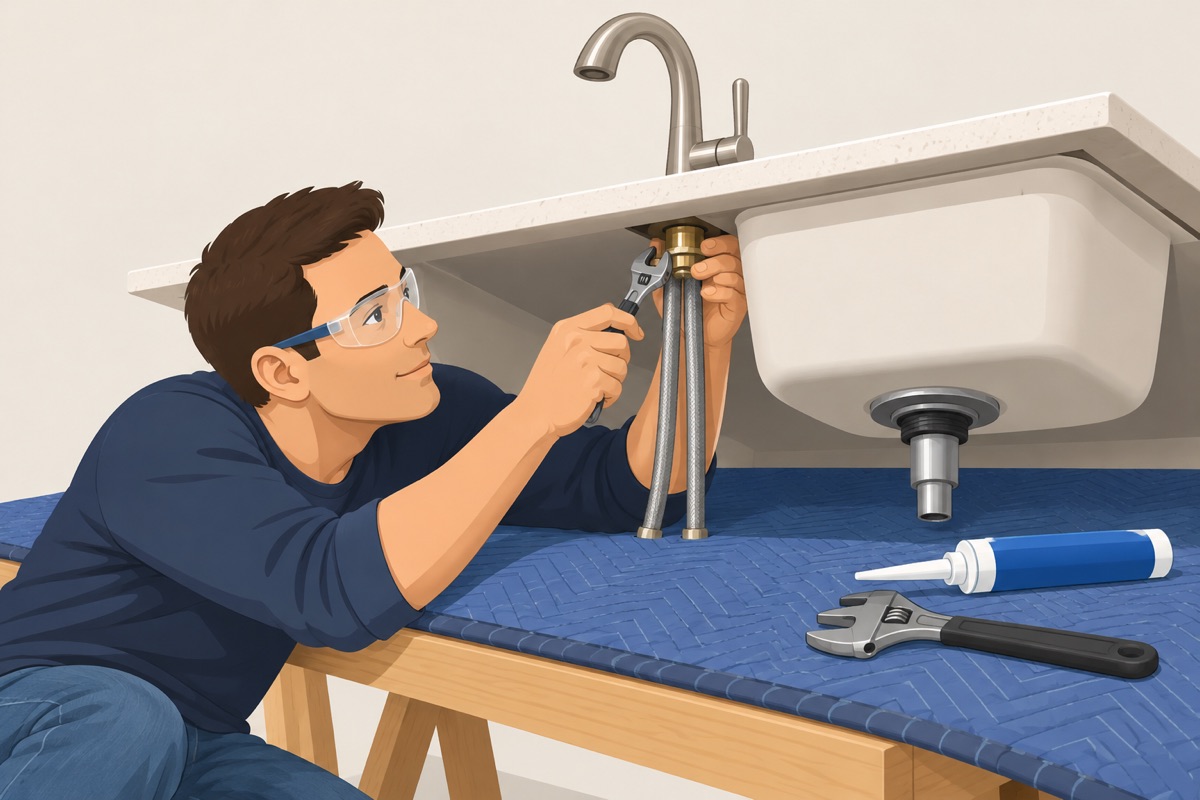
Mount the faucet and the drain on the top or the sink while you can still reach the nuts, with putty or silicone as the drain's and the top's instructions say. A vessel sink needs a faucet tall enough for the bowl. Set the top and fasten it as its maker says.
Step 9 of 11
Connect the supplies and the trap
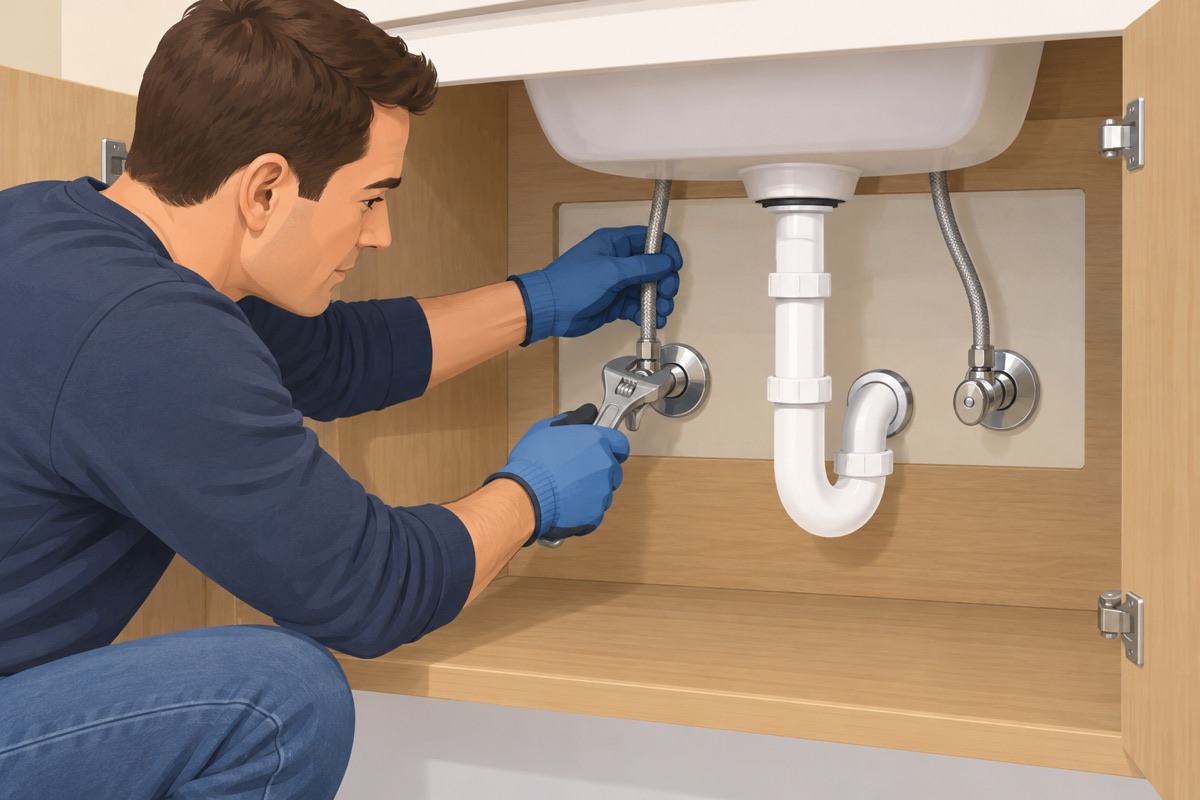
New braided lines, hot on the left, hand-tight plus about a quarter turn, no thread tape on compression fittings. Dry-fit the tailpiece, the trap and the trap arm so the trap hangs plumb and the arm slopes down to the wall; cut rather than force a bend. Slip nuts hand-tight plus a small turn.
Step 10 of 11
Water on slowly, then watch it
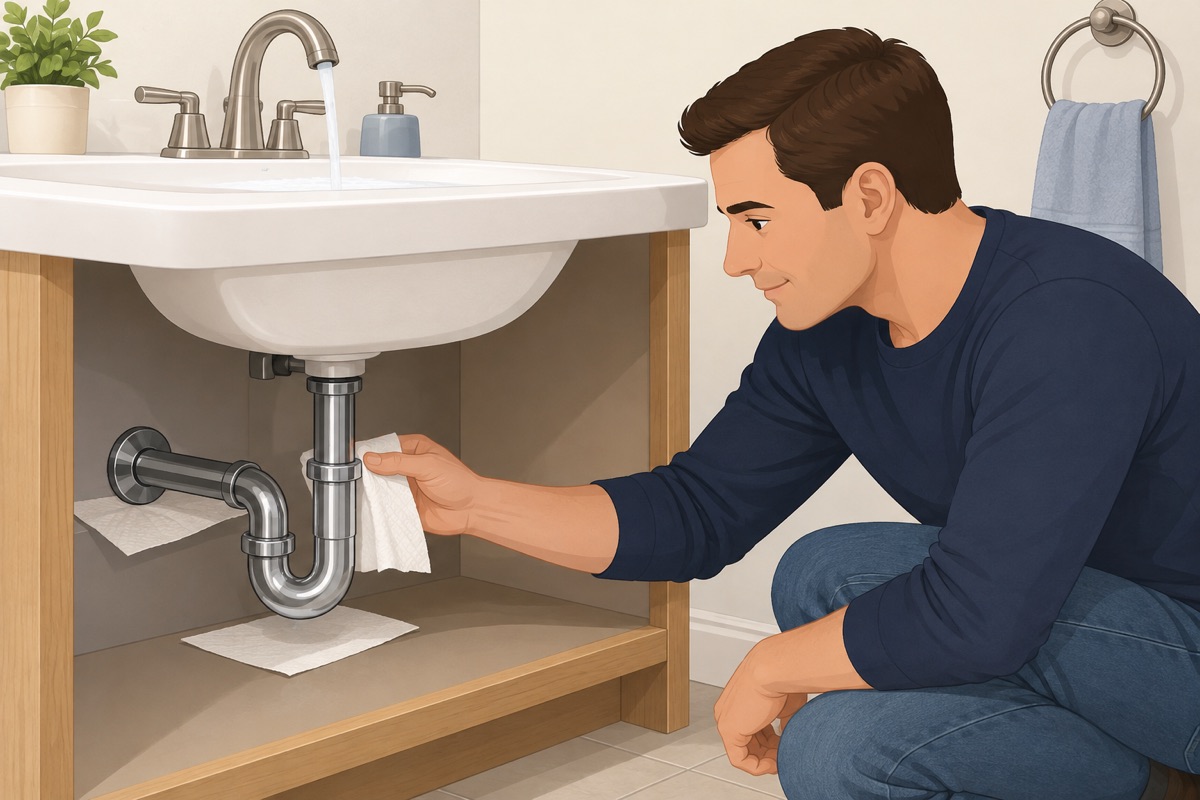
Open each valve a quarter turn at a time. Run hot and cold, fill the basin to the overflow, drain it, and watch every joint while the water moves. Dry everything, lay paper towels under each joint, and look again at an hour and the next day.
Step 11 of 11
Caulk the top at the wall and adjust the doors
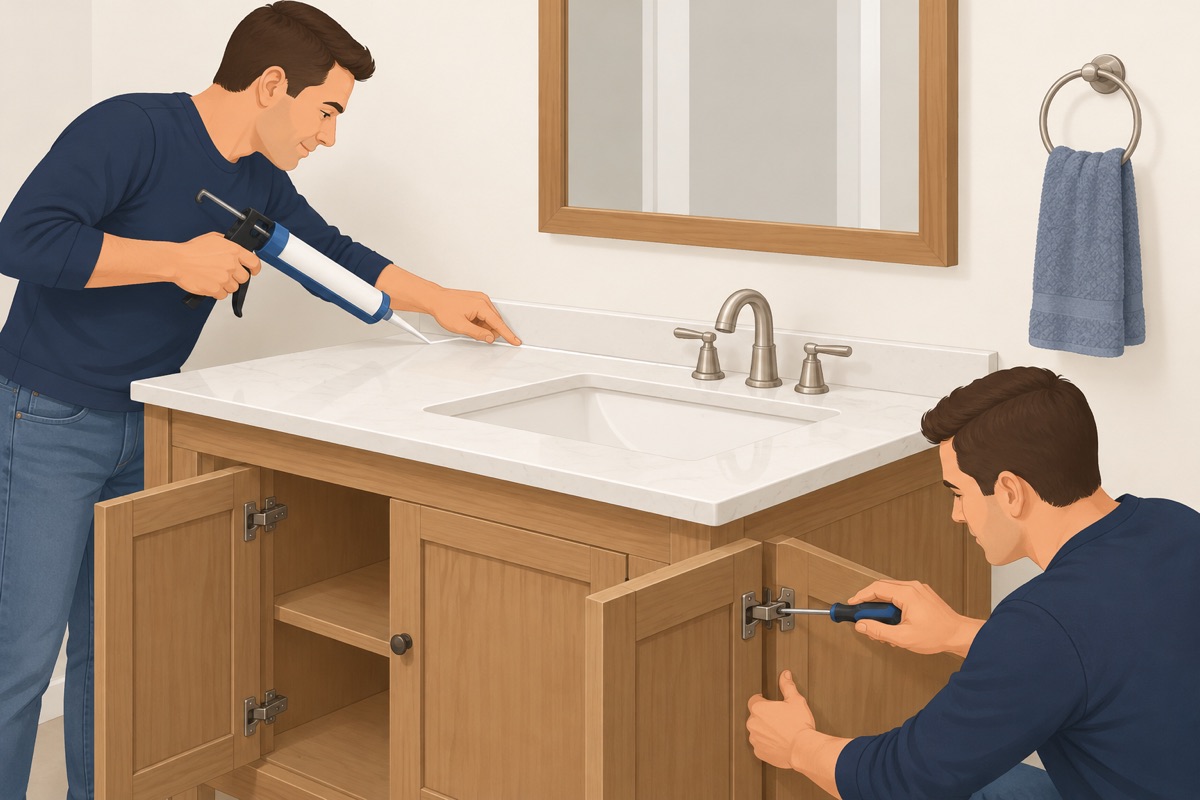
Run a thin bead of silicone where the top or its backsplash meets the wall. There is no base to caulk. Adjust the doors and drawers so the gaps are even.
Quality check
- 24 hours dry: no water on the towels under the valves or the trap
- The cabinet is level and does not move when pressed and pulled at the front edge
- Every mounting screw is in a stud or solid blocking
- The trap hangs plumb and its arm slopes to the wall
- The faucet runs hot on the left, and its spout clears the basin's rim
- Silicone runs along the top at the wall
Common mistakes
- Hanging it on drywall anchors. A wall-hung vanity with a full basin and someone leaning on it tears drywall anchors out of the wall, and the plumbing goes with it. Every mounting screw goes into a stud or solid blocking. Mistake #1 in this task.
- Drilling before checking the drain height. A floating cabinet has a bottom, and the drain and the valves have to land inside it. If they sit below that line, the vanity does not fit over them; find out before the first hole.
- A standard faucet on a vessel sink. The spout ends below the rim of the bowl and you cannot use the sink. A vessel sink needs a tall faucet — or a wall-mounted one, which means new pipes in the wall: the plumber's part.
- Overtightening everything. Supply nuts and slip nuts go hand-tight plus about a quarter turn. Past that you crush the washer or crack the plastic nut. If a joint weeps, snug it a little at a time.
Questions
How do you install a floating vanity?
Read the installation sheet for the height, the bracket or rail, the screws and the weight rating. Mark the height from the finished floor and check the drain stub and both valves land inside the cabinet. Find solid wood behind every bracket, fasten the rail with the screws the sheet names, lift the cabinet on with a helper and check level. Press down on the front edge before the top goes on: nothing may move. Then set the top, connect the supplies and the trap, and watch for leaks.
Can a floating vanity be hung on drywall anchors?
No. A wall-hung vanity with a full basin and someone leaning on it tears drywall anchors out of the wall, and the plumbing goes with it. Every mounting screw goes into a stud or solid blocking. Adding blocking means opening the wall, and in a wall with pipes or wires a plumber or a contractor opens it.
What is the most common mistake with a floating vanity?
Drilling before checking the drain height. A floating cabinet has a bottom, and the drain and the valves have to land inside it; if they sit below that line the vanity does not fit over them. Other mistakes in the guide: a standard faucet on a vessel sink, and overtightening supply and slip nuts, which should be hand-tight plus about a quarter turn.
When should I stop and call a pro?
A floating vanity hangs only on what is inside the wall. Stop and get help if: you cannot find studs or solid blocking where the maker's brackets or rail must go and the wall is not already open — adding blocking means opening the wall, and in a wall with pipes or wires a plumber or a contractor opens it; the drain stub or the supply valves sit too low or too far to the side to meet the new cabinet — moving or raising them inside the wall is a plumber's job, never DIY; the shutoff valves do not close fully, weep, or will not turn; the wall is tiled and you do not know what is behind the tile; or the vanity, its top and its sink together weigh more than its mounting is rated for. Follow the maker's weight rating and fastener list exactly. In a building from before 1980, wall tile, adhesive and old wallboard may contain asbestos, and paint from before 1978 may contain lead — test before you open the wall.
You may also need
- How to install a bathroom vanity and sink yourself: step by step
- How to install a faucet, toilet and shower head yourself: step by step
- How to tile a bathroom or kitchen floor yourself: step by step
- How to remove a toilet, vanity and faucets yourself: step by step
- How to waterproof a shower yourself: step by step