Replace windows: what a pro does and what you can do
Contractor work. Your part is to count and measure, flag the bedrooms and the safety-glass spots, get bids that name the energy numbers and the flashing, and check the result.
Difficulty 5 of 5 · licensed pro
Stop here
Photo of your room, the look you pick, then this guide with the materials counted for your room.
What you need
- Windows (the installer supplies them; this line is the one you picked)
- Job folder for bids, permit, and the manual
- Lead test kit (EPA-recognized)
Tools
- Tape measure
- Flashlight
- Phone camera
- Notebook for bid comparison
Step by step
Step 1 of 9
Accept that this one is not yours to do
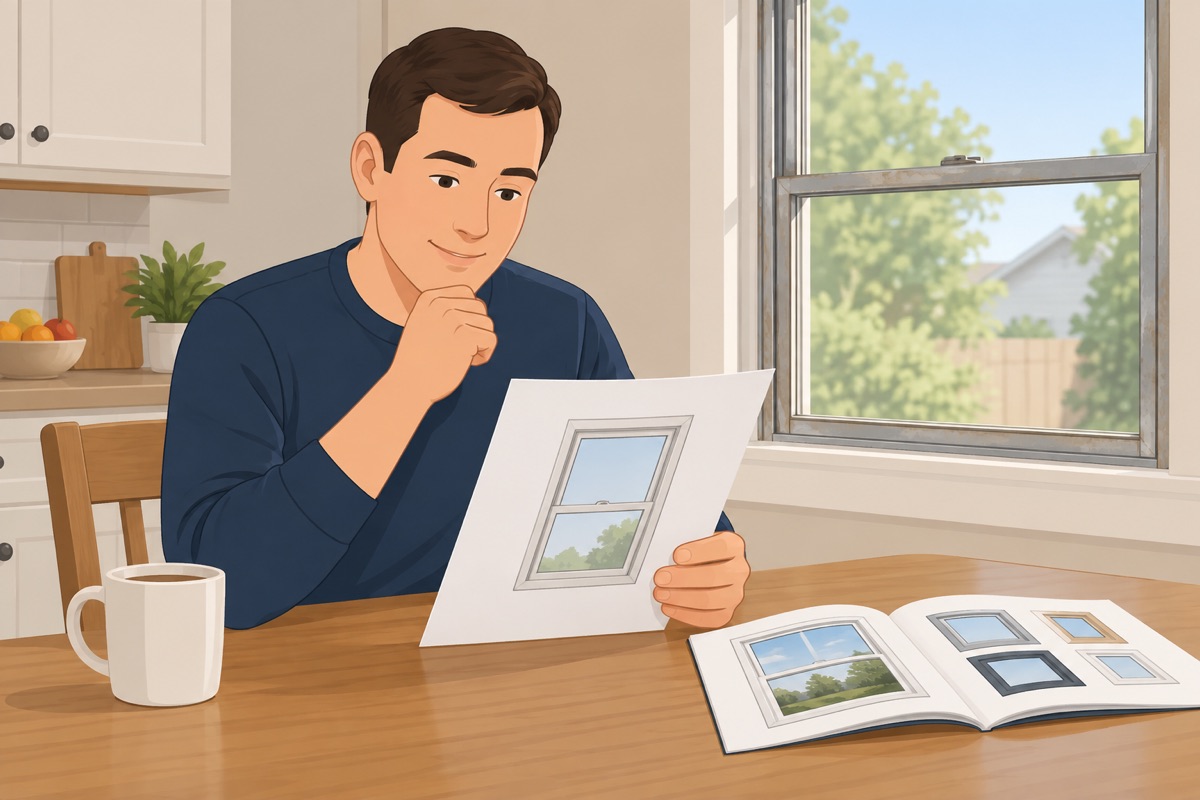
Removing windows opens the wall, and the flashing, egress, safety glass and energy code make this licensed, permitted work. Your part is to count, measure, hire well and check the result. Read the stop-gate and confirm you understand it.
Before you go further
- You will not remove a window or pry at the old frames yourself
- You understand this is licensed work and usually needs a permit
- You have a place to keep bids, the permit, and the manuals together
Step 2 of 9
Count and photograph every window
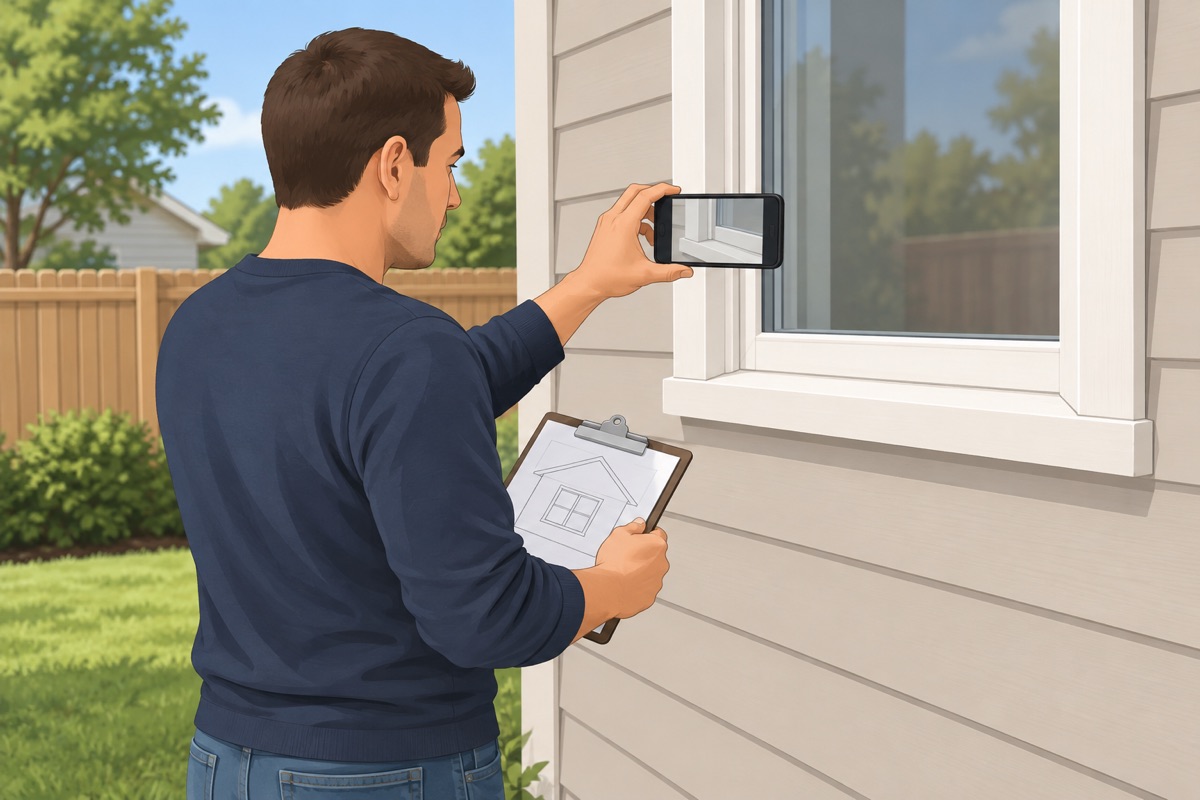
Walk around the house and number every window on a sketch. Photograph each one from outside and inside, including the sill, the frame corners and any stains or rot below it.
Step 3 of 9
Measure each opening for the bids
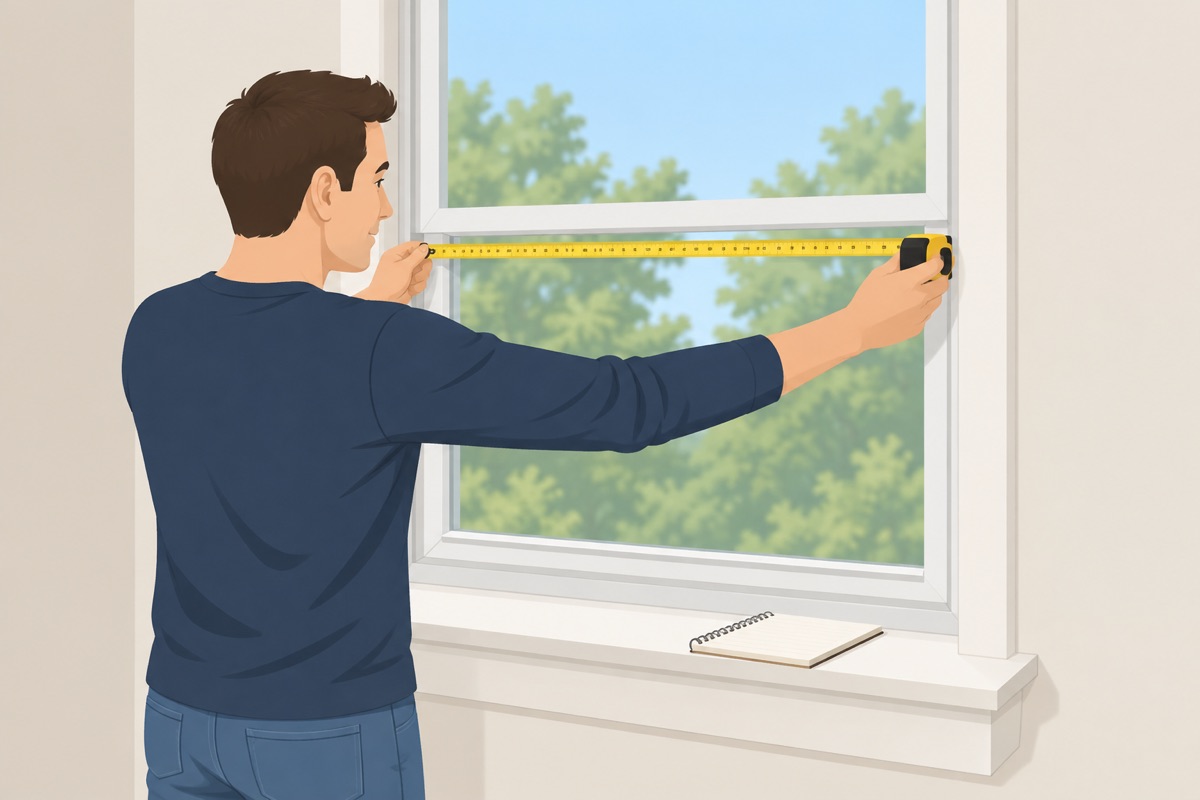
Measure the width at the top, middle and bottom, and the height at the left, middle and right, inside the frame. Note how each one opens. These numbers are for comparing bids — the installer measures again before ordering.
Step 4 of 9
Flag the bedrooms and the safety-glass spots
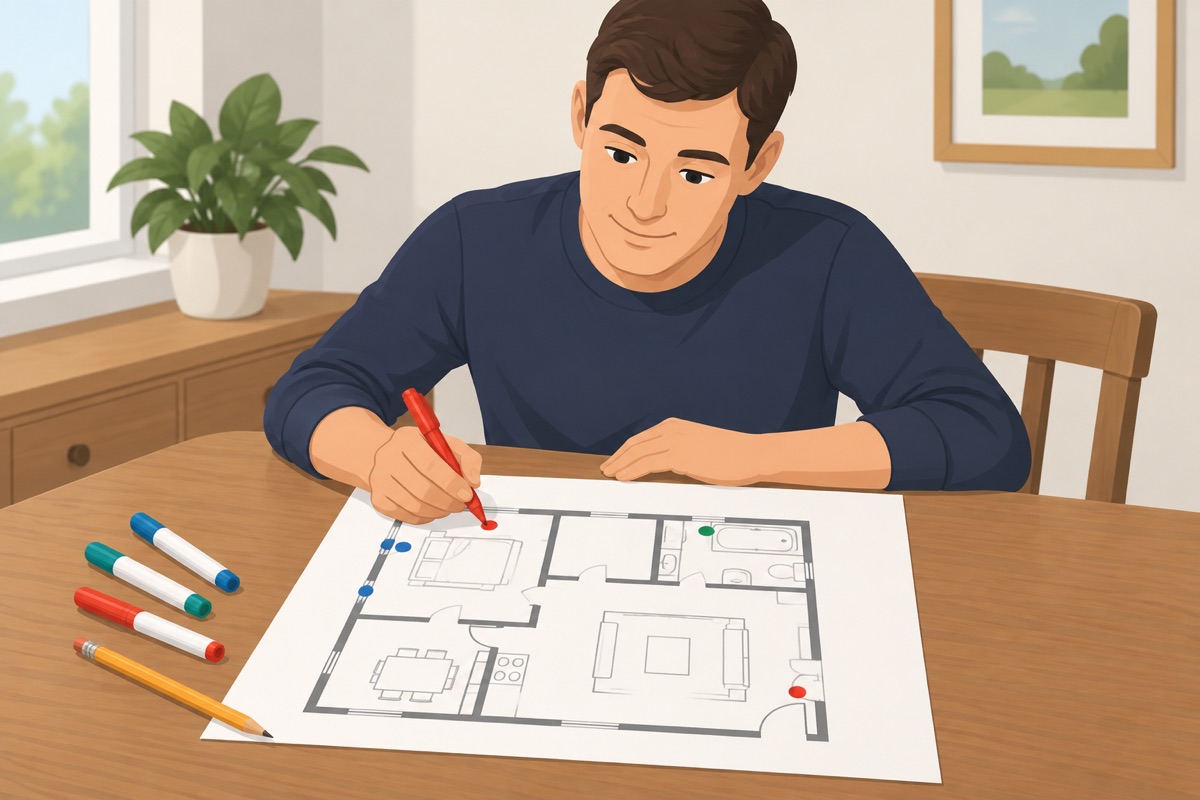
Mark every bedroom window on your sketch: it must stay big enough to escape through, and the contractor confirms each one. Mark windows near a door, a tub or shower, stairs, or close to the floor — these often need tempered glass.
Step 5 of 9
Ask about retrofit or full-frame
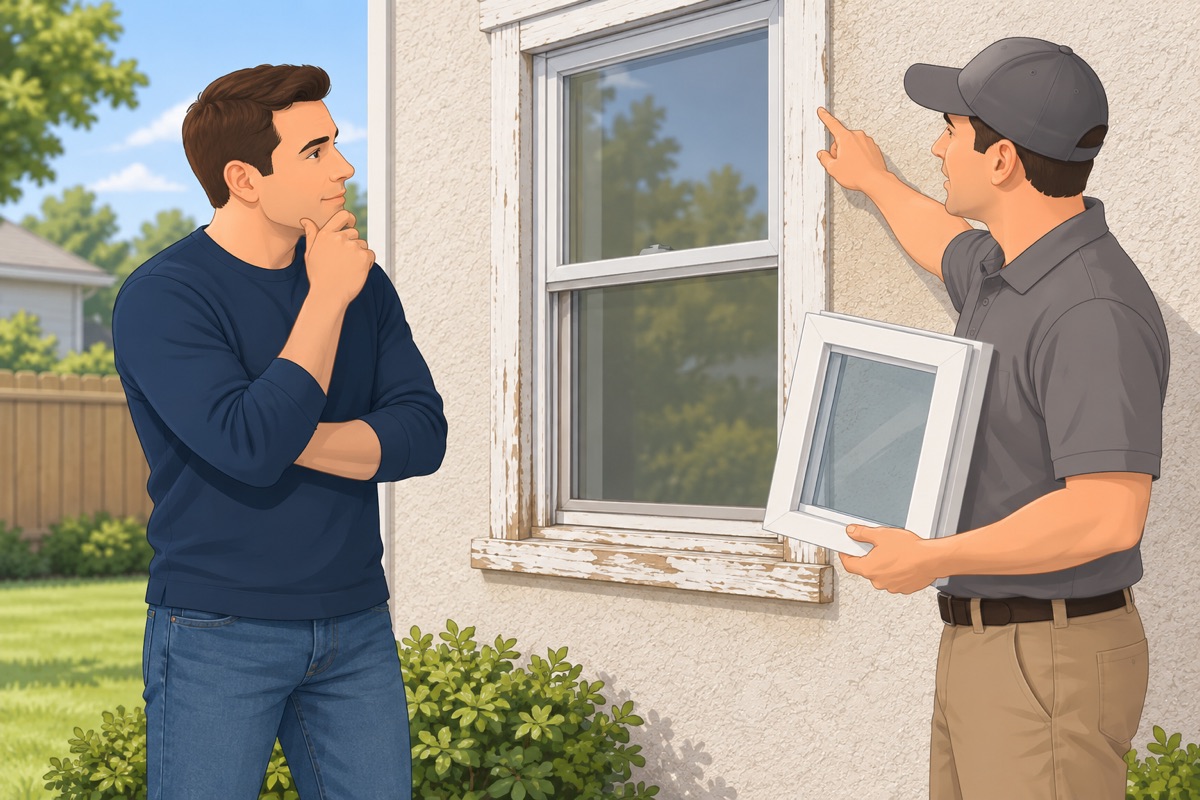
A retrofit insert goes into the old frame and disturbs less stucco or siding. A full-frame replacement fixes rot and rebuilds the flashing, but opens the wall. Ask each bidder which they recommend for each window and why.
Step 6 of 9
Check for lead paint in an older home
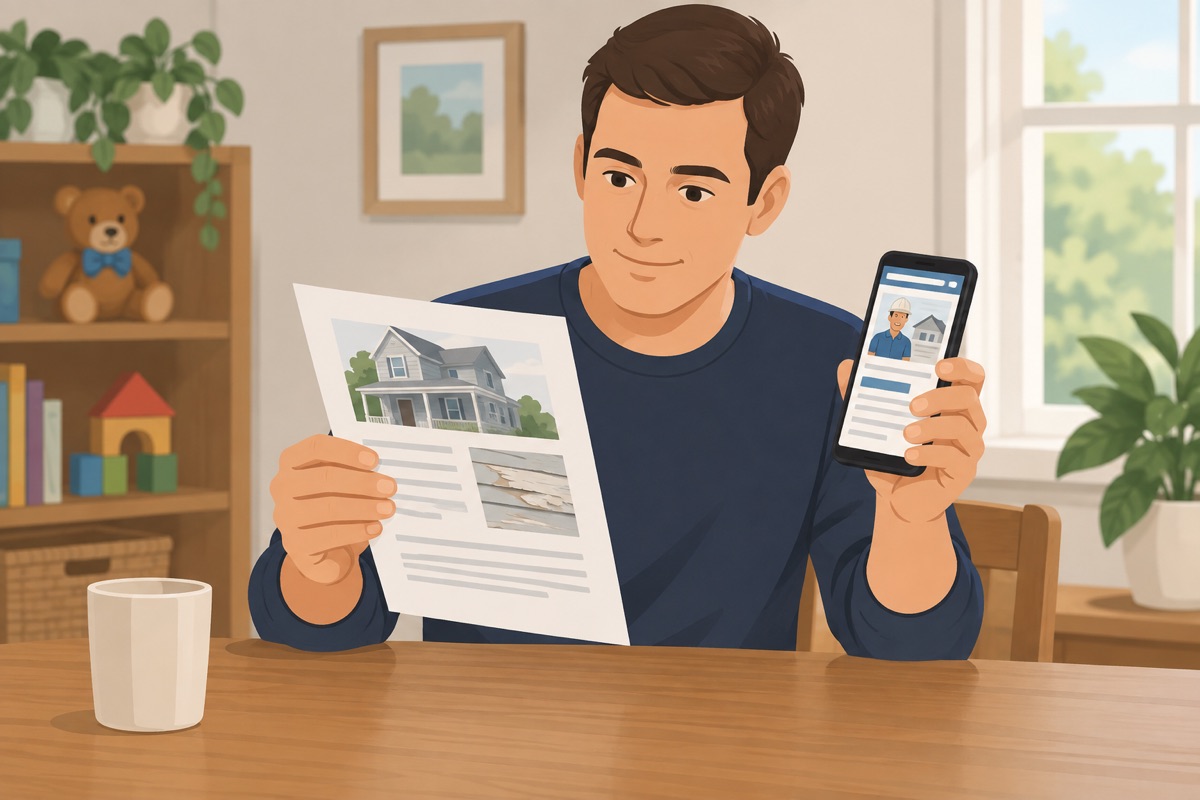
If the house was built before 1978, assume the old frames and sills carry lead paint unless a certified inspector says otherwise. Hire an EPA RRP lead-safe certified firm, and plan to keep children and pregnant people away while the old windows come out.
Step 7 of 9
Get three bids that name every part
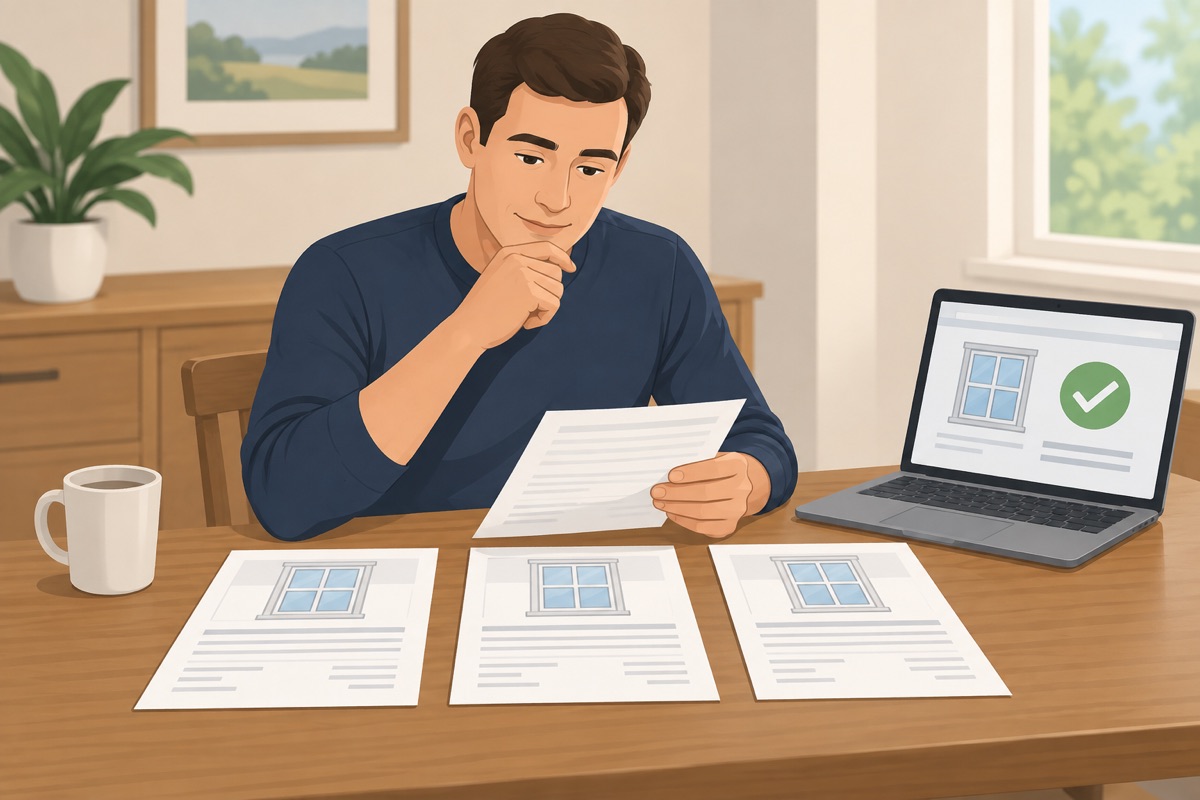
Each bid should name the window model, the U-factor and SHGC that meet your energy code, the flashing method, the trim and stucco or siding patch, lead-safe work if needed, the permit, haul-away and the warranty. Check each contractor's license with your state's contractor license board (CSLB in California) and ask for proof of insurance.
Step 8 of 9
Clear the way for install day
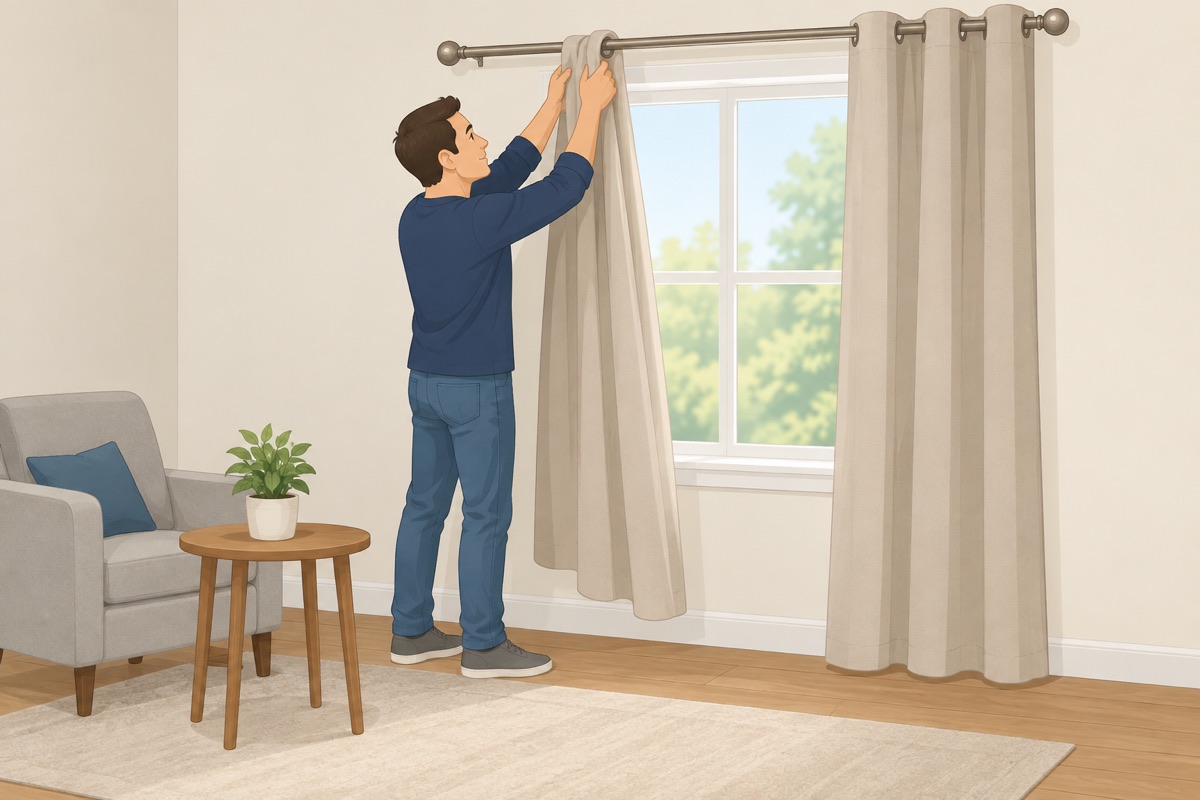
Take down blinds and curtains, move furniture away from every window, and clear a path outside along the walls. Photograph the walls around each window before the crew starts.
Step 9 of 9
Check every window and close the job
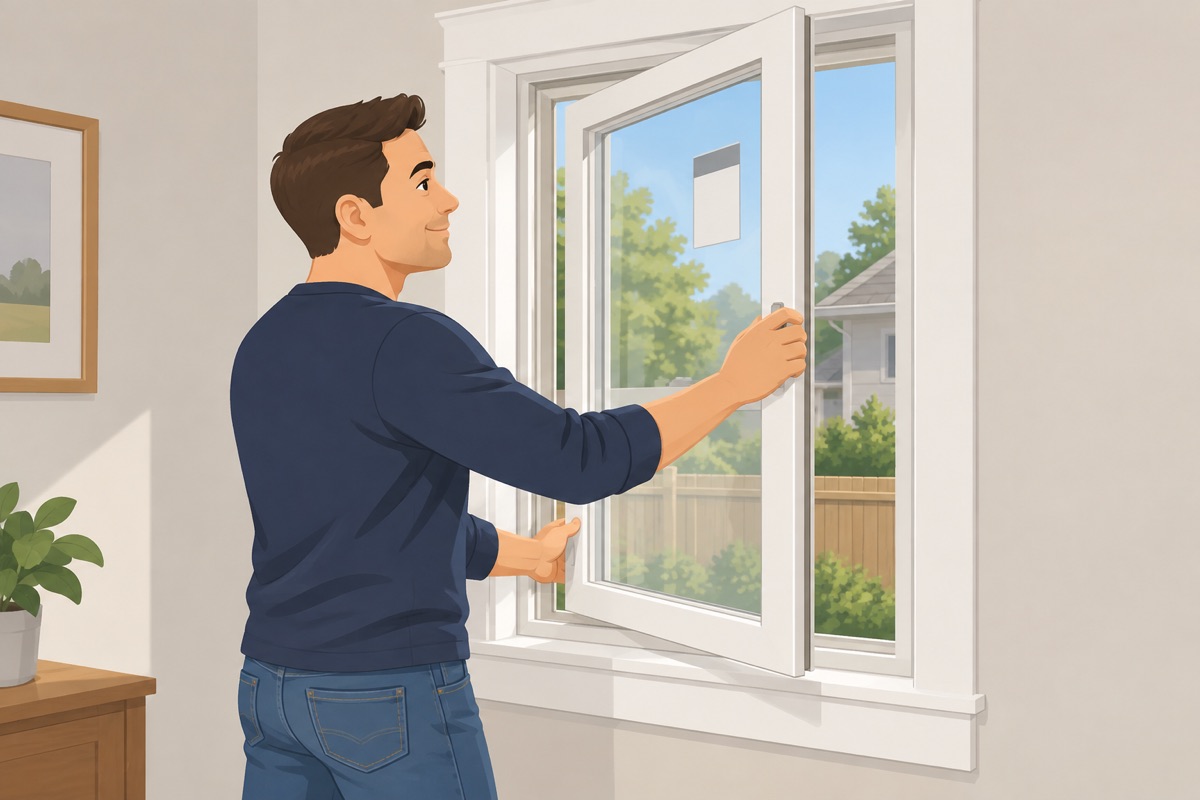
Open, close and lock each window. Look for continuous sealant and flashing outside, and patched trim inside. Leave the labels on until the inspector has seen them, then keep them in the job folder.
Before the final payment
- License and insurance checked before signing
- Every window opens, closes and locks
- Bedroom windows were confirmed for egress
- The permit is signed off
- Labels, warranty and invoice are in the job folder
Common mistakes
- Pulling a window out yourself. Once the old window is out, the wall is open to water, and in an older home the old paint can spread lead dust. Leave removal to the crew. Mistake #1 in this task.
- Ordering a smaller bedroom window. A bedroom window is also a way out in a fire. A smaller insert can make it too small to escape through. Ask the contractor to confirm egress for each bedroom window.
- Ignoring lead paint in a pre-1978 home. Prying out old painted frames makes lead dust, which harms children most. Hire a lead-safe certified firm and keep kids and pregnant people away during the work.
- A bid that just says "new windows". The model, the energy numbers, the flashing, the trim, the permit and haul-away are separate items. If the bid does not name them, ask in writing.
- Peeling off the labels before the inspection. The inspector checks the energy label on the glass. Leave every label on until the permit is signed off.
Draft guide written from standard practice, not yet reviewed by a licensed pro. Follow product labels where they differ.
Get this job planned for your roomRelated guides
- How to measure a door opening before buying a door yourself: step by step
- How to install a prehung interior door yourself: step by step
- How to install door casing yourself: step by step
- How to install baseboards yourself: step by step
- How to fill nail holes and caulk trim yourself: step by step
- How to build a wood or vinyl privacy fence yourself: step by step