How to build a wood or vinyl privacy fence yourself: step by step
A fence is only as straight as its posts. Most of the work is the line, the holes and setting each post plumb in concrete; the rails and pickets after that go fast.
Difficulty 4 of 5 · 3 weekends · careful
Stop here
Photo of your room, the look you pick, then this guide with the materials counted for your room.
What you need
- 4×4 pressure-treated posts, ground-contact rated (8 ft for a 6-ft fence)
- Fast-setting concrete mix
- Gravel for the bottom of the post holes
- Pressure-treated 2×4 rails (8 ft)
- Fence pickets (6 ft)
- Exterior screws or ring-shank nails (galvanized or stainless)
- Gate kit (hinges, latch, anti-sag brace)
- Post caps
Tools
- Post-hole digger (clamshell) and a digging bar
- Gas auger (many holes) — About $90–130/day. In rocky or root-filled soil a clamshell digger is safer — an auger can twist hard when it catches.
- Post level
- Stakes, mason's line and a line level
- 4 ft level
- Tape measure
- Circular saw
- Drill/driver or impact driver
- Framing or fence nailer (optional)
- Speed square
- Buckets and a wheelbarrow for water and mix
- Safety glasses, work gloves, hearing protection
Step by step
Step 1 of 14
Agree on the line and check the rules
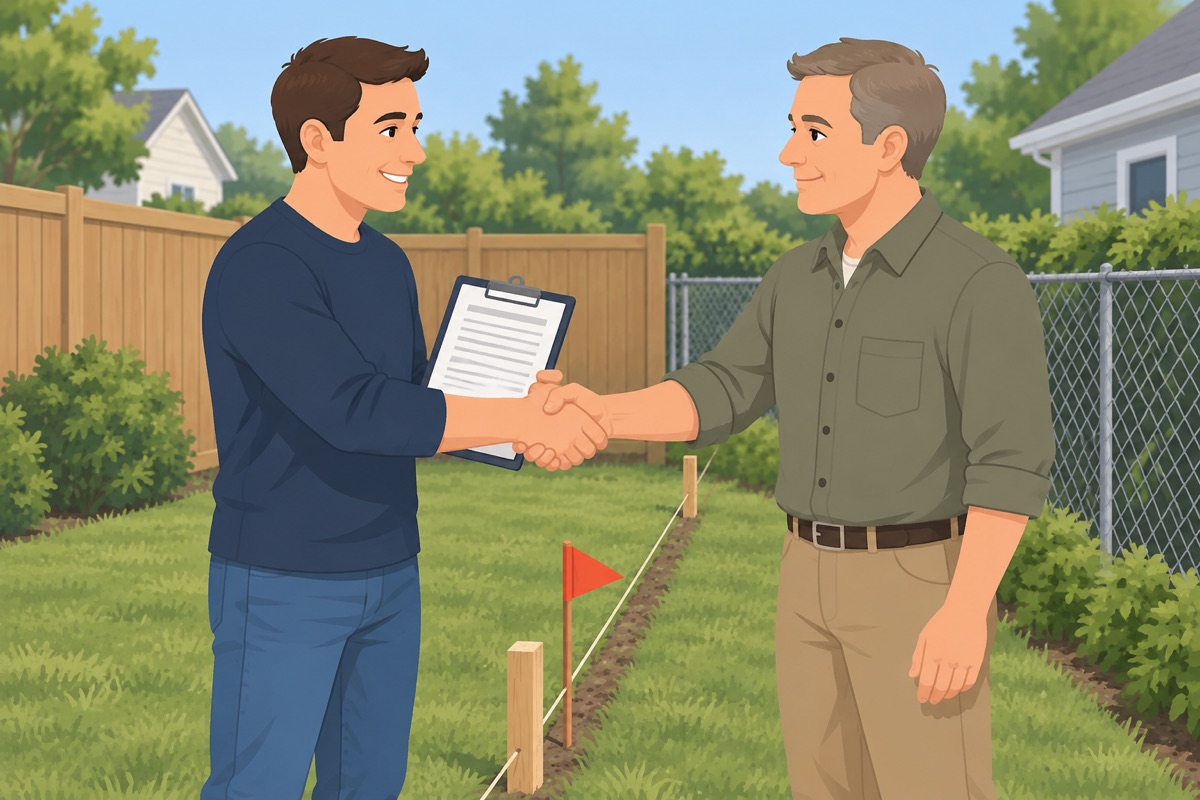
Confirm where the property line is (from the yard plan). On a shared line, agree with your neighbour on the fence, the style, the cost and which side faces whom — in writing. Confirm height, location and permit with your city and your HOA.
Step 2 of 14
String the fence line
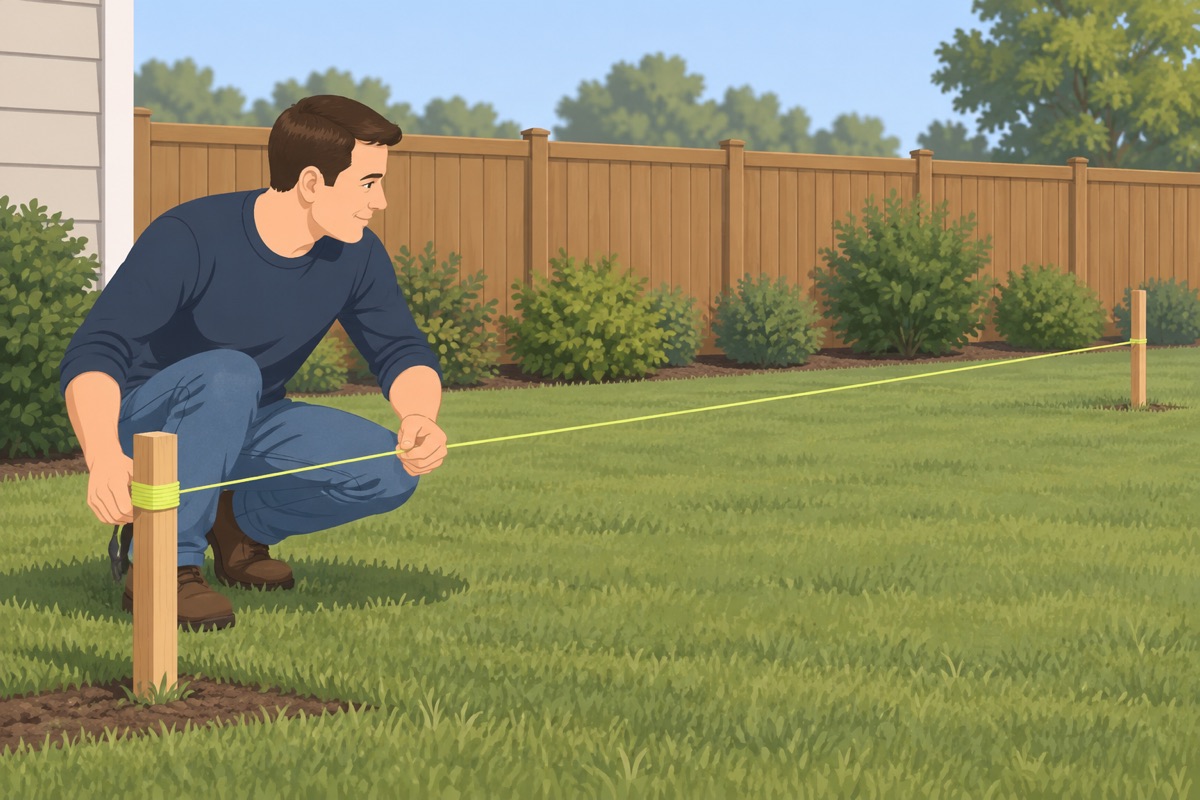
Drive a stake past each end and each corner and pull a mason's line tight between them, at the face of the posts. If the line is not shared, keep the whole fence, footings included, on your side.
Step 3 of 14
Mark every post
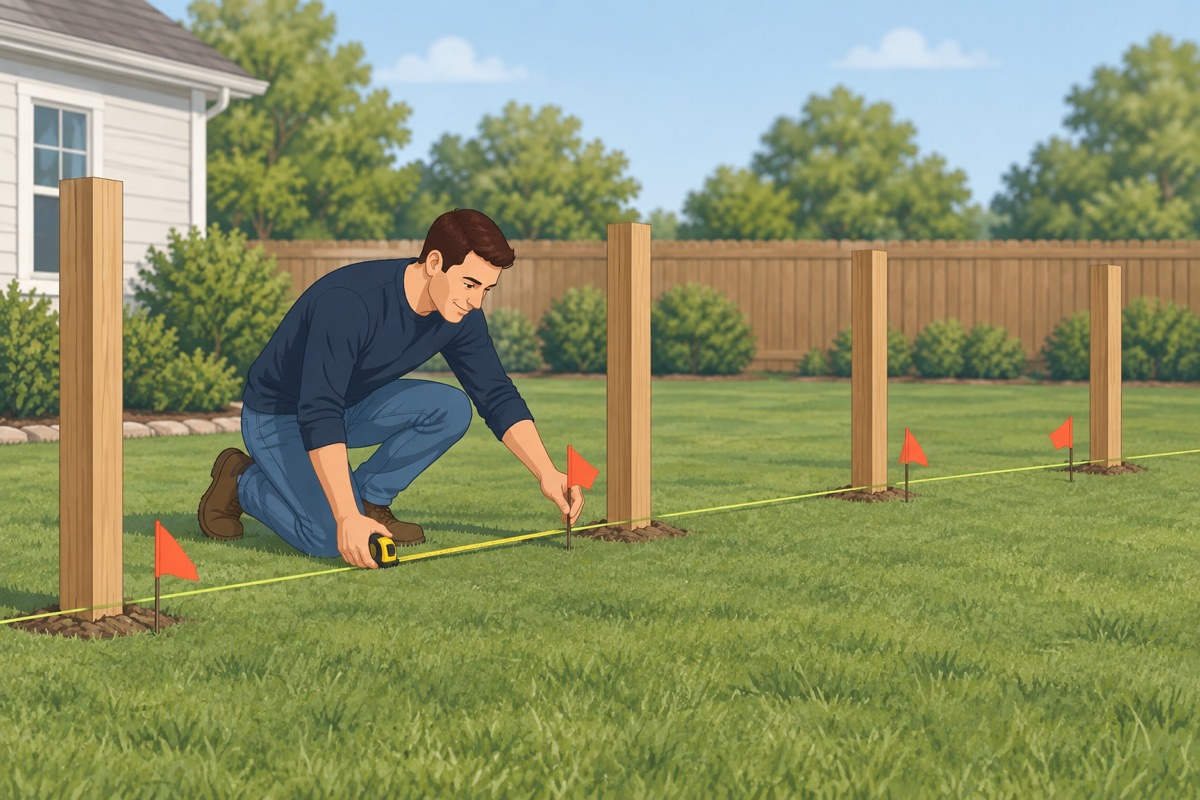
Mark the corner and end posts, then a post every 8 ft on center along the string. Size the gate opening to the gate kit's instructions and mark a post on each side of it.
Step 4 of 14
Dig the holes
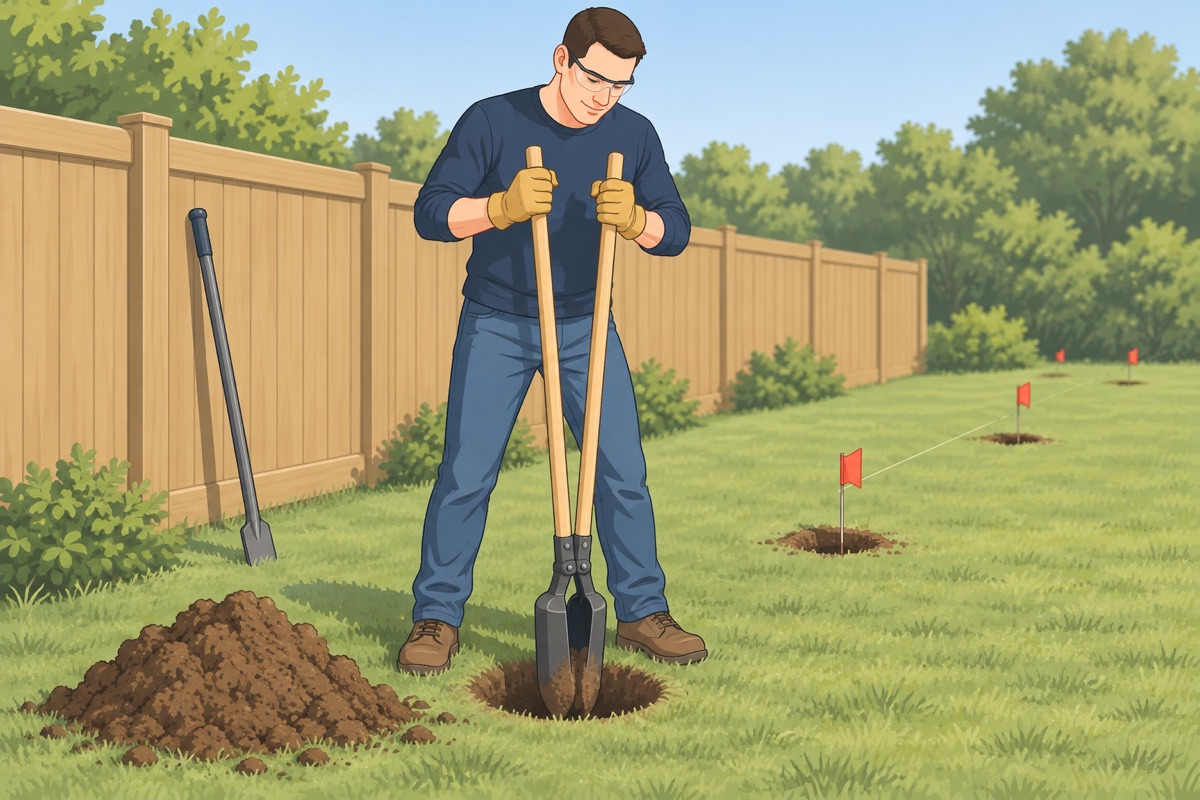
Dig each hole about three times as wide as the post and 2 ft deep — deeper where there is a frost line (per your city) — plus a few inches for gravel. If you hit anything that is not soil or rock — a pipe, a wire, a warning tape — stop, leave it and call.
Before you dig a single hole
- 811 marks are in and every utility on the ticket answered
- No hole sits on a marked line or a private line (sprinklers, a line to a shed)
- Your neighbour agreed in writing if the fence is on a shared line
- Height, location and permit are checked with your city and your HOA
Step 5 of 14
Gravel, then set the corner and end posts
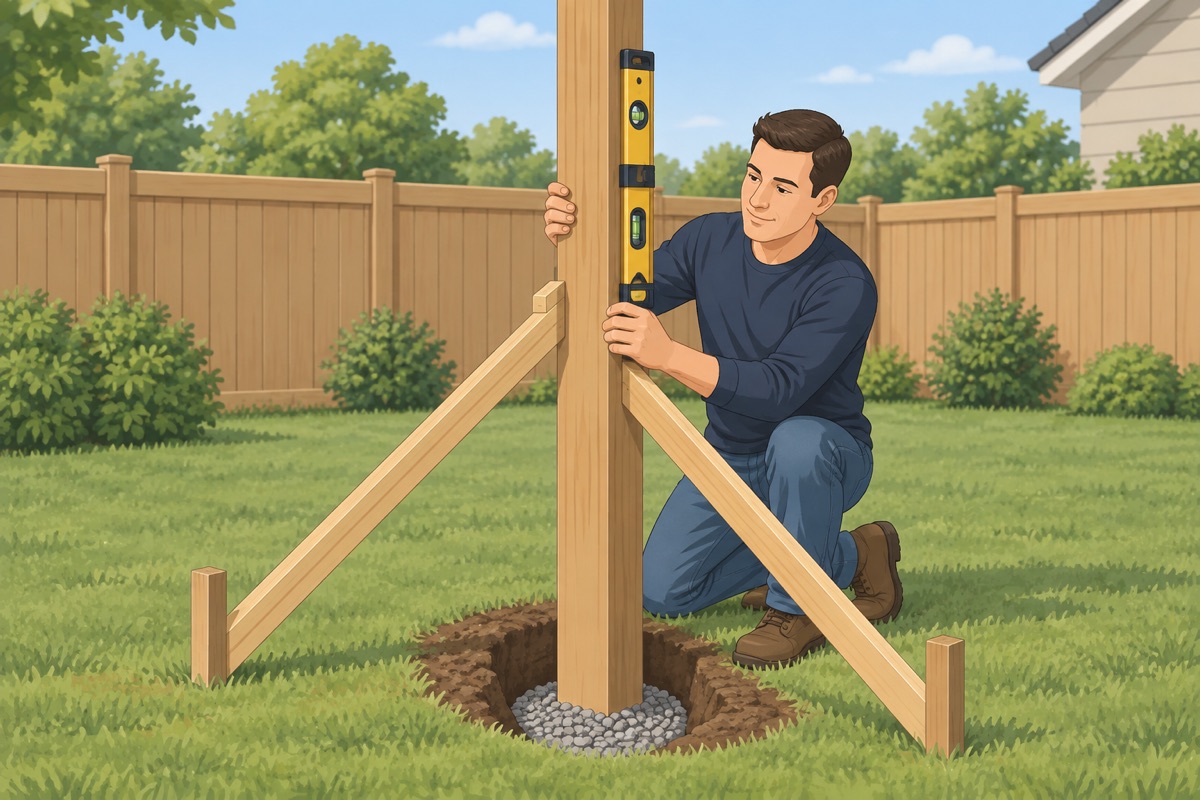
Put a few inches of gravel in the bottom of each hole and tamp it. Stand the corner and end posts first, at the height on the string, and brace each with two stakes and scrap boards so it stands plumb on two faces.
Step 6 of 14
Pour the fast-setting concrete
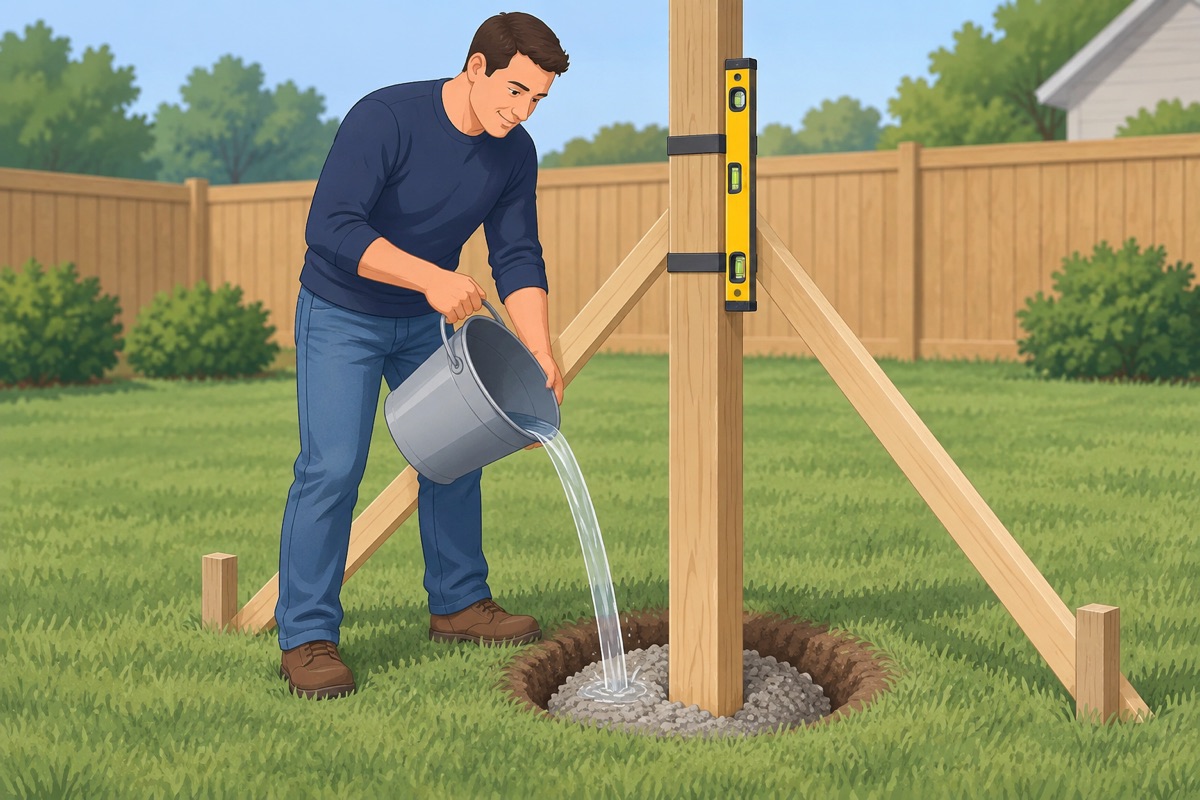
Follow the bag: most fast-setting mixes go in dry and get water poured on top, in the amounts the bag gives. Check plumb again right away, and crown the top so water runs away from the post.
Before the concrete goes in
- The post is plumb on two faces and at the right height on the string
- It is braced so it cannot move while the concrete sets
- You have the bag's chart for water and bags per hole
Step 7 of 14
Set the line posts to a string
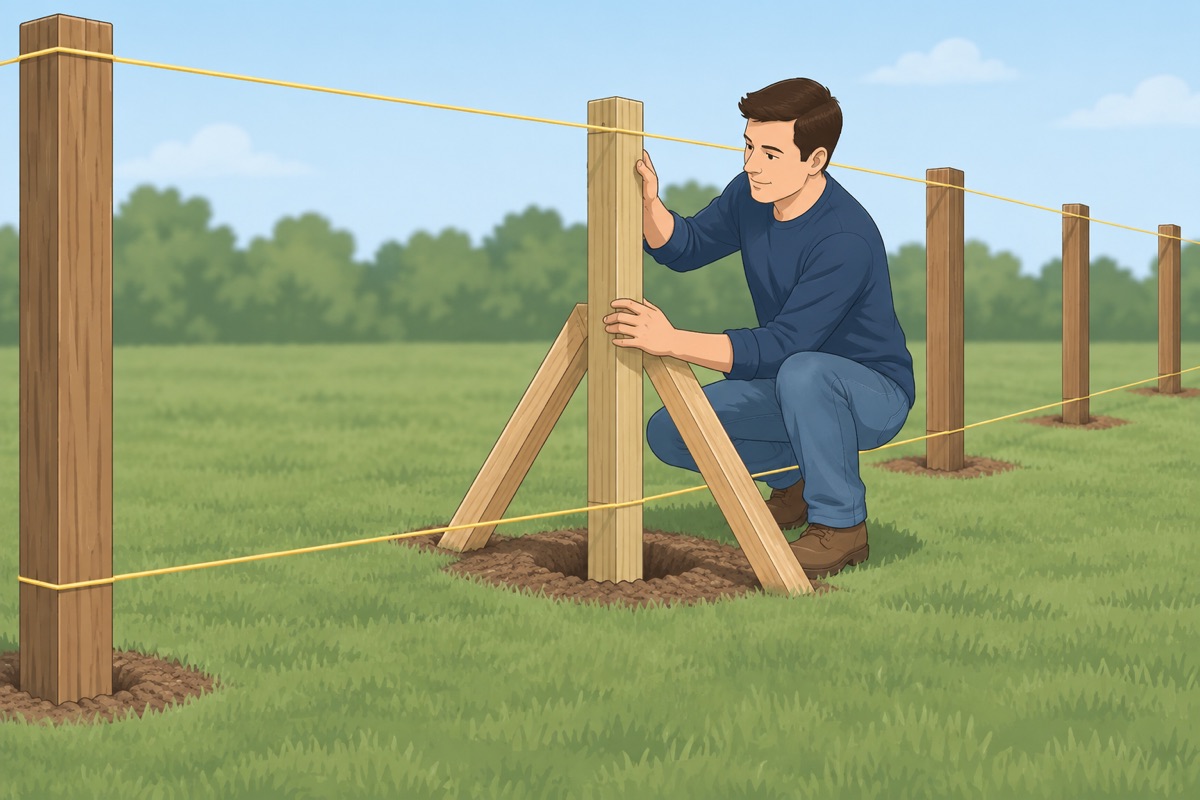
Run strings between the corner posts at the top and near the bottom. Set every line post the same way — gravel, plumb, braced, concrete — just touching both strings.
Step 8 of 14
Let the concrete set
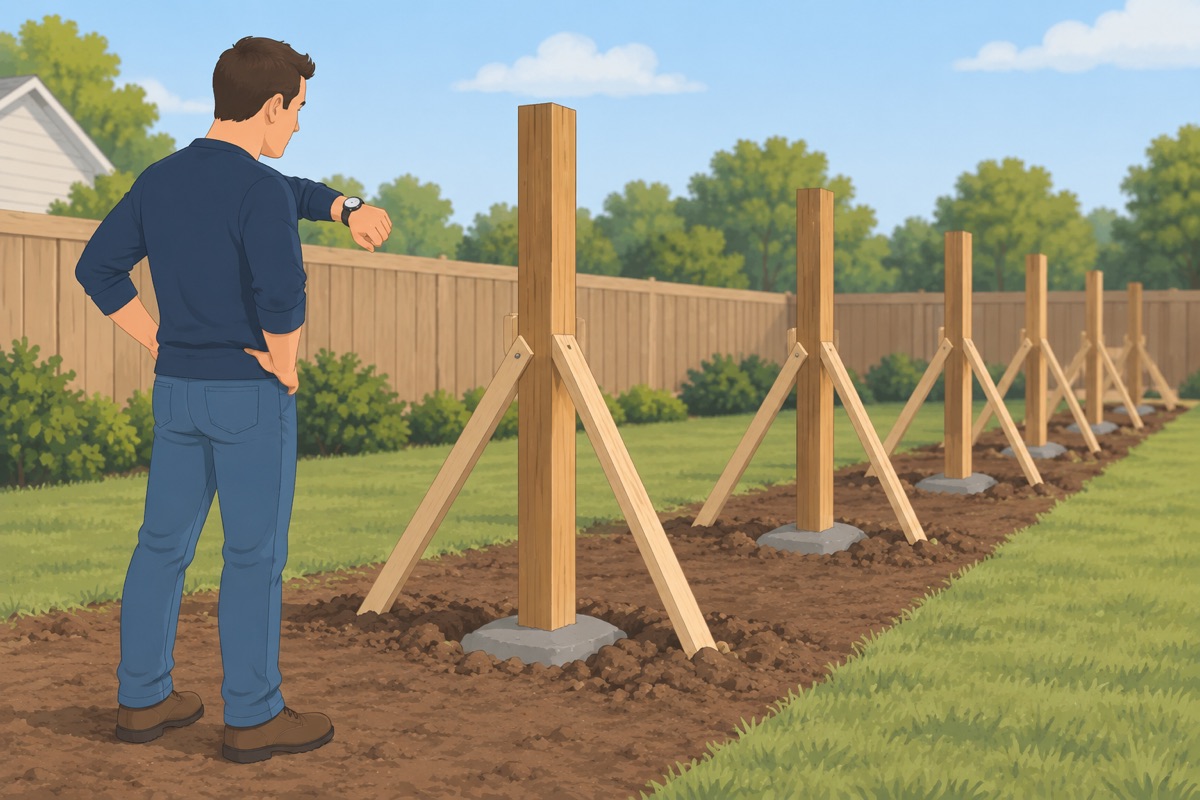
Wait the time on the bag before you hang anything on the posts. Keep the braces on until then.
Step 9 of 14
Cut the posts to height and hang the rails
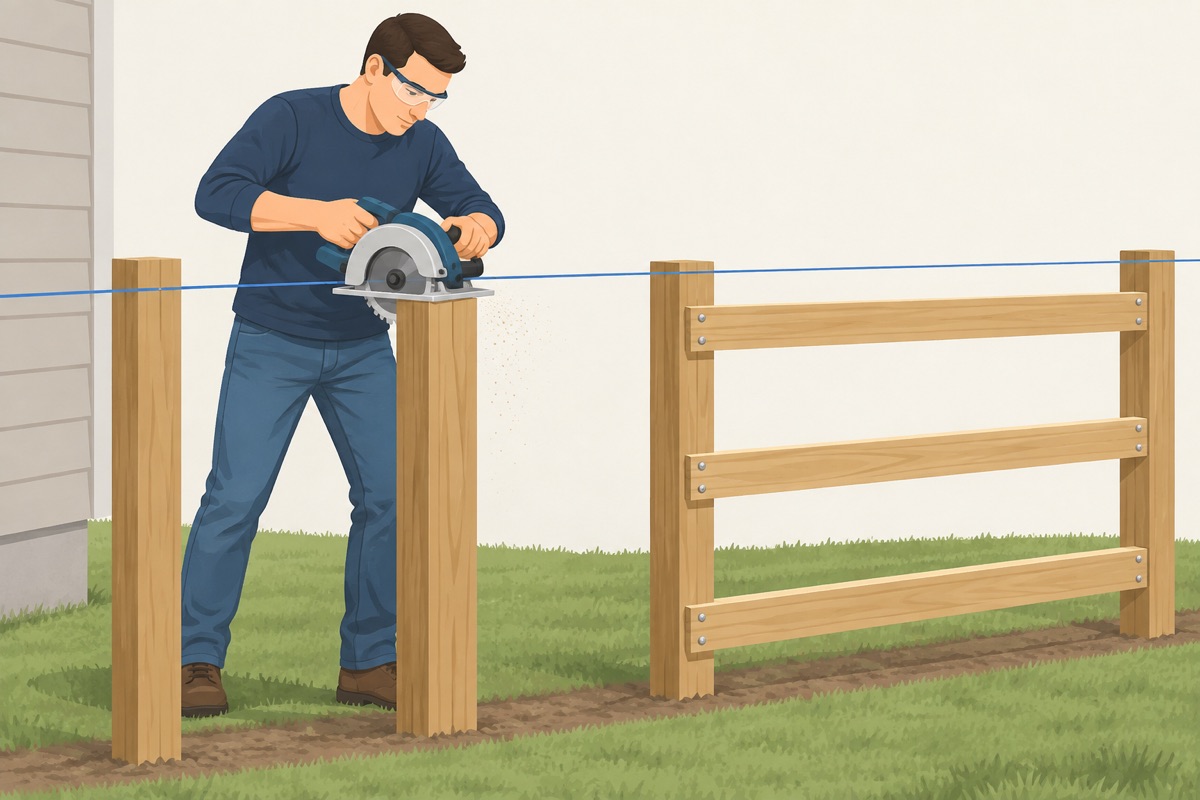
Snap a line across the posts for the height and cut the tops level. Fasten three rails per section — top, middle, bottom — level, with screws or rail brackets rated for treated lumber.
Step 10 of 14
Hang the pickets
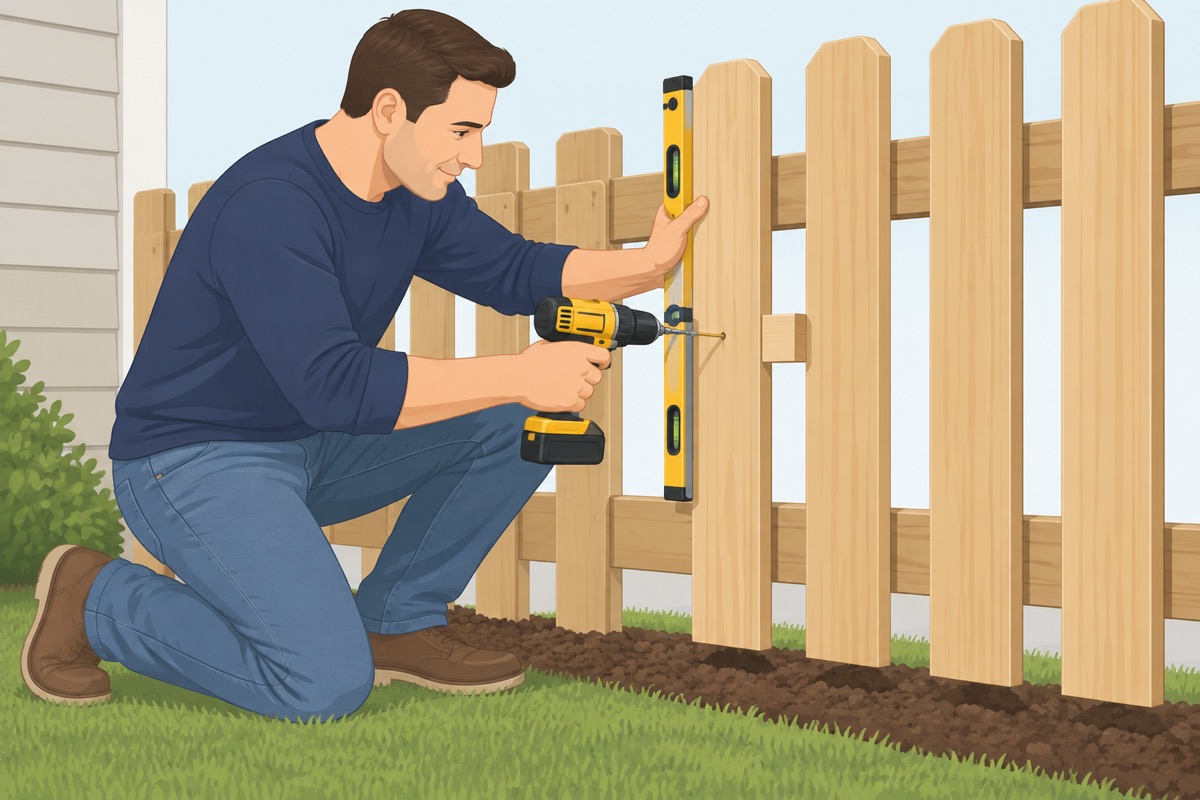
Set the first picket plumb and fasten it to each rail. Space the rest with a spacer block (or none, for full privacy) and check plumb every few pickets. Keep the bottoms off the soil.
Before you fasten the pickets
- The concrete set for the time on the bag and the rails are level
- Picket bottoms clear the soil — wood must not touch it
- The good face of the fence faces the side you and your neighbour agreed on
Step 11 of 14
Keep the tops in a line
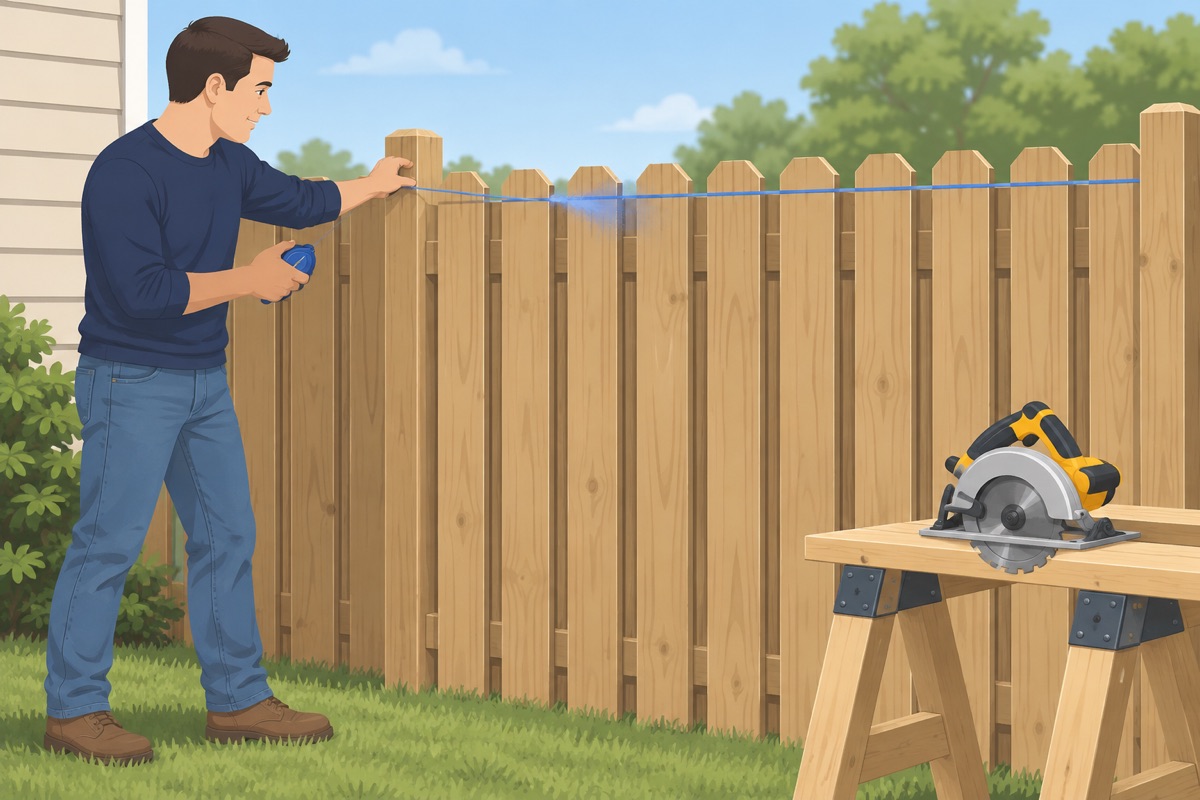
Run a string along the top as a guide, or let the pickets run long and cut the tops to a snapped line at the end.
Step 12 of 14
Build and hang the gate
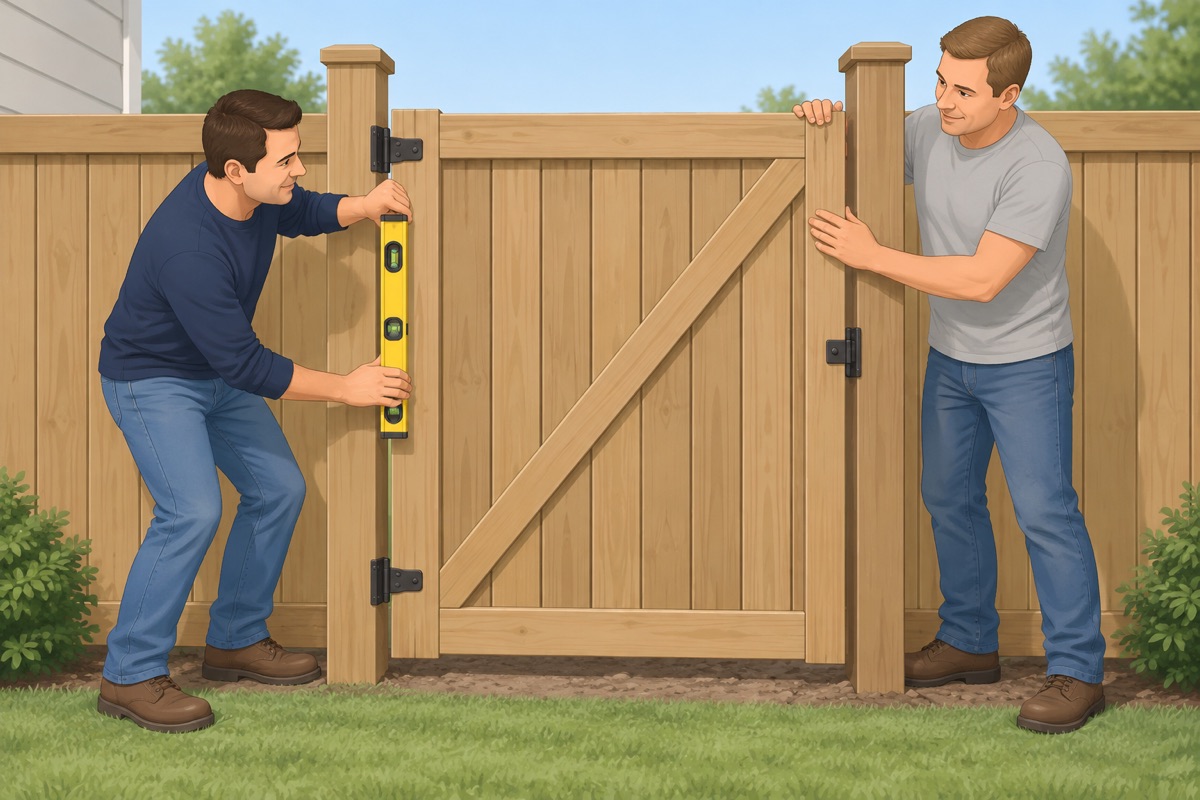
Build the gate frame square, with a diagonal brace from the bottom hinge corner up to the top latch corner, or use the anti-sag kit. Hang it on the heavier post, with the gap for the latch that the kit gives.
Step 13 of 14
Caps and finish
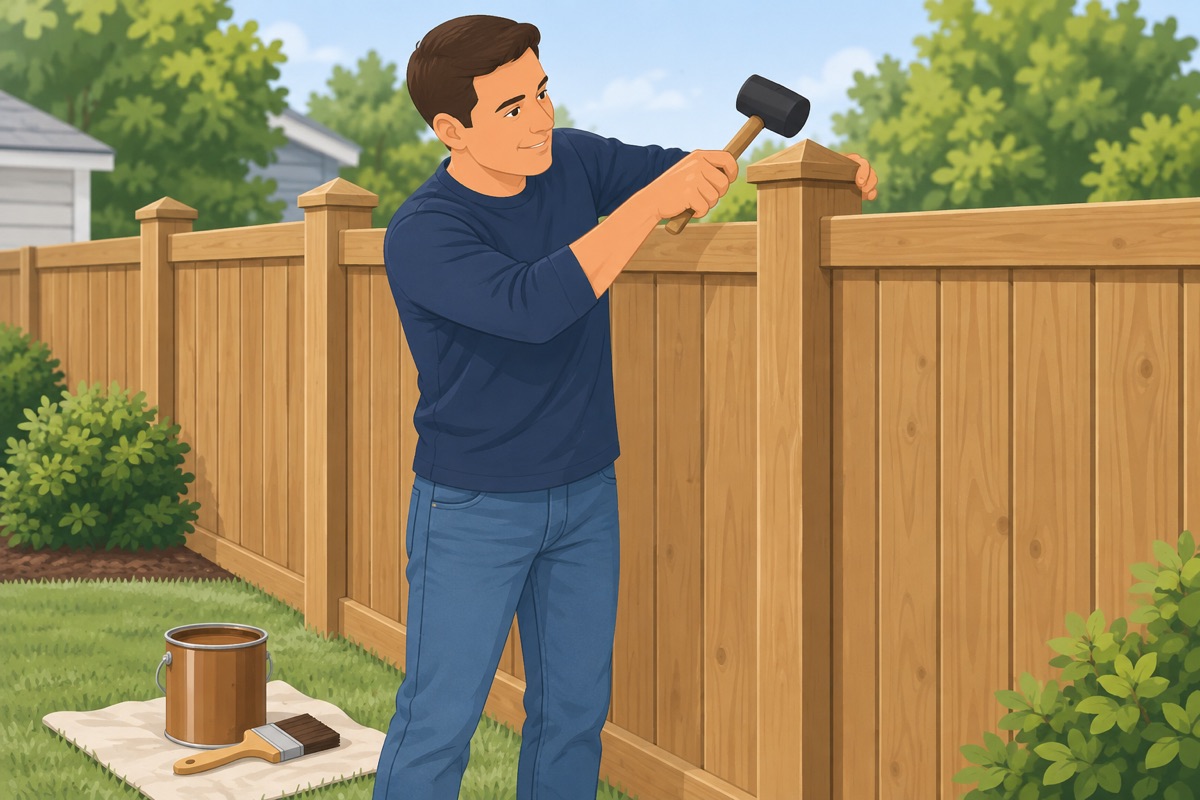
Put a cap on every post. Wood: let it dry for the time the stain or sealer can says, then finish it.
Step 14 of 14
Clean up and walk the line
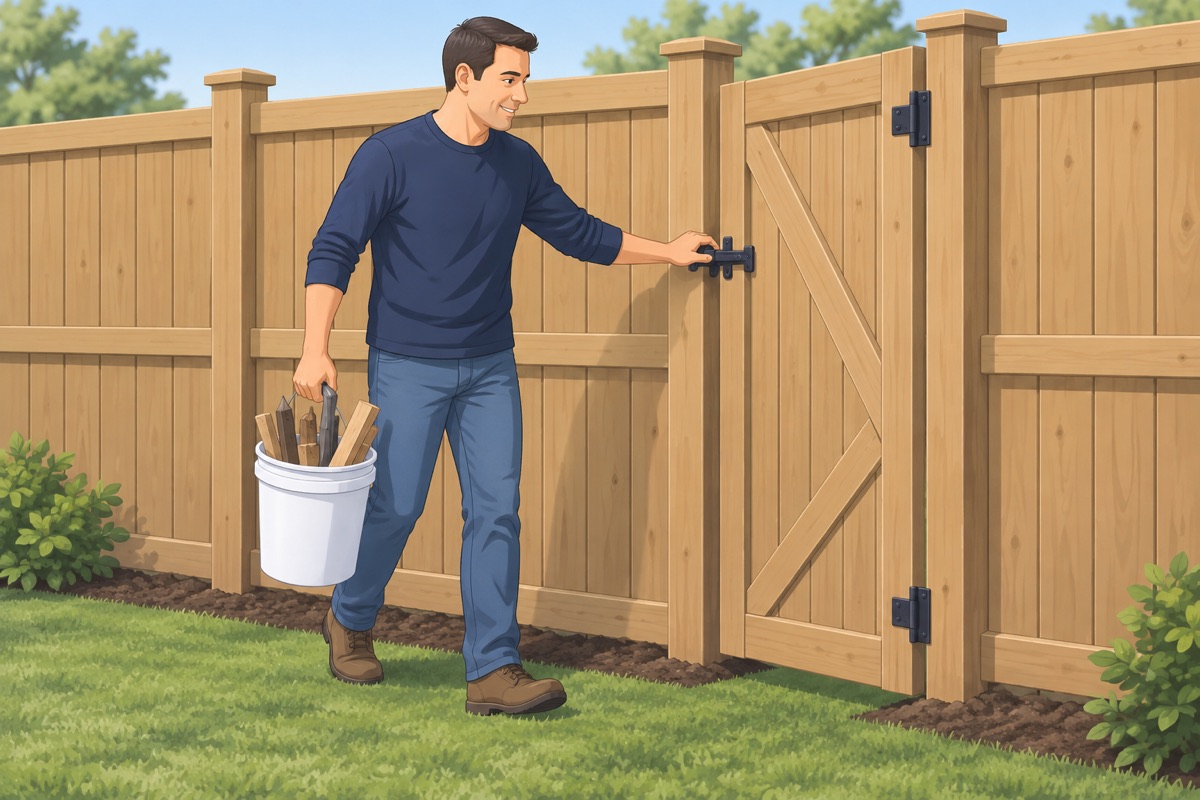
Pick up the stakes and offcuts, backfill low spots at the posts, and walk the fence: pickets tight, gate swinging and latching.
Common mistakes
- Digging post holes before the 811 marks. A post hole is exactly deep enough to reach a gas or power line. Wait for every utility to answer, and hand-dig near any mark.
- Posts set too shallow. The fence leans in the first windstorm. About a third of the post goes in the ground, and below the frost line where there is one.
- Concrete finished flat or below the soil. Water pools against the post and rots it. Crown the concrete so it sheds water away from the post.
- Hanging rails before the concrete sets. The posts shift out of plumb and set crooked for good. Wait the time on the bag.
- A gate without a diagonal brace. It sags and drags within months. Brace from the bottom hinge corner up to the top latch corner, or use the anti-sag kit.
Draft guide written from standard practice, not yet reviewed by a licensed pro. Follow product labels where they differ.
Get this job planned for your roomRelated guides
- How to measure a door opening before buying a door yourself: step by step
- How to install a prehung interior door yourself: step by step
- How to install door casing yourself: step by step
- How to install baseboards yourself: step by step
- How to fill nail holes and caulk trim yourself: step by step
- How to assemble and anchor a pergola kit yourself: step by step