How to install a peel-and-stick backsplash
Short answer
Read the product's label first: the walls it sticks to and what it says about heat behind a cooktop. Difficulty 1 of 5; for a first-timer, plan on about half a day. Read “When to stop” below before you start.
Draft guide written from standard practice, not yet reviewed by a licensed pro. Follow product labels where they differ.
Then degrease the wall and let it dry, turn the breakers off and test the outlets before the cover plates come off, draw a level line, press the sheets on from the center out, match the seams the way the label shows, cut around the outlets, and finish the edges.
Difficulty 1 of 5 · about half a day · you can do this
Photo of your room, the look you pick, then this guide with the materials counted for your room.
What you need
- Peel-and-stick backsplash tiles or sheets
- Primer or paint the product's label names (only if it asks for one)
- Kitchen degreaser
- Rubbing alcohol
- Edge trim or caulk, as the product's label suggests
- Outlet box extenders (only if the label calls for them)
Tools
- Utility knife with fresh blades
- Metal straightedge
- Torpedo level
- Tape measure
- Plastic smoothing tool or a small roller
- Non-contact voltage tester
- Screwdriver for the cover plates
- Clean rags
Step by step
Step 1 of 9
Read the product's label and check the wall
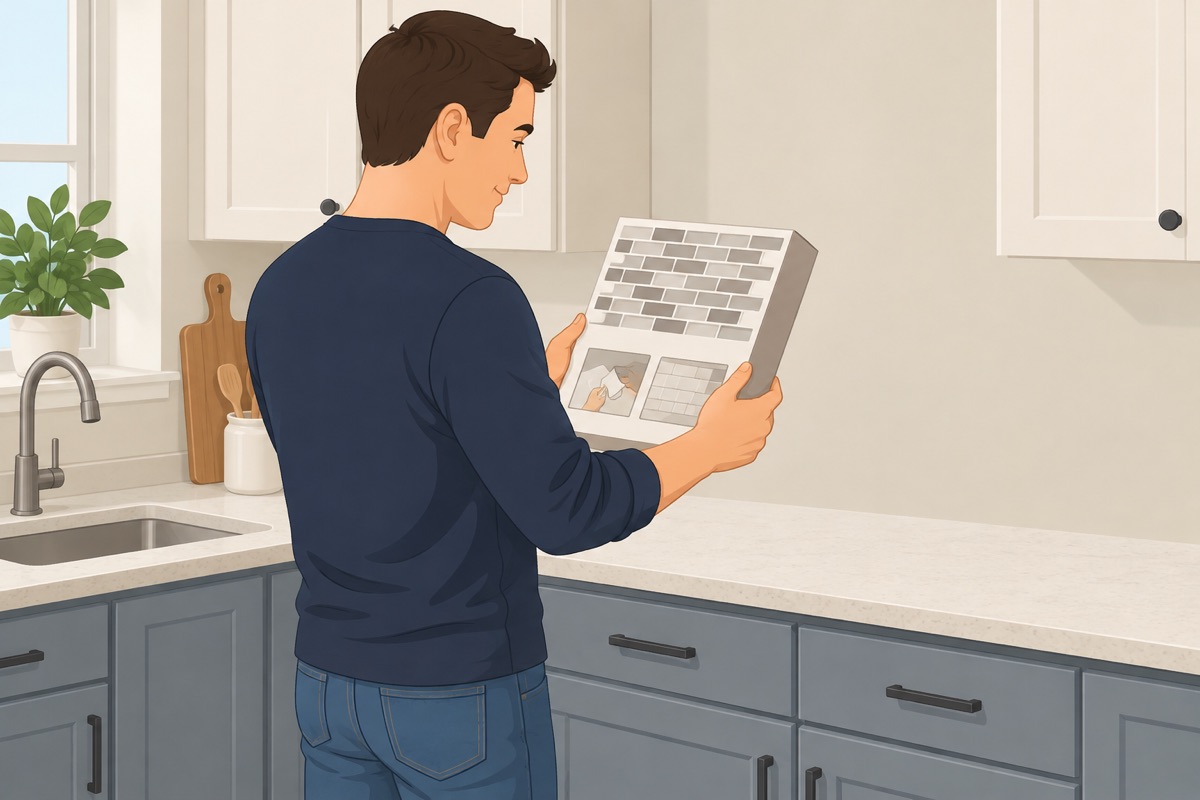
Read the label of the product you picked: the walls it sticks to (painted, primed, or over old tile), any paint it will not stick to, how long fresh paint must cure first, the room temperature for installing, and what it says about heat behind a cooktop or a range. Then look at the wall: it must be smooth, flat, sound, and dry. An old tile backsplash comes off first if the label does not allow covering it — that is the backsplash removal guide.
Step 2 of 9
Decide what to leave out behind the cooktop
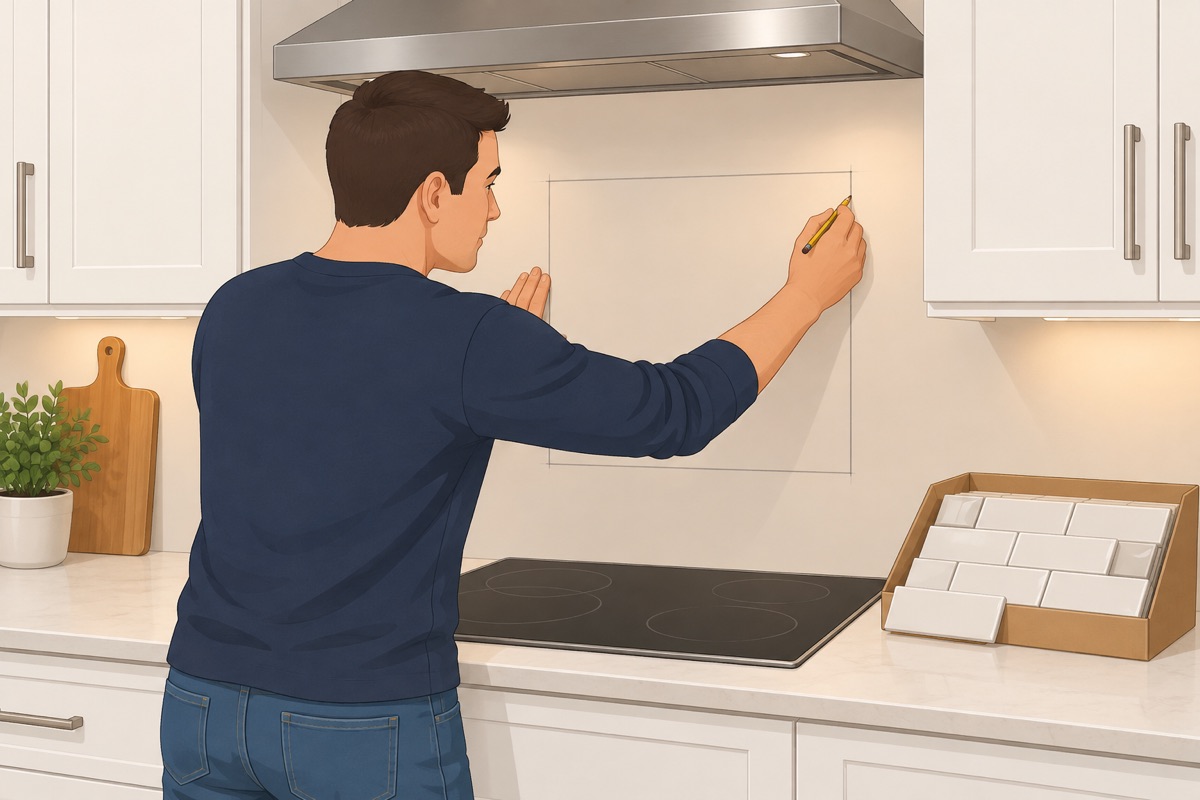
Look at the wall behind the cooktop or the range and compare it with the label. If the label does not say the product is allowed there, leave that area out, or use a product that is rated for it. Mark the area so you do not cover it out of habit.
Before you start
- The product's label allows your wall: its paint or primer, its texture, and anything already on it
- The wall is smooth, flat, sound, and dry — no water stain, soft spot, or mold
- The area behind the cooktop or the range follows the label: allowed there, or left out
- No sanding of old paint is needed to make the wall smooth — or the home is from 1978 or later, or the paint tested negative for lead
Step 3 of 9
Clean the wall and let it dry
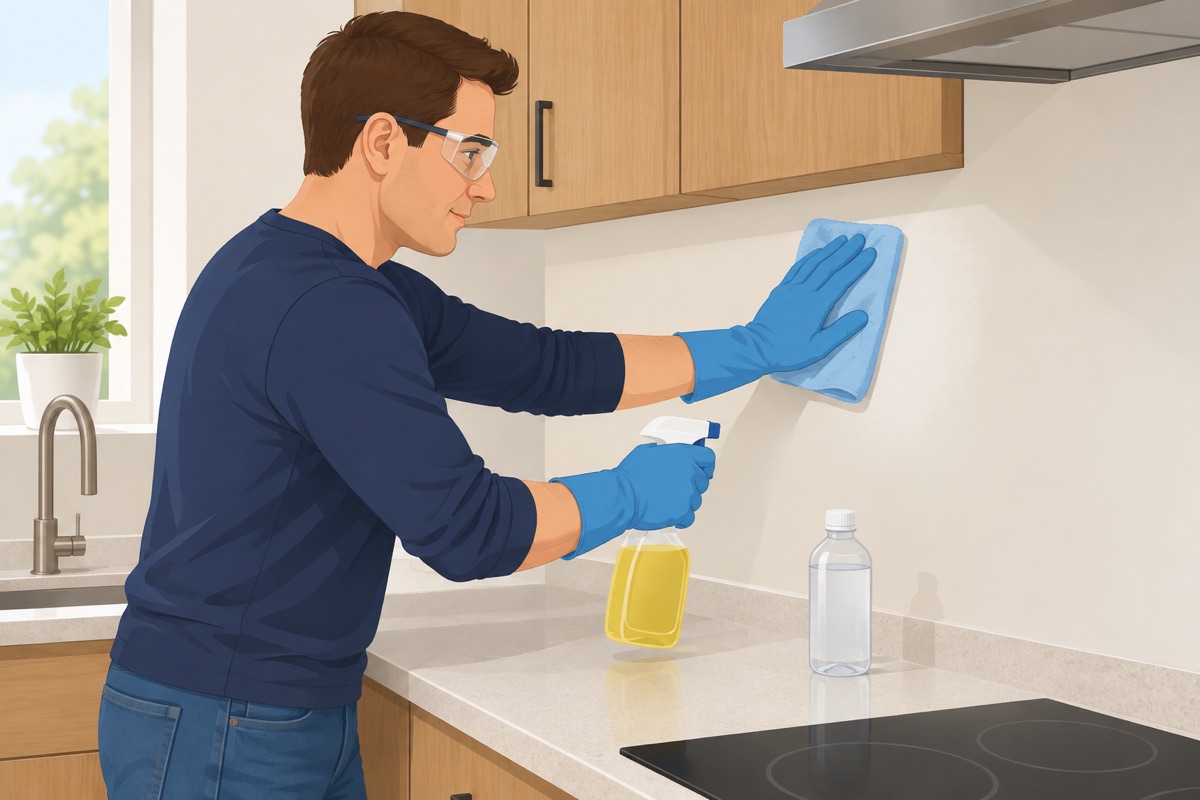
Wash the whole area with the degreaser as its label says, rinse with clean water, and finish with rubbing alcohol on a clean rag. Let the wall dry completely. If the label asks for a primer or a particular paint, put it on now and wait the time on that can before you go on.
Step 4 of 9
Breakers off, test, then take the covers off
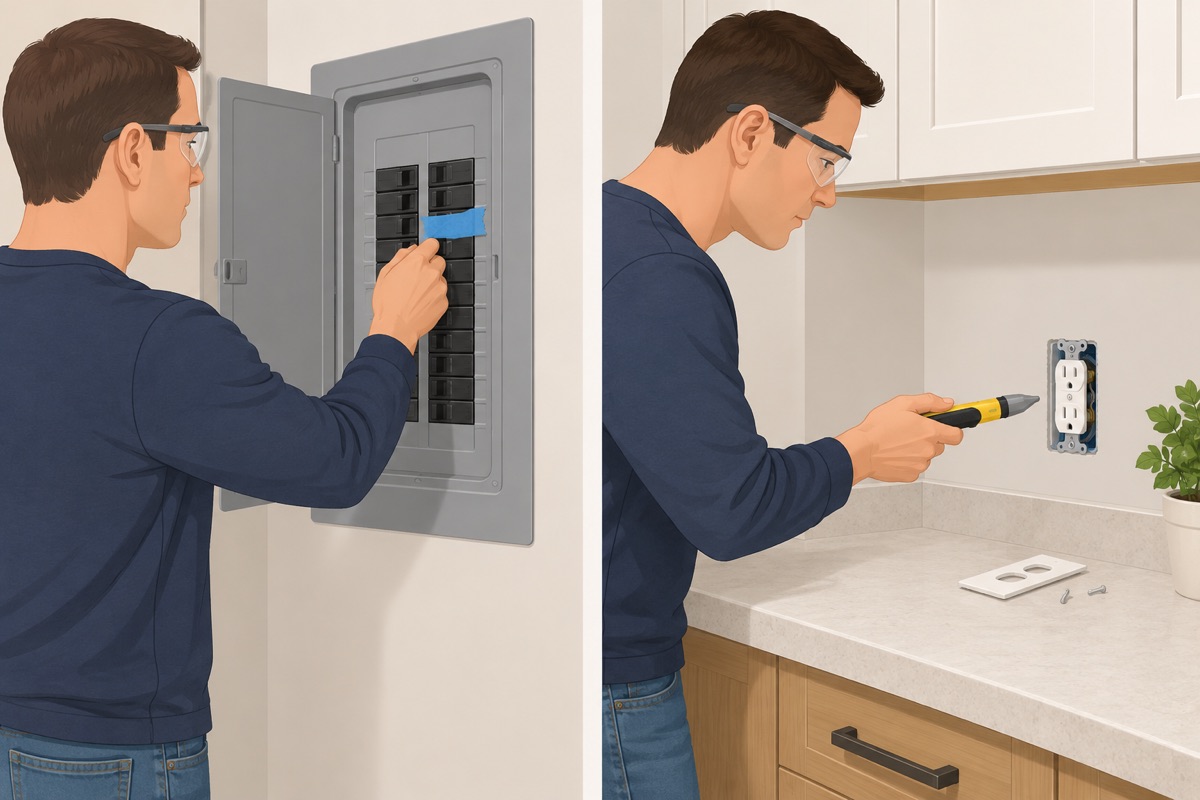
Turn off the breakers for the outlets and switches on the backsplash wall — kitchens often have two or more circuits there — and tape them. Check the non-contact tester on a live outlet, then test every outlet and switch on the wall. Take the cover plates off and keep the screws. Leave the devices in their boxes; do not loosen them or pull them out.
Before you cut near an outlet
- The breakers for every outlet and switch on the wall are off and taped
- The non-contact tester worked on a live outlet, then showed every outlet and switch on the wall dead
- The cover plates are off, and the devices stay in their boxes, untouched
- Box extenders are on hand if the product's label calls for them — or it does not
Step 5 of 9
Draw a level line and plan the layout
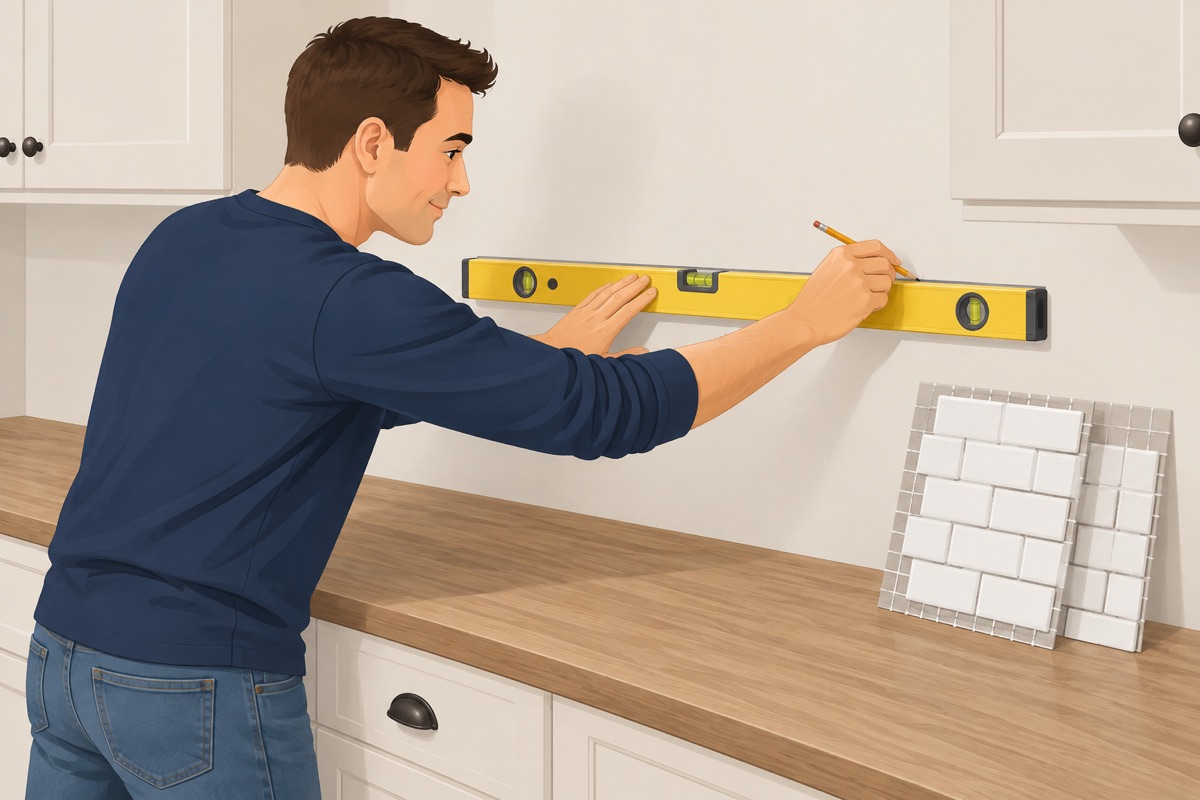
Find the lowest point of the counter and draw a level line just above it; the first row follows the line, not the counter. Hold the sheets up with the backing still on to see where the cuts and the seams will land, and center the pattern on what people look at most — the sink window or the range.
Step 6 of 9
Stick the first sheet to the line
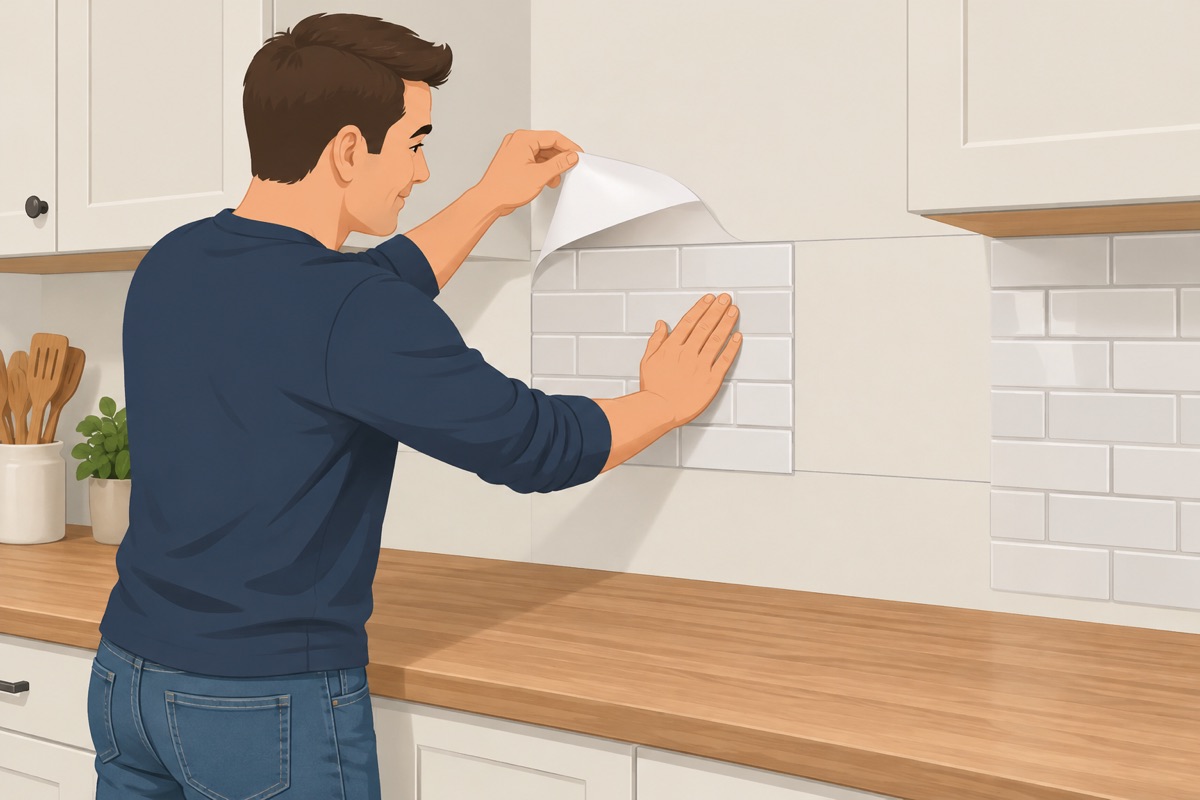
Peel back part of the backing as the label says, line the sheet up with the level line and the starting edge, and press it on from the center out. Peel the rest of the backing as you go. Leave the gap at the counter the label gives, if it gives one.
Step 7 of 9
Work across, matching the seams the way the label shows
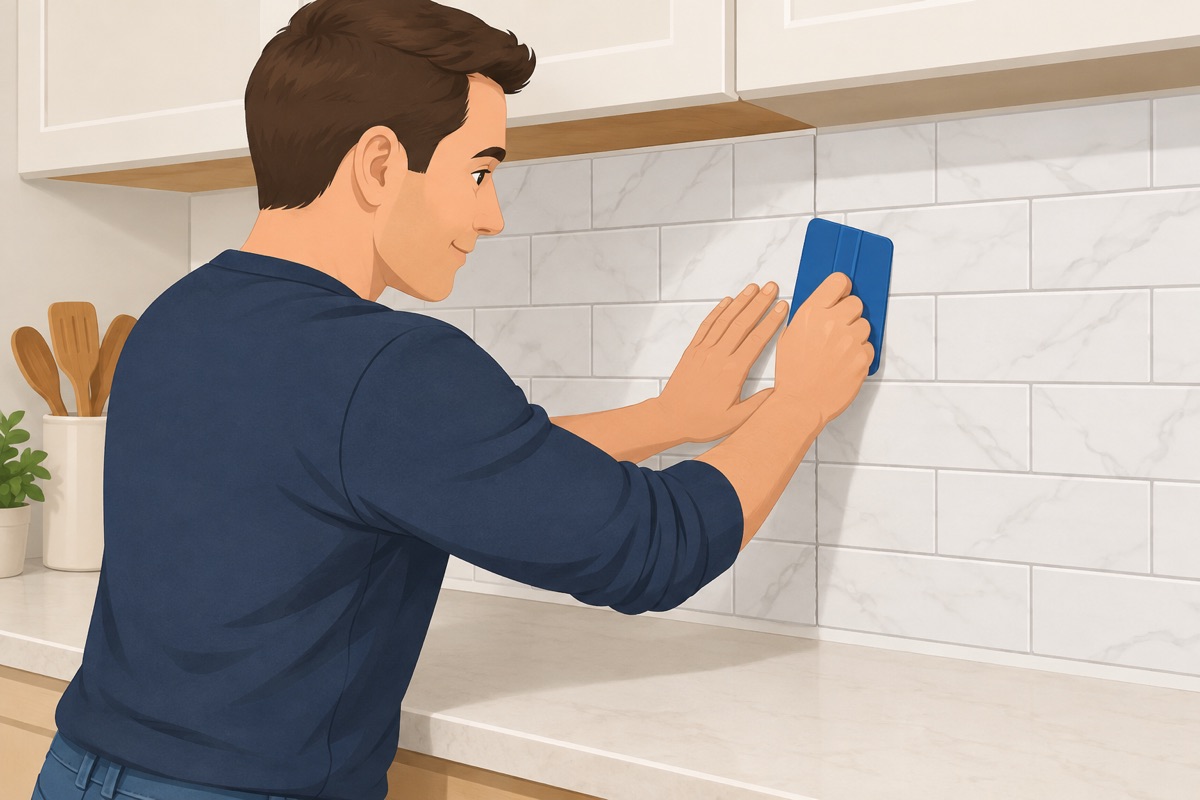
Line up each new sheet with the pattern of the last one, overlapping or butting the edges the way the label shows. Press every sheet from the center out with the smoothing tool, then go over the edges and the seams again.
Step 8 of 9
Cut around the outlets and at the ends
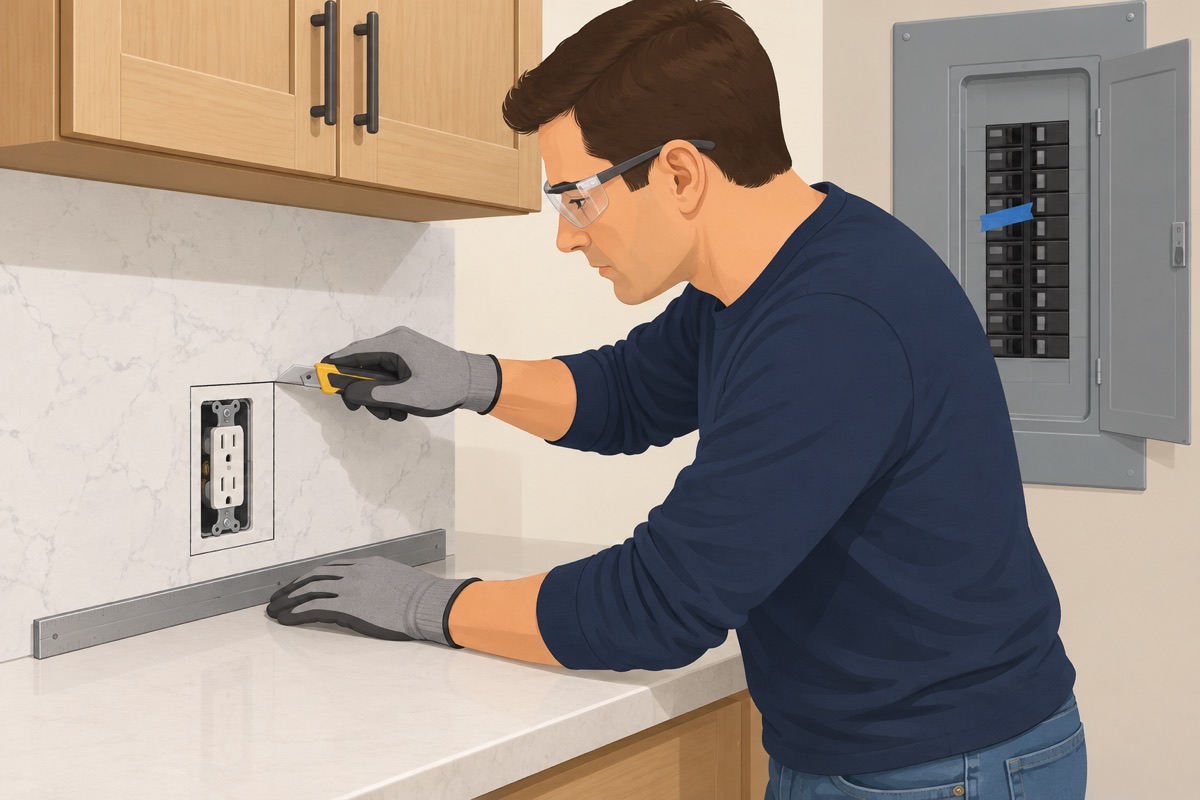
Hold the sheet over the outlet, press lightly to see the box outline, and cut the opening with a fresh blade so the cover plate will overlap the cut edge. Cut the ends and around the cabinets against the straightedge. Change the blade often: a dull blade tears the sheet.
Step 9 of 9
Edges, covers back on, power on
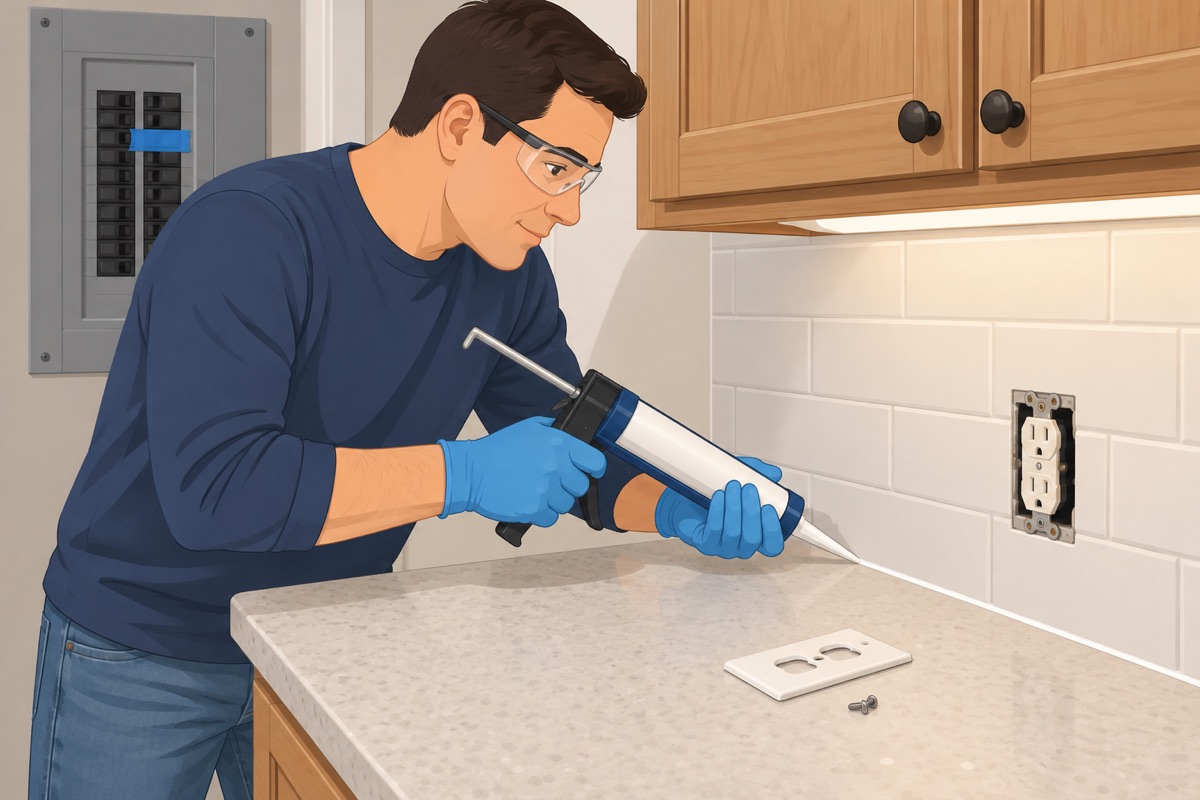
Finish the exposed edges and the joint at the counter with the trim or the caulk the label suggests. If the label calls for box extenders, fit them now, with the breaker still off and tested dead, as the extender's package says: loosen the device's two mounting screws, slip the extender into the box around the device, and screw the device back — without undoing any wire. Put the cover plates back with their screws, only snug — overtightening cracks the plate. Then switch the breakers on and check that every outlet and switch works.
Quality check
- Every sheet is pressed down: no lifting edges, bubbles, or open seams
- The area behind the cooktop or the range follows the label
- Every cover plate is back on and covers the cut edge
- The breakers are on, and every outlet and switch on the wall works
- No sheet covers an outlet, a switch, or a vent
Common mistakes
- Sticking it to a greasy or dusty wall. Adhesive does not hold on kitchen grease or dust, and the sheets lift at the edges within weeks. Degrease, rinse, and let the wall dry completely before the first sheet. Mistake #1 in this task.
- Running it behind the cooktop without checking the label. Many peel-and-stick products are not made for the heat next to a burner or a hot surface. Read the label: if it does not say the product is allowed behind your cooktop or range, leave that area out or use a product rated for it.
- Cutting around an outlet with the power on. The knife and the cover screws work next to the outlet's terminals. Turn the breaker off and test the outlet dead before the cover comes off, and keep it off until the cover is back on.
- Starting the first sheet off level. Counters are rarely level, and a crooked first sheet throws off every sheet after it. Draw a level line and set the first sheet to the line, not to the counter.
- Not pressing it down hard enough. Pressure-sensitive adhesive bonds only where it is pressed. Smooth every sheet from the center out with the tool, then press the edges and the seams again, as the label says.
Questions
How do you install a peel-and-stick backsplash?
Read the label, then wash the wall with a degreaser, rinse, wipe it with rubbing alcohol and let it dry completely. Turn off the breakers for the outlets on that wall, test them dead and take the cover plates off. Draw a level line just above the lowest point of the counter, stick the first sheet to the line from the center out, line up each next sheet with the pattern, press every edge and seam, cut around the outlets, and put the covers back.
Can peel-and-stick backsplash go behind a stove?
Only if the product's label says so. Many peel-and-stick products are not made for the heat next to a burner or a hot surface, or need a clearance there. If the label does not say it is allowed behind your cooktop or range, leave that area out or use a product that is rated for it.
Why is my peel-and-stick backsplash peeling off?
Usually a greasy or dusty wall, or sheets not pressed hard enough. Adhesive does not hold on kitchen grease, so degrease, rinse and let the wall dry before the first sheet. Pressure-sensitive adhesive bonds only where it is pressed: smooth every sheet from the center out, then press the edges and the seams again.
When should I stop and call a pro?
Peel-and-stick goes on a smooth, flat, clean, dry, sound wall, as its label describes — it is decoration and splash protection, not waterproofing. Stop and get help if: the wall is water-stained, soft, moldy, or crumbling, especially behind the sink — fix the leak and the wall first; the wall is heavily textured or uneven and the label says the product will not stick to it; or you would have to sand old painted walls in a home from before 1978 to make them smooth (lead paint — do not dry sand). Behind a cooktop or a range, follow the product's label on heat: many peel-and-stick products are not made for use near a burner or a hot surface, or need a clearance there — if the label does not say it is allowed, leave that area out. Outlets and switches stay as they are: turn the breaker off and test the outlets dead before you take the cover plates off, leave the devices in their boxes, and use box extenders only where the label says the product's thickness needs them. Moving a box or a device, or adding a circuit, goes to an electrician. Removing an old tile backsplash first is its own guide, with its own asbestos test in a home from before 1980.