How to install a ceiling fan yourself: step by step
Swap an existing ceiling light for a fan on the same switch and the same wires — only where the box is rated for a fan, or you put in a fan-rated brace box from below. Breaker off, tested dead twice, and the fan hung on its bracket before you wire it.
Difficulty 3 of 5 · about half a day · careful
Stop here
Photo of your room, the look you pick, then this guide with the materials counted for your room.
What you need
- Ceiling fan (with a light kit if you want light)
- Fan-rated brace box for existing ceilings
- Wire connectors sized for the wires you are joining
- Fan speed control that the fan maker allows
Tools
- Non-contact voltage tester — the one tool you do not skip
- Two-lead voltage tester or multimeter (confirms what the non-contact tester says)
- Insulated screwdrivers, flat and Phillips
- Wire strippers
- Needle-nose pliers (bending the hook on a terminal screw)
- Cordless drill and driver
- Fiberglass step ladder
- Headlamp or work light (the room's light is on the circuit you just killed)
- Phone camera (for the before photo of every box)
- A helper to lift the fan
Step by step
Step 1 of 12
Read the stop-gate and confirm this is a swap
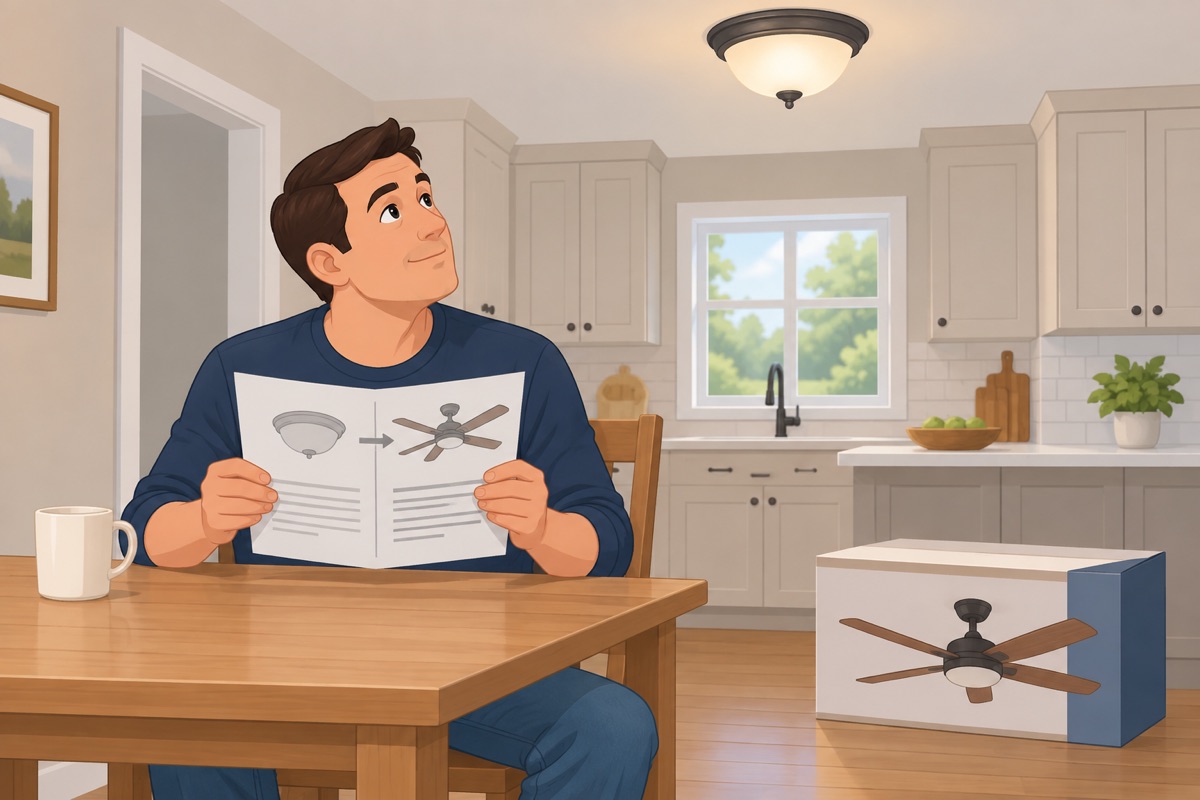
This guide covers one thing: a fan in place of an existing ceiling light, on the same switch and the same wires. A new switch, a separate switch for the light, a new box location, or a vaulted ceiling that needs a special mount is an electrician's job.
Before you buy the fan
- The fan replaces an existing ceiling light, on the same switch
- The ceiling is flat, or the fan includes the mount your ceiling slope needs
- The blades will be at least 7 ft above the floor
- No new switch, switch loop, or wall dimmer is part of the plan
- You have a helper to lift the fan
Step 2 of 12
Pick the fan and how you will control it
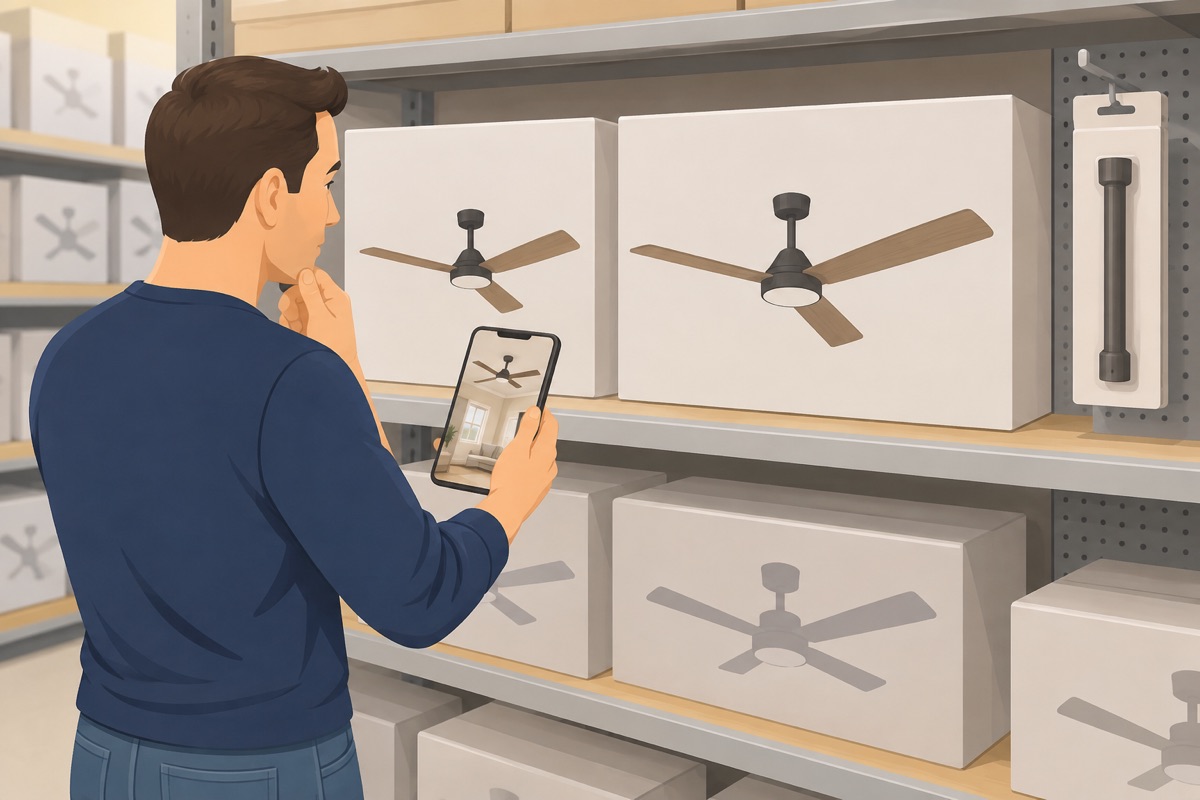
Match the blade span to the room size on the box, and pick the downrod length that keeps the blades at least 7 ft above the floor and the distance from walls the manual asks for. Control it with its pull chains, its remote, or a wall control the fan manual names — not a light dimmer.
Step 3 of 12
Turn the breaker off and set up your own light
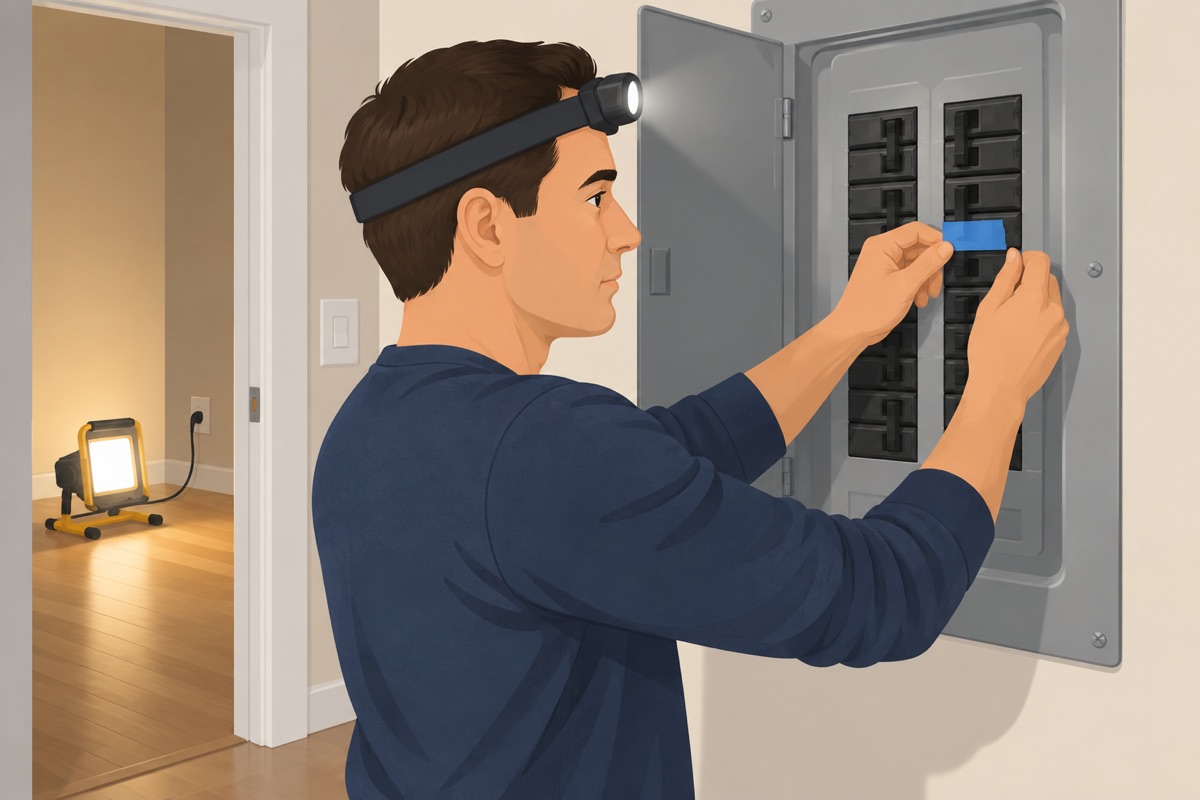
Switch off the breaker for the light and put tape over it so nobody flips it back. Turn the wall switch off too. Set up a headlamp or a work light plugged into another room.
Step 4 of 12
Verify dead with two testers
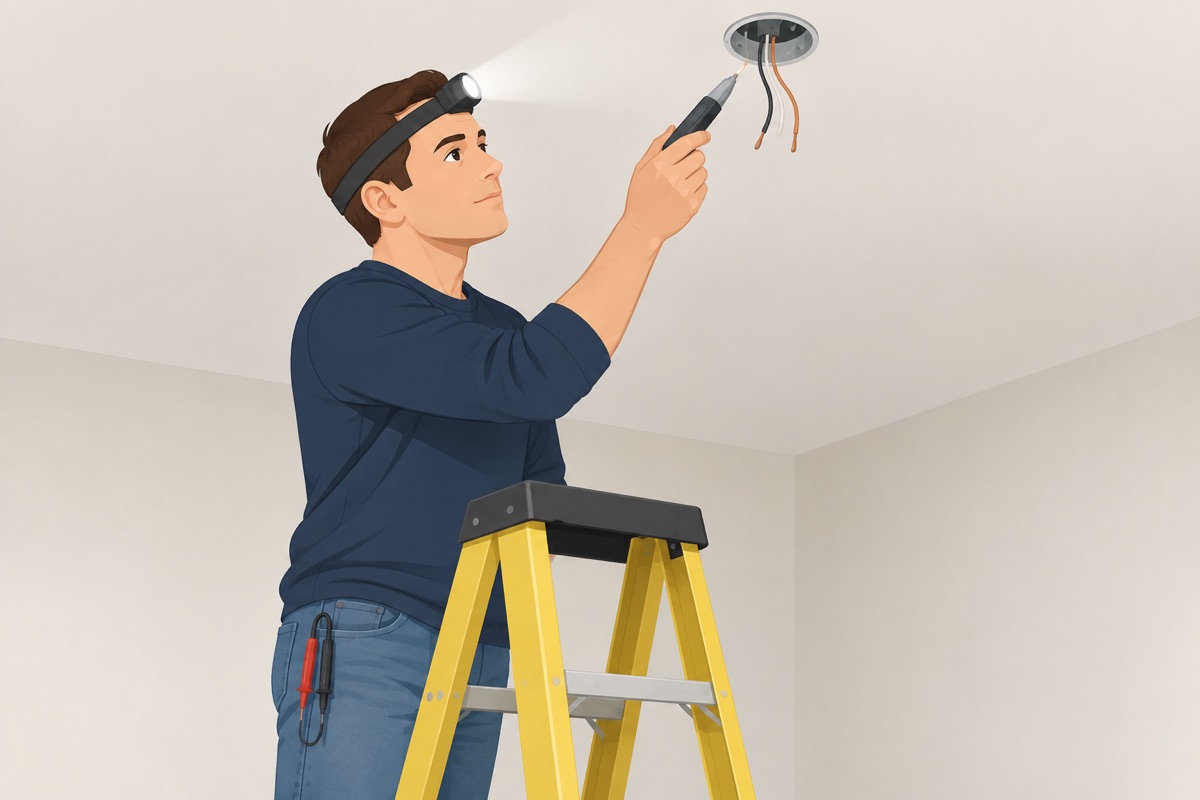
Prove the non-contact tester on a known live outlet. Lower the old fixture's cover and hold the tester against every wire in the box. Then confirm with the two-lead tester: hot to neutral and hot to ground must both read zero. If the box has more than one cable, test every black and red wire — there may be a second circuit.
Step 5 of 12
Take the old light down and read the box
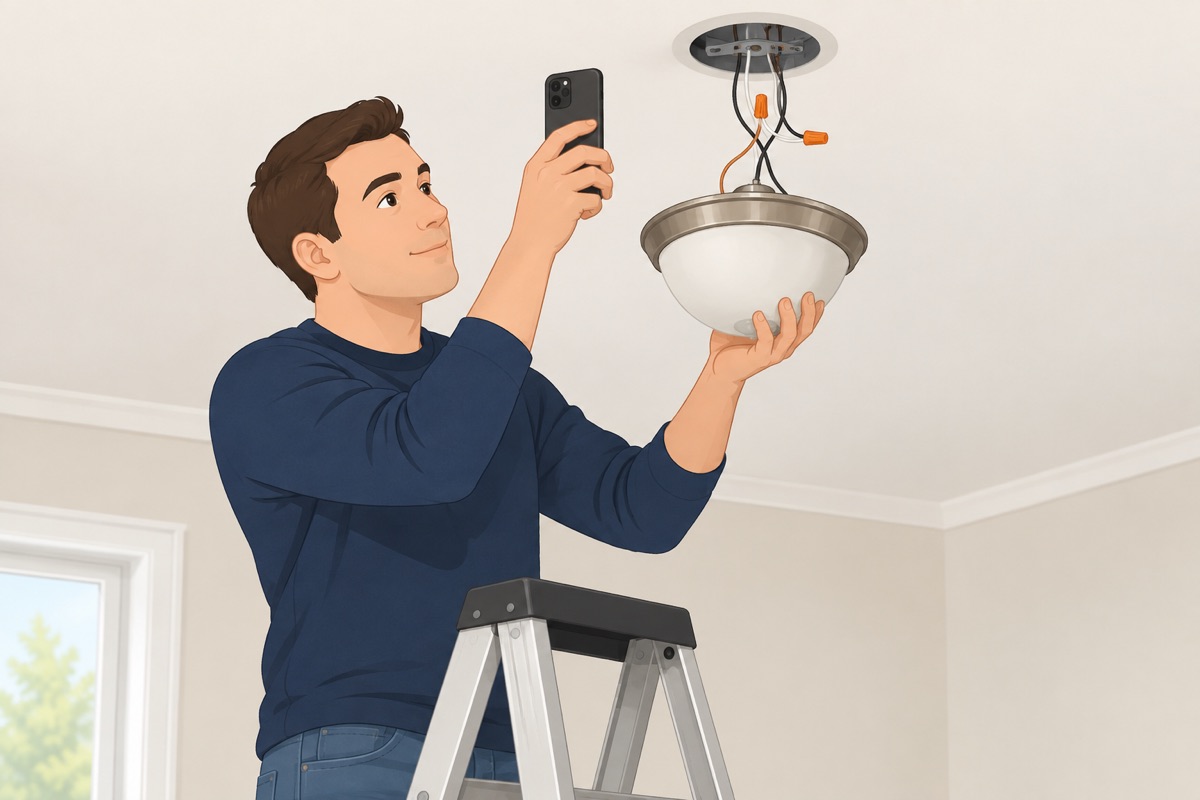
Support the old fixture, photograph the wiring with every connection visible, then disconnect it and take it down. Look inside the box for the marking "acceptable for fan support". Note whether there is a ground wire, whether the wire is copper, and whether the insulation is sound.
Before anything goes up
- The breaker is off and taped, and every wire tested dead with both testers
- The box is marked for fan support, or you will replace it with a fan-rated brace box from below
- There is a ground wire in the box
- The wiring is copper with sound insulation, and no scorch marks or melted plastic
- You photographed the wiring and know which wire is which
Step 6 of 12
Swap in a fan-rated brace box if the box is not rated
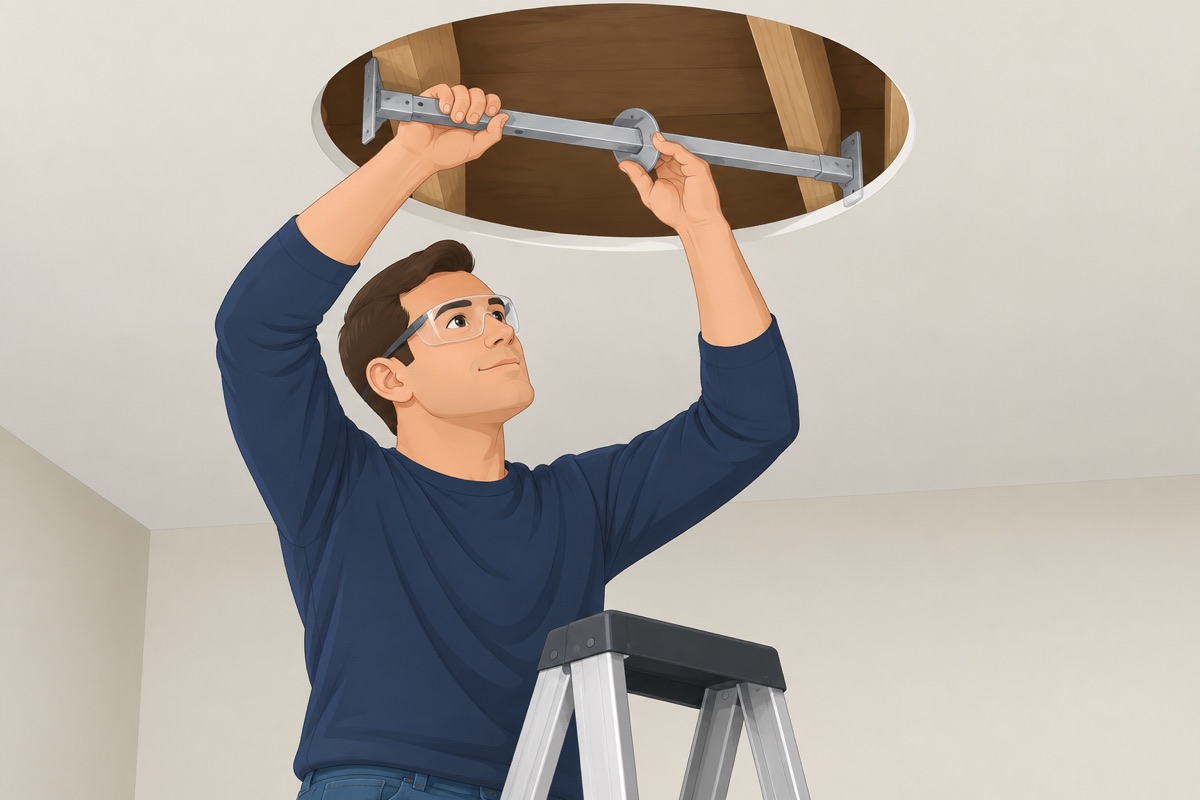
Skip this step if the box is already marked for fan support. Otherwise remove the old box, slide the fan-rated brace through the hole, set it between the joists, and tighten it until it bites, exactly as its instructions say. Mount the new box on the brace and pull the cable into it. If the brace will not fit or will not bite, stop and call an electrician.
Step 7 of 12
Assemble the fan on the floor
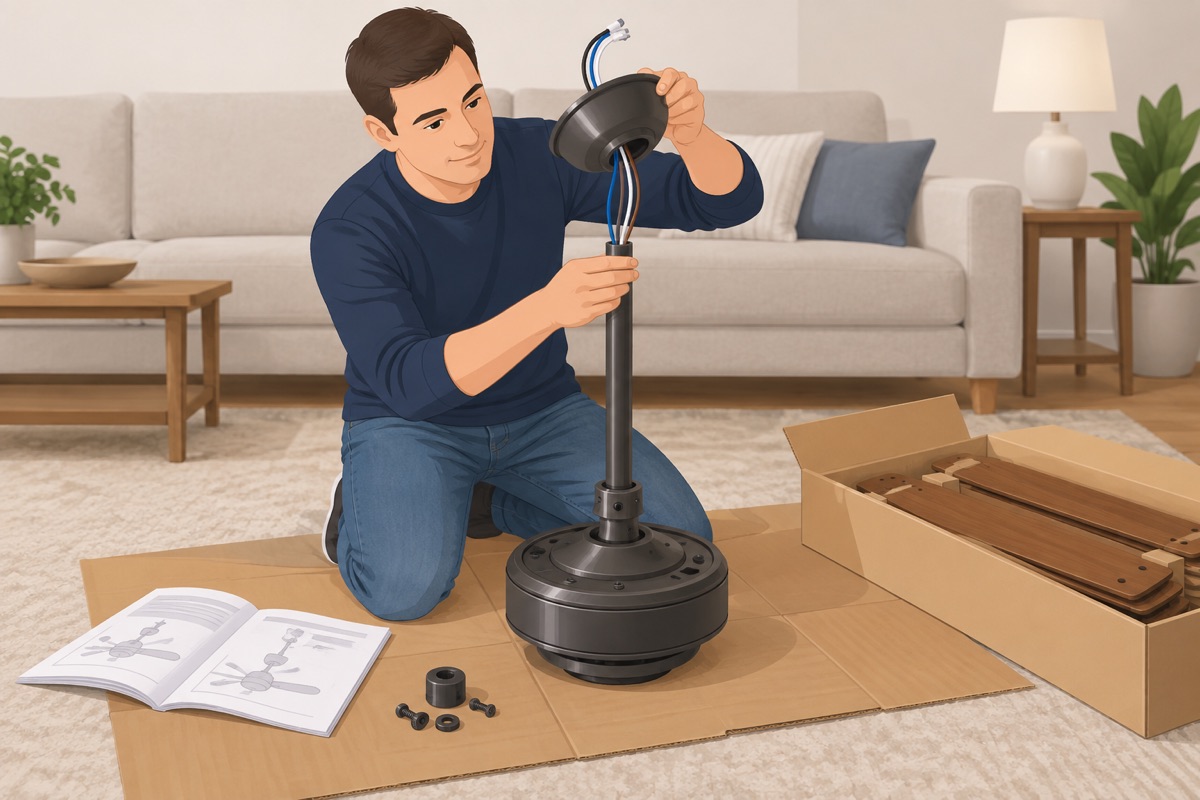
Follow the manual: feed the fan wires through the downrod and the canopy, pin and lock the downrod to the motor, and fit the hanging ball. Attach the blades only when the manual says to — on many fans that is after the fan is hung.
Step 8 of 12
Mount the bracket and hang the fan on it
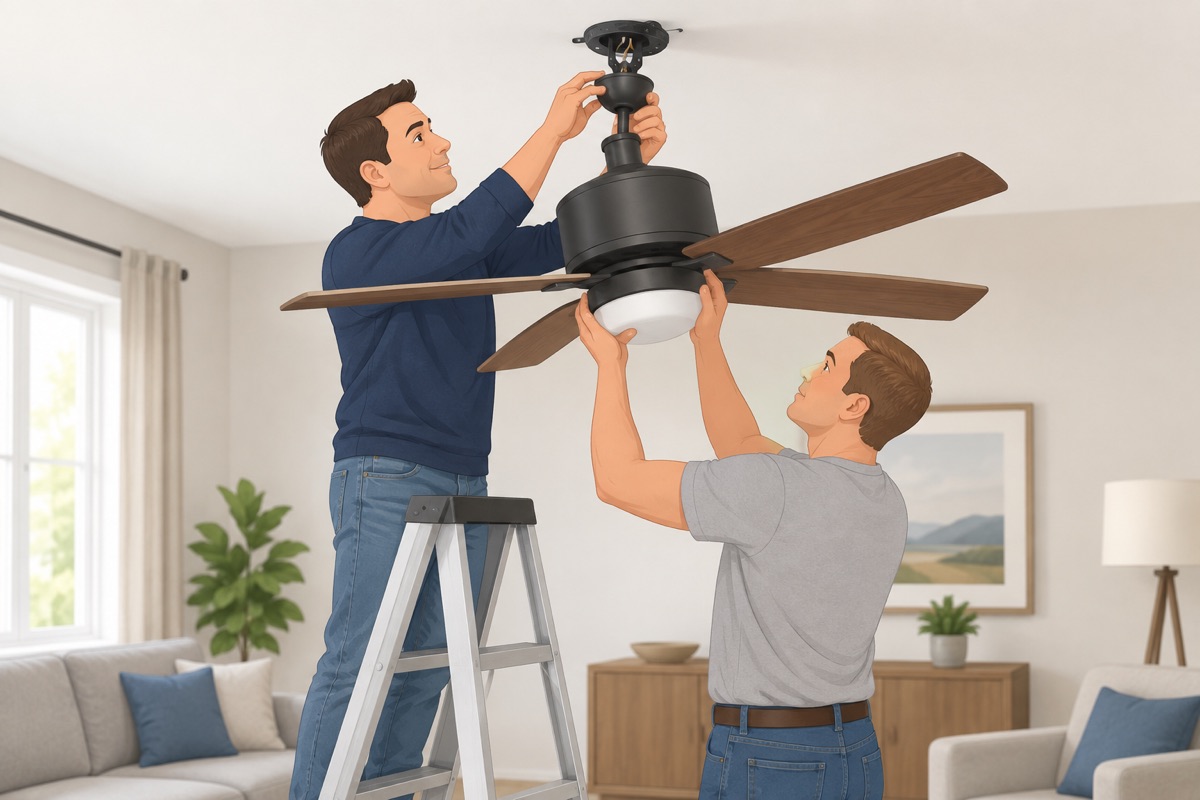
Screw the fan's mounting bracket to the box with the screws that came with the fan-rated box. With your helper, lift the fan and seat the ball in the bracket, or hang it on the bracket hook, so it holds its own weight while you wire.
Step 9 of 12
Wire it the way the fan manual shows
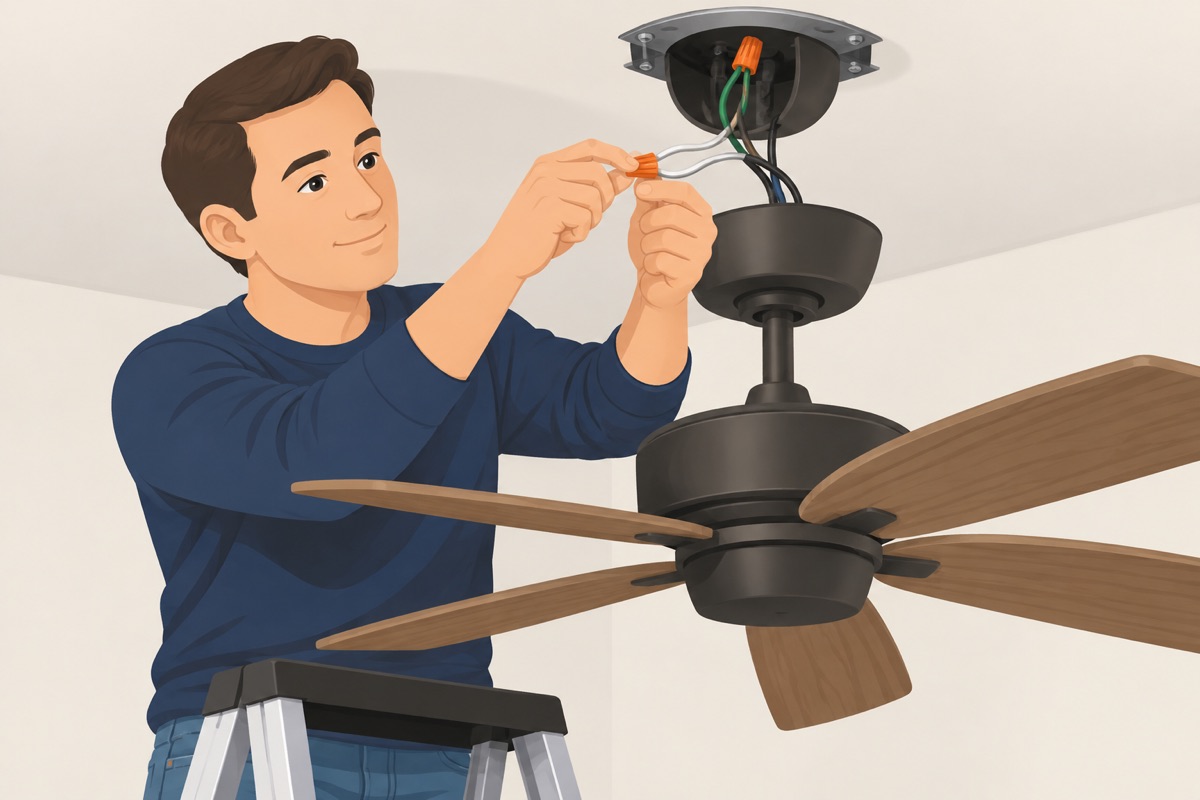
Use the colors in the fan manual. Usually: ground to ground (bare or green), and to the box if it is metal; white fan wire to the white house neutral; black fan wire (the motor) and blue fan wire (the light) to the black house hot when one switch runs both. Twist each connector until the wires turn together, then tug each wire. No bare copper may show outside a connector.
Step 10 of 12
Close the canopy and fit the blades and light
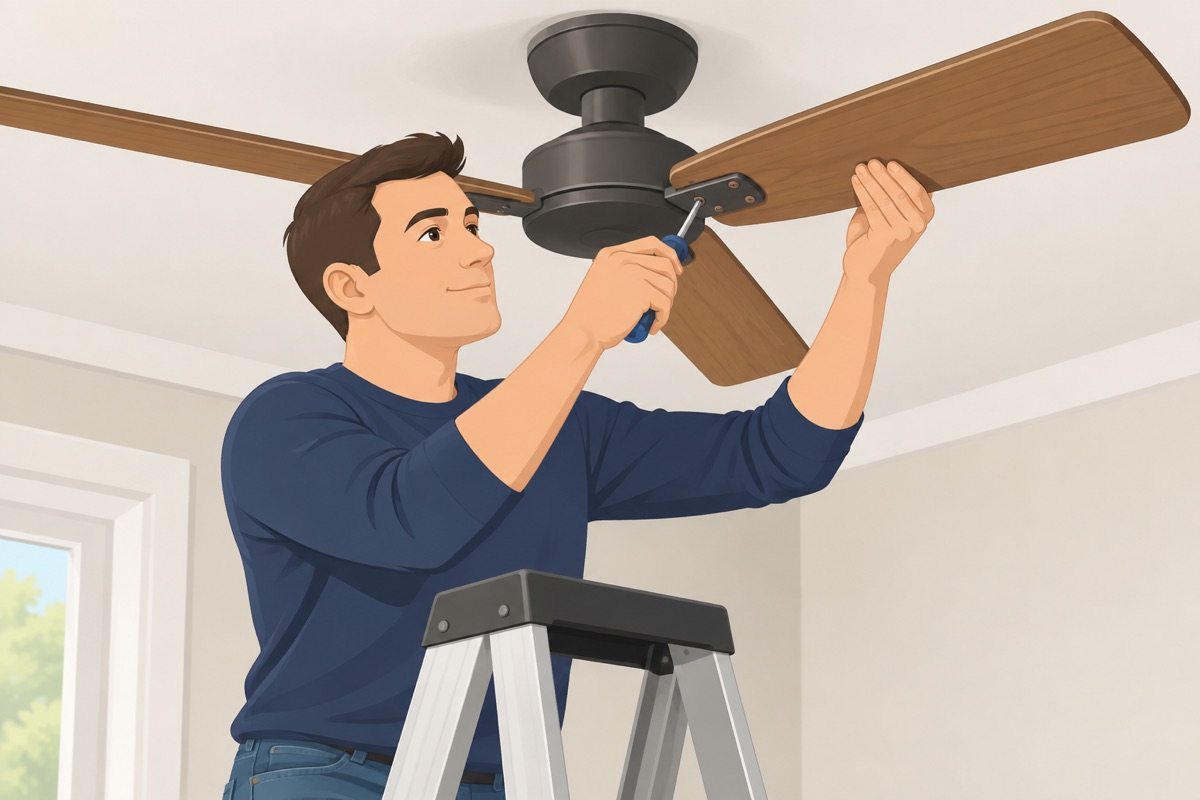
Fold the wires into the box so nothing is pinched, raise the canopy, and tighten its screws. Fit the blades and tighten every blade screw, then the light kit and its bulbs.
Before the breaker goes back on
- Every connection matches the fan manual and passed a tug test
- No bare copper shows outside a connector, and every ground is connected
- The fan is fully seated on its bracket and the canopy screws are tight
- Every blade screw is tight
- Nothing is pinched under the canopy
Step 11 of 12
Turn it on and balance it
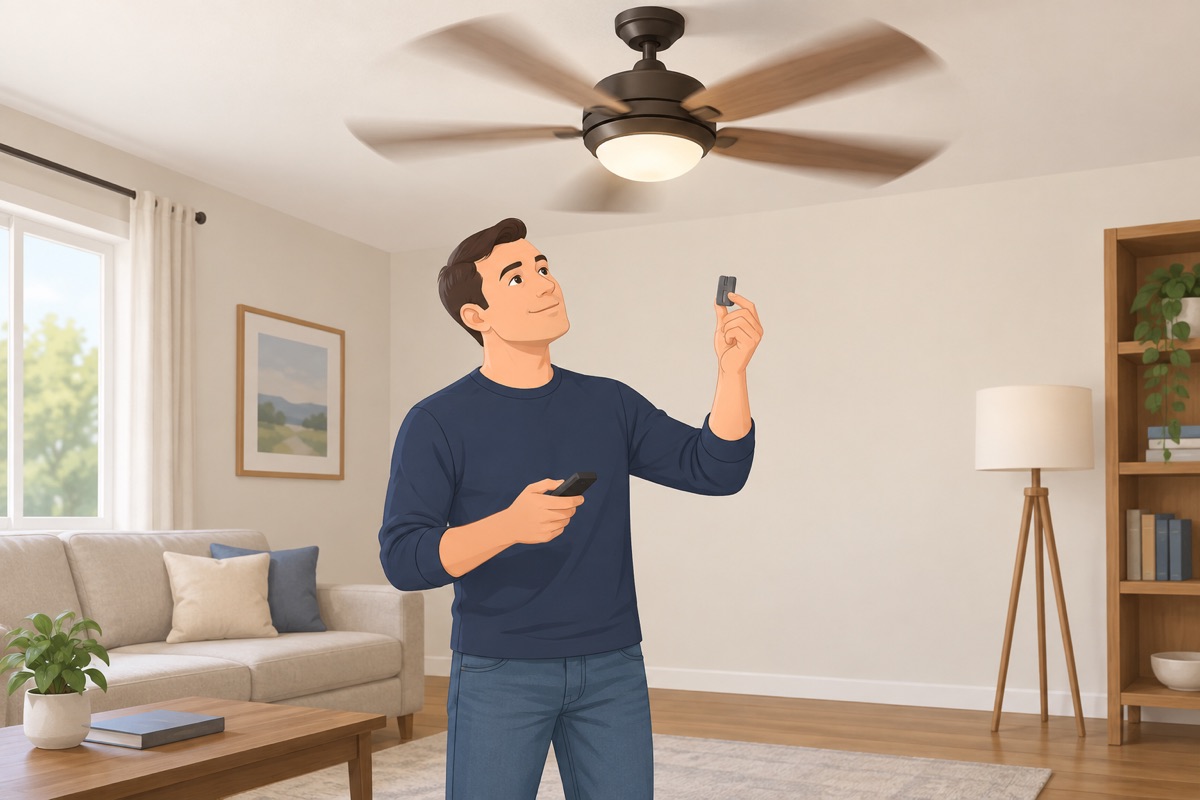
Breaker on. Run the fan at every speed. If it wobbles, turn it off and check the blade screws and that the fan is fully seated. Still wobbling: measure each blade tip to the ceiling and use the balance kit from the box exactly as the manual shows.
Step 12 of 12
Test everything and label the panel
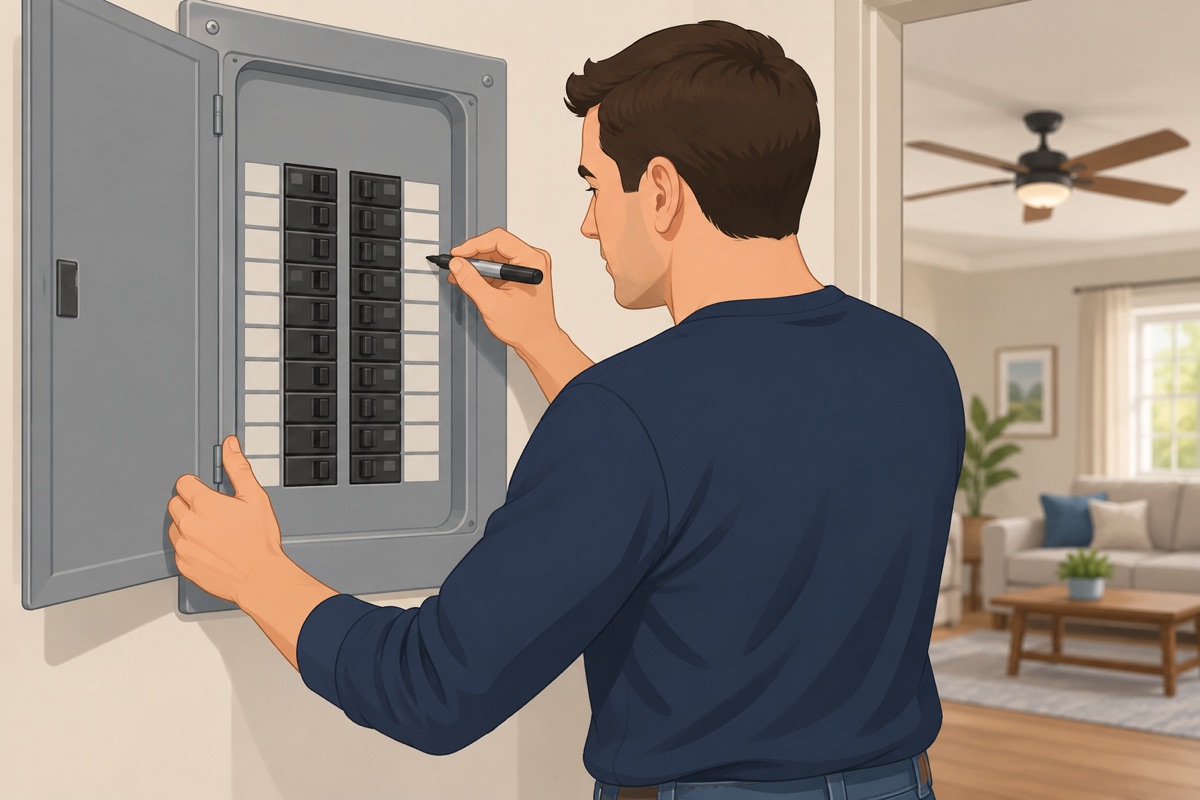
Check the light, every speed, the reverse switch, and the remote if there is one. Measure from the floor to the blades once more. Write on the panel which breaker runs the fan.
Before you call it done
- The fan runs at every speed with no wobble, knock, or hum
- The light and the wall switch work the way the old light did
- The blades are at least 7 ft above the floor
- Nothing is warm to the touch after an hour of use
- The panel is labeled
Common mistakes
- Running the fan on a wall dimmer. A light dimmer on a fan motor can hum, overheat, or burn out the motor. Use the fan's pull chains or remote, or only a wall control the fan manual names.
- Trusting the wall switch instead of the breaker. A switched-off light can still have a live wire in the box, and some boxes carry a second circuit. Turn the breaker off and test every wire yourself.
- Hanging a fan on a light-only box. A fan is heavy and it shakes. A box made for a light can work loose and let the fan fall. The box must be marked for fan support, or be replaced with a fan-rated brace box. Mistake #1 in this task.
- Holding the fan up while you wire it. Wiring over your head with the fan in one hand is how connections come out loose and how people fall off ladders. Hang it on the bracket hook or seat it in the bracket first, then wire with both hands.
- Living with the wobble. A wobble is almost always a loose blade screw, a blade holder that is bent, or a fan that is not fully seated in its bracket. Check those before the balance kit, and never ignore a fan that knocks.
Draft guide written from standard practice, not yet reviewed by a licensed pro. Follow product labels where they differ.
Get this job planned for your roomRelated guides
- How to install a closet system yourself: step by step
- How to install cabinet pulls, door handles and shelves yourself: step by step
- How to install a faucet, toilet and shower head yourself: step by step
- How to replace outlets, switches and light fixtures yourself: step by step
- How to connect a dishwasher, range and hood yourself: step by step
- Gas range connection: what a pro does and what you can do