How to replace a door knob, lever, or deadbolt
Short answer
To replace a door knob or a deadbolt in the holes your door already has: measure the door and buy a set that lists its thickness and backset, check that the door closes and latches on its own, take the old set and latch out, fit the new latch facing the way the door closes, join the two halves through it, line up the strike, and test every function with the door open first. Difficulty 1 of 5; for a first-timer, plan on about half a day. Read “When to stop” below before you start.
Draft guide written from standard practice, not yet reviewed by a licensed pro. Follow product labels where they differ.
Difficulty 1 of 5 · about half a day · you can do this
Photo of your room, the look you pick, then this guide with the materials counted for your room.
What you need
- Door knob or lever set (passage, privacy, or keyed)
- Deadbolt (only if you replace it too)
- Wood glue and wooden toothpicks (for a stripped screw hole)
Tools
- Phillips and flat screwdrivers
- Tape measure
- Utility knife, to score a painted-in latch plate
- Putty knife
Step by step
Step 1 of 9
Measure the door before you buy
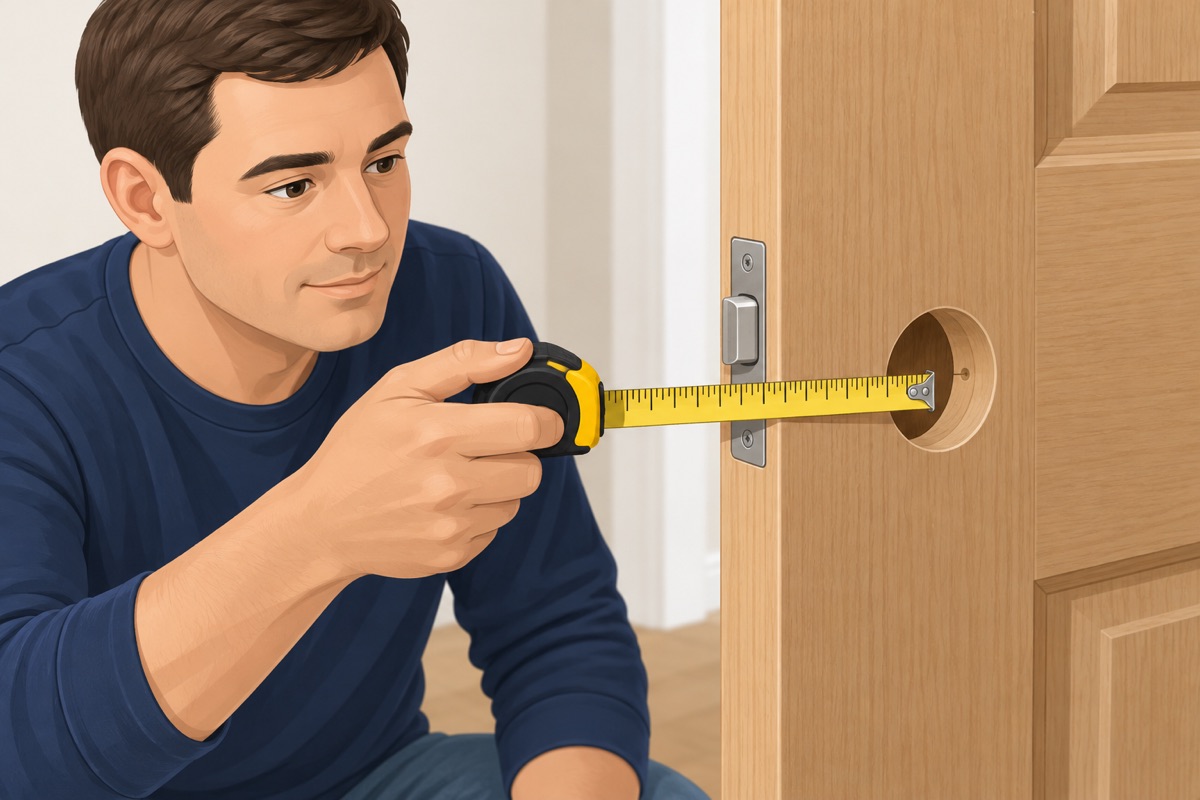
With the door open, measure the door's thickness, the size of the big hole through the face, and the backset — from the door edge to the center of that hole. Note which way the door swings and what it needs: passage (no lock), privacy (a bedroom or a bath), or keyed (an entry). Pick a set whose package lists your door's thickness and backset.
Step 2 of 9
Check that the door closes and latches now
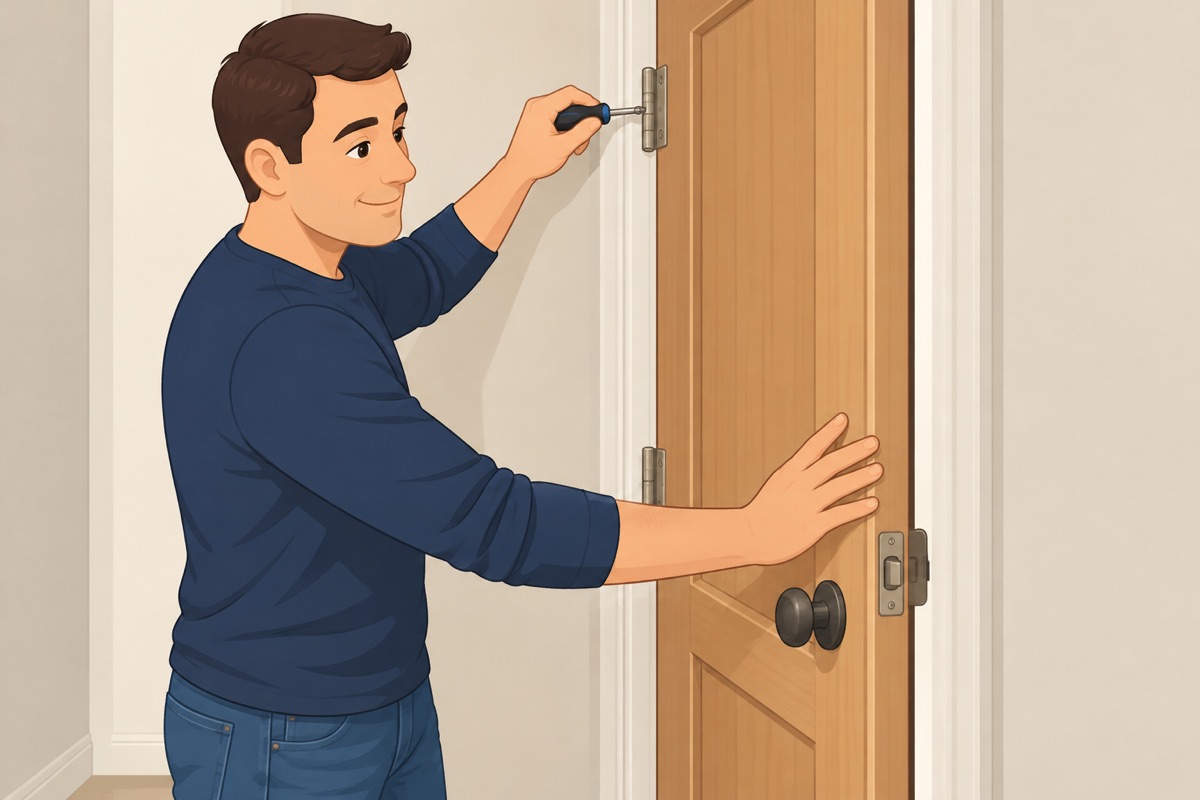
Close the door gently: it should latch on its own, without lifting or pushing, and the gap around it should be even. Tighten any loose hinge screws. A door that rubs, sags, or misses the strike is fixed first — see the stop-gate. Look at the latch edge: split, rotten, or patched wood is a stop.
Before the old set comes off
- The new set fits the holes the door has: the same bore, the same backset, and the door thickness on its package
- The door closes and latches on its own, without lifting or pushing
- The old lock is not a mortise lock, and the door is wood with a sound edge at the latch
- On an entry door: you have every key you need, and the door can be watched until the new lock works; on an apartment entry door, the landlord or the HOA said yes
- In a home from before 1978 or of unknown year: nothing on the door edge or the frame will be sanded or chiseled — or the paint tested negative for lead
Step 3 of 9
Take the old knob or lever off
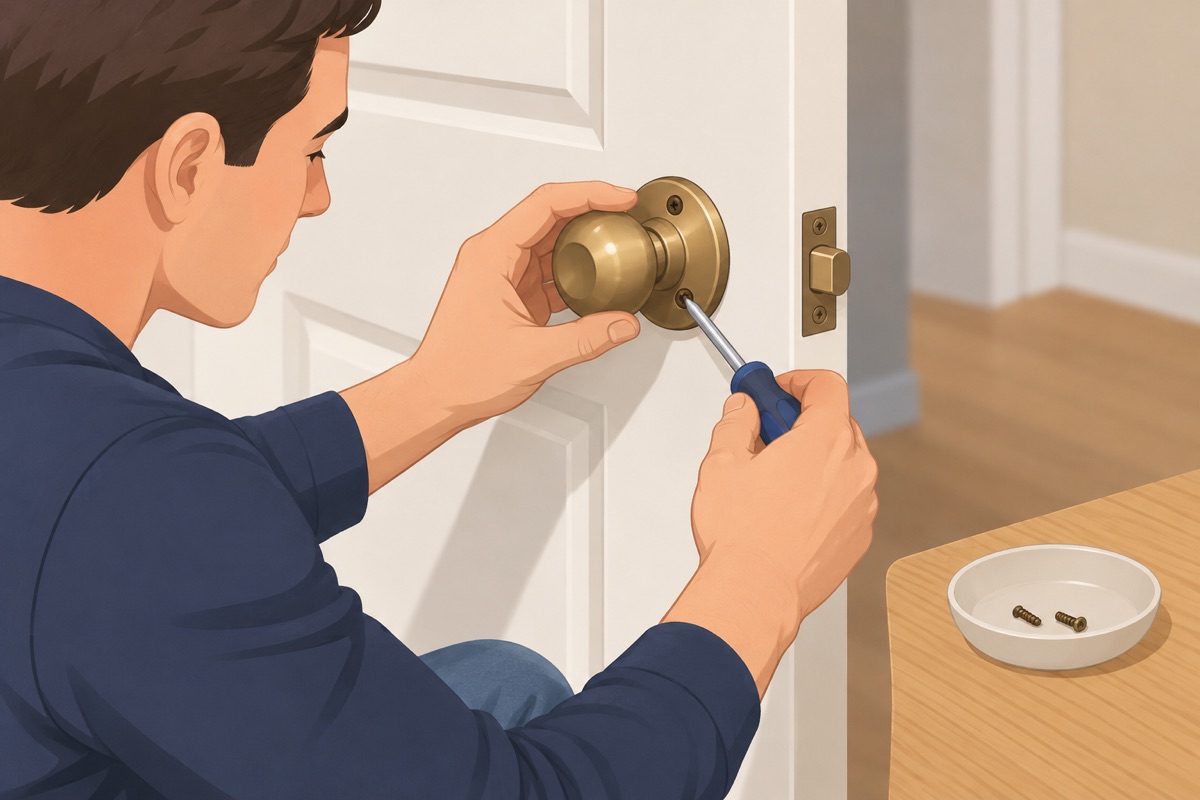
Most sets come apart from the inside: take out the two screws in the inside rose and pull the halves apart. A set with no visible screws has a small slot or pin on the neck of the knob: press it with the tool from the new package or a small screwdriver, slide the knob off, then pop the rose cover off to reach the screws.
Step 4 of 9
Take out the old latch
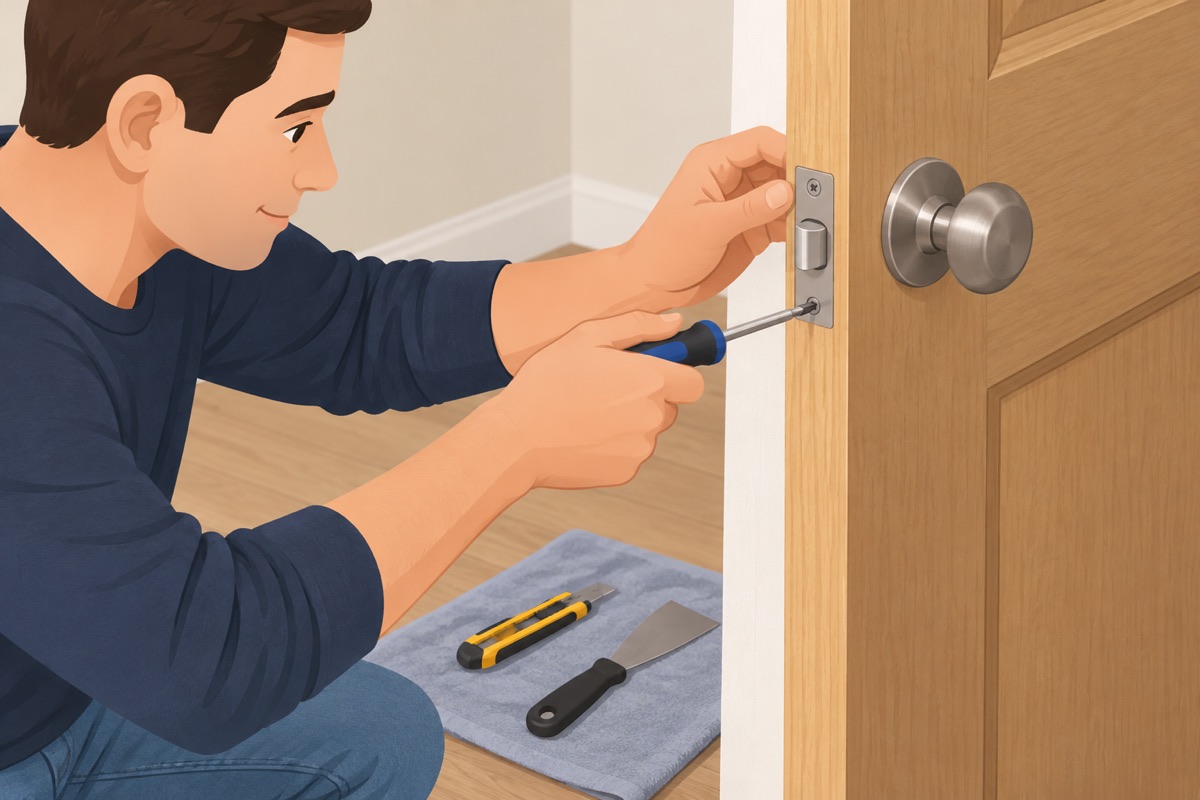
Take out the two screws in the latch plate on the door edge and pull the latch out. If paint holds the plate in, score around it with the utility knife and ease it out with the putty knife — do not pry the wood. Keep the old parts until the new set works.
Step 5 of 9
Fit the new latch
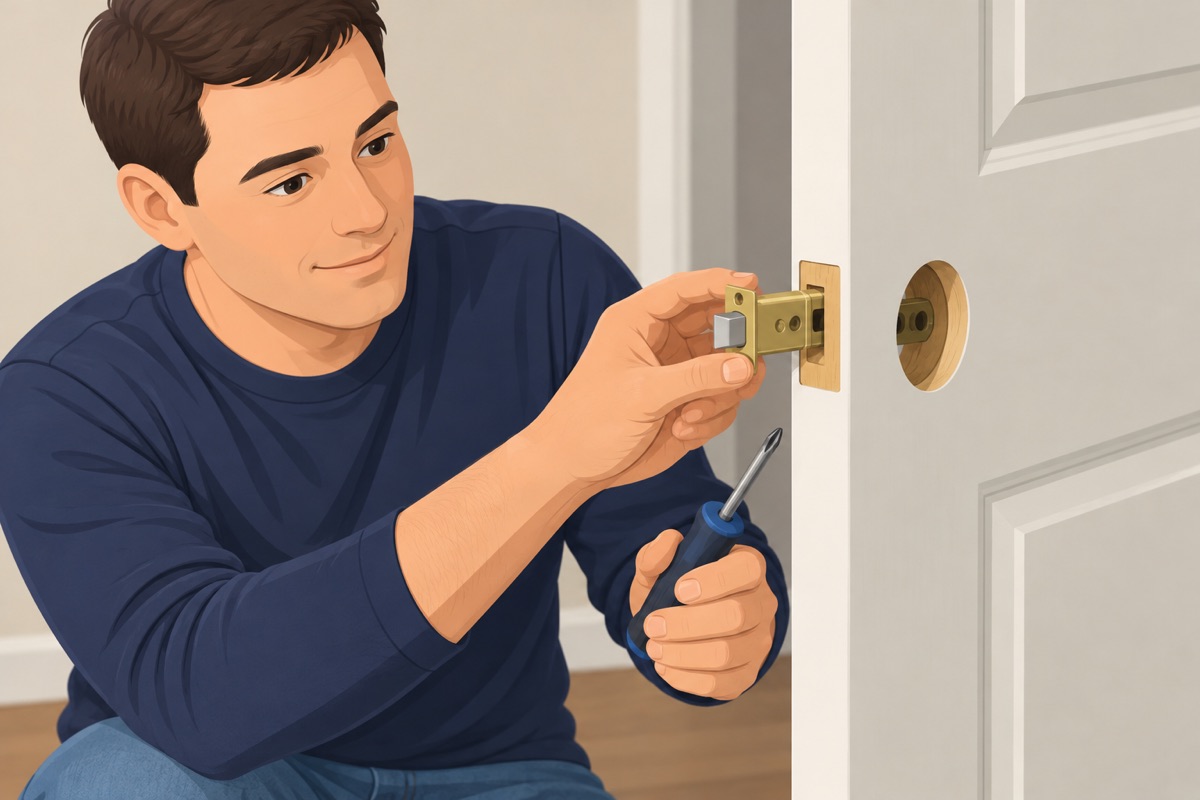
Slide the new latch into the edge hole with its slanted face toward the way the door closes. Use the plate that fits the old recess — many sets include a square plate and a round one — and set it flush. Snug its screws. If the new plate needs a bigger recess, see the stop-gate in an old home before any chisel touches the door.
Step 6 of 9
Join the two halves through the latch
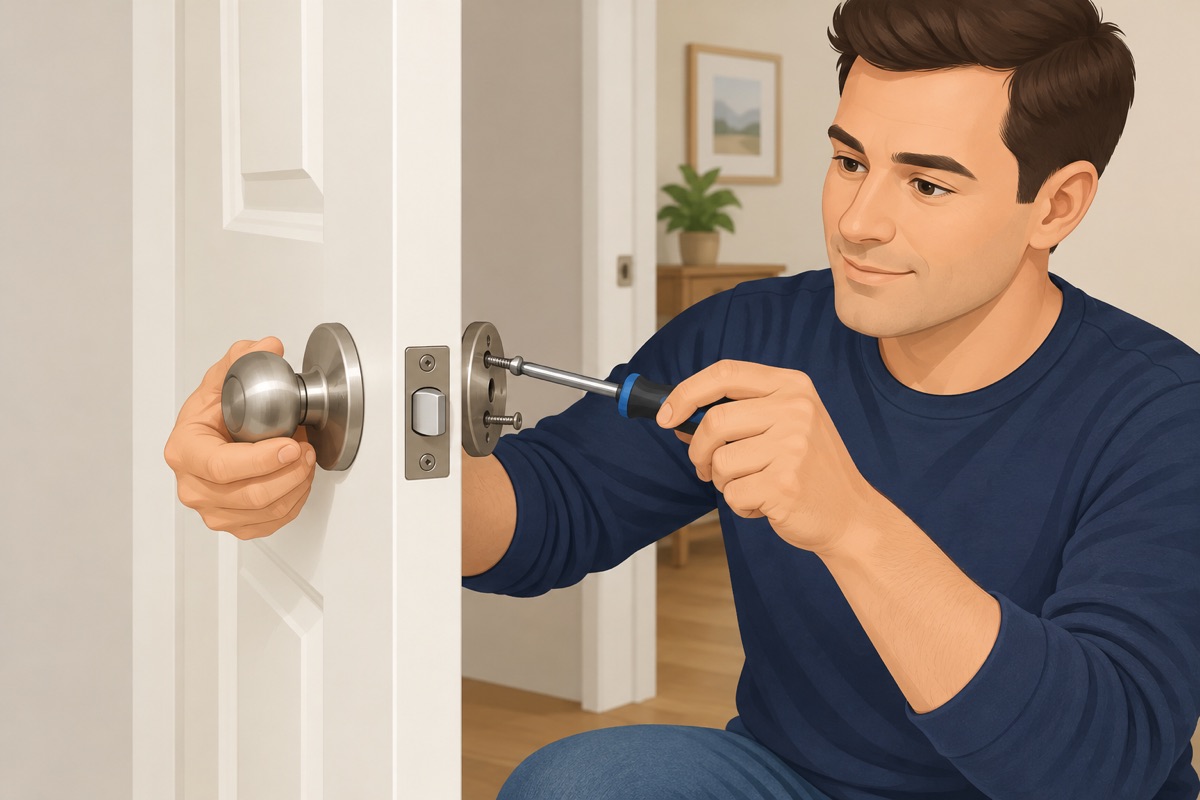
Push the outside half through the latch so its spindle or bars pass through the latch's opening. Set the inside half on from the other side, line up the screw holes, and tighten the screws alternately so the rose sits flat. A lever that points the wrong way flips as its sheet shows. With the door open, turn each side: the latch pulls in and springs back every time.
Step 7 of 9
Swap the deadbolt the same way, if you replace it
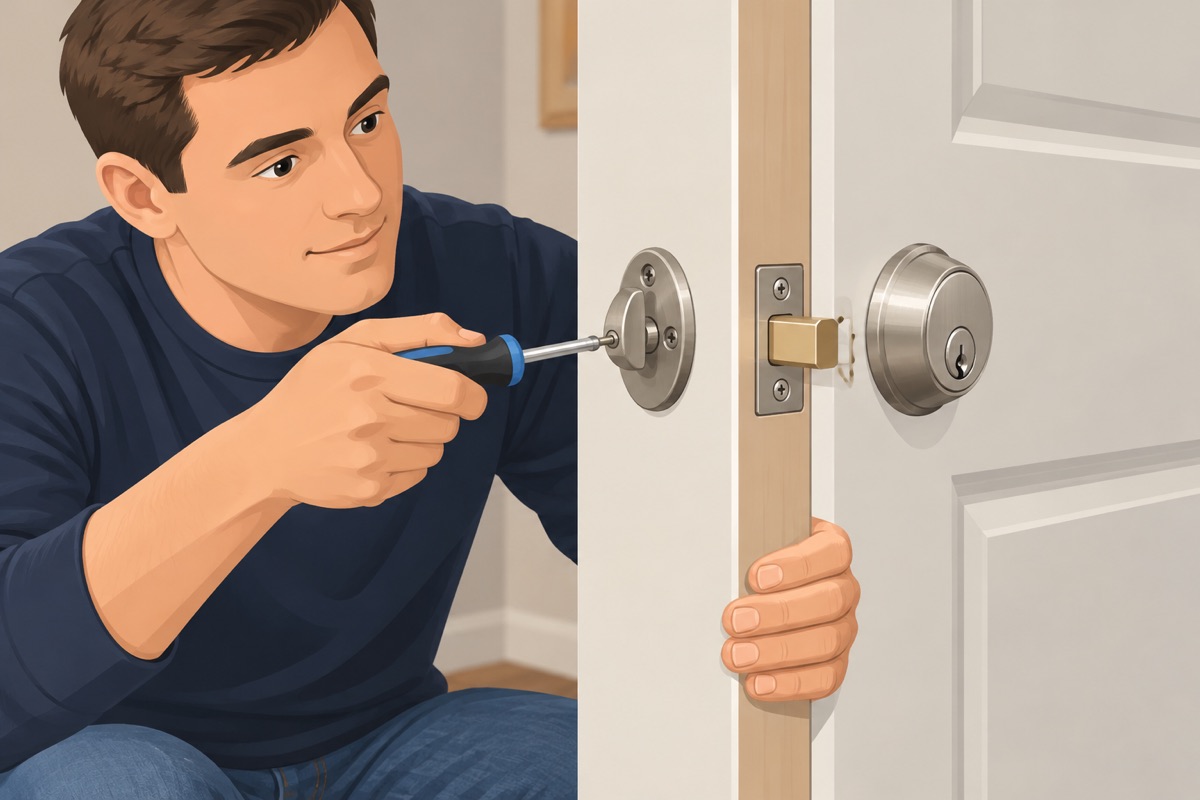
If you replace the deadbolt too: the bolt goes in the edge hole facing the way its sheet shows, the outside cylinder through it, the inside turn piece onto it, and the screws snugged evenly. With the door open, turn it with the key and the thumb turn: the bolt throws and pulls back all the way.
Step 8 of 9
Line up the strike plate
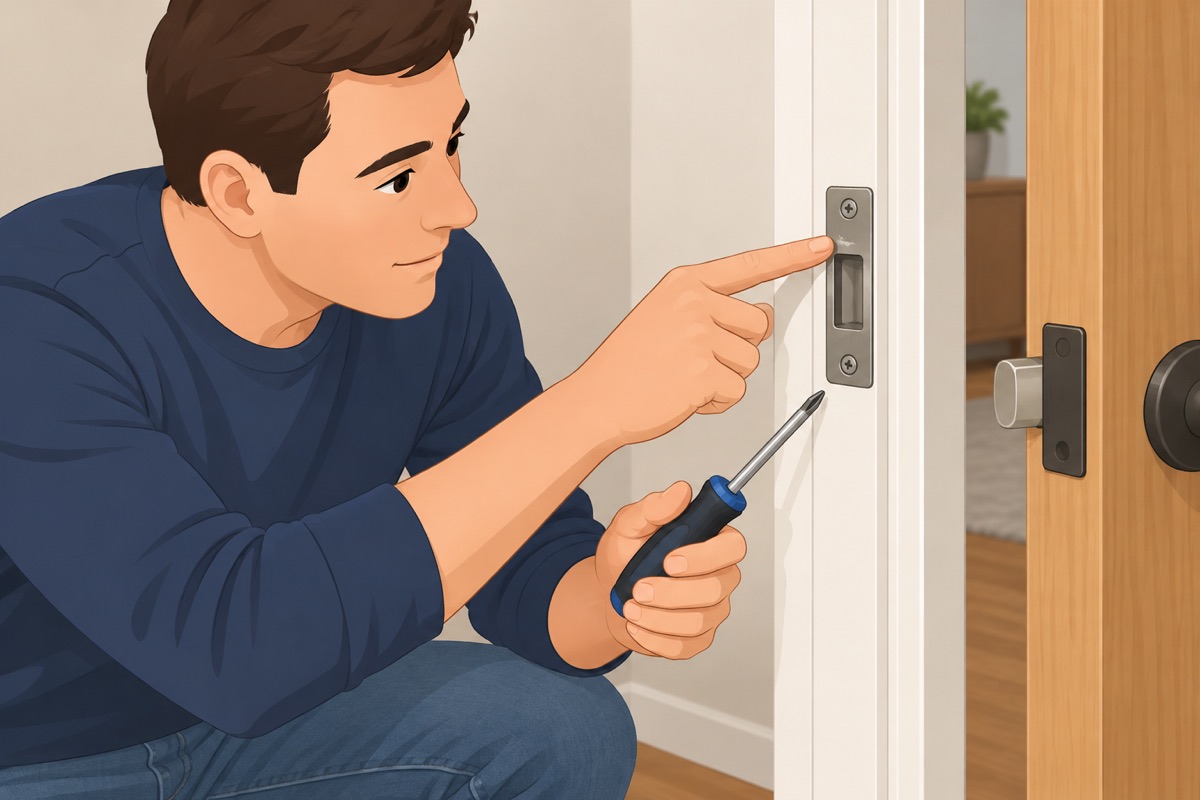
Close the door slowly and watch the latch meet the strike. If it does not catch, rub a little chalk on the latch, close the door, and see where it hits; move or swap the strike plate to match, reusing the old screw holes where you can. A deadbolt's strike takes the longer screws from its package, if it includes them, so they reach the framing. A stripped hole gets glue and toothpicks first.
Step 9 of 9
Test every function, door open, then closed
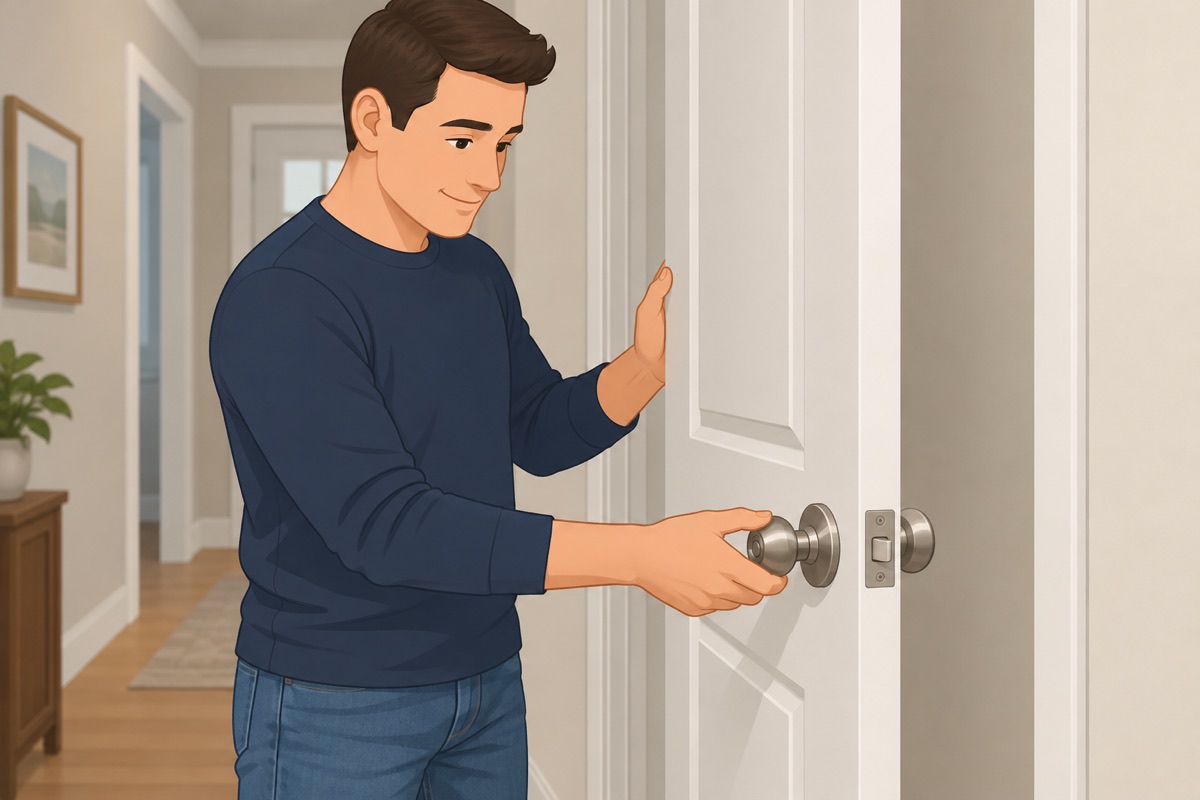
Test the knob, the lock, and the deadbolt with the door open first, then closed, from both sides and with every key.
Quality check
- The knob or lever turns freely from both sides and the latch springs back every time
- The door closes and latches on its own, without a push, and stays shut when you pull it
- A privacy or keyed lock locks and unlocks from both sides as its sheet says, tested with the door open first
- A deadbolt throws all the way into the strike without rubbing, and every key works
- The roses and the latch plate sit flat, and no screw is stripped
Common mistakes
- Buying a set for different holes. A set made for a different backset, bore, or door thickness does not line up, and a hole bored in the wrong place cannot be undone. Measure the door and match the package before you buy. Mistake #1 in this task.
- Putting the latch in backwards. The slanted face of the latch faces the way the door closes, toward the strike. Backwards, the door will not latch without turning the knob, or will not close at all.
- Testing a new lock with the door closed. A privacy or keyed lock that is put together wrong can lock you in or out. Test every function with the door open first, from both sides.
- Cranking the screws. Screws driven too hard strip the wood, pull the roses crooked, and make the latch bind. Snug them by hand, evenly, and stop when the part sits flat.
Questions
How do I replace a door knob?
Take out the two screws in the inside rose and pull the halves apart; a knob with no visible screws releases with a small slot or pin on its neck. Take out the latch plate's screws and pull the latch. Slide the new latch in with its slanted face toward the way the door closes, push the outside half through it, set the inside half on, and tighten the screws alternately so the rose sits flat. Test it with the door open, then line up the strike.
How do I measure a door for a new knob or lever?
With the door open, measure the door's thickness, the size of the big hole through the face, and the backset: from the door edge to the center of that hole. Note which way the door swings and whether it needs a passage, a privacy, or a keyed set, then pick one whose package lists your thickness and backset. A set that needs a bigger hole or a hole in a new place is a different job.
Which way does the door latch go in?
The slanted face of the latch faces the way the door closes, toward the strike. Put in backwards, the door will not latch without turning the knob, or will not close at all. If the latch does not catch, rub a little chalk on it, close the door, and move or swap the strike plate to match.
When should I stop and call a pro?
This guide swaps a knob, a lever, or a deadbolt into the holes the door already has. Stop and get a locksmith or a carpenter if: the new set needs a bigger hole or a hole in a new place — boring a door is a different job, and a wrong hole cannot be undone; the old lock is a mortise lock (one tall box set into the door edge); the door is metal or glass, or its edge at the latch is split, rotten, or patched; or the door does not close and latch on its own before you start — the hinges or the frame come first. An apartment or condo entry door often belongs to the building: ask the landlord or the HOA before you change its lock. A door between an attached garage and the house, or an apartment entry door, may be a fire-rated door (a metal label on the hinge edge): it needs hardware listed for fire doors that latches on its own every time the door closes, and its self-closer stays — on a labeled door, have a locksmith do the swap, as your local code and the building ask. A smart lock follows its own manual; one that needs wiring is an electrician's call. In a home from before 1978, the door edge and the frame may carry lead paint: do not sand or chisel them — test first.
You may also need
- How to install a prehung interior door yourself: step by step
- How to install bifold or sliding closet doors yourself: step by step
- How to install cabinet pulls, door handles and shelves yourself: step by step
- How to paint doors, casing and baseboards yourself: step by step
- How to install a closet system yourself: step by step