How to plant front yard beds with drip irrigation yourself: step by step
Foundation beds that look finished, water themselves on a timer, and keep dirt off the stucco.
Difficulty 2 of 5 · 1 weekends · you can do this
Photo of your room, the look you pick, then this guide with the materials counted for your room.
What you need
- Mulch
- Plants
- Drip irrigation kit with a hose-bib timer
- Landscape fabric (optional)
- Bed edging
Tools
- Garden hose (for laying out the bed lines)
- Flat spade and a round shovel
- Sod cutter for large lawn areas
- Garden rake
- Wheelbarrow
- Hand trowel
- Tape measure
- Gloves
Step by step
Step 1 of 12
Check the house edge and call 811
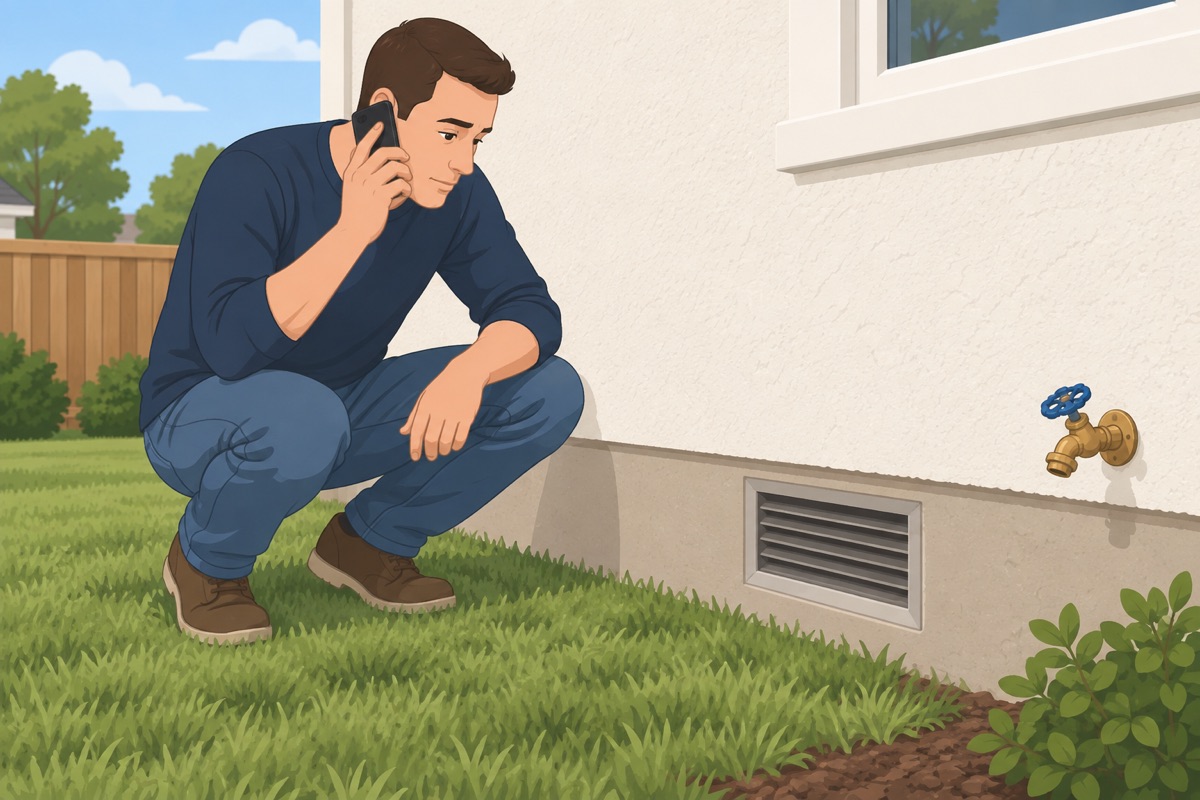
Find the bottom edge of the stucco or siding, the foundation vents, and any hose bibs along the wall. Call 811 a few business days before you dig. If you want a tree, ask where the sewer line runs first.
Before you dig
- 811 called and the lines are marked
- You know where the stucco line, weep screed, and foundation vents are
- No tree is going near the sewer line without advice
- You know where the sprinkler lines are
Step 2 of 12
Pick water-wise plants

Note how many hours of sun each bed gets. Choose plants suited to your region and that sun, and check each tag for the mature size. Your city or water utility may pay for turf removal and drip — many programs need approval before you remove anything, so apply first.
Step 3 of 12
Lay out the bed lines with a hose
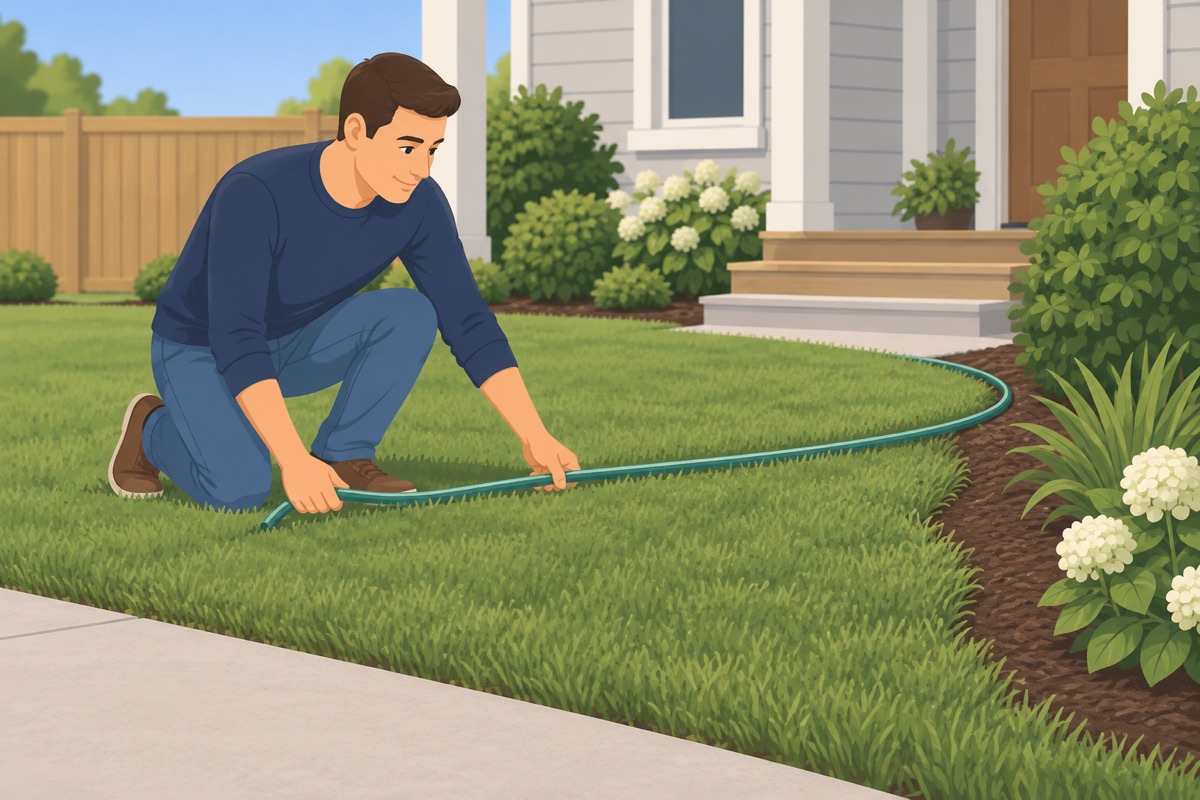
Lay a garden hose where the bed edges will go and adjust until the curves look right from the street. Keep plants at least 12 in from the foundation and back from the walkway by their mature size.
Step 4 of 12
Remove the grass
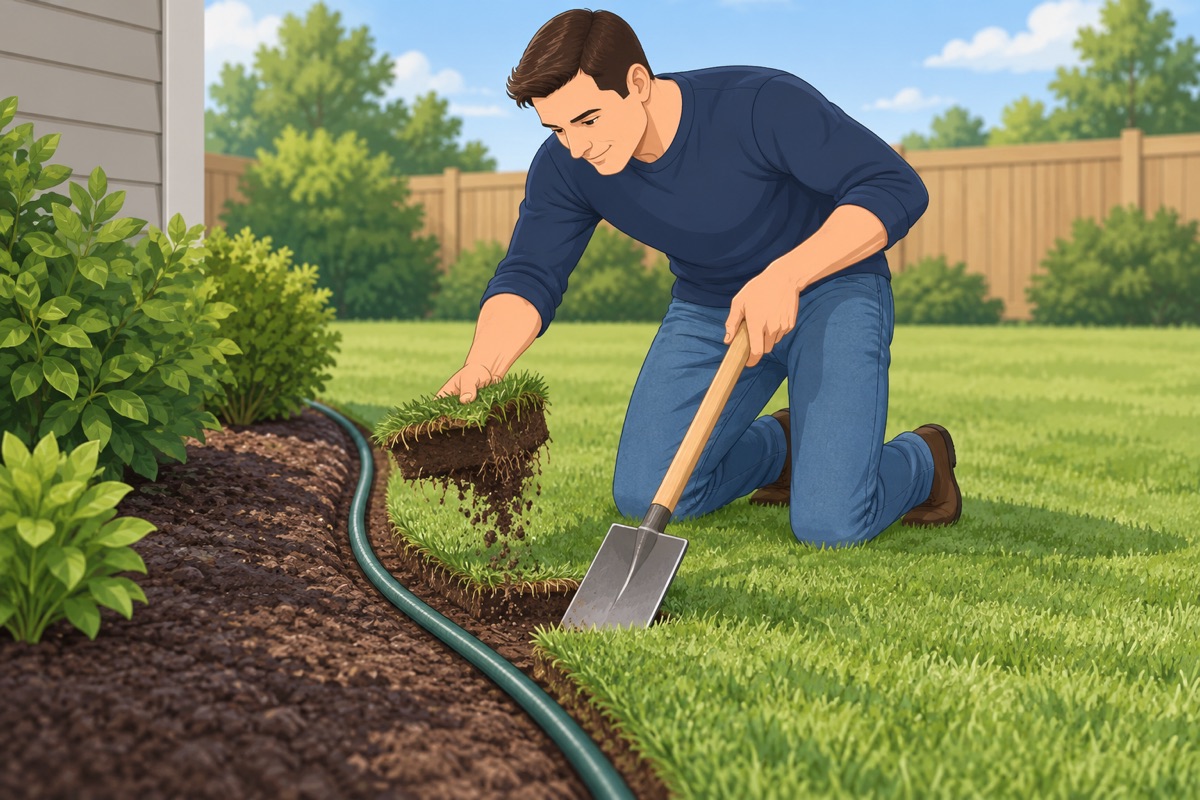
Cut along the hose line with the spade and remove the grass inside, with the sod cutter for large areas. Shake the soil off the roots back into the bed.
Step 5 of 12
Set the soil level and the slope
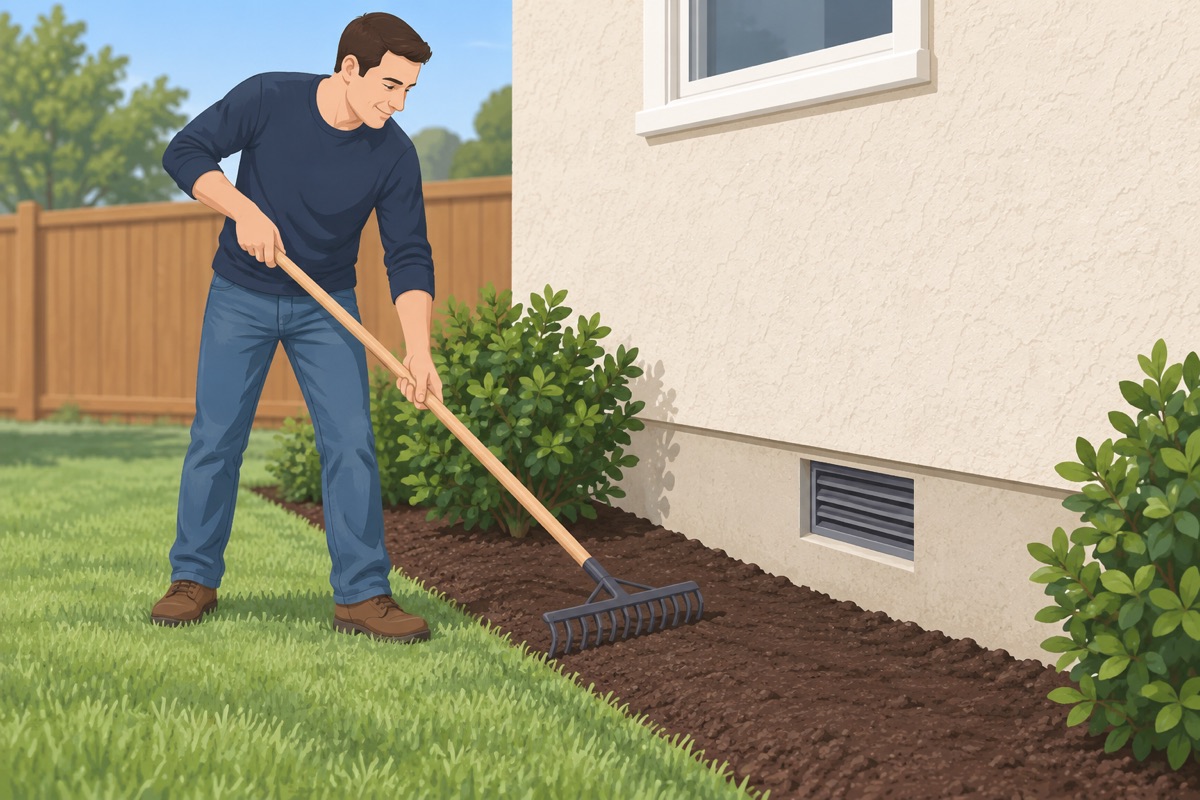
Rake the bed so the soil slopes away from the house and sits 4–6 in below the stucco line, with no soil touching a vent or the weep screed.
Step 6 of 12
Put in the edging
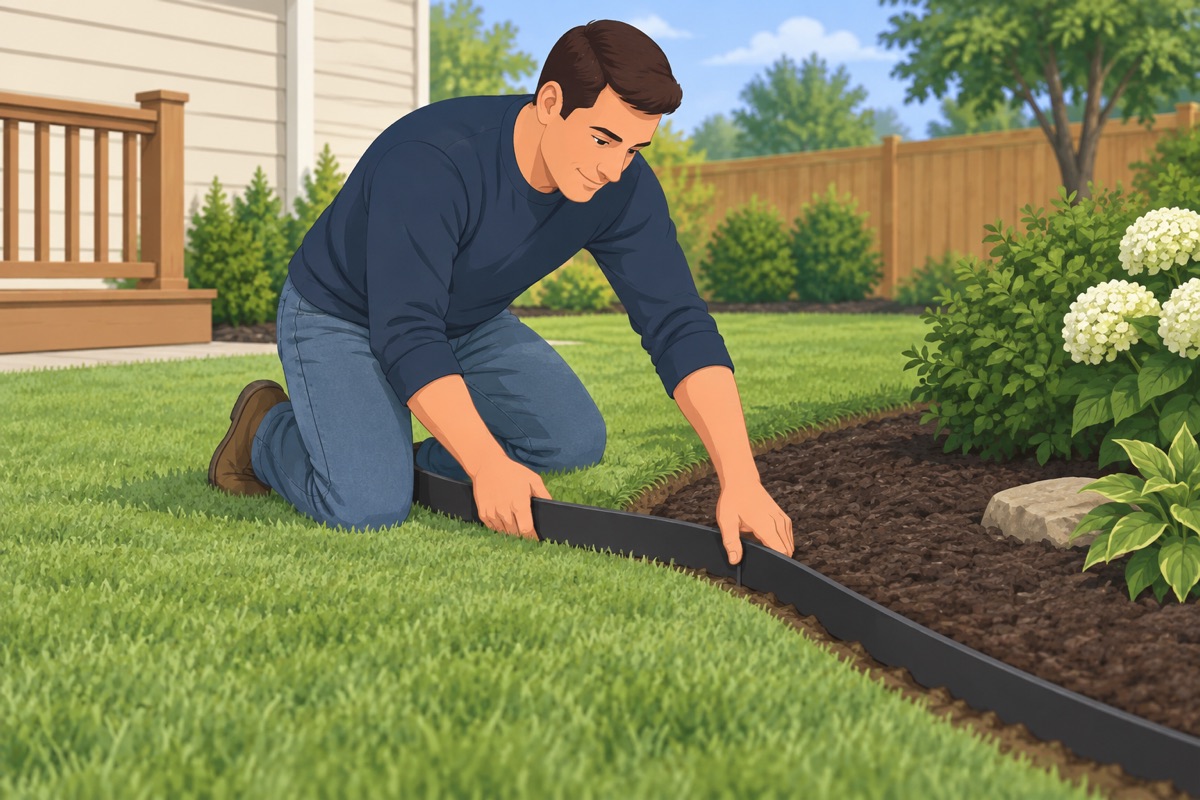
Set the edging along the bed lines so the lawn stays out, with its top just above the soil.
Step 7 of 12
Place the pots and dig the holes
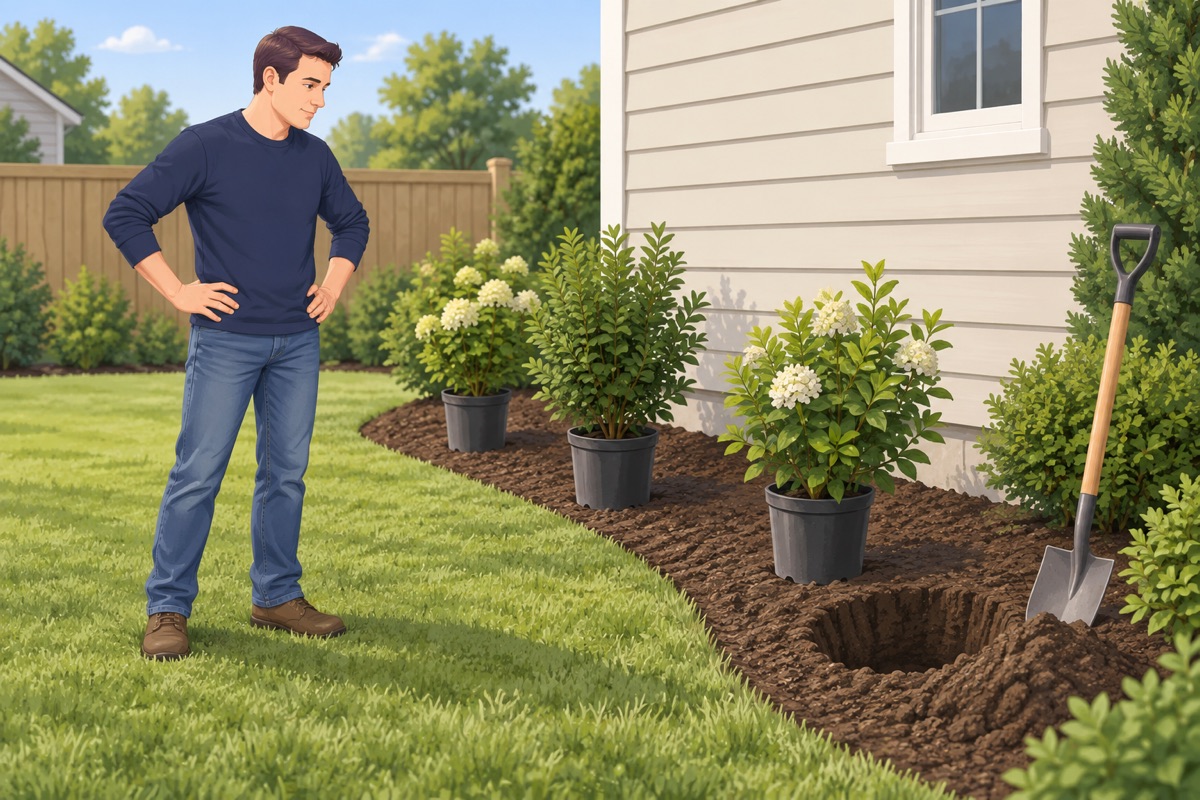
Set the pots out on the bed first and step back to check the spacing. Dig each hole as deep as the root ball and about twice as wide.
Step 8 of 12
Plant at the pot depth

Loosen circling roots, set the plant so the top of the root ball is level with the soil, backfill, firm gently, and water it in.
Step 9 of 12
Lay the drip line
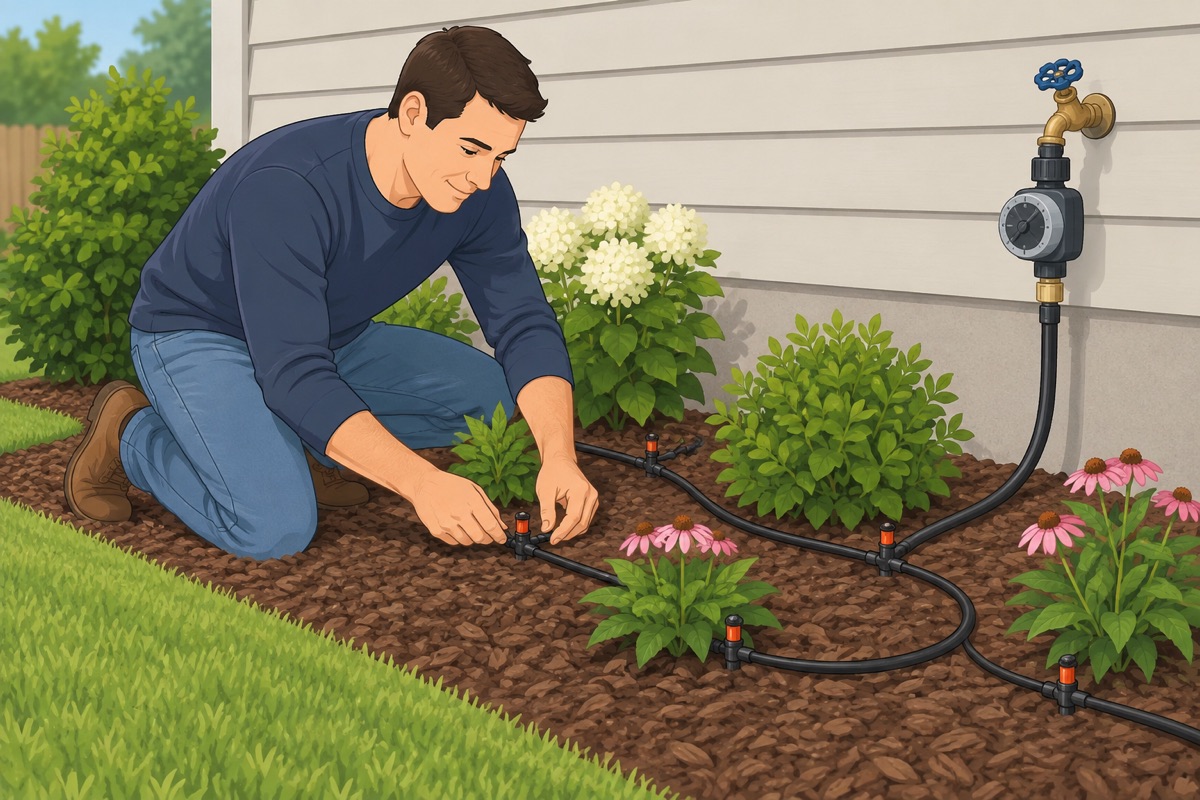
Run the drip line or soaker hose past every plant, with an emitter at each plant per the kit instructions. Connect it to the hose-bib timer, with a backflow preventer, and run it once to check for leaks.
Step 10 of 12
Spread the mulch
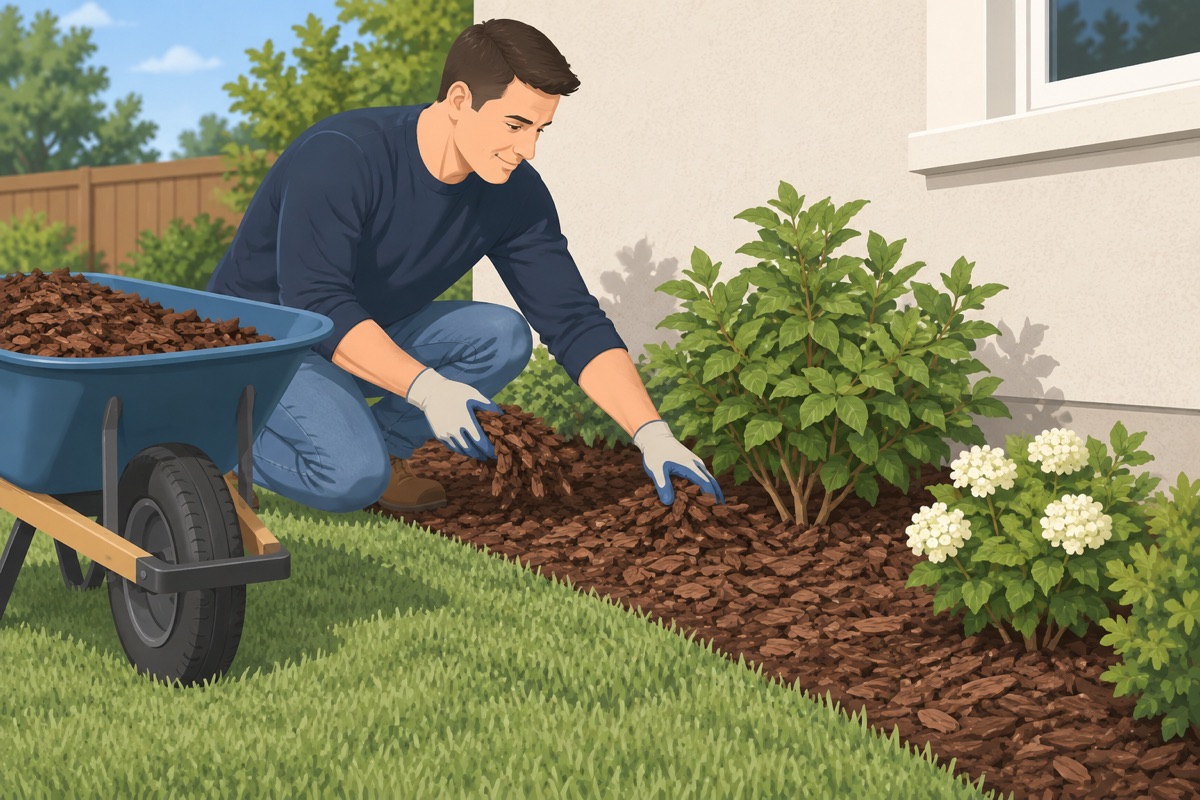
Spread 2–3 in of mulch over the bed and the drip line. Keep it a few inches back from stems, and below the stucco line at the wall.
Step 11 of 12
Set the timer
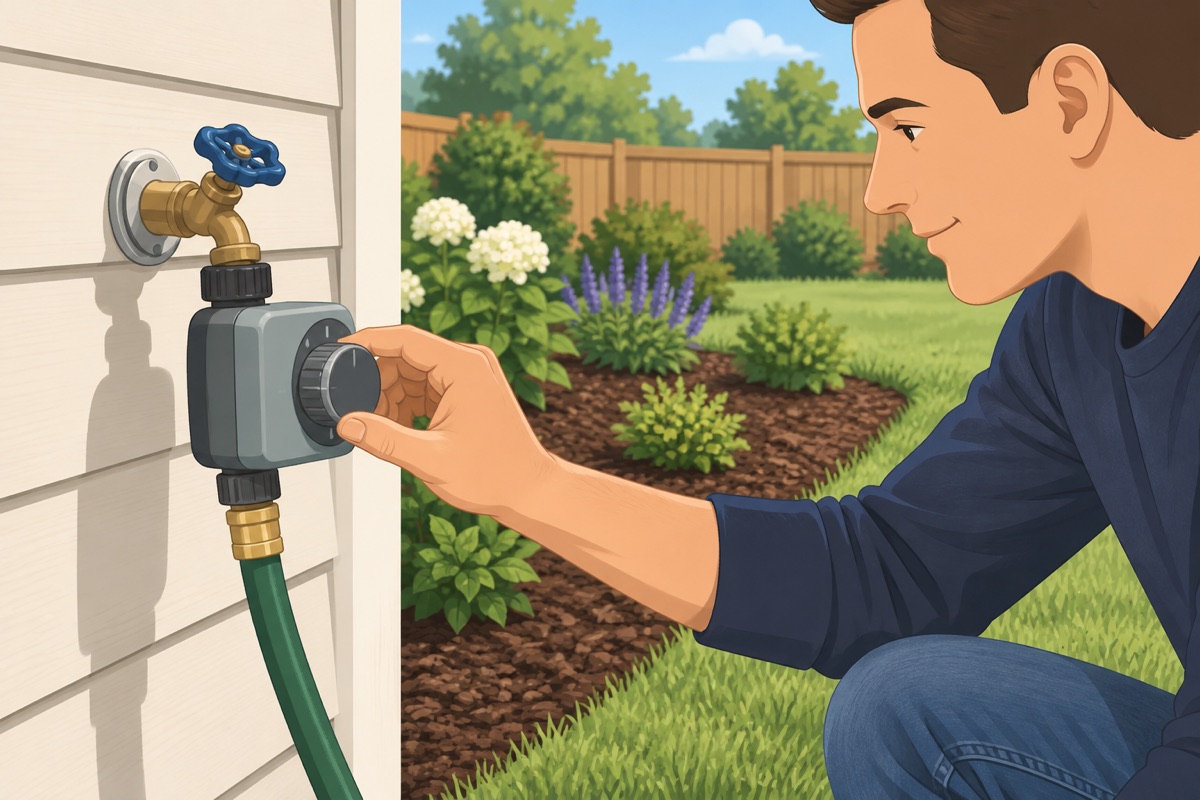
Set the timer for new plants per the plant tags and your city's watering days, and plan to cut back once they are established.
Step 12 of 12
Check the house edge again
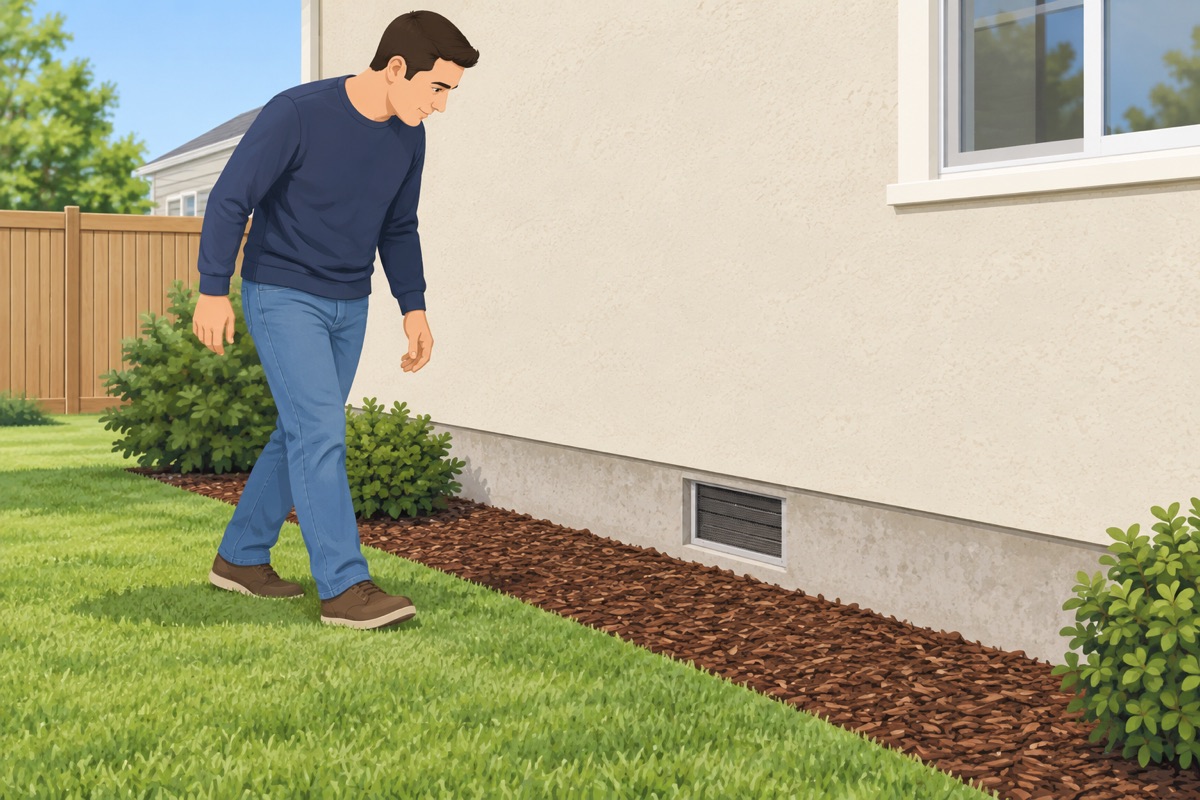
Walk along the wall and look at the bottom of the stucco and every vent.
Quality check
- Soil and mulch are 4–6 in below the stucco line everywhere
- No vent or weep screed covered
- Plants at least 12 in from the foundation and set at pot depth
- Every plant gets water from the drip line; no leaks
- Timer set and following your city's watering days
Common mistakes
- Piling soil or mulch up against the stucco. The bottom edge of stucco (the weep screed) lets water out of the wall. Bury it and water stays in the wall, and termites get a hidden path in. Keep soil and mulch 4–6 in below the stucco line. Mistake #1 in this task.
- Planting for the size in the pot. A shrub that fits today can press against the wall and block the walkway in three years. Space by the mature size on the tag and keep plants at least 12 in from the foundation.
- Planting too deep. A plant set deeper than it grew in the pot can rot at the stem. The top of the root ball goes level with the soil.
- Piling mulch against the stems. Mulch against a stem or a trunk keeps it wet and invites rot. Pull it back a few inches from each plant.
- Leaving the timer on the default setting. Too much water drowns water-wise plants and runs down the driveway. Set the timer for your plants and follow your city's watering days.
Draft guide written from standard practice, not yet reviewed by a licensed pro. Follow product labels where they differ.
Get this job planned for your roomRelated guides
- How to install a closet system yourself: step by step
- How to install cabinet pulls, door handles and shelves yourself: step by step
- How to install a faucet, toilet and shower head yourself: step by step
- How to replace outlets, switches and light fixtures yourself: step by step
- How to connect a dishwasher, range and hood yourself: step by step
- Gas range connection: what a pro does and what you can do