Replace a garage door: what a pro does and what you can do
Contractor-only. Your job is to measure, get comparable bids, and watch the safety test at hand-over.
Difficulty 5 of 5 · licensed pro
Stop here
Photo of your room, the look you pick, then this guide with the materials counted for your room.
What you need
- Garage door (the contractor supplies and installs it; this line is the one you picked)
- Job folder for bids, permit, and the manual
- Extra remote or keypad for the opener
Tools
- Tape measure
- Flashlight
- Phone camera
- Notebook for bid comparison
Step by step
Step 1 of 10
Accept that this one is not yours to do
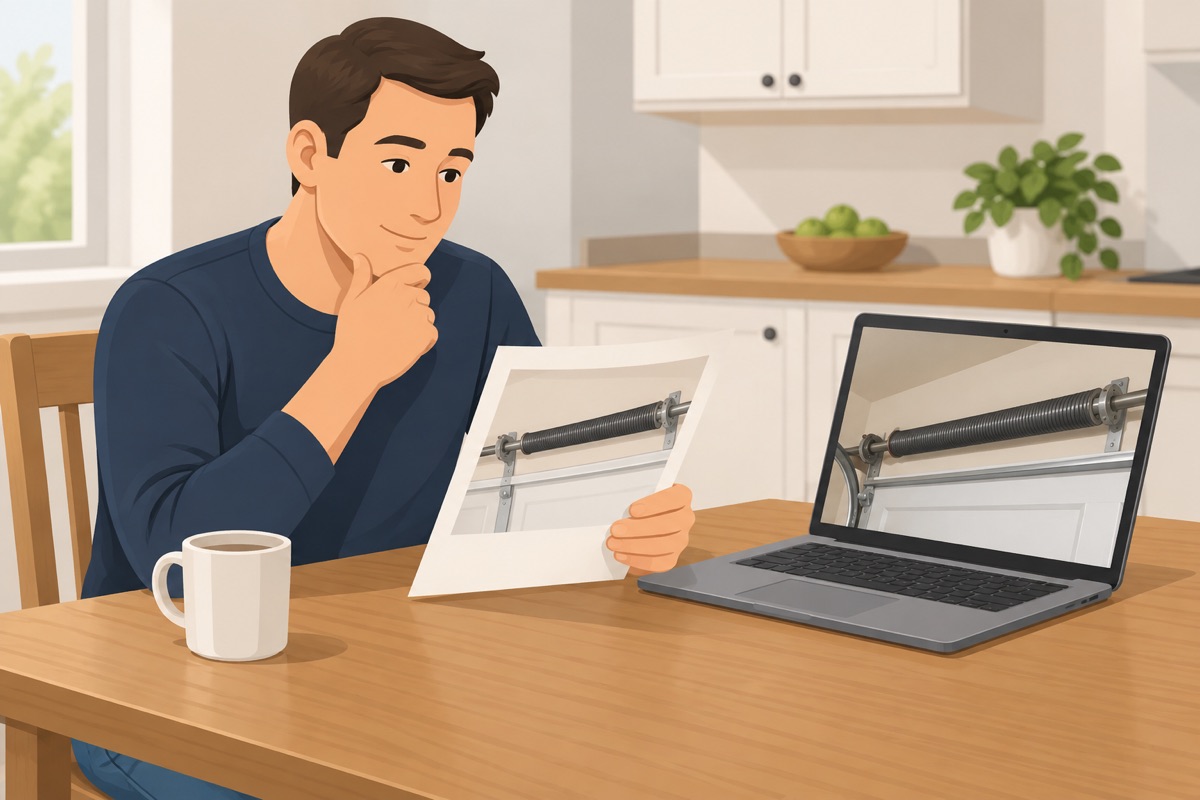
Springs, cables, and the opener's safety settings are where garage doors hurt people. Your part is to measure, photograph, hire well, and check the result. Read the stop-gate and confirm you understand it.
Before you go further
- You will not loosen, adjust, or remove springs, cables, or bottom brackets
- You understand this is licensed work and may need a permit
- You have a place to keep bids, the permit, and the manuals together
Step 2 of 10
Measure and photograph from the floor
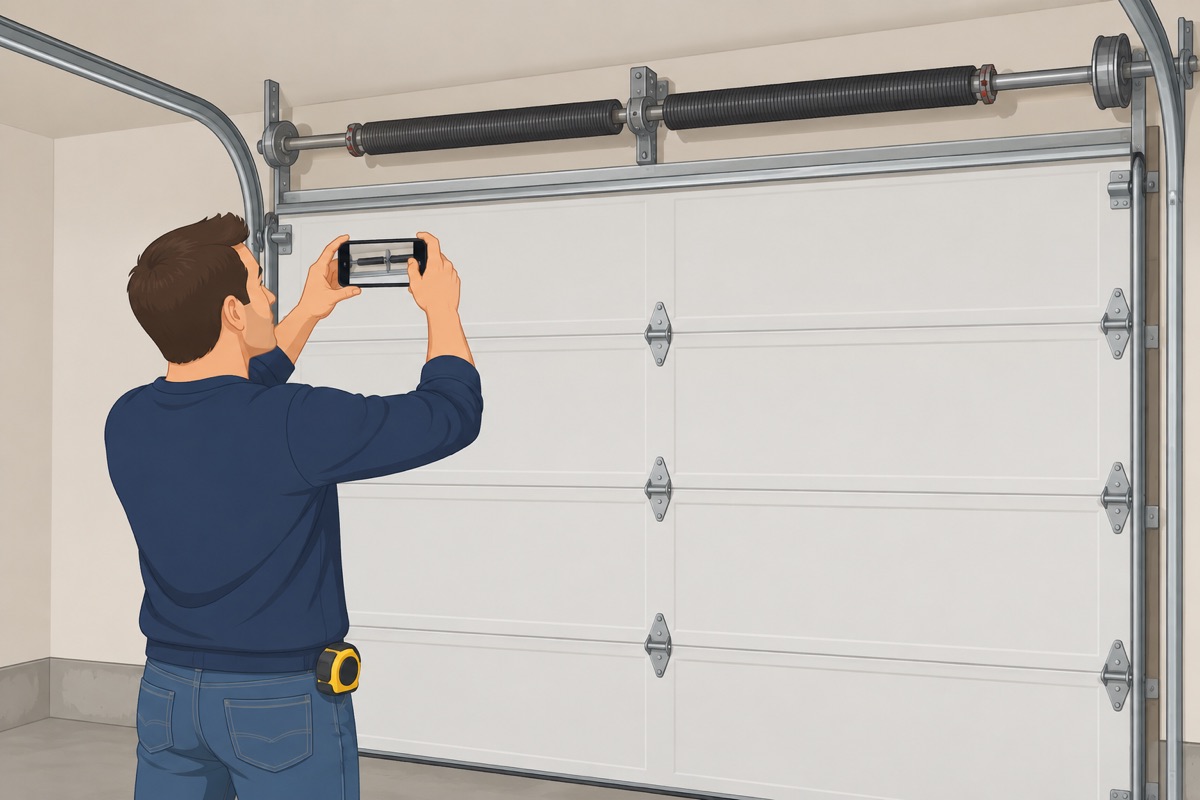
Measure the opening width and height, the headroom above the opening, and the side room on each side of it. Photograph the springs, the tracks, the opener and its label, and the bottom corners of the door from the floor — do not touch any of it. These photos make three bids comparable.
Step 3 of 10
Keep the old door safe until the new one goes in
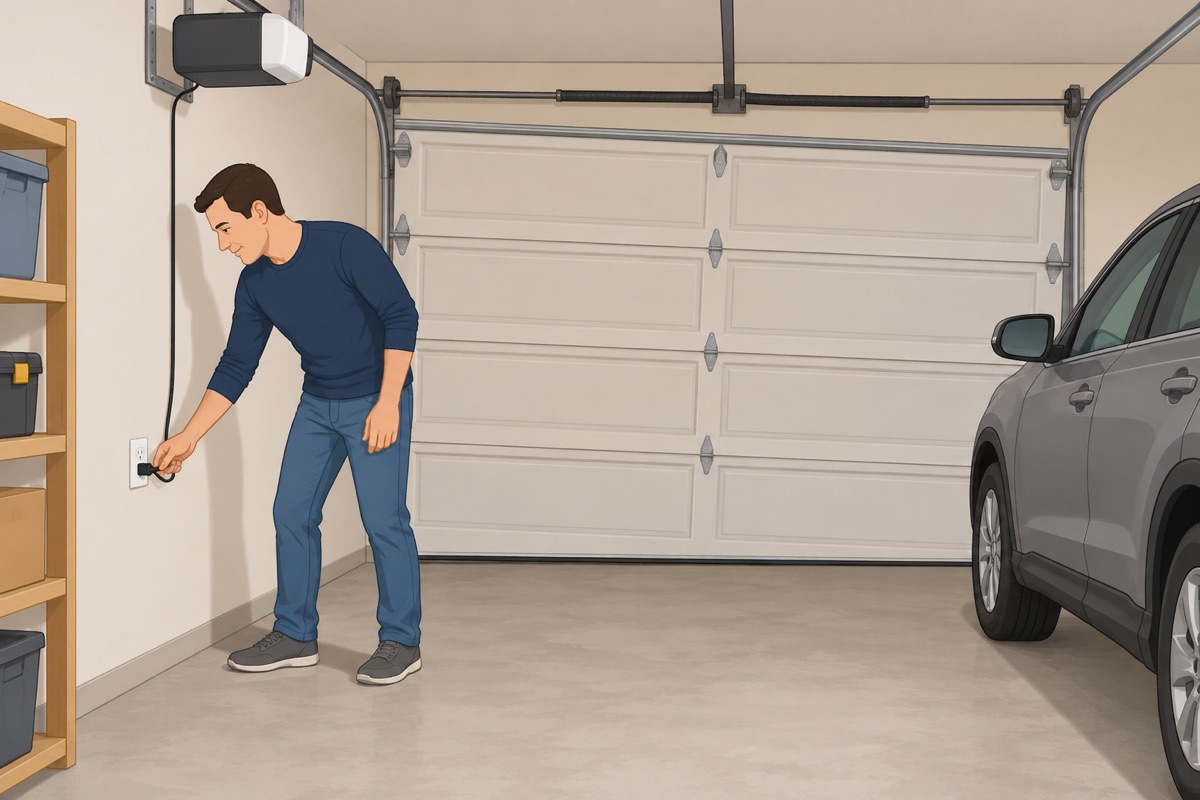
If a spring is broken, a cable is loose, or the door hangs crooked, leave the door closed, unplug the opener, and keep people and cars clear of it. Do not pull the emergency release on a door with a broken spring. Tell the contractor what you saw when you call.
Step 4 of 10
Decide what the new door has to be
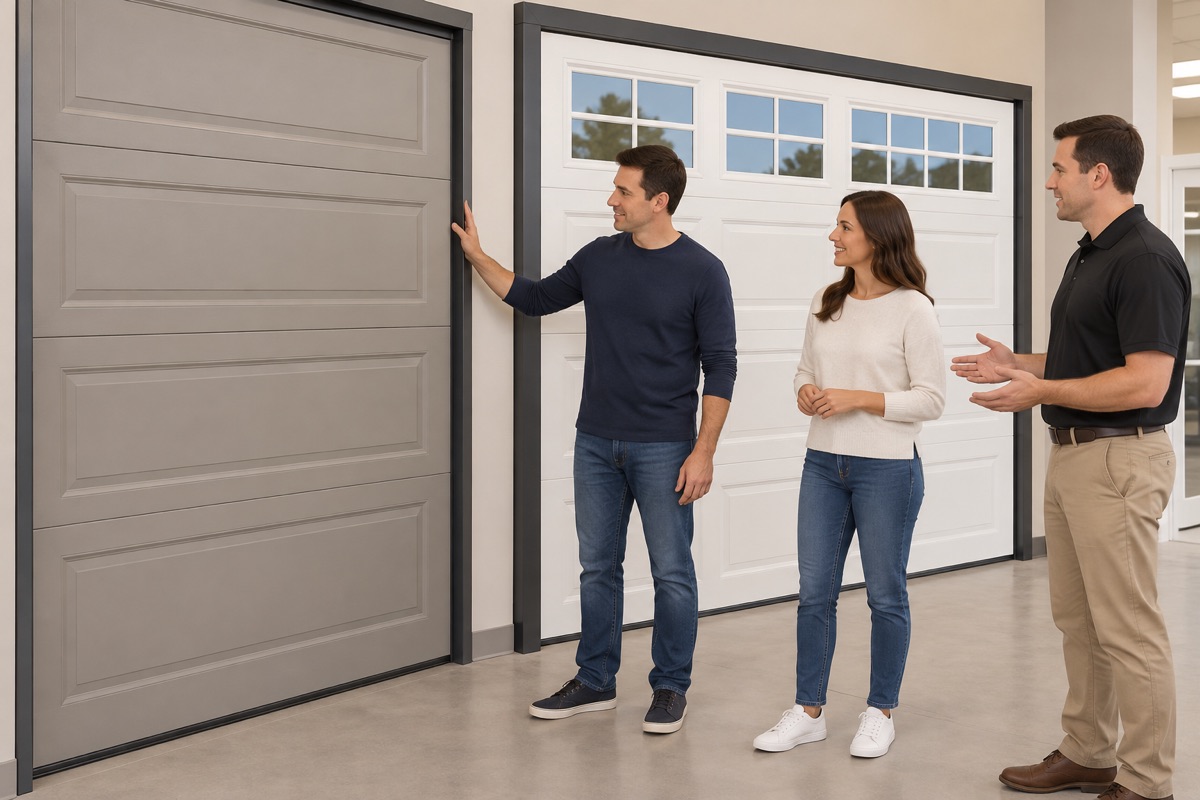
Choose the material and style, and whether you want windows. If the garage is heated or cooled, or there is a room above it, ask for an insulated door and compare R-values. Ask the building department whether your area needs a wind-load rated door.
Step 5 of 10
Check the license, the insurance, and the record

Look up each contractor's license with your state's contractor license board (CSLB in California) and confirm it is active and in the name of the business bidding the job. Ask for proof of liability and workers' compensation insurance. Get a written price before anyone starts work.
Step 6 of 10
Get three bids that name every part
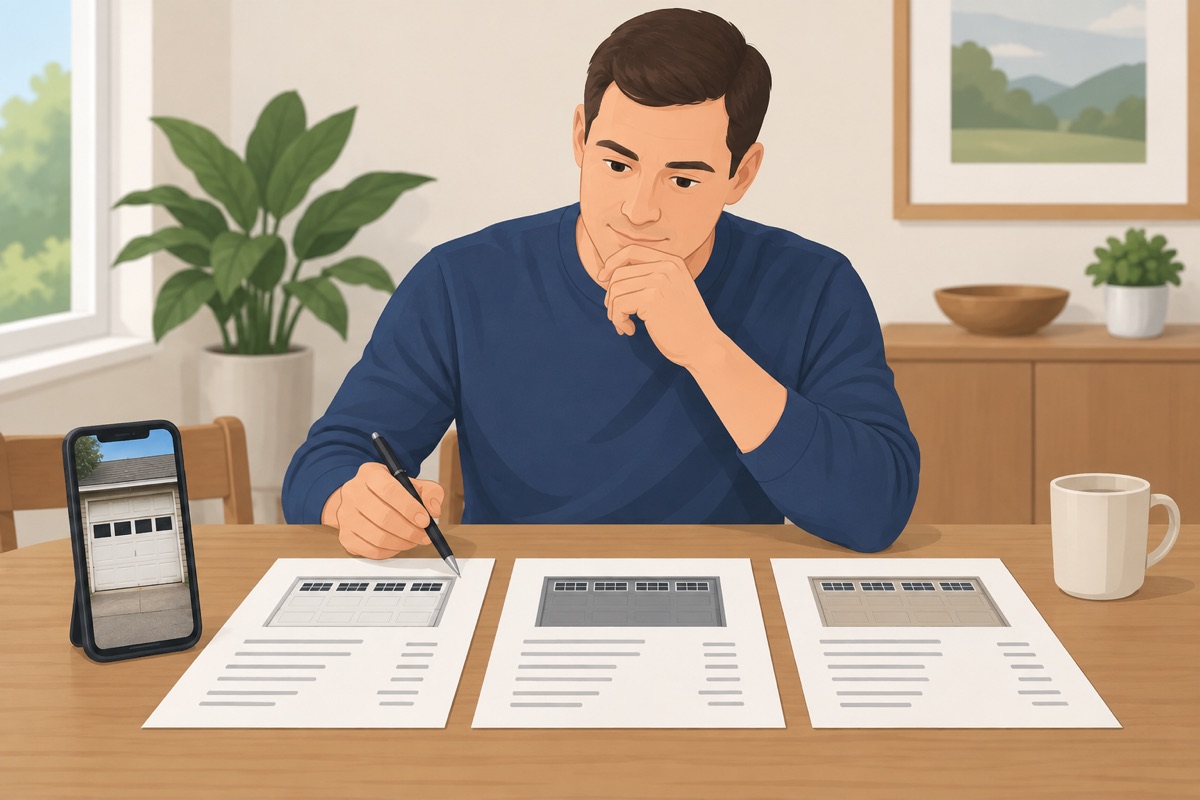
Each bid should name the door and its model, springs sized to the new door's weight, new tracks, rollers, and cables, whether the opener is new or reused, haul-away of the old door, and who pulls the permit. Anything not written down is not included.
Step 7 of 10
Sign a contract with a sane payment schedule
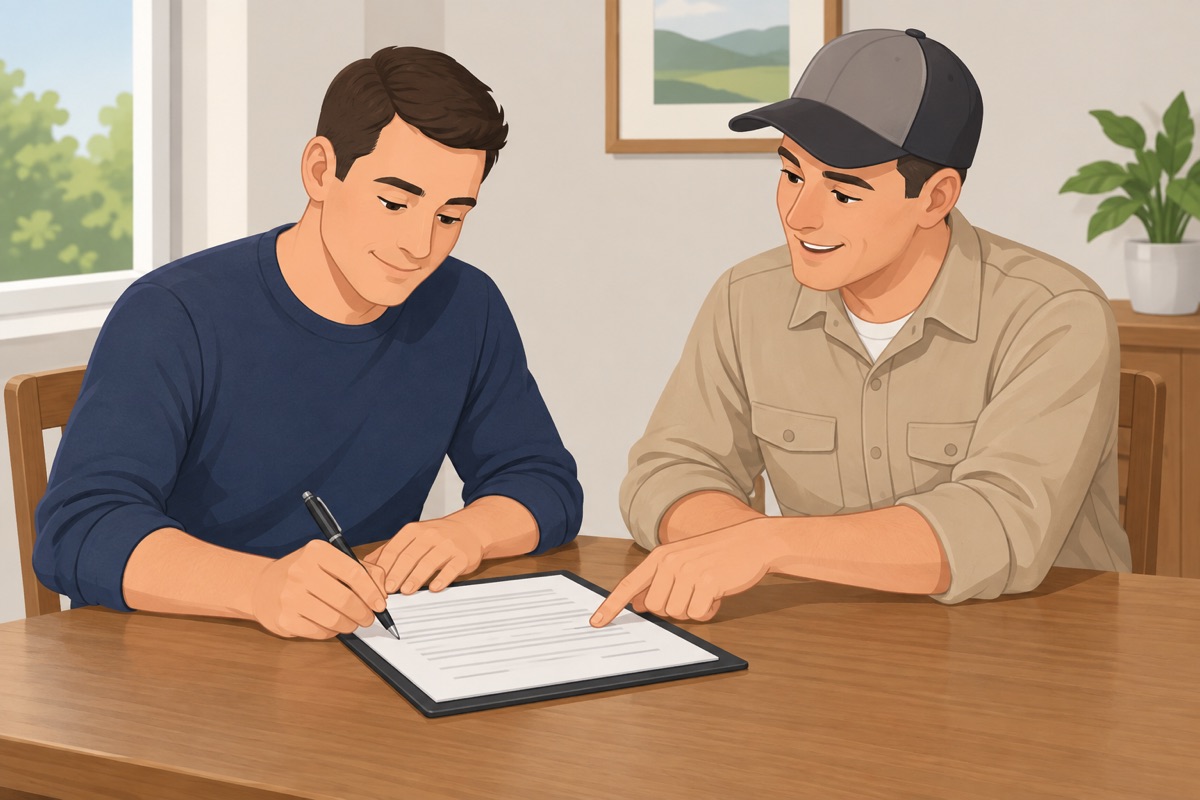
The contract should carry the license number, the full scope, the dates, the total, and the payment schedule. Keep the down payment small and within your state's legal limit, if it has one. Hold the last payment until the door passes the safety test and any permit is signed off.
Step 8 of 10
Clear the garage for install day
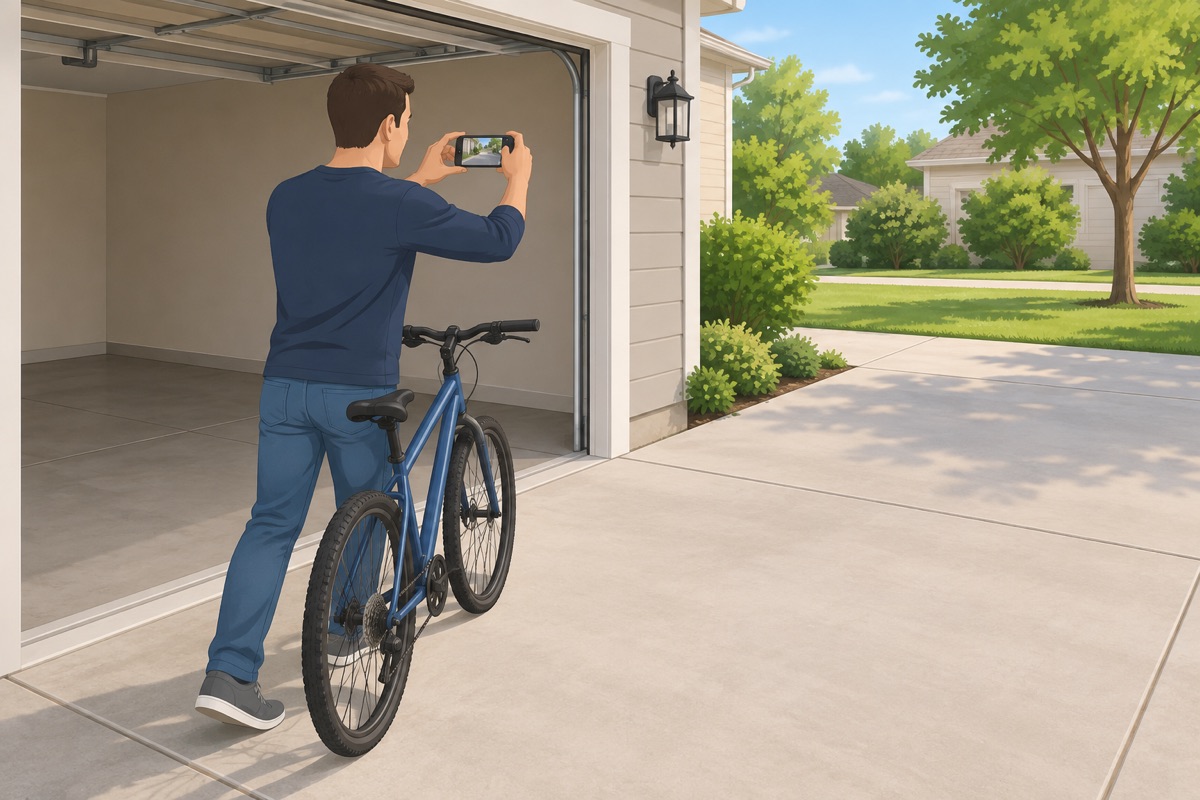
Move cars, bikes, and anything stored within a few feet of the door and the tracks, and clear a path to the opener outlet. Photograph the driveway and the wall around the opening before the crew arrives. Keep kids and pets inside while they work.
Step 9 of 10
Watch the safety-reverse test
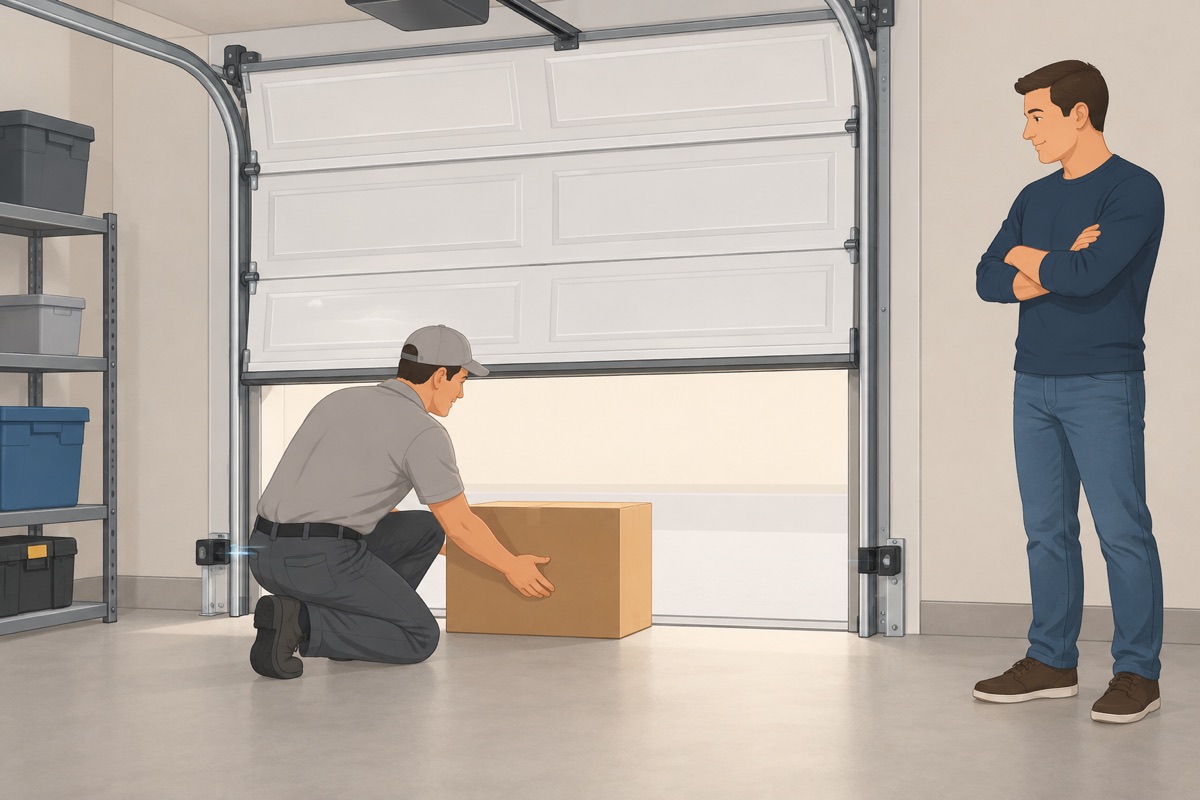
Before the crew leaves, ask them to show you the photo-eye test and the reversal test from the opener manual: the door must reverse when something blocks the photo eyes and when it touches an object on the floor. Ask them to show you the manual release and how the door balances.
Step 10 of 10
Close the job and keep the paperwork
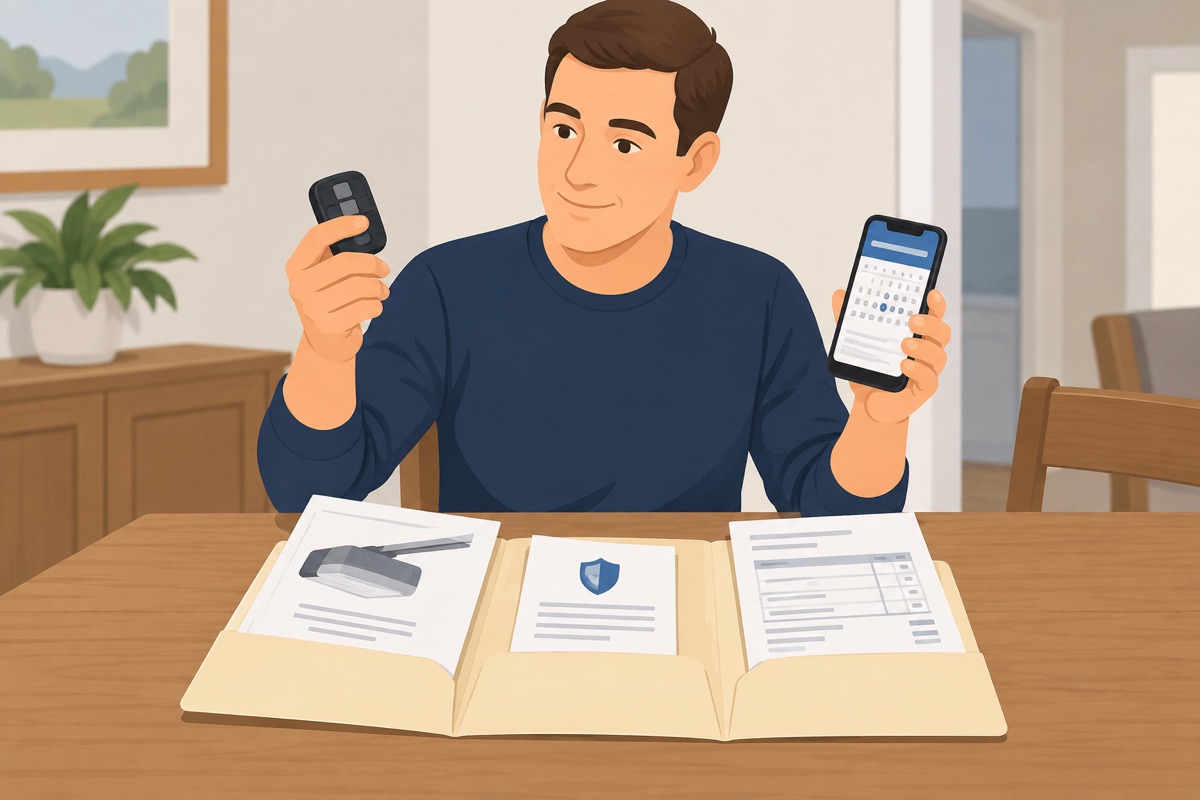
Program your remotes, collect the manuals, the warranty, the final invoice, and the permit sign-off if there was one. Put the monthly safety test from the opener manual on your calendar.
Before the final payment
- License and insurance checked before signing
- Bid named the door, springs, tracks, opener, haul-away, and permit
- You watched the door reverse on the photo eyes and on an object on the floor
- Manual release shown to you
- Permit signed off if one was needed
- Manuals and warranty are in the job folder
Common mistakes
- Touching the springs, cables, or bottom brackets. They hold the weight of the door in stored energy. Loosening the wrong bolt can release it all at once. Look and photograph from the floor; never adjust, loosen, or unwind anything. Mistake #1 in this task.
- Using the door after a spring breaks. With a broken spring the opener lifts the full weight of the door, and pulling the emergency release can let the door drop. Leave it closed, unplug the opener, and call a contractor.
- Hiring off a too-cheap spring ad. Some low-price ads are a way in the door, followed by pressure to replace everything that day. Check the license yourself, get a written price before work starts, and never decide on the spot.
- Accepting a bid that just says "new door". Springs, tracks, rollers, cables, the opener, haul-away, and the permit are separate items. If the bid does not name them, ask in writing, or you cannot compare bids.
- Signing off without seeing the safety-reverse test. An opener that does not reverse can crush a child or a pet. Ask the installer to run the test in front of you, per the opener manual, before the final payment.
Draft guide written from standard practice, not yet reviewed by a licensed pro. Follow product labels where they differ.
Get this job planned for your roomRelated guides
- How to measure a door opening before buying a door yourself: step by step
- How to install a prehung interior door yourself: step by step
- How to install door casing yourself: step by step
- How to install baseboards yourself: step by step
- How to fill nail holes and caulk trim yourself: step by step
- How to build a wood or vinyl privacy fence yourself: step by step