How to install house numbers and a mailbox post yourself: step by step
Numbers a fire truck can read from the street, and a mailbox set where the carrier can reach it.
Difficulty 2 of 5 · about half a day · you can do this
Photo of your room, the look you pick, then this guide with the materials counted for your room.
What you need
- House numbers
- Curbside mailbox
- Mailbox post
- Fast-setting concrete
- Gravel for the bottom of the hole
- Exterior screws and wall anchors
- Exterior sealant
Tools
- Post hole digger
- Shovel
- Level (a post level straps on and reads two faces at once)
- Tape measure
- Drill with masonry and wood bits
- Bucket and a stick to mix
- Scrap lumber and stakes to brace the post
- Safety glasses and gloves (fresh concrete burns skin)
Step by step
Step 1 of 11
Check the rules and call 811
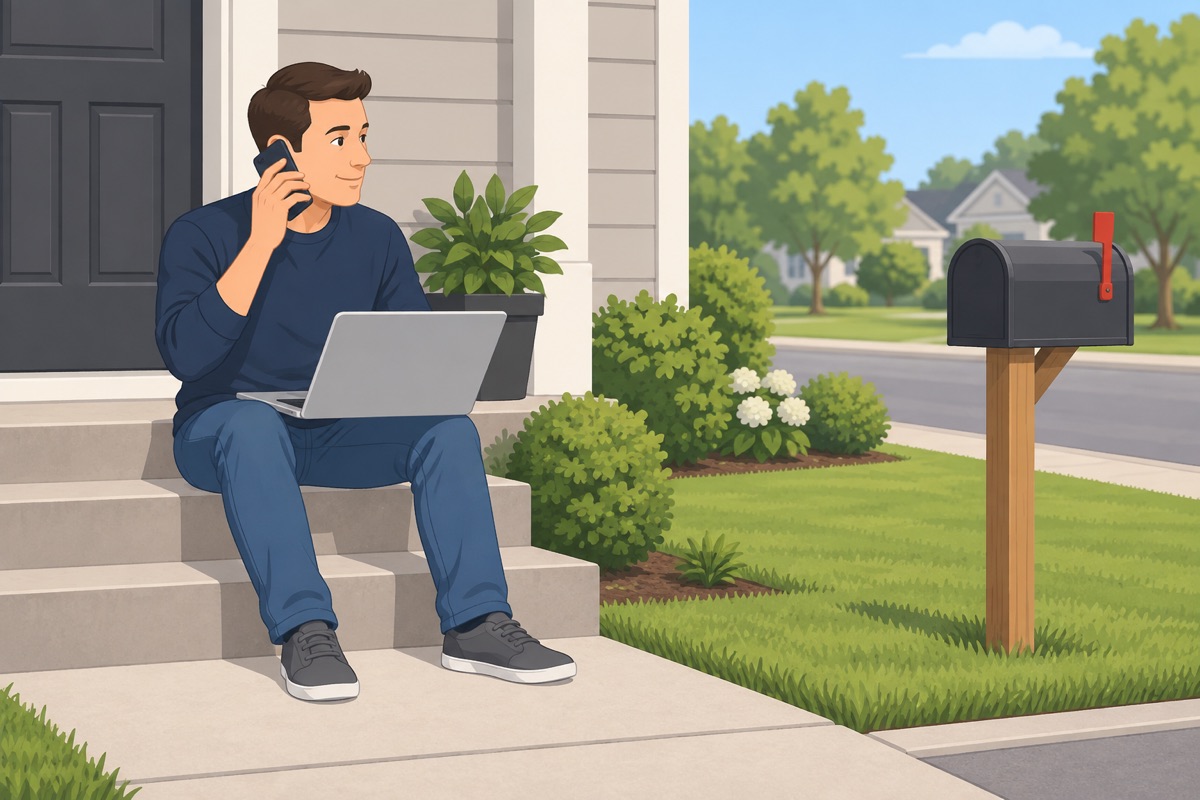
Look up your city's rule for house numbers: a minimum height (often 4 in, but check your city), contrast, and where they go. Check with your post office before you move a curbside mailbox or add a new one. Call 811 at least a few business days before you dig.
Before you dig
- 811 called and the lines are marked (or the ticket came back clear)
- Post office is fine with the mailbox spot
- You know your city's number size rule
- The hole is away from the marks and any sprinkler line
Step 2 of 11
Choose numbers you can read from the street
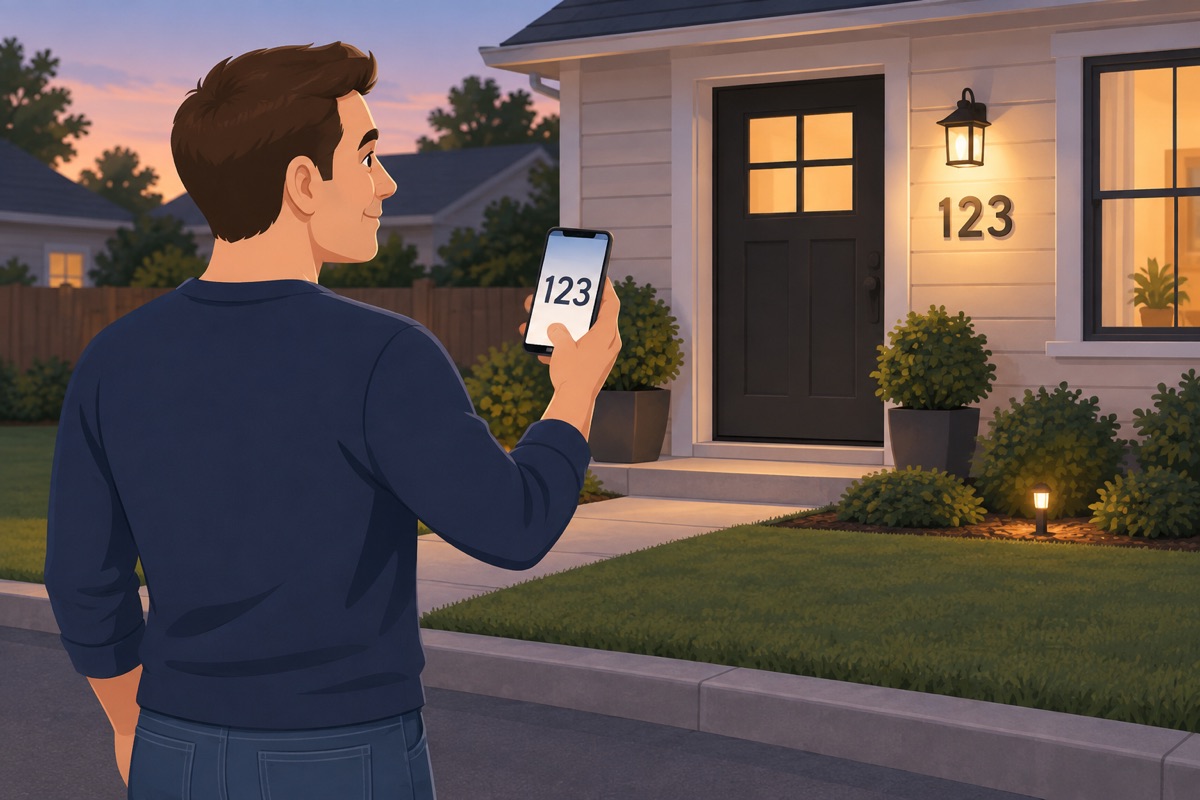
Stand at the street, day and night, and pick a spot near the door that is lit and not hidden by plants. Pick numbers at least the height your city asks for, in a plain font, in a color that contrasts with the wall.
Step 3 of 11
Mark and drill
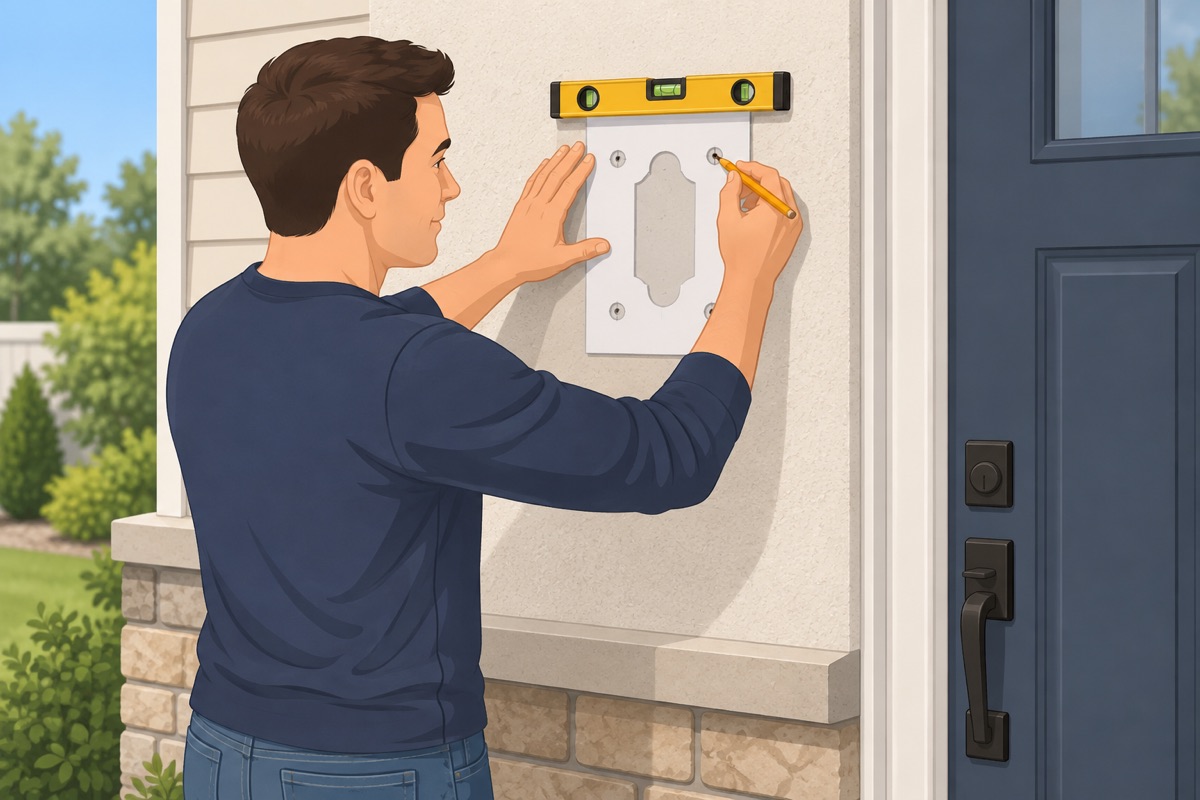
Draw a level line and lay out the numbers with even spacing — a paper template helps. Drill with a masonry bit on stucco or brick and set anchors; use a wood bit on siding. Keep the holes out of the corners of stucco panels.
Step 4 of 11
Fasten and seal the numbers
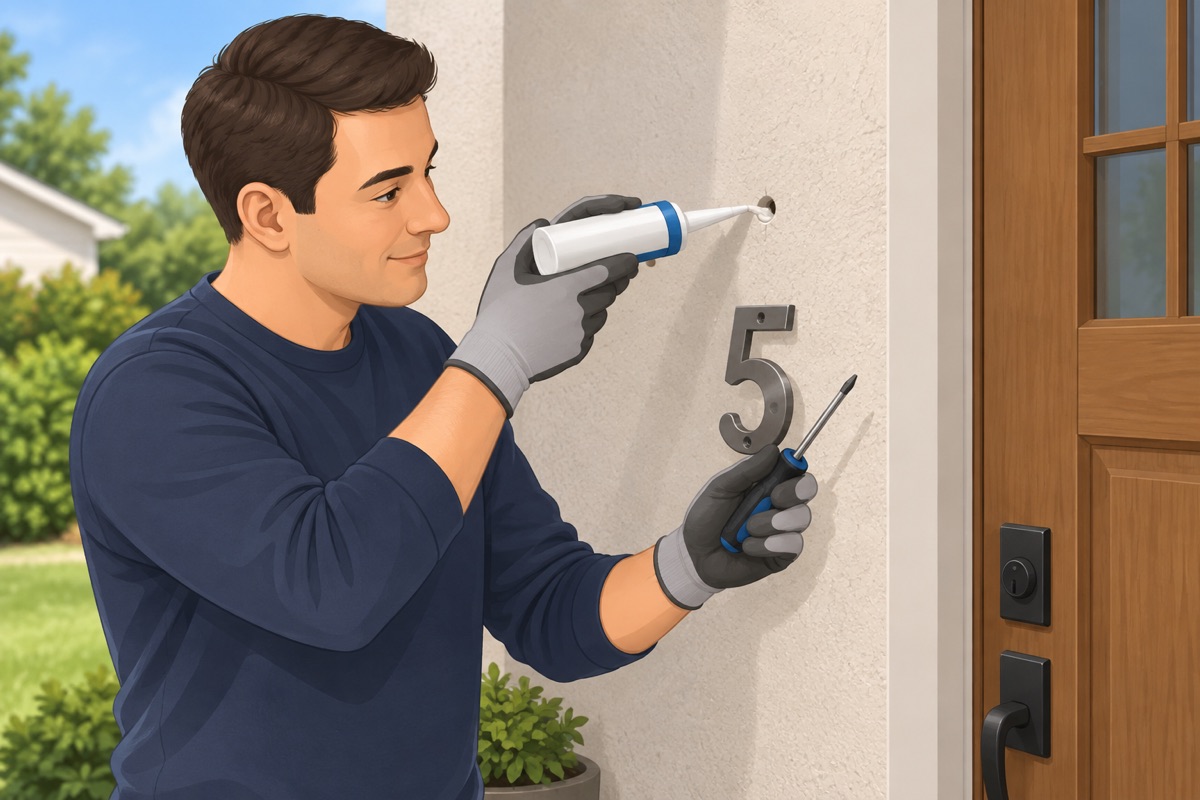
Put a dab of exterior sealant in each hole, then screw the numbers on. Step back to the street and check them again.
Step 5 of 11
Mark the mailbox spot per USPS
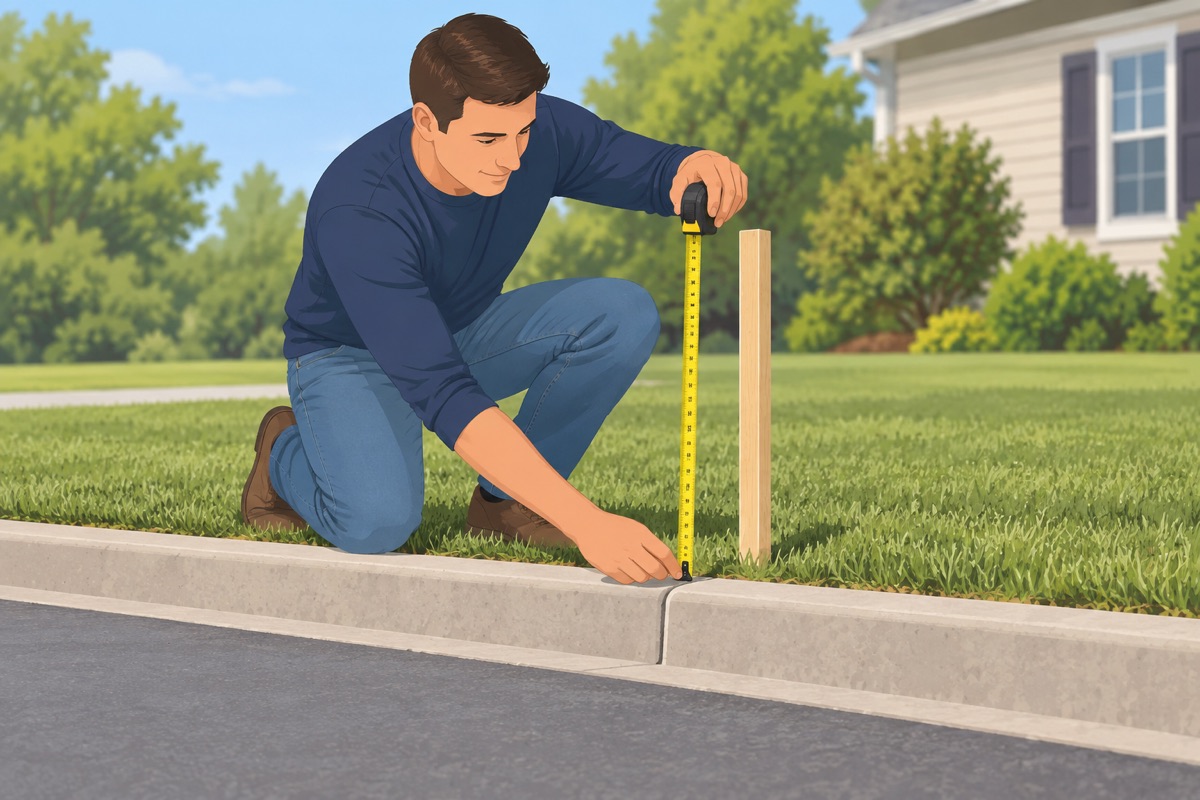
For a curbside box, USPS asks for the box door or bottom 41–45 in above the road surface and the front of the box 6–8 in back from the curb edge. Measure from the road, not from the ground where the post goes, and mark the post spot.
Step 6 of 11
Dig the hole
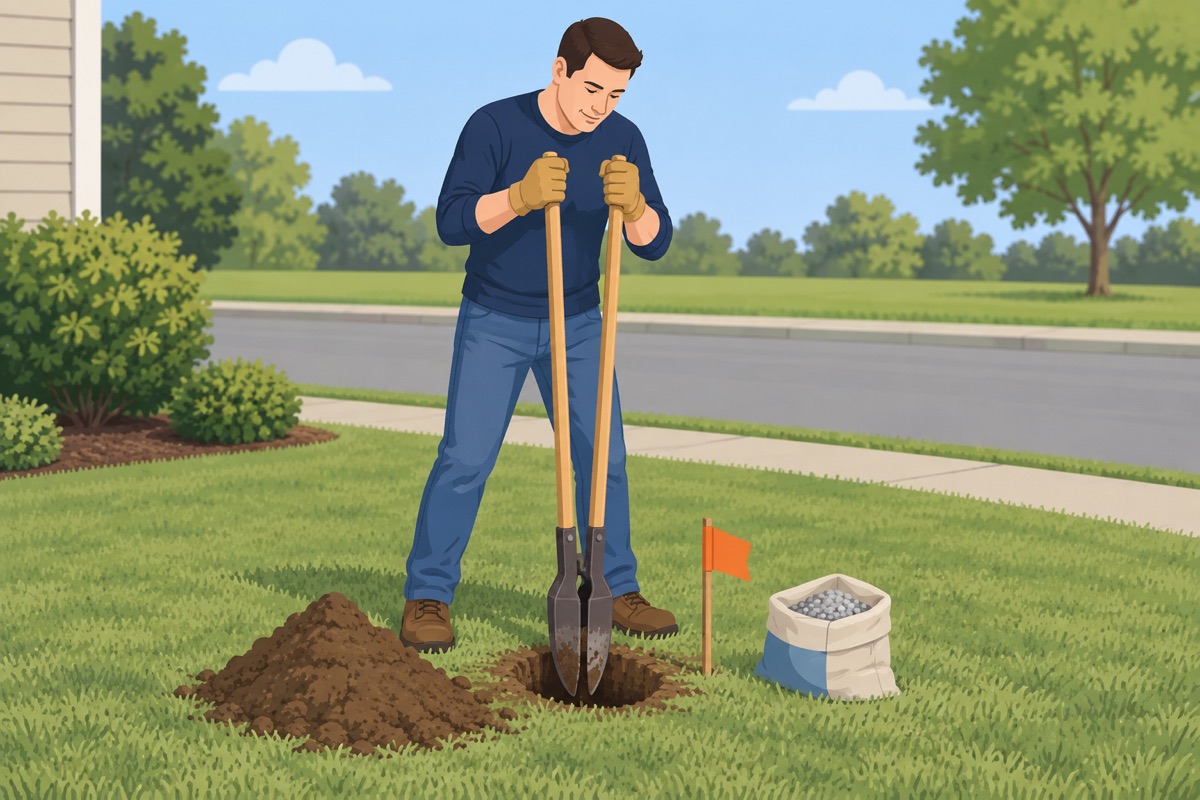
Dig to the depth the post's instructions give, and a hole a few times wider than the post. Keep the sides straight and clean out loose dirt at the bottom. Add gravel at the bottom if the post or the bag calls for it.
Step 7 of 11
Set the post in concrete
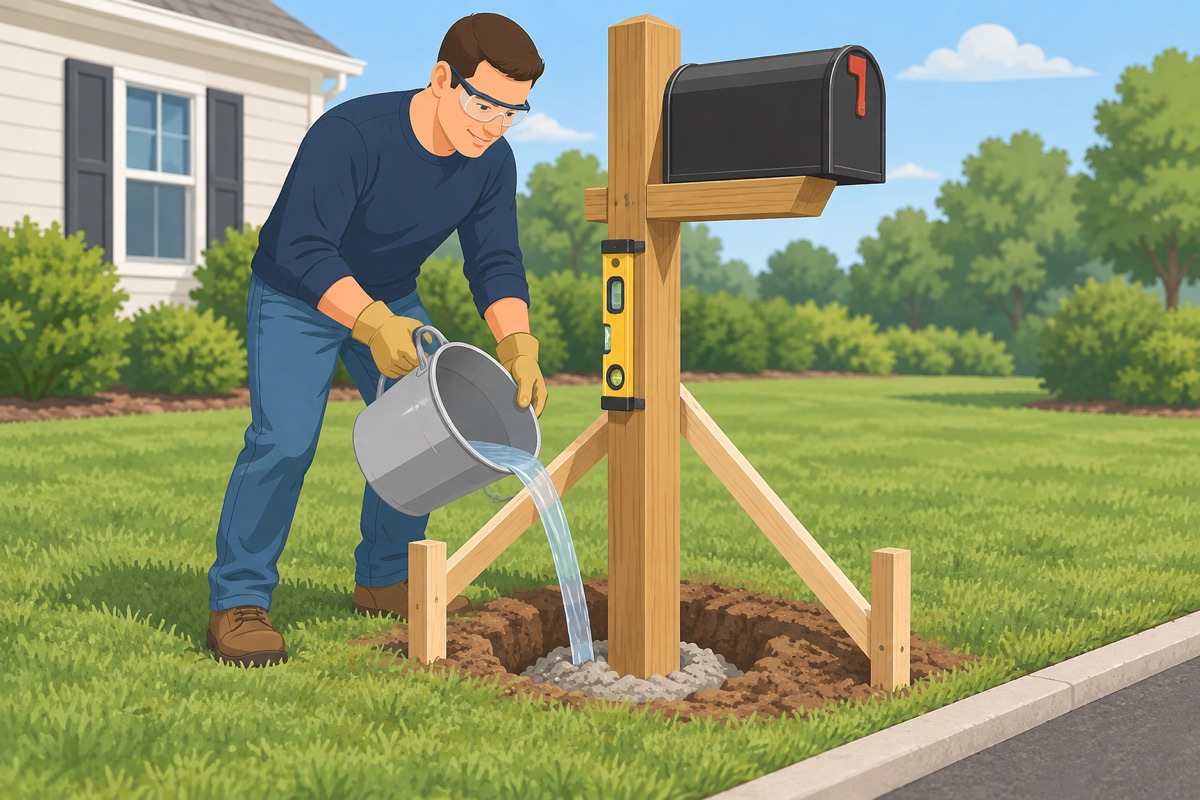
Stand the post in the hole at the height you need and brace it plumb on two faces. Add the fast-setting concrete and water exactly as the bag says. Slope the top of the concrete away from the post so water runs off.
Before the concrete goes in
- Post height checked against the USPS range from the road
- Post plumb on two faces and braced
- Gloves and glasses on
Step 8 of 11
Let the concrete cure
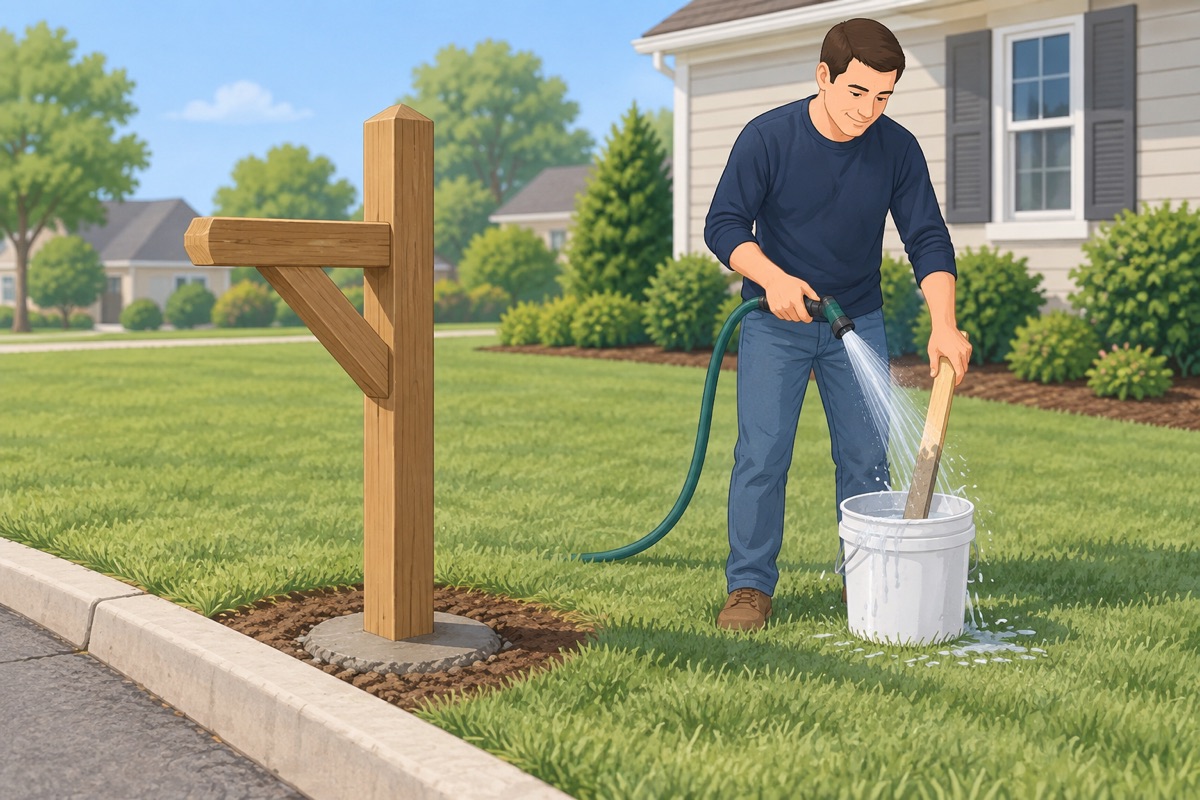
Leave the braces on and nothing on the post for the time the bag gives. Clean the bucket and tools before the concrete sets on them.
Step 9 of 11
Mount the mailbox
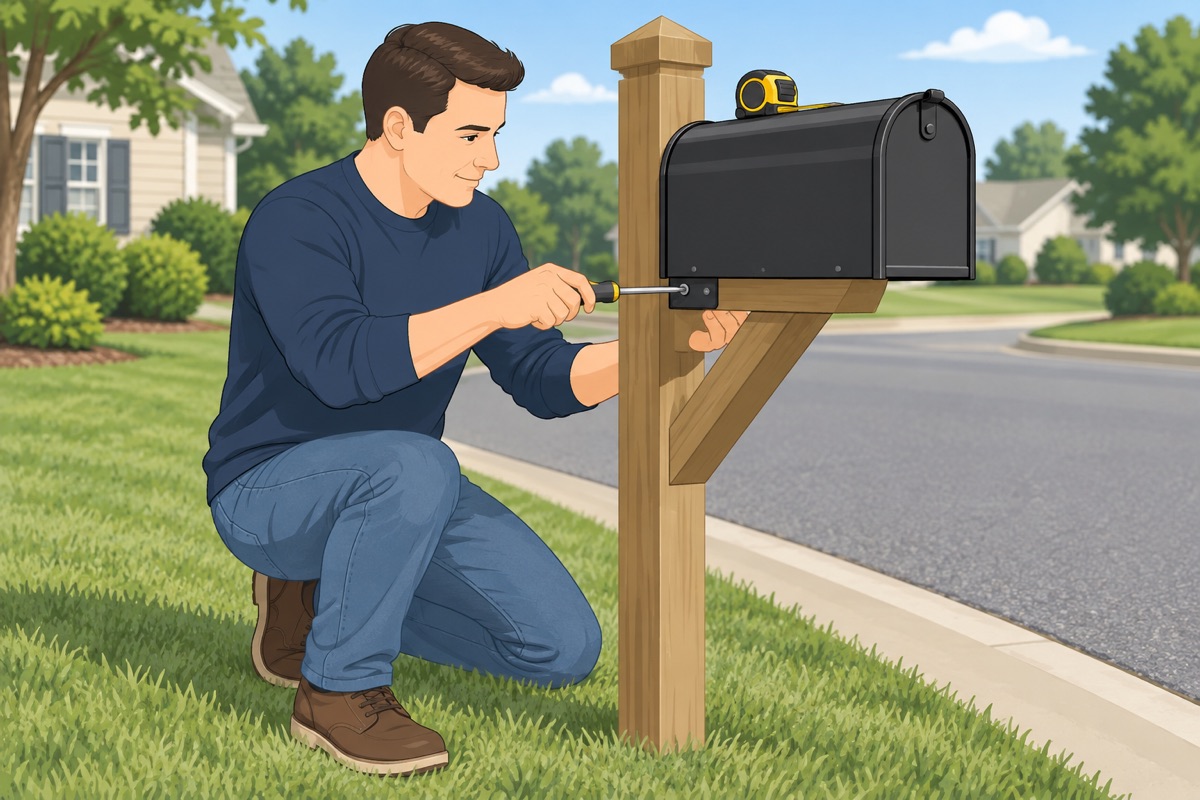
Fasten the box to the post per its instructions, with the door facing the road. Check the height from the road again and that the door opens and closes freely.
Step 10 of 11
Number the box too
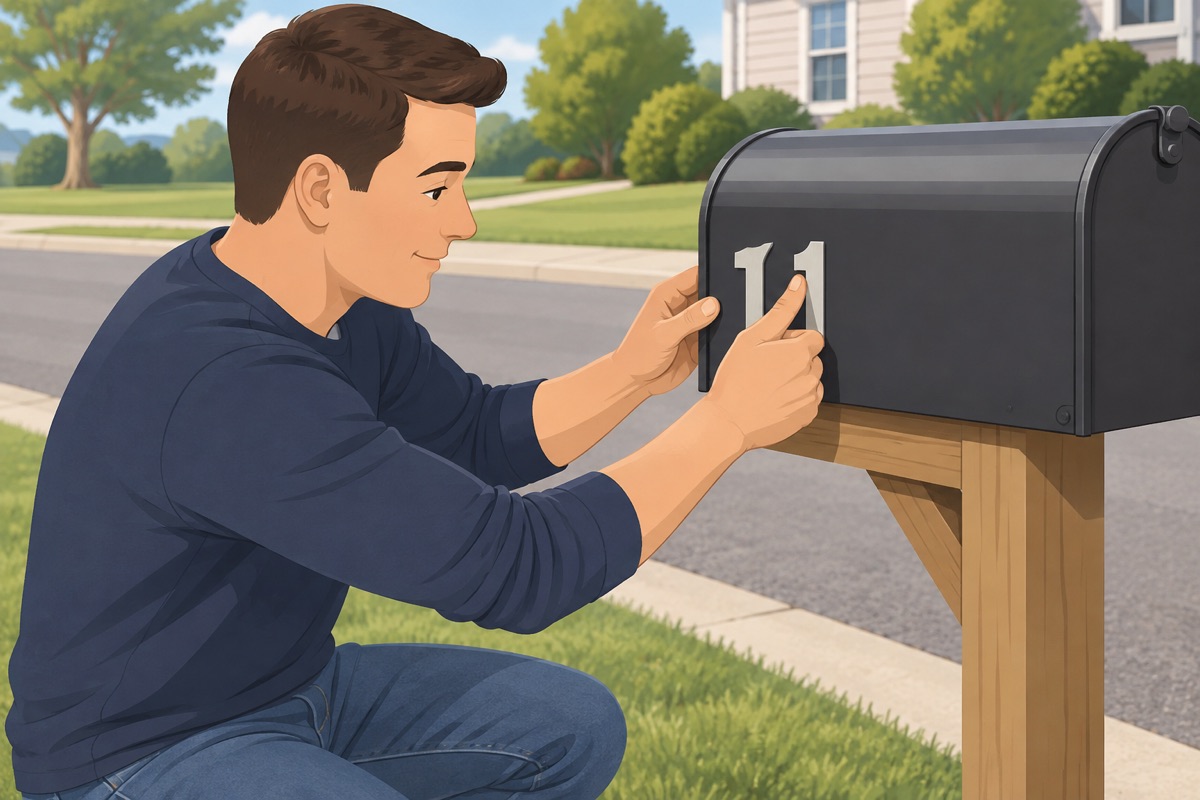
Put your house number on the mailbox as well, on the side the carrier and drivers see. Seal any screw holes you made in a wood post.
Step 11 of 11
Check from the street
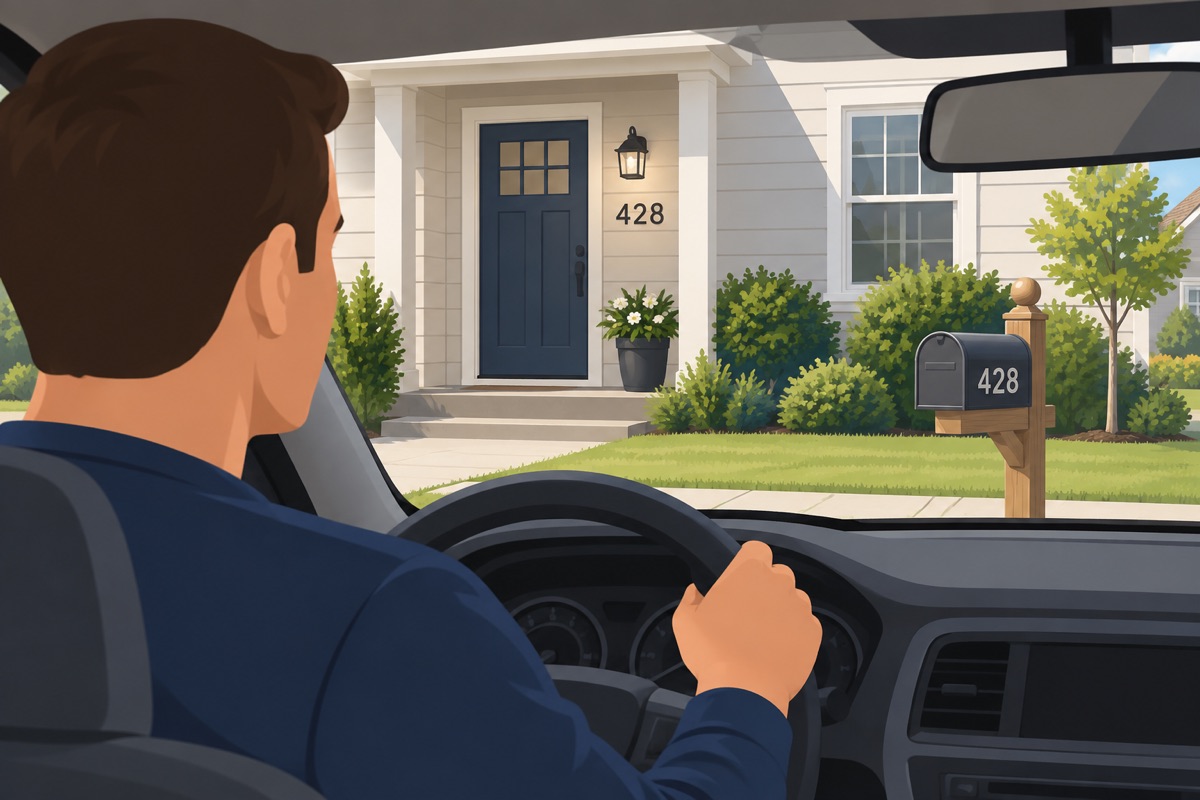
Walk to the street and look at both from a car's view.
Quality check
- House numbers readable from the street, day and night
- Mailbox height and curb distance within the USPS range
- Post plumb and firm
- Mailbox door opens freely and the number is on the box
Common mistakes
- Digging without calling 811. Gas, power, and cable lines often run along the street edge exactly where a mailbox goes. Call 811 and wait for the marks before the shovel goes in. Mistake #1 in this task.
- Numbers you cannot read from the street. Fire, ambulance, and delivery drivers find you by them, often at night. Too small, too fancy, or the same color as the wall is the same as no numbers.
- Setting the box by eye. The carrier has to reach the box from the vehicle. USPS gives the height above the road and the distance back from the curb — measure both before you dig.
- Walking away before the post is braced plumb. Fast-setting concrete sets fast. Check two faces of the post with the level and brace it before the concrete stiffens, or it stays crooked.
- Hanging the box before the concrete cures. The weight of the box and the door being opened can rock a fresh post. Wait the time on the bag.
Draft guide written from standard practice, not yet reviewed by a licensed pro. Follow product labels where they differ.
Get this job planned for your roomRelated guides
- How to install a closet system yourself: step by step
- How to install cabinet pulls, door handles and shelves yourself: step by step
- How to install a faucet, toilet and shower head yourself: step by step
- How to replace outlets, switches and light fixtures yourself: step by step
- How to connect a dishwasher, range and hood yourself: step by step
- Gas range connection: what a pro does and what you can do