How to install exterior shutters yourself: step by step
Shutters change the face of a house in a day. Size them to the window, mark them level with the trim, drill with the right bit for your wall, seal every hole, and leave the bottom open to drain.
Difficulty 2 of 5 · 1 weekends · you can do this
Photo of your room, the look you pick, then this guide with the materials counted for your room.
What you need
- Decorative shutters (vinyl or composite)
- Shutter fasteners (shutter-loks for siding, stainless screws and anchors for stucco or brick)
- Exterior sealant
- Masonry drill bit (size per the fastener label)
Tools
- Ladder — Set it 1 ft out for every 4 ft up, on firm, level ground.
- Drill/driver or impact driver
- Hammer drill with a masonry bit — Only for stucco or brick. Bit size per the fastener's label.
- Torpedo level
- Tape measure
- Caulk gun
- Rubber mallet
- Safety glasses, work gloves, hearing protection
Step by step
Step 1 of 10
Size the shutters to the window
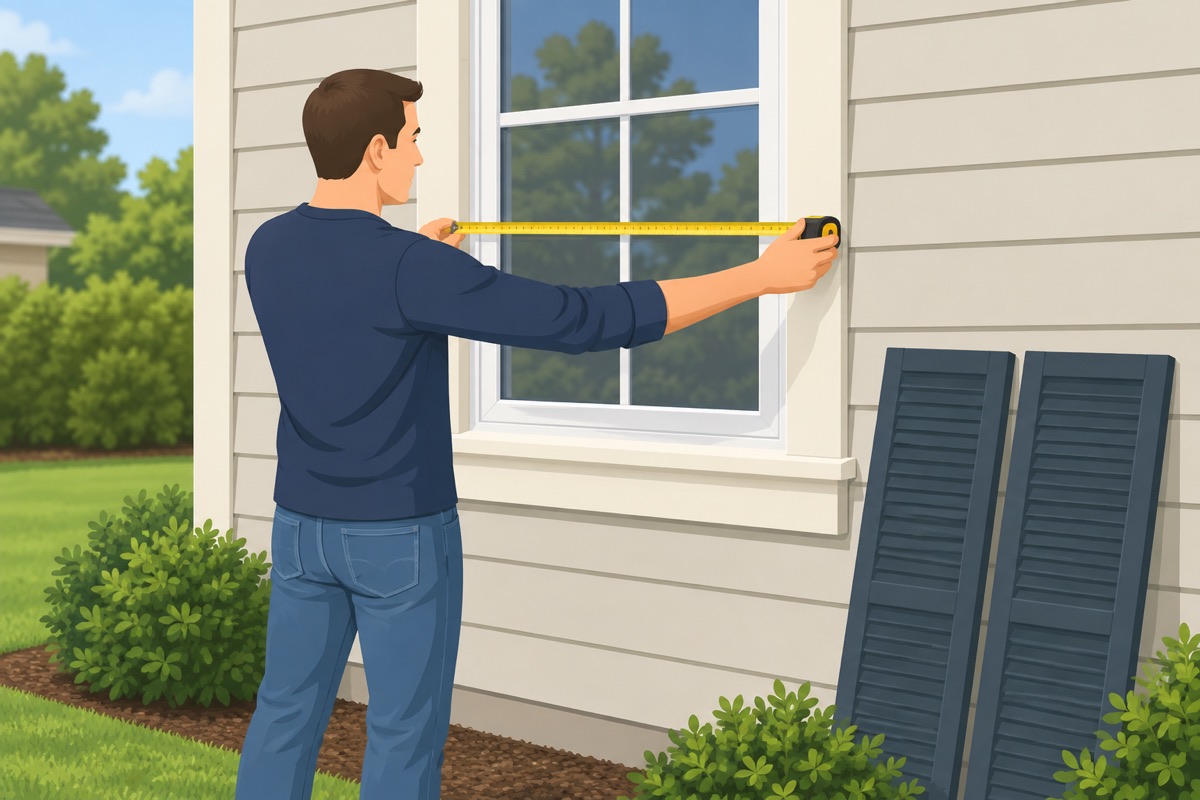
Measure each window's height and width, trim to trim. Each shutter should be as tall as the window and about half as wide, so the pair looks as if it could close. Buy by the window, one pair each.
Step 2 of 10
Check your wall and pick the fastener
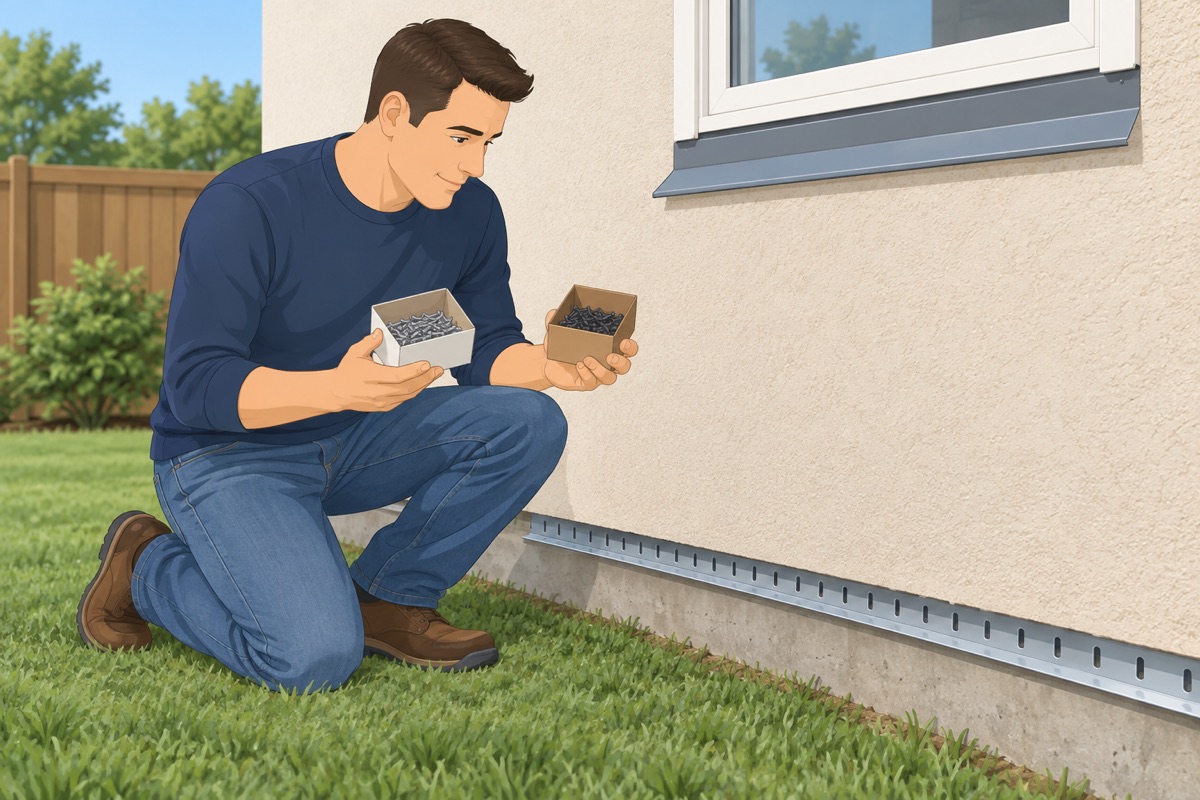
Find out what the wall is: siding, stucco or brick. Use the fasteners the shutter's instructions name for it — shutter-loks for siding, stainless screws with anchors for stucco or brick. Look for the metal weep screed at the bottom of a stucco wall and the flashing around each window.
Step 3 of 10
Set the ladder safely
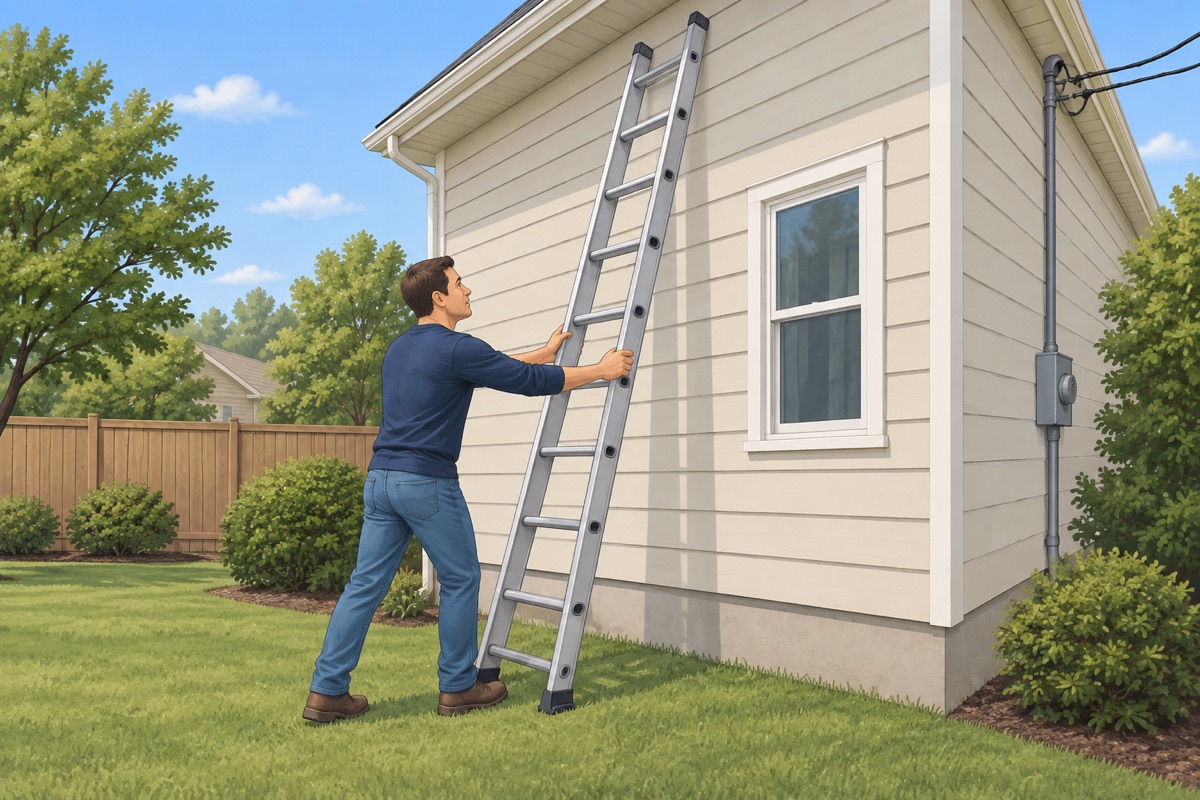
Set the ladder on firm, level ground, 1 ft out for every 4 ft up, and keep it and yourself well clear of the power line to the house. Keep three points of contact and do not lean out past the rails.
Step 4 of 10
Hold the shutter up and mark it
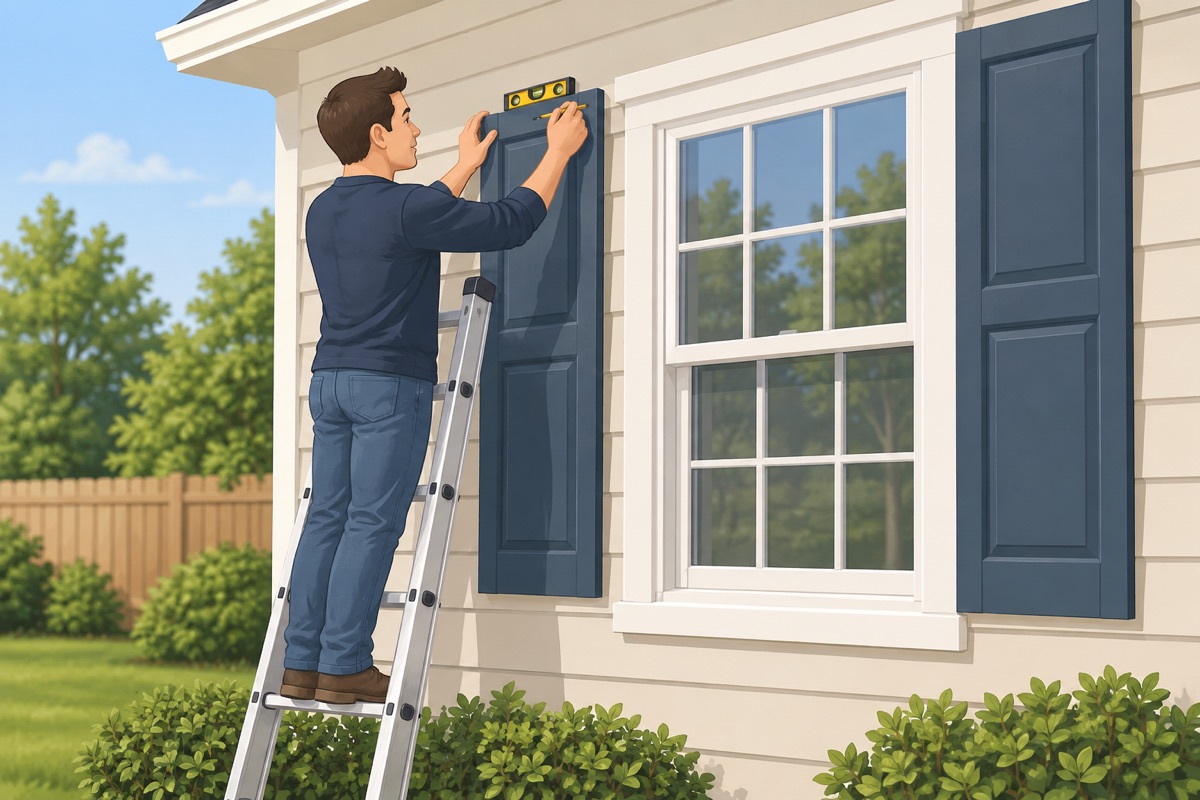
Hold the shutter against the wall beside the trim, with its top level with the top of the window trim. Check it with the level, then mark the fastener spots the instructions give — into the solid rails near the top and bottom, not the louvers.
Step 5 of 10
Check the marks before you drill
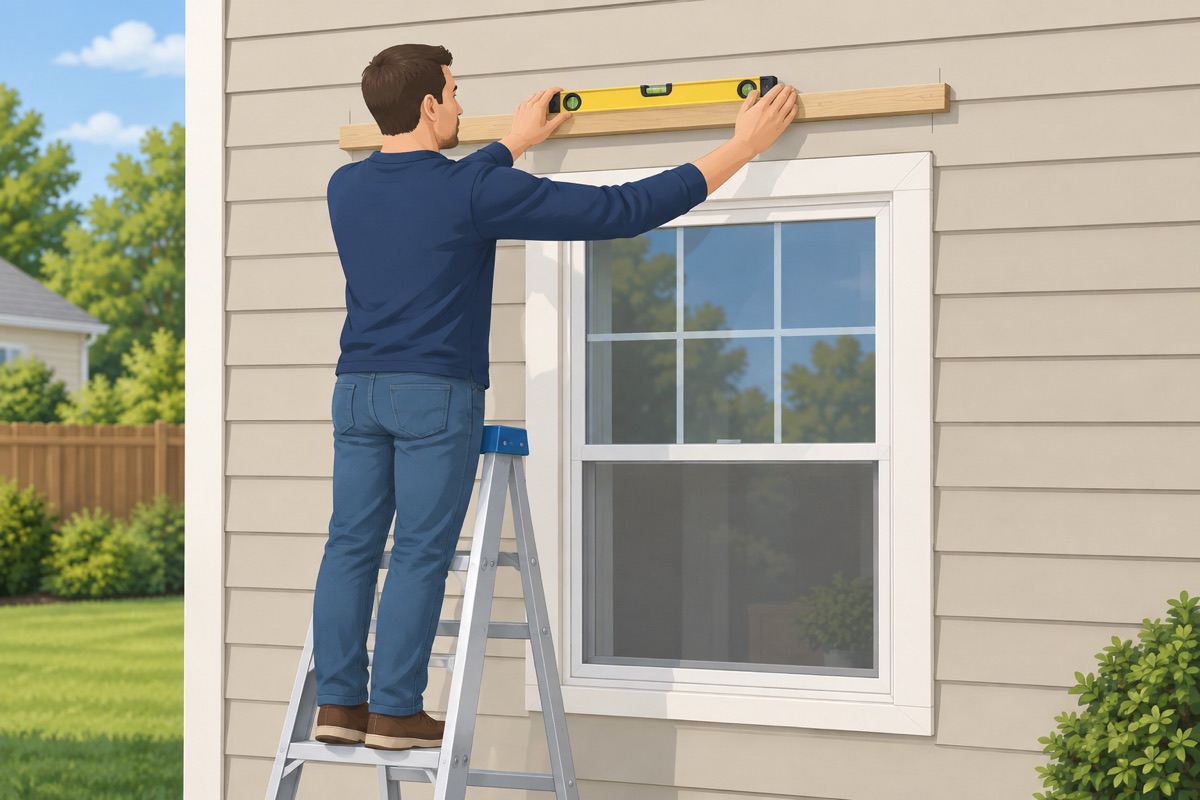
Make sure the marks on both sides of the window sit at the same height and none lands on the weep screed, the flashing or the window's nailing fin.
Before you drill
- Every mark is in the flat wall, not in the weep screed, the flashing or the nailing fin
- Both shutters of the pair sit at the same height and are level with the trim
- The ladder is set safely and clear of the power line
- On a pre-1978 home, you are ready to mist and catch the dust
Step 6 of 10
Drill the shutter
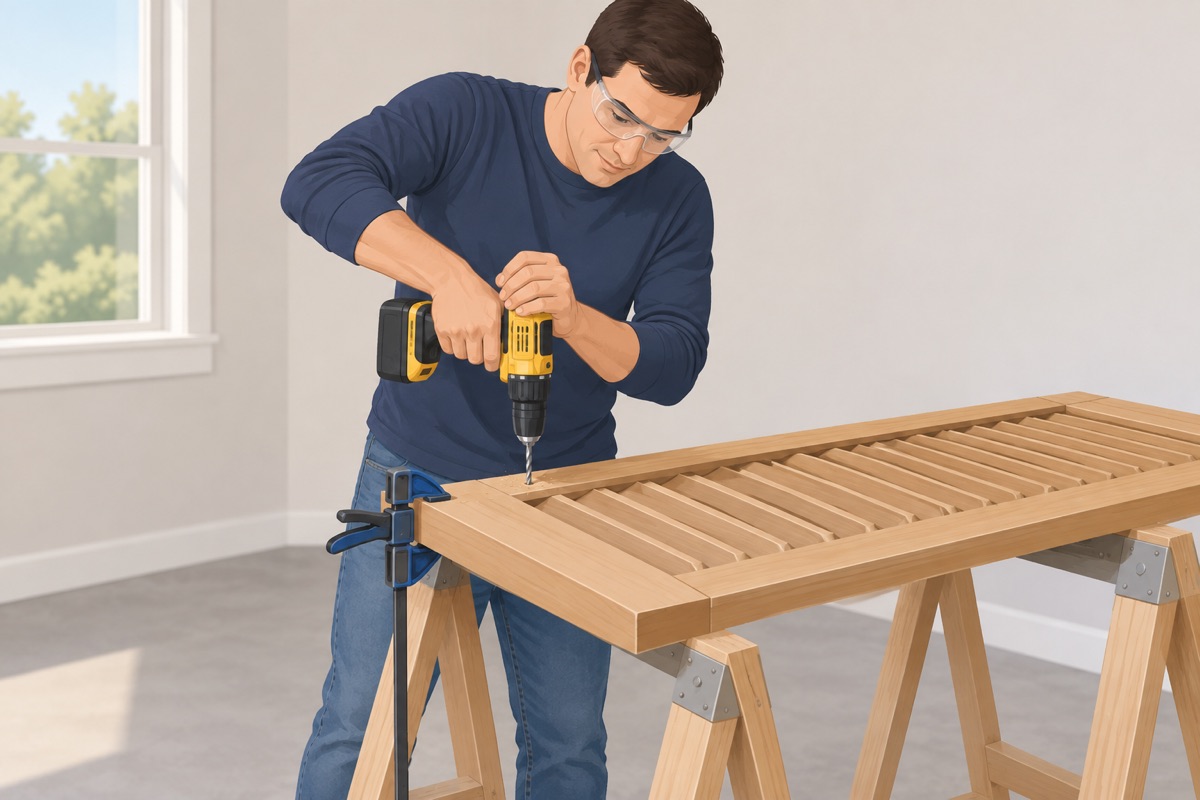
If the shutter is not pre-drilled, drill through it at each mark with the bit size its instructions give.
Step 7 of 10
Drill the wall
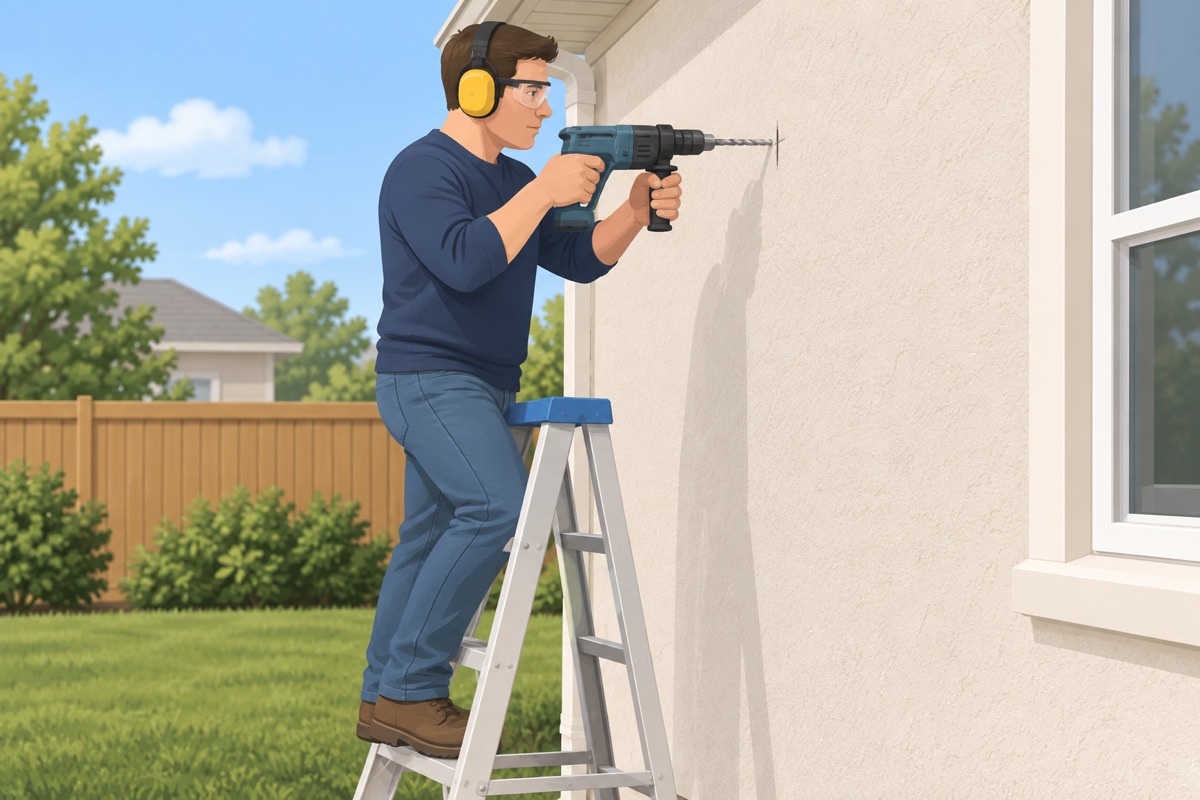
For stucco or brick, use the hammer drill and the masonry bit to the depth on the fastener's label, then blow the dust out of the hole. For siding, drill the size the shutter-lok label gives.
Step 8 of 10
Seal every hole and fasten
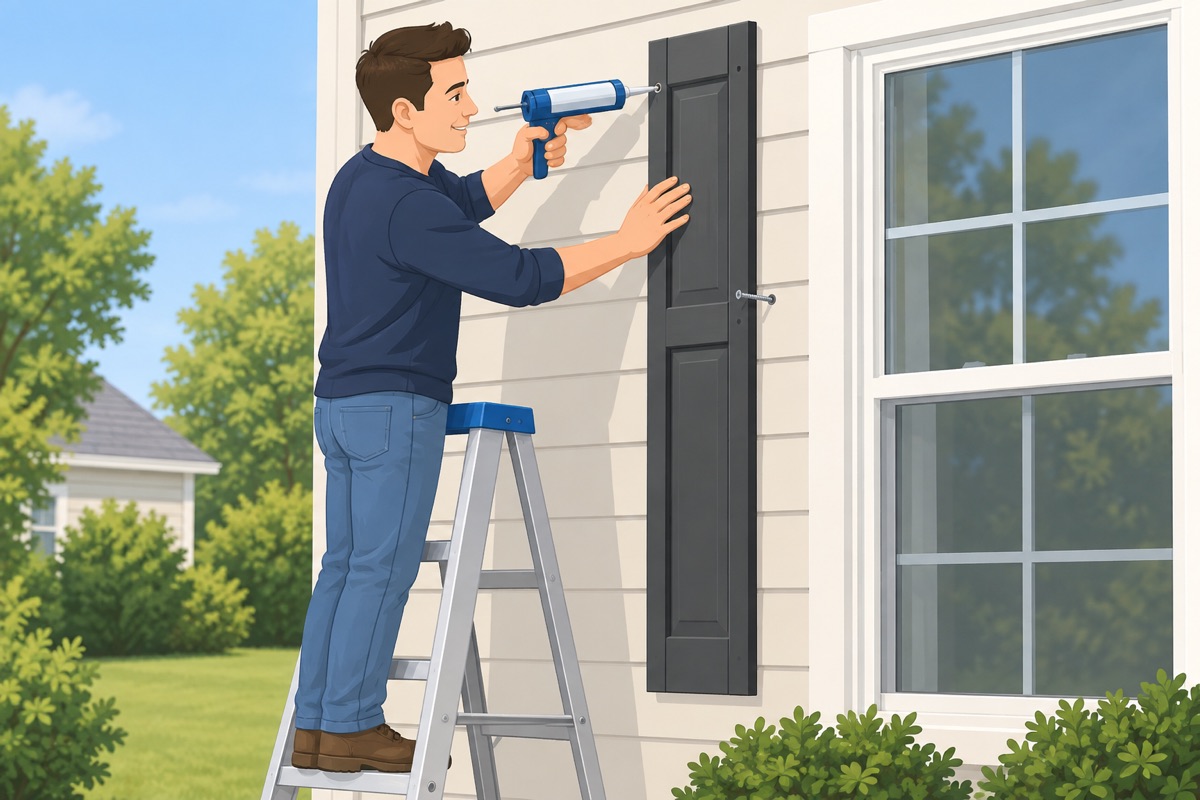
Put a dab of exterior sealant in each hole, set the anchor if you use one, and drive the screw until the shutter is firm — no tighter. Tap shutter-loks in with the rubber mallet.
Step 9 of 10
Leave the bottom open to drain
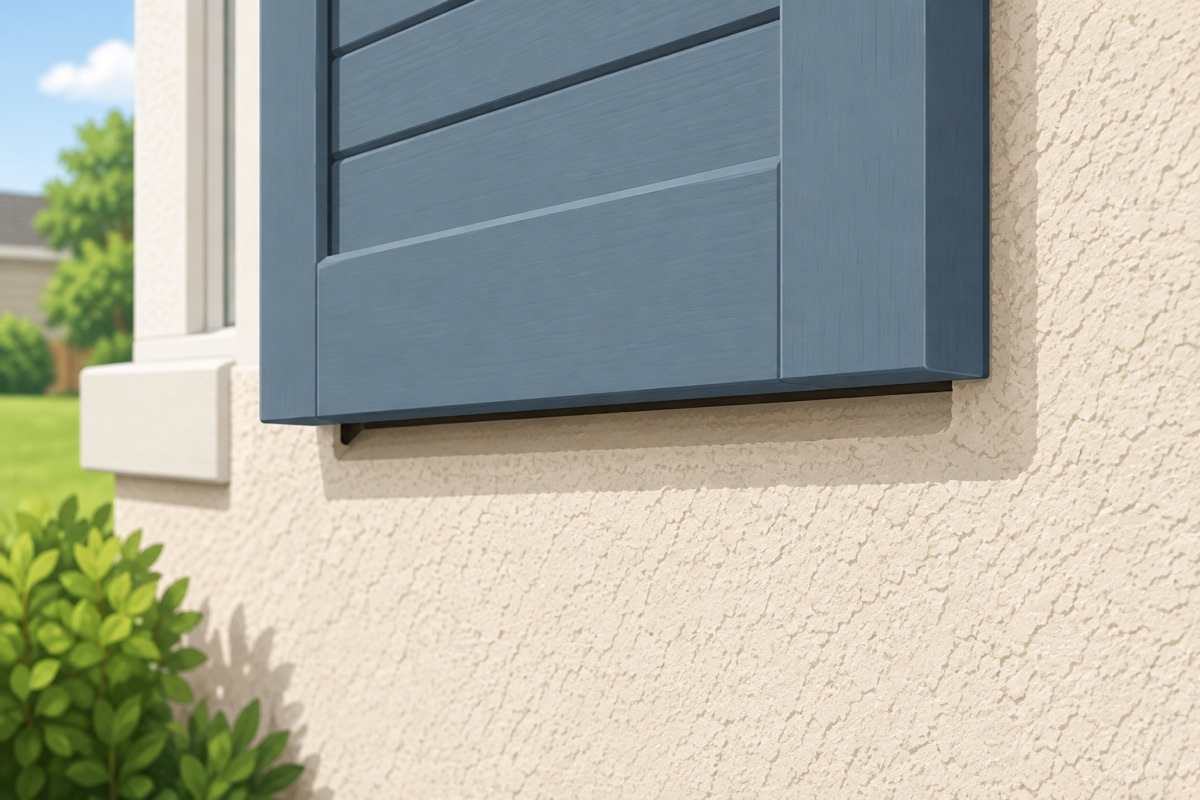
Do not caulk along the bottom edge or behind the shutter. Water that gets behind it has to be able to drain out.
Step 10 of 10
Step back and check

Look at the house from the street: both shutters of each pair at the same height, all pairs lined up with each other. Put on any screw caps and clean up the dust. Check the fasteners after the first windy season.
Common mistakes
- Shutters that could never cover the window. Too short or too narrow and they look stuck on. Match the window's height, and make each shutter about half its width.
- A ladder set too steep, too flat, or near the service drop. Ladders slide out or tip back, and a metal ladder near the power line can kill. Set it at the right angle on firm ground, far from the wires.
- Drilling through the weep screed or the flashing. Water gets behind the stucco or into the wall where you cannot see it. Keep every hole in the flat wall beside the trim.
- Driving the screws too tight. Vinyl cracks and bows. Snug the fastener until the shutter is firm and stop.
- Caulking the bottom edge. Water that gets behind the shutter cannot get out, and the wall stays wet. Leave the bottom open.
Draft guide written from standard practice, not yet reviewed by a licensed pro. Follow product labels where they differ.
Get this job planned for your roomRelated guides
- How to install a closet system yourself: step by step
- How to install cabinet pulls, door handles and shelves yourself: step by step
- How to install a faucet, toilet and shower head yourself: step by step
- How to replace outlets, switches and light fixtures yourself: step by step
- How to connect a dishwasher, range and hood yourself: step by step
- Gas range connection: what a pro does and what you can do