How to fix a squeaky floor
Short answer
To fix a squeaky floor: find the squeak and the joists, check the floor and what runs under it before any fastener goes in, then use the least invasive fix that works: a dry lubricant between boards, a glued shim or construction adhesive from below, a squeak-repair kit, or a short screw into a joist through a pilot hole. Difficulty 2 of 5; for a first-timer, plan on about half a day. Read the “Stop here” box below before step 1.
Draft guide written from standard practice, not yet reviewed by a licensed pro. Follow product labels where they differ.
Difficulty 2 of 5 · about half a day · careful
Stop here
Photo of your room, the look you pick, then this guide with the materials counted for your room.
What you need
- Dry floor lubricant (powdered graphite or talc)
- Wood shims and wood glue (for a gap seen from below)
- Construction adhesive (for a longer gap seen from below)
- Floor squeak repair kit (from below, or through carpet or wood from above)
- Wood filler or putty in the floor's color (for screws from above in wood)
Tools
- Stud finder (works on floors too)
- Drill/driver with bits for pilot holes
- Tape measure
- Painter's tape, to mark squeaks
- Hammer and nail set
- Caulk gun, for the adhesive
- Flashlight or headlamp
- A helper to walk the floor
Step by step
Step 1 of 9
Find the squeak and the joists
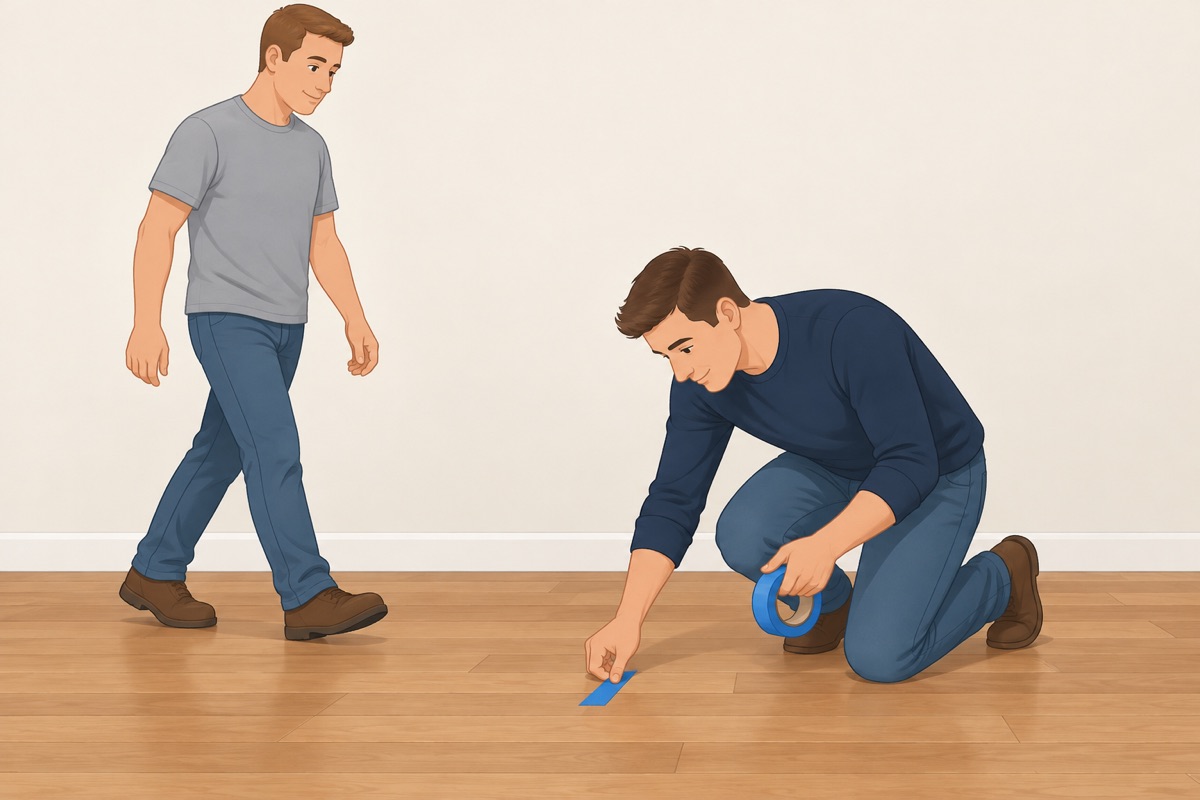
Have a helper walk slowly over the floor while you listen; mark every squeak with a piece of painter's tape. If there is a basement or a crawl space below, watch from there while the helper walks: you may see the board move or a gap between the subfloor and a joist. From above, find the joists with the stud finder or by the lines of nails in the floor, and mark them.
Step 2 of 9
Look at the floor and at what is under it
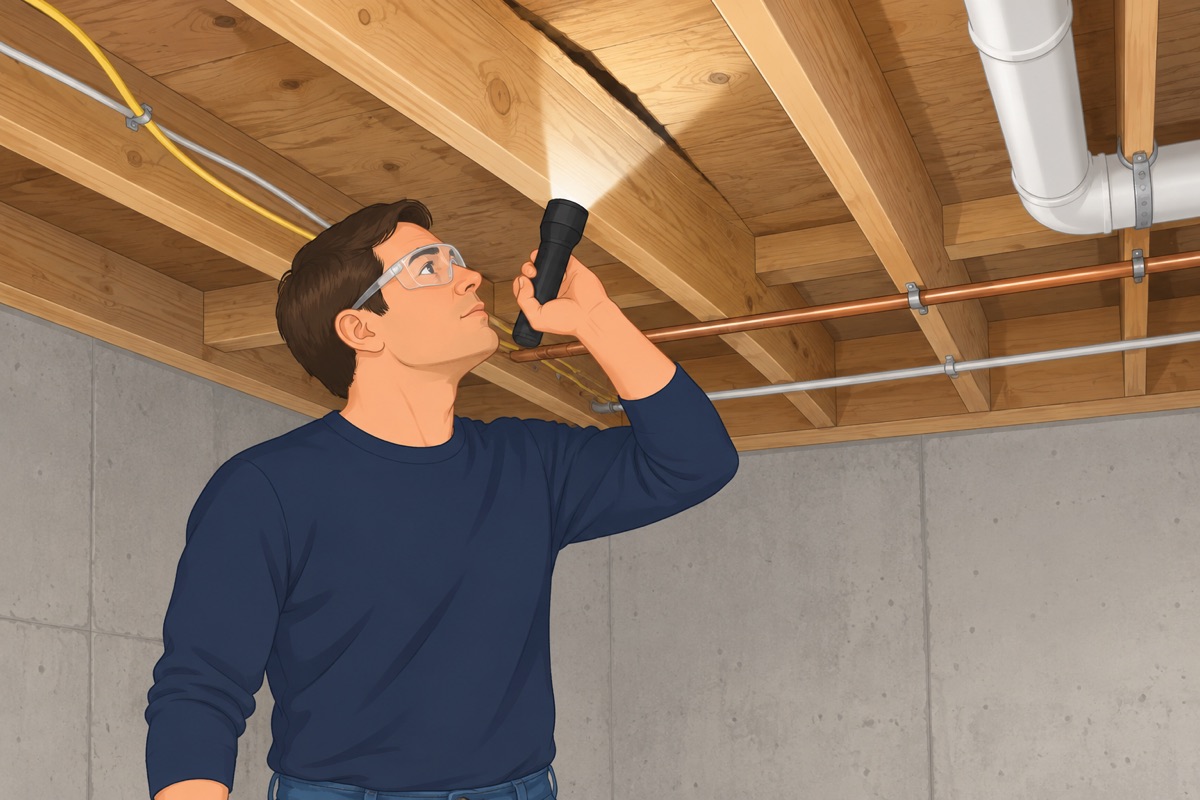
Know what kind of floor it is: nailed-down wood, carpet over a wood subfloor, a floating click floor, or tile. From below, look at every marked spot for pipes, wires, ducts, a gas line, or floor-heating tubes, and at the joists for cracks, notches, rot, or water. Measure the floor's thickness at a floor vent or an edge. A floor that sags or bounces is a stop.
Before any fastener goes in
- The floor does not sag, bounce, or slope where it squeaks, and no joist below is cracked, notched, rotted, or wet
- The floor is nailed-down wood, or carpet over a wood subfloor — not tile, stone, or a floating click floor
- You know what is under every spot you will fasten: no pipe, wire, duct, gas line, or floor heating
- Every screw is chosen for its depth: from below, shorter than the subfloor and the floor together
- In a home from before 1980 or of unknown year: no old sheet vinyl, floor tile, or adhesive will be drilled, sanded, or lifted — or it tested negative for asbestos
Step 3 of 9
Try a dry lubricant first, on a wood floor
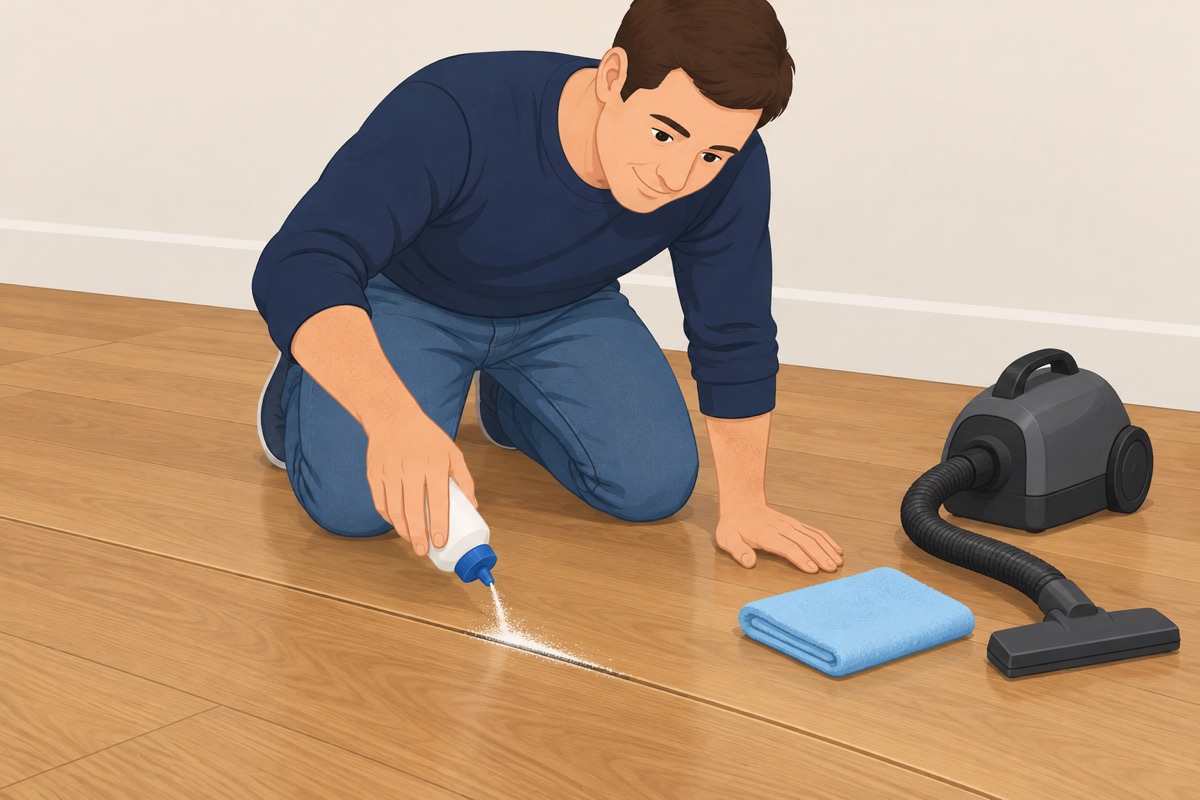
Where boards squeak against each other but do not move, work the dry lubricant into the joints between them, walk over it to work it in, and vacuum the rest. Repeat as its label says. If the board moves underfoot, go on to the fixes below.
Step 4 of 9
From below: a glued shim in the gap
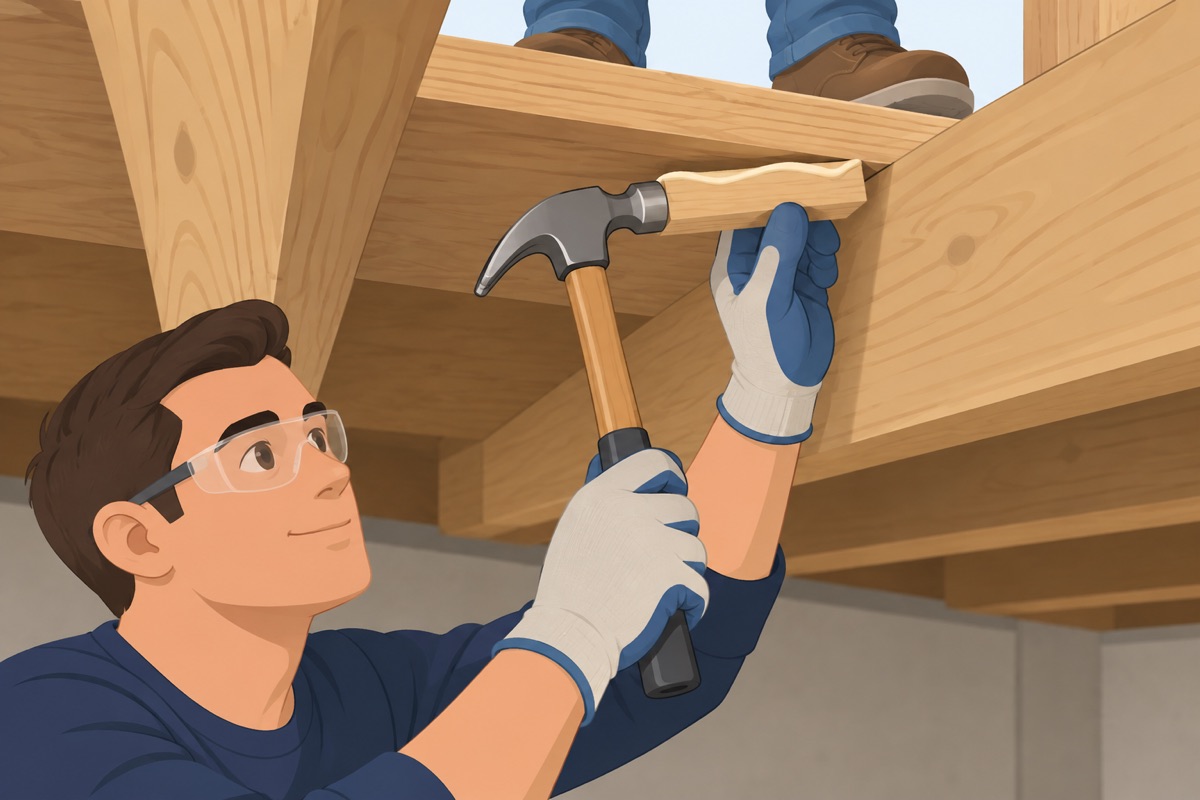
Where you see a gap between the subfloor and a joist at the squeak, coat a wood shim with wood glue and tap it into the gap only until it is snug. Have the helper step on the spot: the squeak should stop.
Step 5 of 9
From below: adhesive along a longer gap
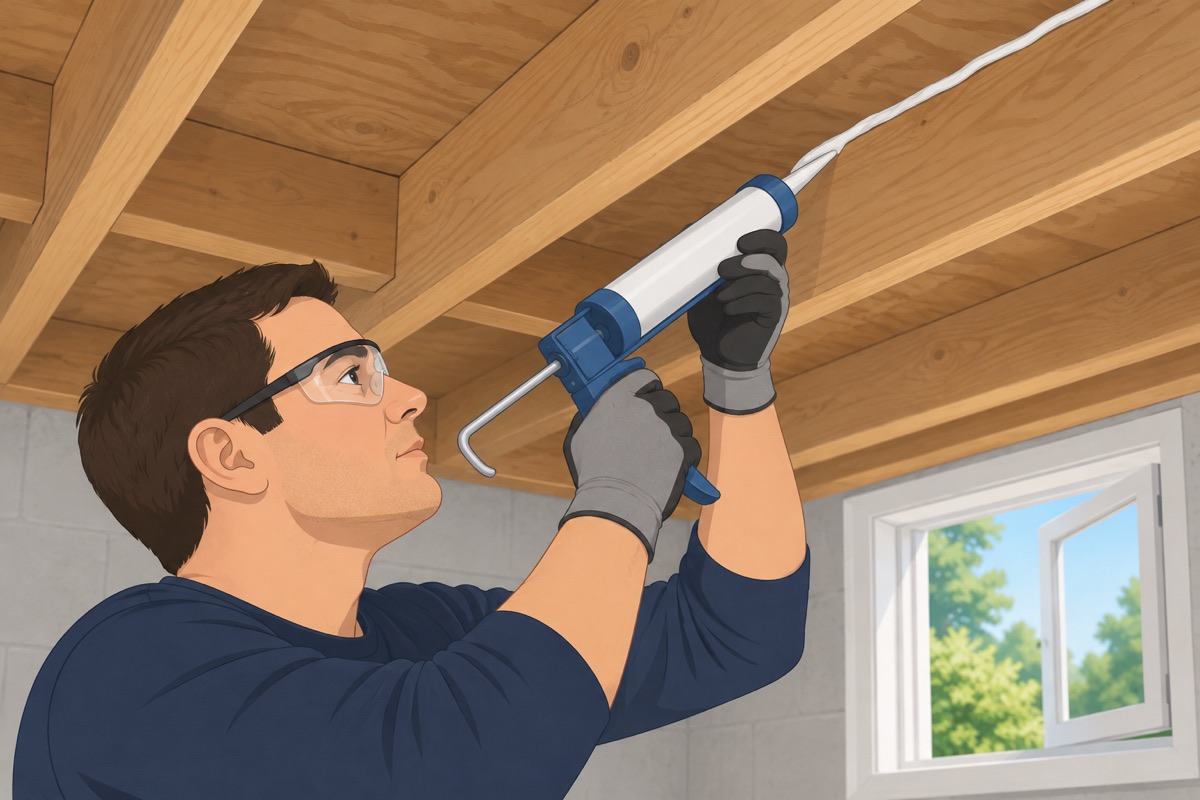
Where the gap runs along the joist, run a bead of construction adhesive into it on both sides of the joist, with fresh air as the label says. Keep weight off the spot for the time on the label.
Step 6 of 9
From below: a squeak-repair bracket or kit
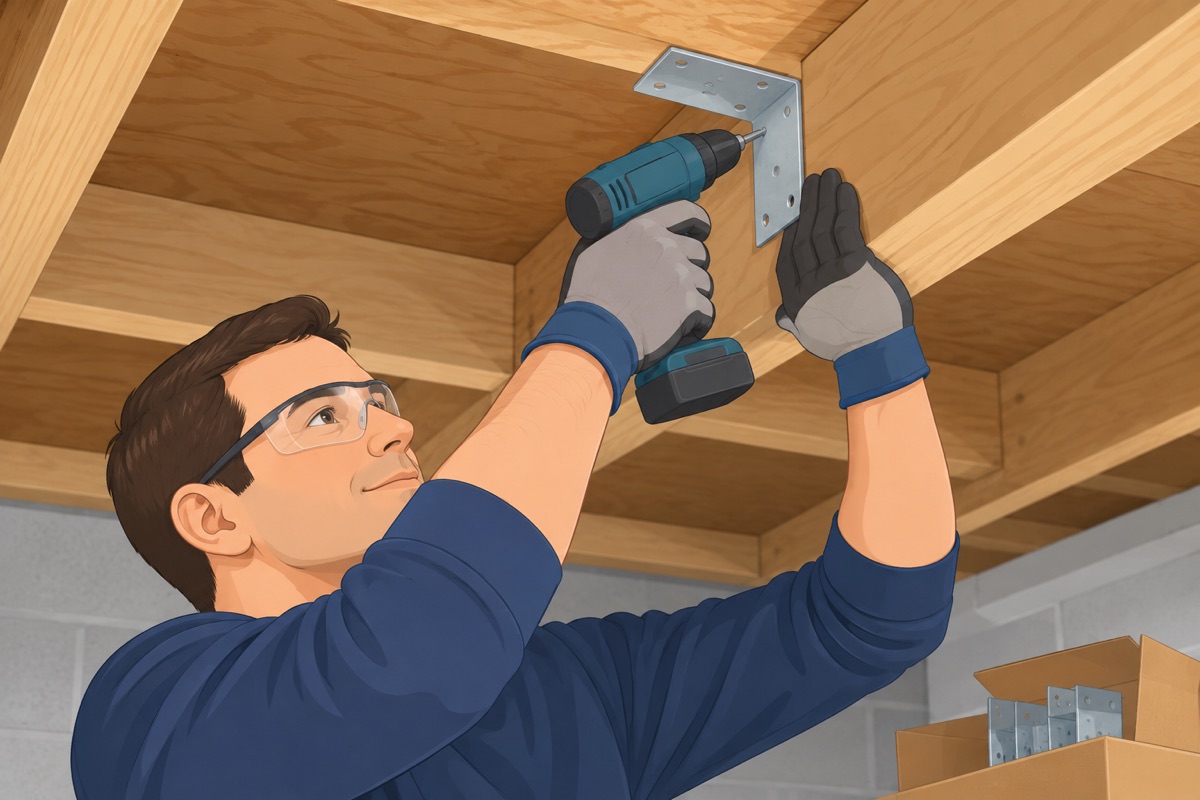
Where the subfloor has lifted off the joist and a shim would not hold, a repair bracket or a kit made for use from below pulls the subfloor down to the joist. Follow the kit's own instructions and its screw lengths, check each screw against the floor's thickness, and do not overtighten.
Step 7 of 9
Through carpet: a squeak-repair screw kit
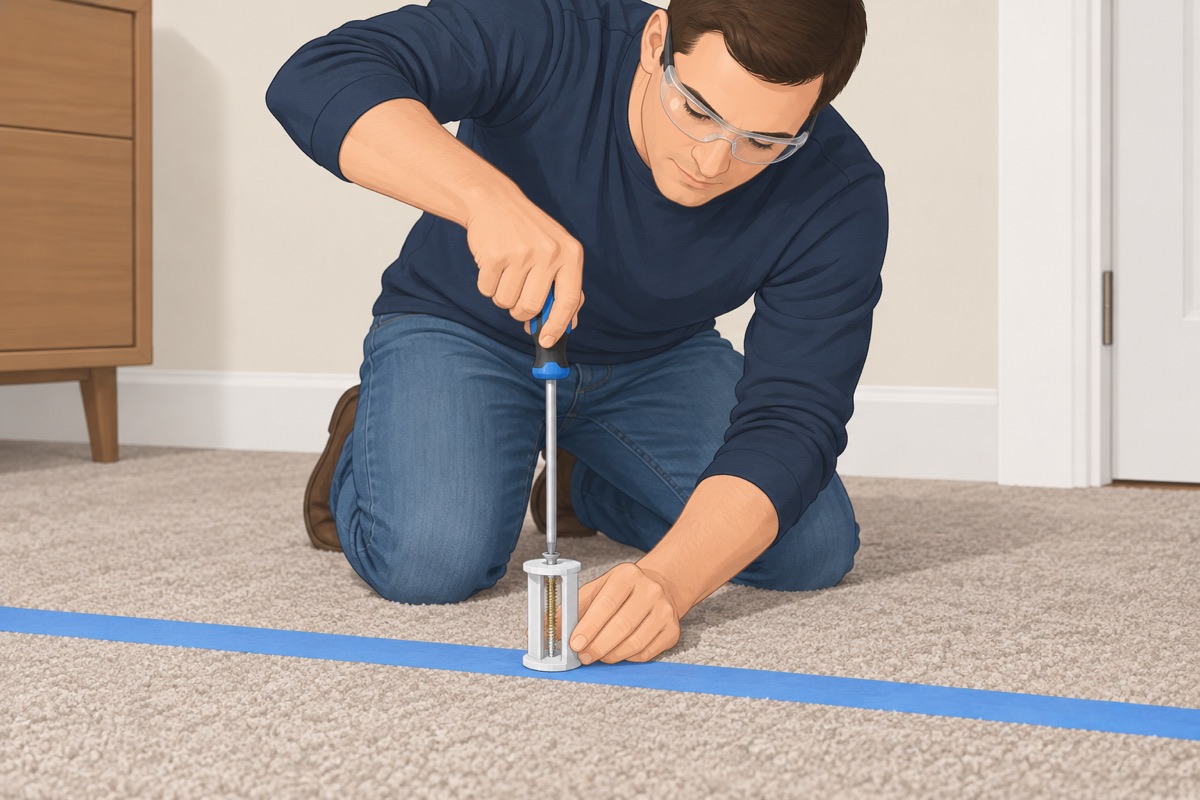
With no access from below and carpet on top, use a kit made for screwing through carpet into a joist: its depth guide sets the screw and its head snaps off below the carpet. Only into a marked joist, only where the gate is checked, and exactly as the kit says.
Step 8 of 9
Through a wood floor: a pilot hole and a finish screw into a joist
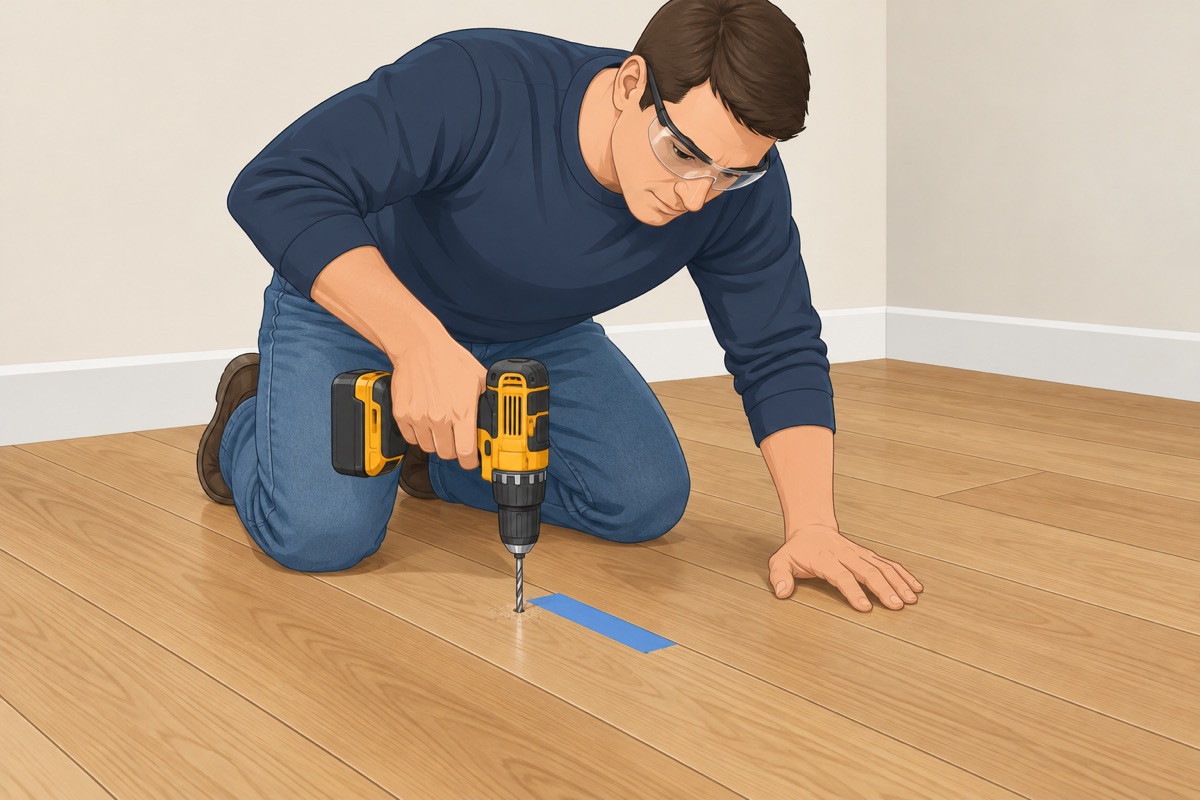
On a nailed-down wood floor with no access from below, drill a pilot hole through the board at the squeak, into a marked joist, at a slight angle. Drive a trim screw or a finish nail, or the screw from a kit made for wood floors, and set the head just below the surface. Fill the hole with wood filler in the floor's color.
Step 9 of 9
Walk it again and check below
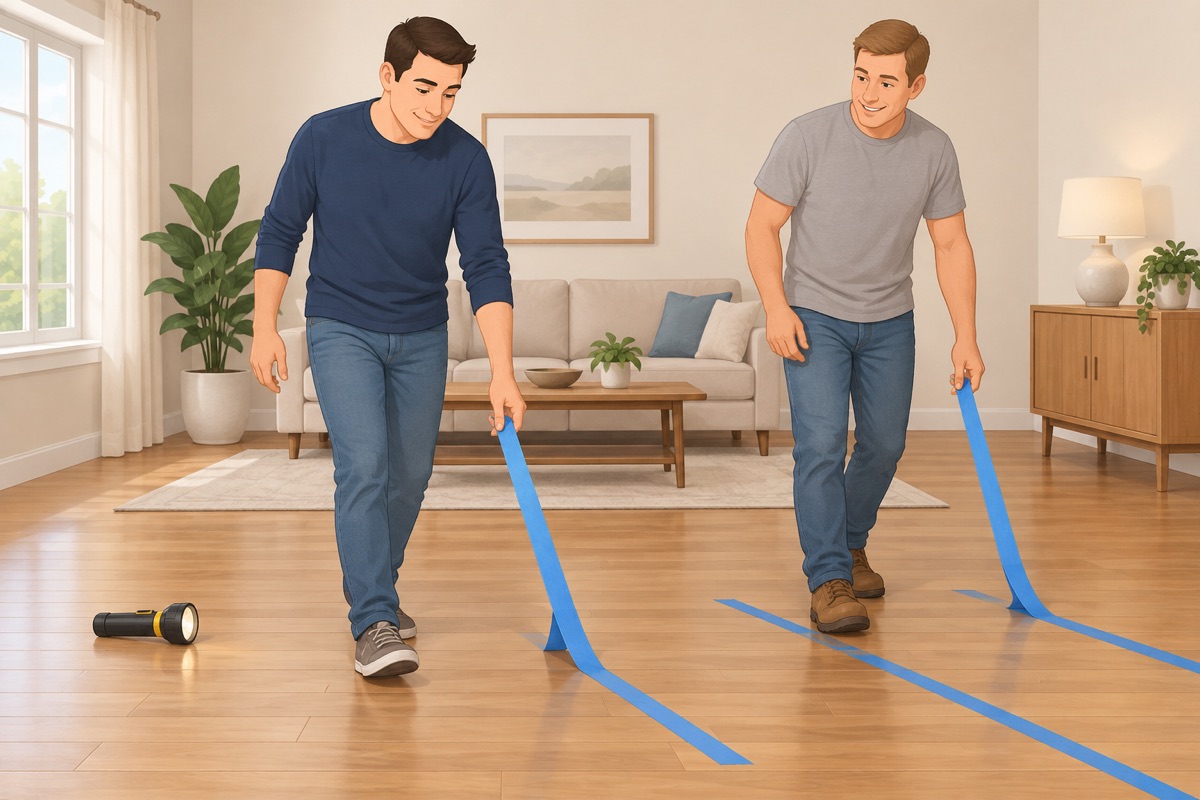
Walk the spot and the floor around it with the helper, and look below again at every place you worked.
Quality check
- The squeak is gone or quieter when you walk the spot and the area around it
- No screw tip or nail shows through the top of the floor or through a ceiling below
- No new squeak, raised board, or hump where a shim went in
- No pipe, wire, or duct was touched, and nothing below is wet
- Filled holes match the floor, and the lubricant and dust are vacuumed up
Common mistakes
- Driving a fastener without knowing what is under it. Pipes, wires, ducts, gas lines, and floor-heating tubes run under floors, often right next to a joist. One screw into them is a leak, a short, or worse. Look from below, or find out, before any fastener goes in. Mistake #1 in this task.
- Forcing a shim in. A shim driven hard lifts the subfloor, makes a hump, and starts a new squeak. Tap it in only until it is snug.
- A screw too long for the floor. From below, a screw longer than the subfloor and the finished floor together comes out through the top of the floor. Measure the thickness at a vent opening or an edge, and pick shorter screws.
- No pilot hole in a wood floor. A screw or a nail driven into hardwood without a pilot hole splits the board. Drill the pilot hole first, then set the head below the surface and fill it.
Questions
How do I fix a squeaky floor?
Have a helper walk the floor while you mark each squeak with tape, and find the joists. Check what kind of floor it is and what runs under each spot. Where boards squeak but do not move, work a dry lubricant into the joints. From below, tap a glued shim into a gap until it is snug, or run construction adhesive along a longer gap. With no access from below, use a squeak-repair kit made for carpet or wood, or a pilot hole and a finish screw into a joist.
Can I screw through the floor to stop a squeak?
Only after you know what is under that spot: pipes, wires, ducts, gas lines and floor-heating tubes run under floors, and a floor with in-floor heating takes no fasteners at all. Screw only into a marked joist, drill a pilot hole in hardwood so the board does not split, and from below pick every screw shorter than the subfloor and the floor together so it cannot come through the top.
Can I fix a squeak in a laminate, LVP, or tile floor this way?
No. Do not screw through a floating click floor such as LVP, laminate or engineered planks that are not nailed or glued down: its maker's instructions say how it is laid. In a tile or stone floor, or where the squeak comes with cracked tile or grout, the fix is under the tile, not through it. This guide covers nailed-down wood and carpet over a wood subfloor.
When should I stop and call a pro?
This guide quiets a squeak by stopping two layers of a wood floor from rubbing: a dry lubricant between boards, a glued shim or adhesive from below, a squeak-repair kit, or a short screw through a pilot hole. Stop and call a pro if: the floor sags, bounces, or slopes where it squeaks, or you see a cracked, notched, rotted, or wet joist or beam from below — that is structure, not a squeak; the floor is tile or stone, or the squeak comes with cracked tile or grout — the fix is under the tile, not through it; the floor is a floating click floor (LVP, laminate, or engineered planks that are not nailed or glued down) — do not screw through it, its maker's instructions say how it is laid; or the squeak is on stairs. Never drive a screw or a nail until you know what is under that spot: pipes, wires, ducts, and gas lines run under floors, and a floor with in-floor (radiant) heating takes no fasteners at all. From below, every screw is shorter than the subfloor and the finished floor together, so it cannot come through the top. Work in a crawl space only if it is dry and you can move freely in it. In a home from before 1980, old sheet vinyl, floor tile, and their adhesive may contain asbestos: do not drill, sand, or pull them up — fix from below, or test first. Construction adhesive in a closed basement needs fresh air, as its label says.