How to build a paver walkway yourself: step by step
A narrow patio that people walk on every day: a compacted base, a flat top, and no lips to trip on.
Difficulty 3 of 5 · 2 weekends · careful
Stop here
Photo of your room, the look you pick, then this guide with the materials counted for your room.
What you need
- Concrete pavers
- Paver base gravel
- Paver bedding sand
- Paver edge restraint
- Edge restraint spikes
- Polymeric joint sand
Tools
- Plate compactor
- Wet saw or paver saw with water feed
- Shovel and flat spade
- Wheelbarrow
- Landscape rake
- Stakes, mason's string, and a line level
- 4 ft level
- Two 1-in pipes and a straight board for screeding
- Rubber mallet
- Push broom
- Safety glasses, hearing protection, and a respirator for cutting
Step by step
Step 1 of 14
Check the stop-gate and call 811
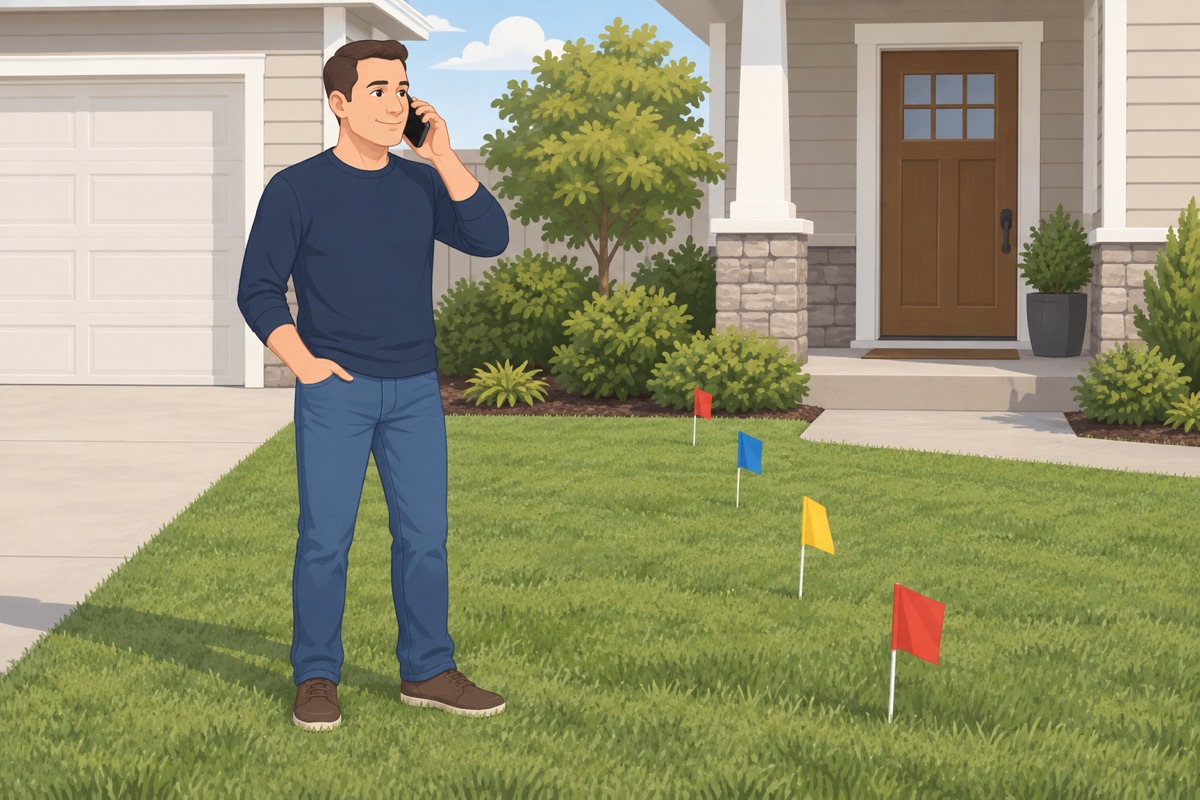
Confirm the walkway has no steps, no retaining edge over 12 in, and does not cross the city strip by the street. Call 811 a few business days before you dig and wait for the marks.
Before you dig
- No steps and no retaining edge over 12 in
- The walkway stays on your property, or you have the city permit
- 811 called and the lines marked
- You know where the sprinkler lines run
Step 2 of 14
Plan the route, the width, and the slope
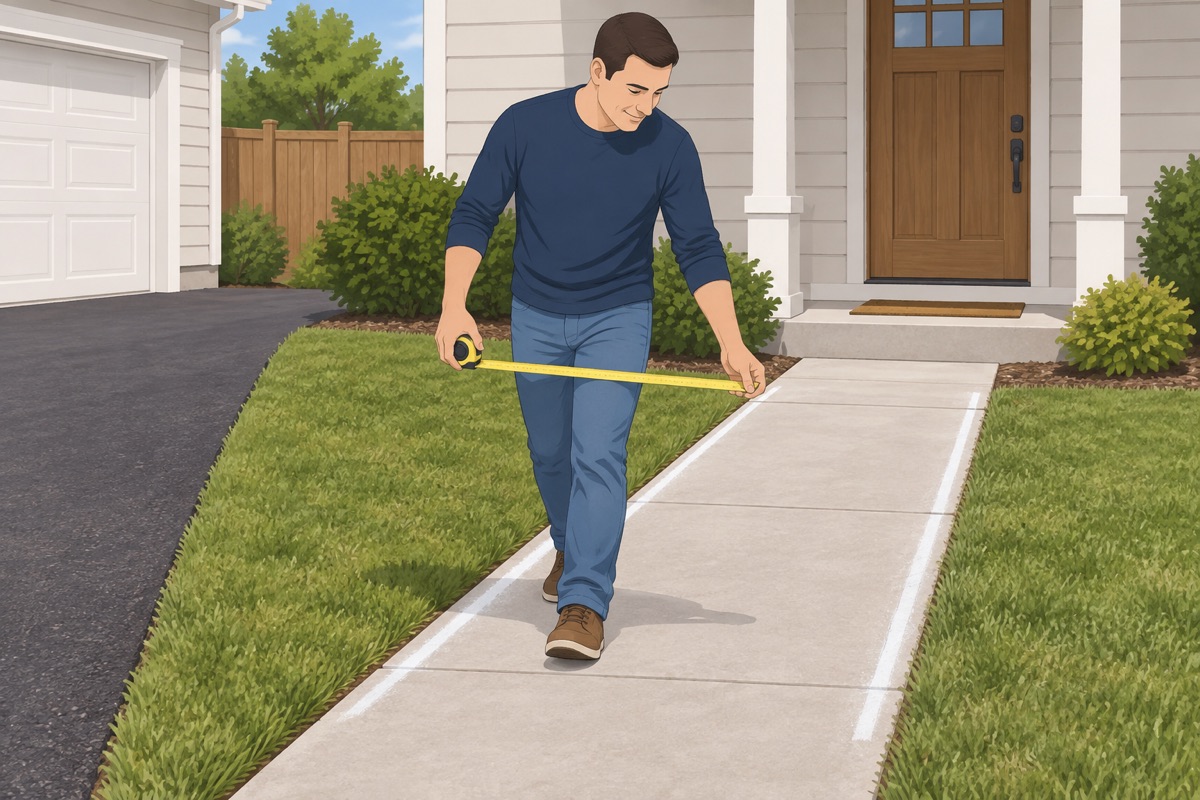
Plan a path 3–4 ft wide from the street or the driveway to the door. The top has to be flush with the driveway and the lawn at both ends, with no lips over 1/4 in and no single steps. Plan the slope so water runs away from the house, per the paver maker's guide.
Step 3 of 14
Lay out with stakes and string
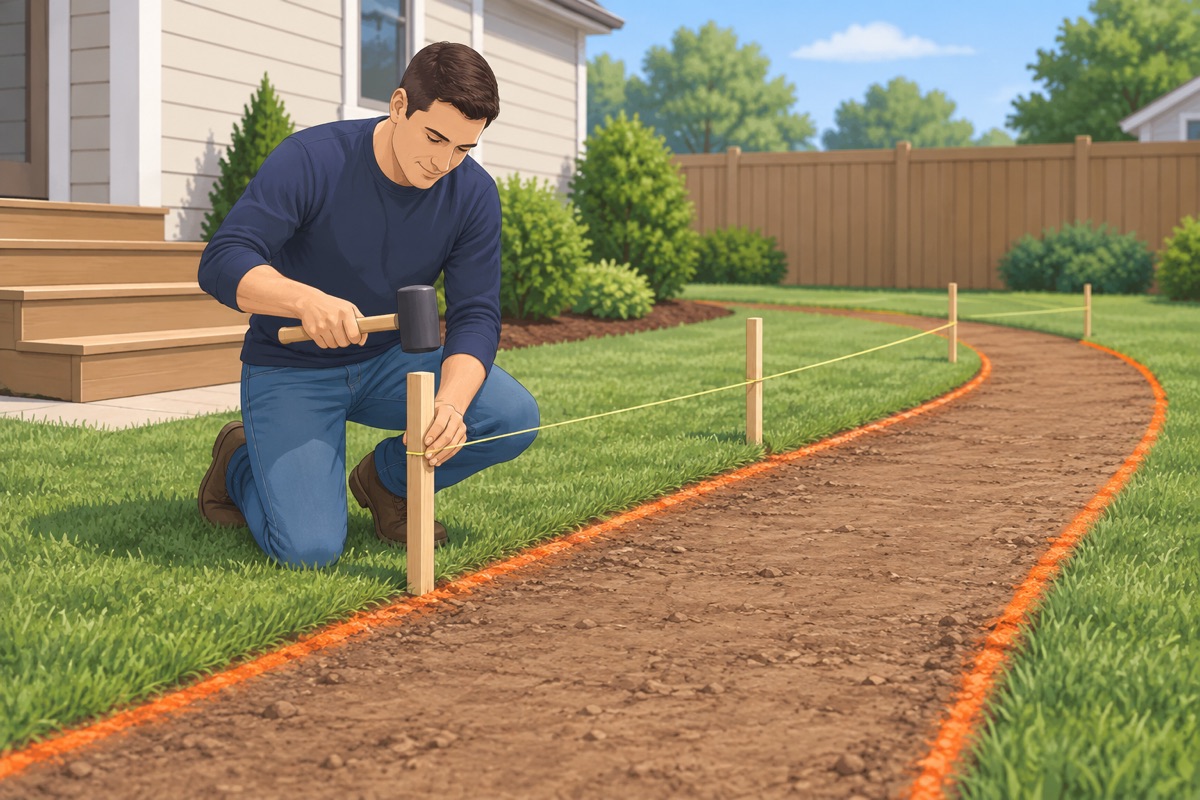
Set stakes at both ends and along curves, run the string at the finished height, and mark the ground with paint a few inches outside each edge so the base is wider than the pavers.
Step 4 of 14
Dig out to the full depth
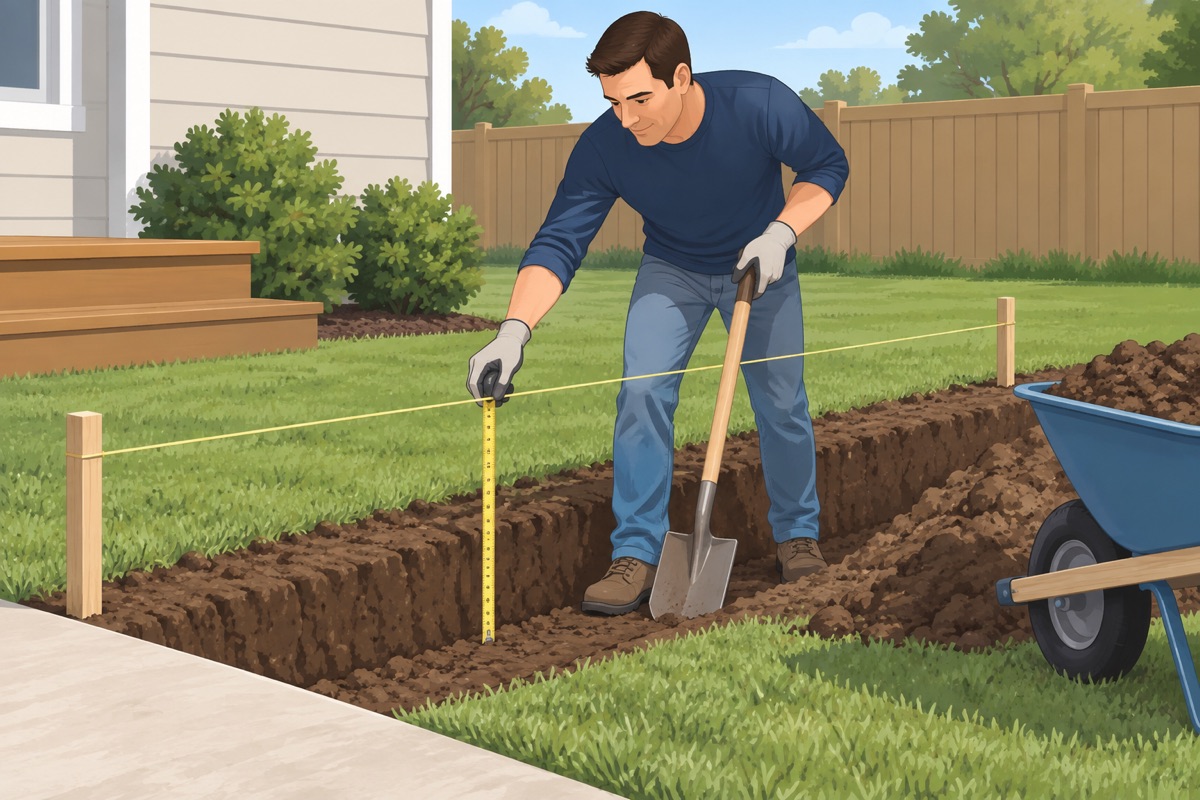
Dig to the paver thickness plus 1 in of sand plus 4 in of base, measured down from the string, following the slope. Keep the bottom even and remove roots and soft spots.
Step 5 of 14
Compact the soil
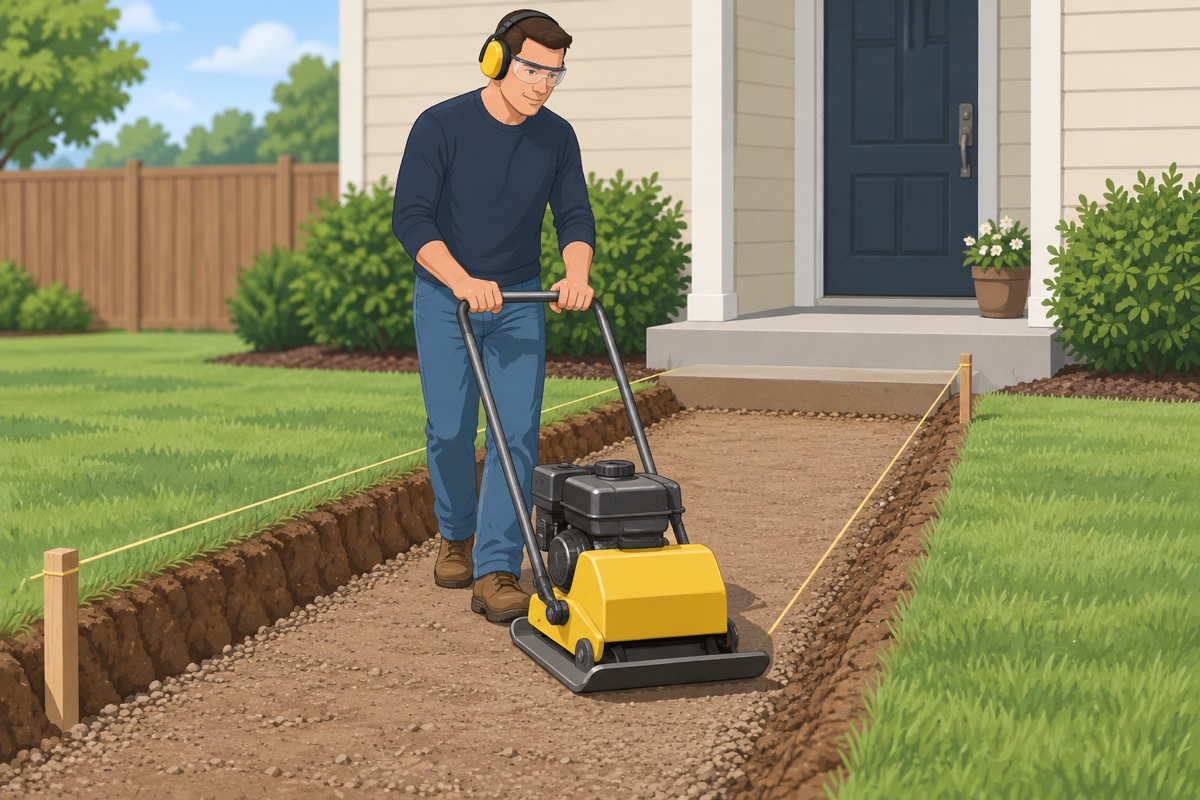
Run the plate compactor over the bottom of the trench until it stops leaving marks. Fill soft spots with base, not with loose soil.
Step 6 of 14
Spread and compact the base in layers
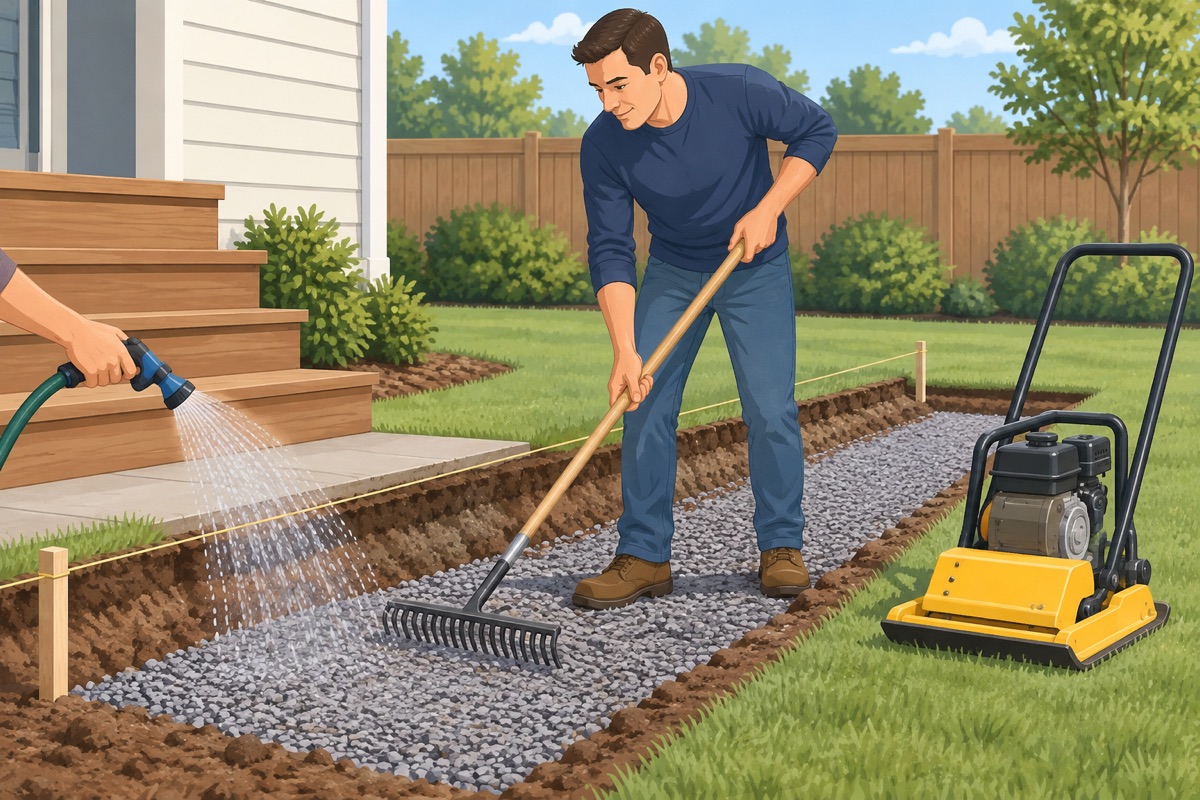
Spread the base gravel in two layers, dampen each one lightly, and compact each layer with several passes. Check the height against the string as you go.
Step 7 of 14
Check the base before the sand
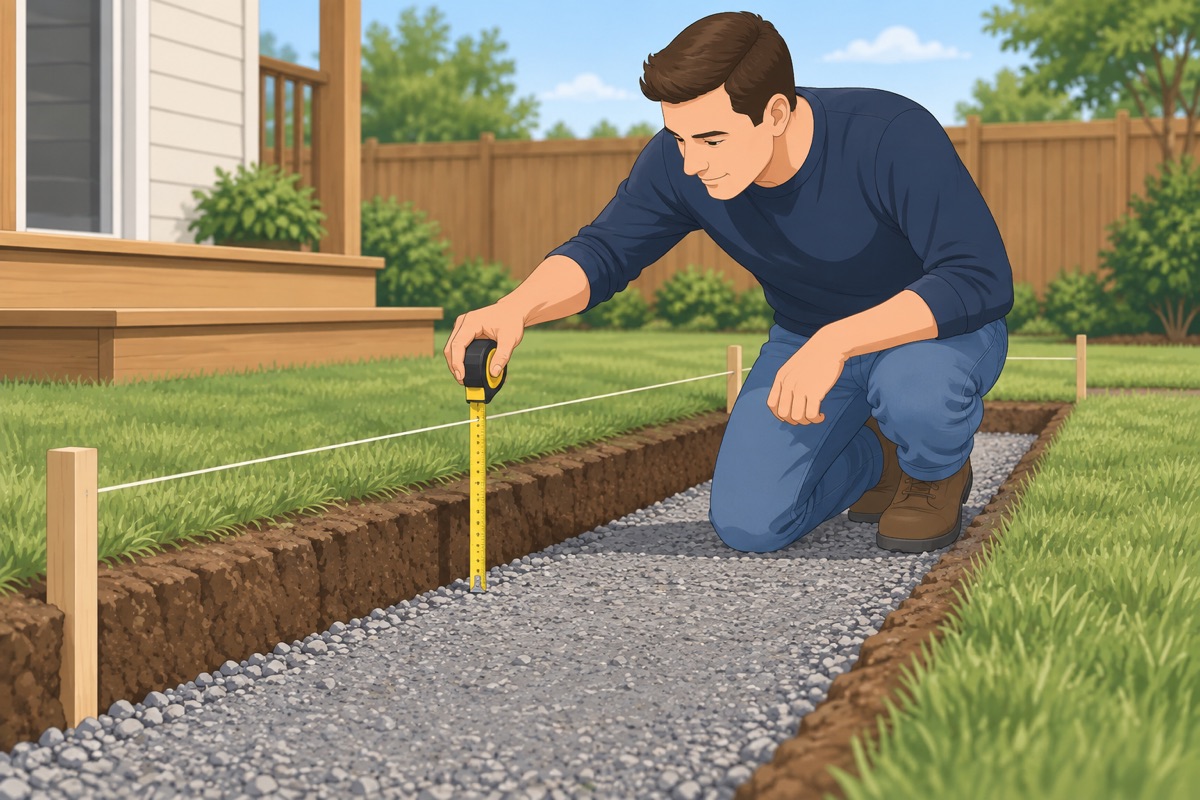
Measure down from the string at many points: the base should sit at paver thickness plus 1 in below the finished height, with the slope you planned and no dips.
Before the sand goes down
- Base is 4 in thick and compacted in layers
- Top of the base follows the planned slope, away from the house
- No dips or soft spots under a straightedge
- Room left for 1 in of sand plus the paver
Step 8 of 14
Fasten the edge restraint
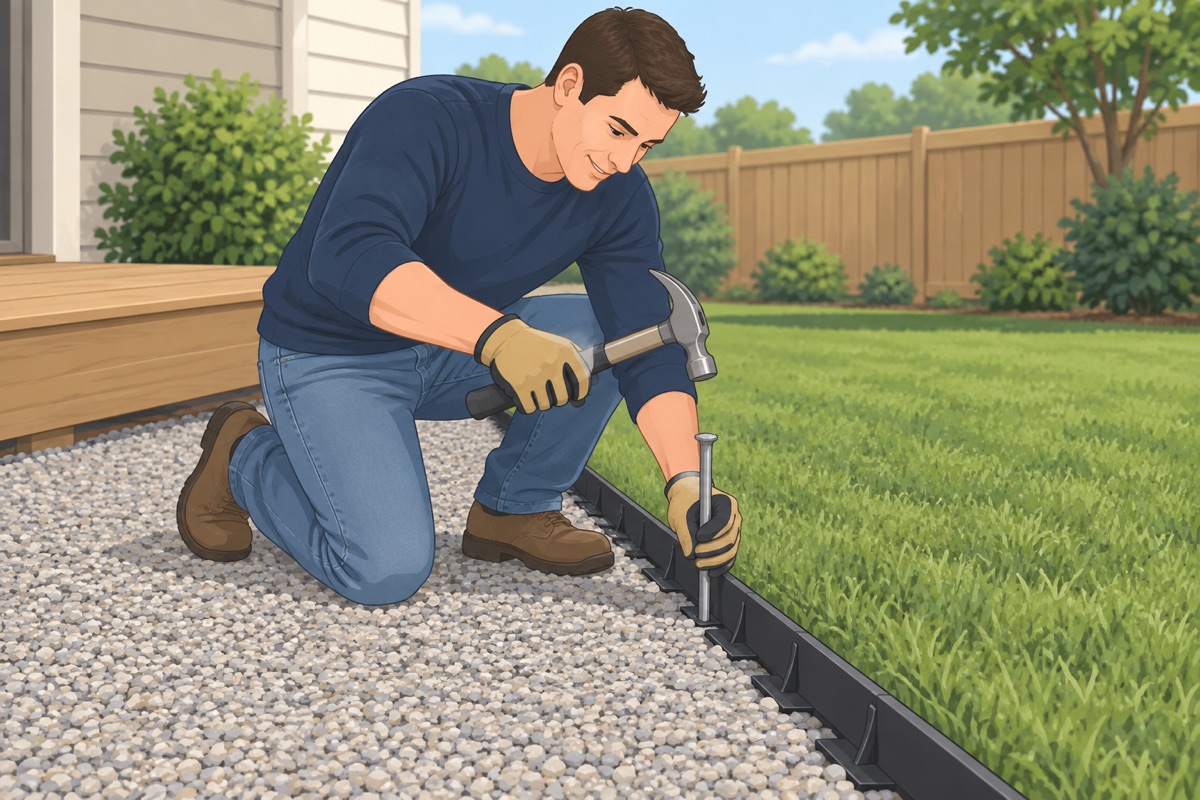
Set the edge restraint along the first long side, spiked into the base at the spacing the edging maker gives. The second side goes in after the pavers, tight against them.
Step 9 of 14
Screed the bedding sand
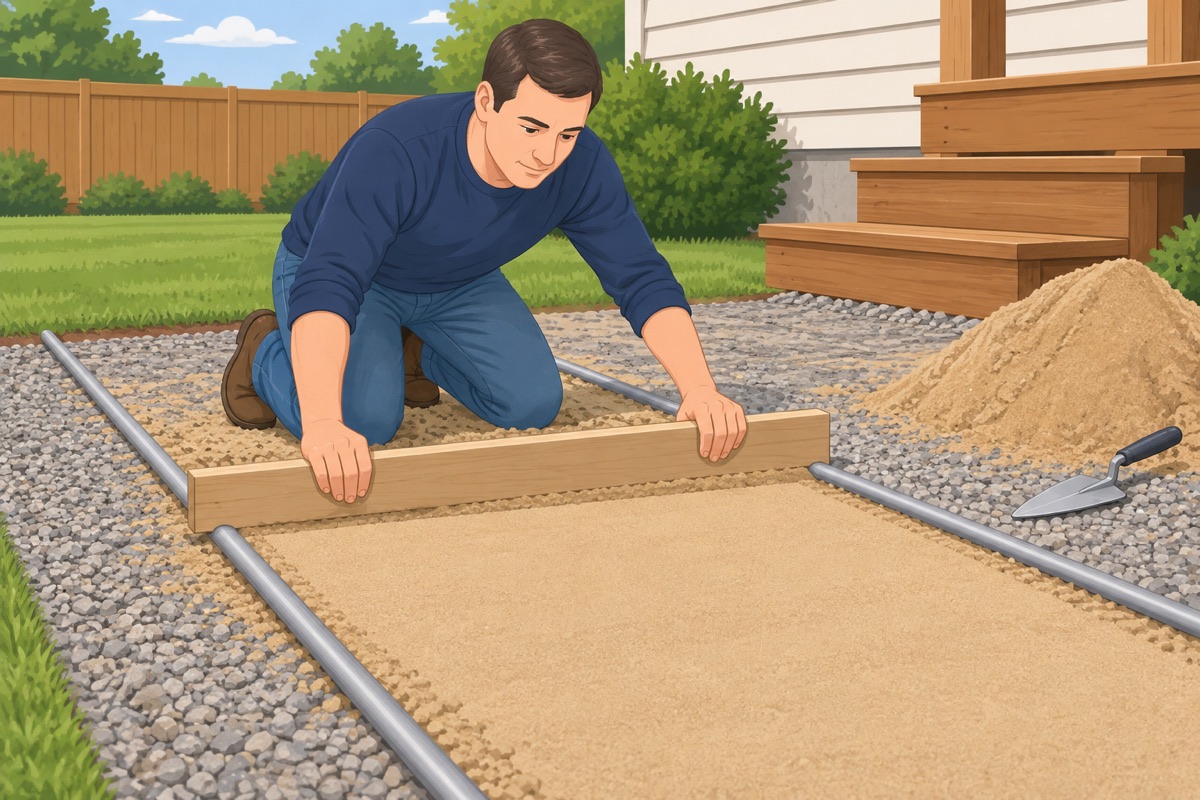
Lay the two pipes on the base, fill between them with sand, and pull the board across to leave an even 1 in. Pull the pipes, fill the grooves by hand, and do not walk on the screeded sand.
Step 10 of 14
Lay the pavers
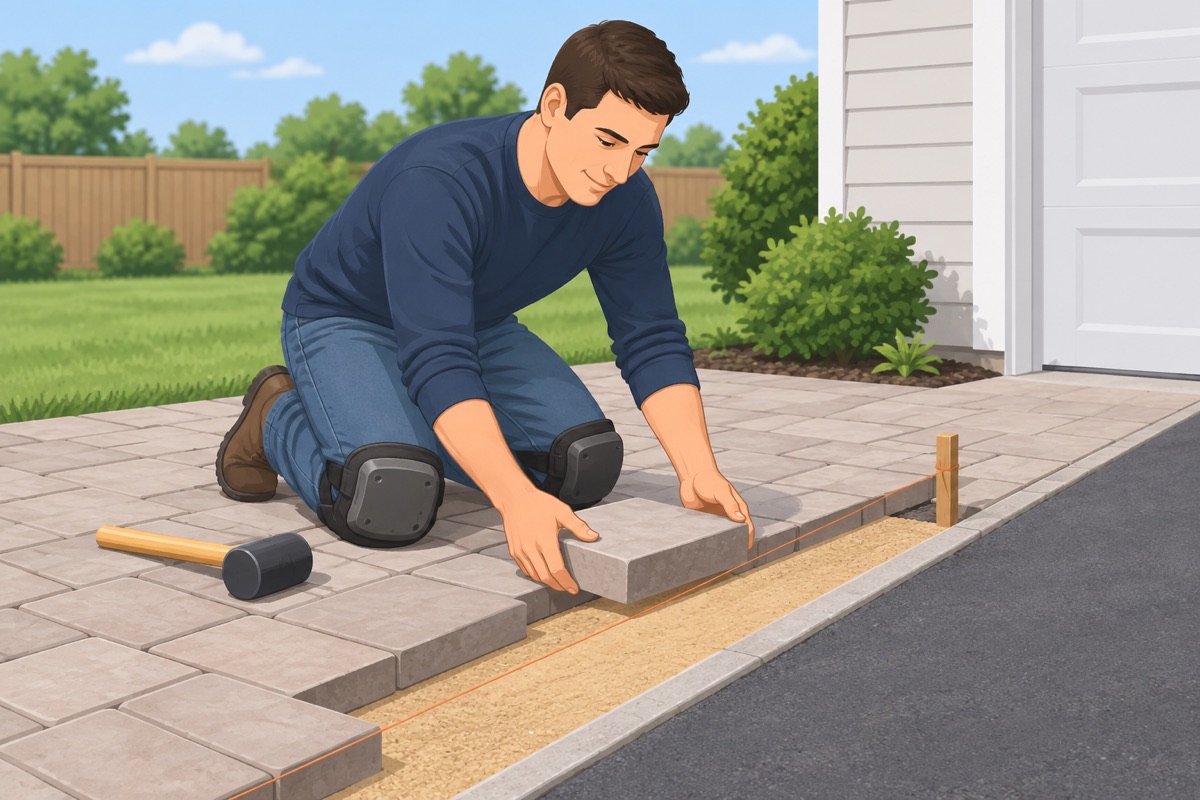
Start at the fixed end — the driveway or the door step — and lay the pavers straight down onto the sand, tight to each other, in your pattern. Keep lines straight with a string, and check with a straightedge that nothing sits higher than its neighbor.
Step 11 of 14
Cut the edge pieces wet
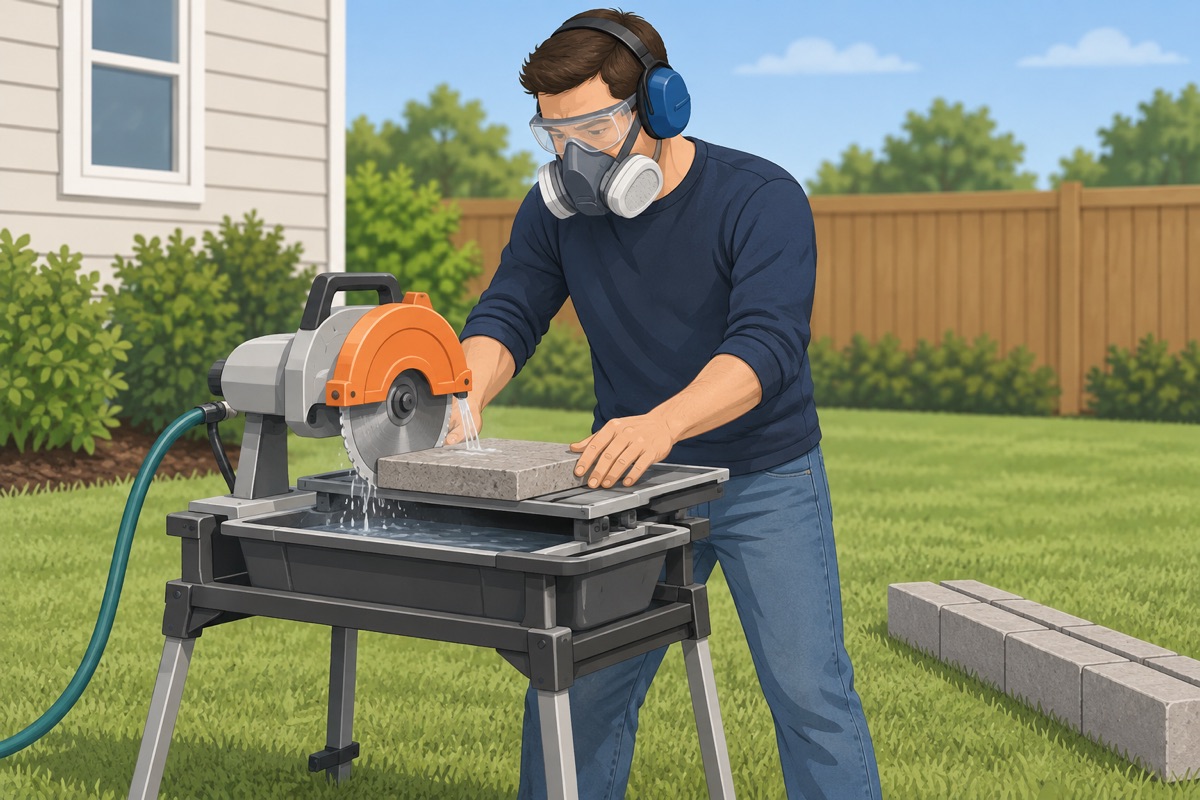
Mark the pieces that fill the edges and cut them with the wet saw, outside, with glasses, hearing protection, and a respirator. Set the second edge restraint tight against the pavers.
Step 12 of 14
Compact the pavers
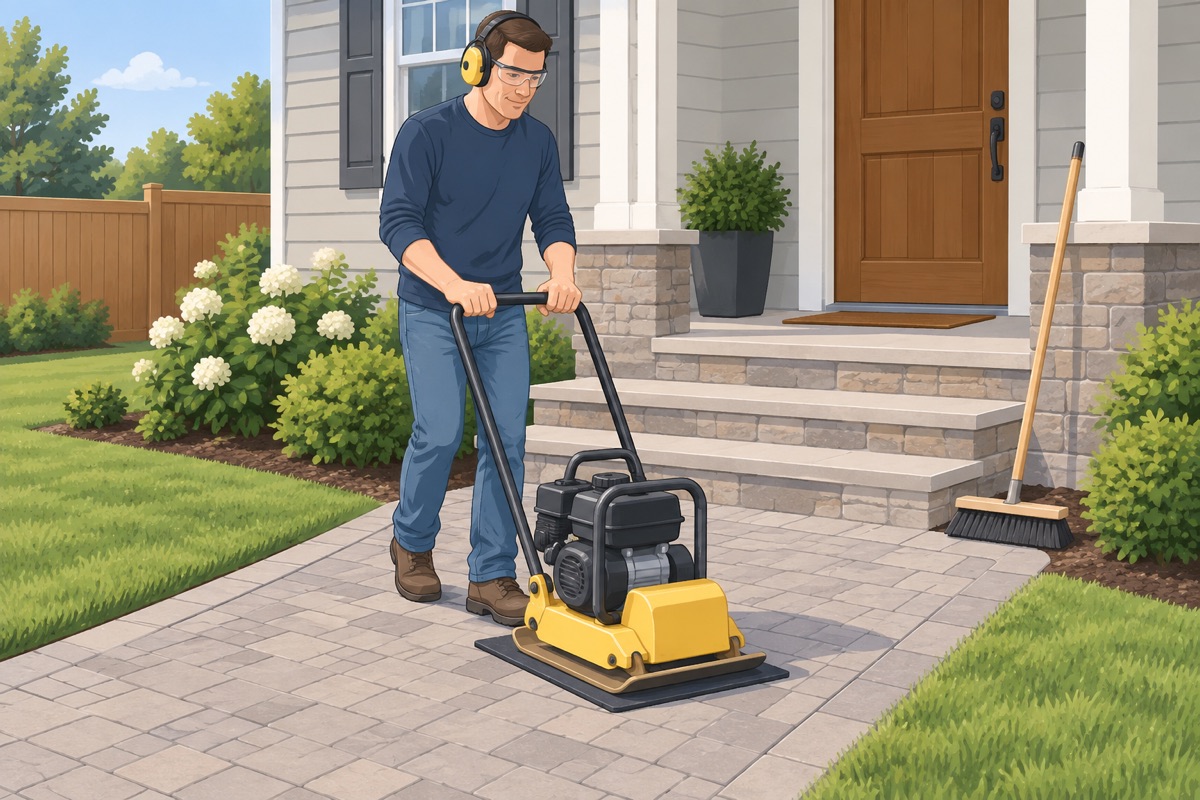
Sweep the surface clean and run the plate compactor with a protective pad over the pavers, per the paver maker's instructions. Re-check the ends: flush with the driveway and the lawn, no lips over 1/4 in.
Step 13 of 14
Fill the joints with polymeric sand
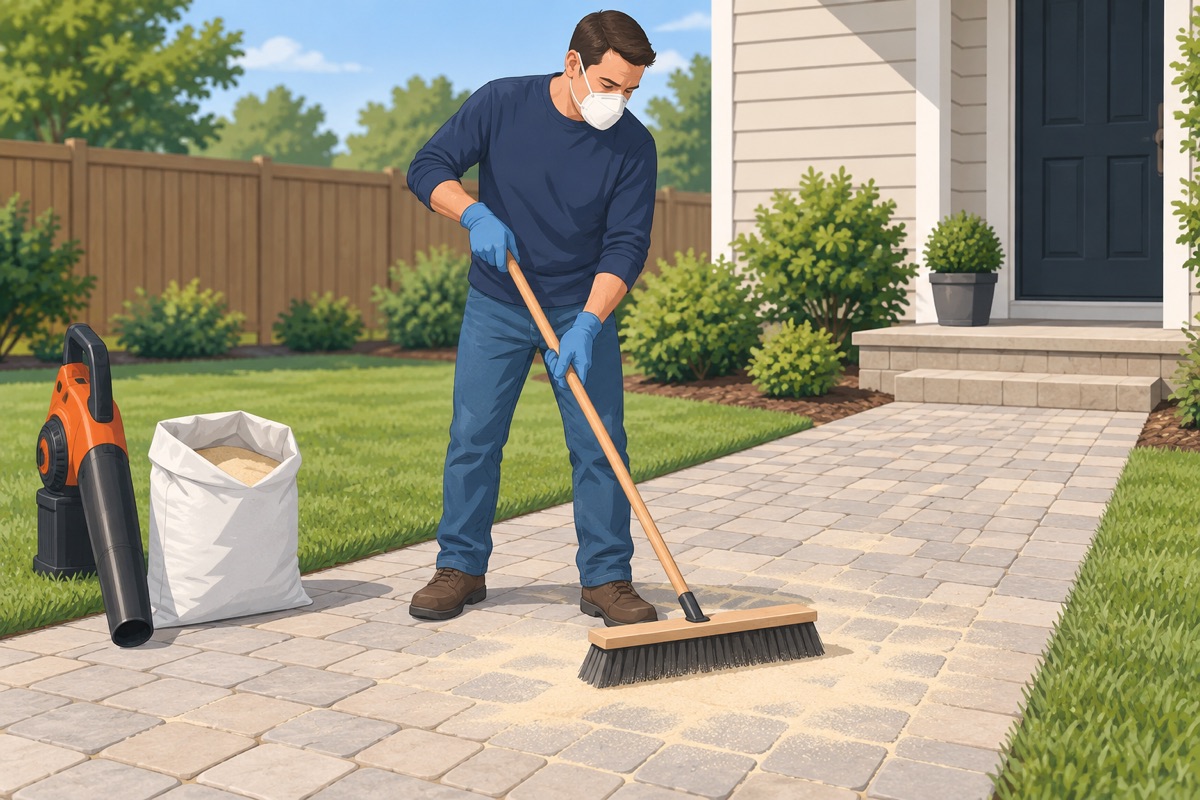
With the pavers completely dry, sweep polymeric sand into the joints, compact again, and top up. Sweep and blow every grain off the faces, then wet it exactly as the bag says.
Step 14 of 14
Walk it and check it
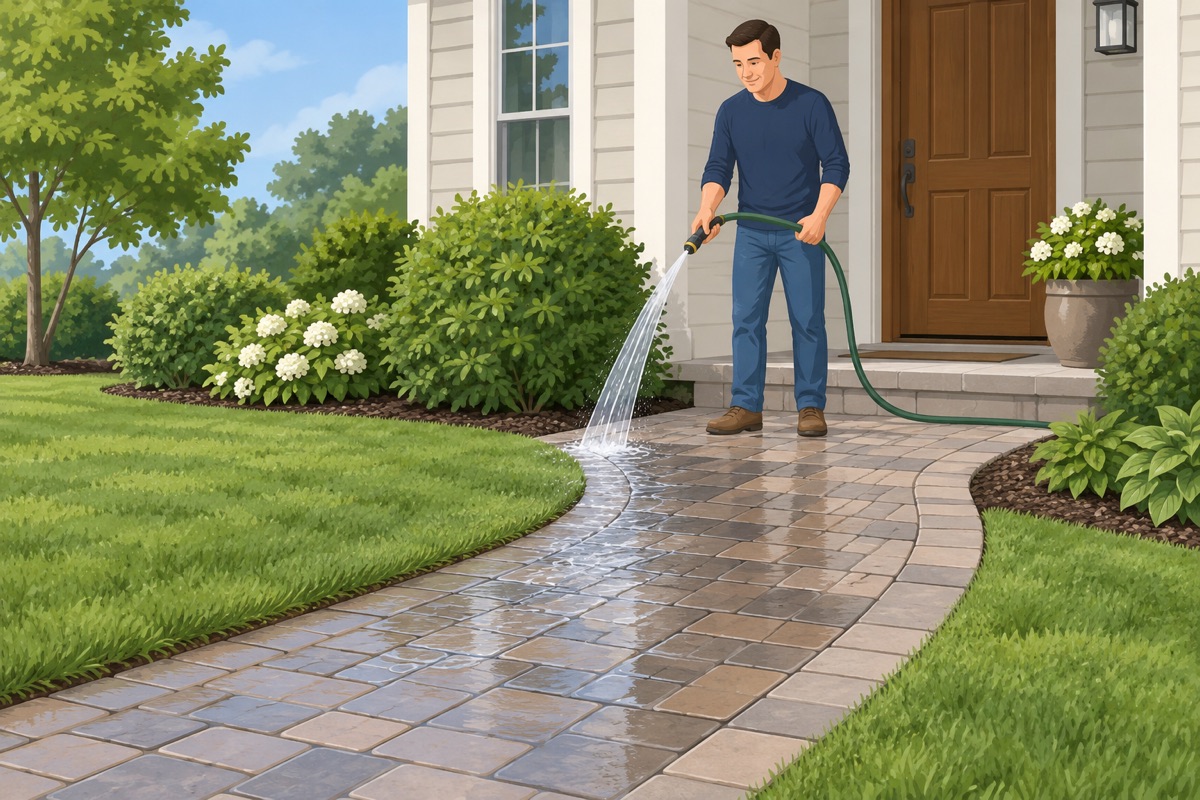
Walk the whole path, then run a hose on it and watch where the water goes.
Quality check
- No lip over 1/4 in anywhere, including at both ends
- No single steps
- Water runs away from the house and does not puddle
- Both edges held by restraint; no paver rocks underfoot
- No sand haze left on the pavers
Common mistakes
- Skimping on the base. The base carries the walkway; the pavers just sit on it. A thin or loose base settles, and the pavers rock and lip within a season. 4 in of base, compacted in layers. Mistake #1 in this task.
- Sloping the walkway toward the house. A walkway that drains toward the foundation sends every rain against the wall. Slope it away from the house or across to the lawn, per the paver maker's guide.
- Leaving lips and single steps. A paver edge higher than 1/4 in, or a single step nobody expects, is how people trip on a front walk. Keep the top flush with the driveway and the lawn and check with a straightedge.
- Cutting pavers dry. Dry-cutting concrete throws silica dust that damages the lungs. Cut wet, outside, with a respirator, and keep people away.
- Leaving polymeric sand on the paver faces. Any sand left on top when you wet it hardens into a haze that is hard to remove. Sweep and blow the surface clean before the water.
Draft guide written from standard practice, not yet reviewed by a licensed pro. Follow product labels where they differ.
Get this job planned for your roomRelated guides
- How to install click-lock LVP flooring yourself: step by step
- How to tile a bathroom or kitchen floor yourself: step by step
- How to check a subfloor before new flooring yourself: step by step
- How to level a floor with self-leveling underlayment yourself: step by step
- How to install floor transition strips yourself: step by step
- How to build a paver patio yourself: step by step