How to install and finish oak window trim
Short answer
Natural oak trim is stained and clear-coated, never painted. Difficulty 3 of 5; for a first-timer, plan on 1 weekend. Stop if the home is from before 1978 and the old window trim is painted, and the paint has not tested negative for lead: do not pry, sand, or scrape it — keep it whole and wet, or hire an RRP-certified contractor to take it off.
Draft guide written from standard practice, not yet reviewed by a licensed pro. Follow product labels where they differ.
Finish the boards on sawhorses before they go up, let the finish cure, take the old casing off carefully, mark an even reveal on the jamb, cut and tack the head casing first, fit each side to it, and fill the nail holes with matching wax.
Difficulty 3 of 5 · 1 weekend · you can do this
Photo of your room, the look you pick, then this guide with the materials counted for your room.
What you need
- Oak window casing
- Wood stain (skip it for the natural color)
- Clear wood finish for trim
- Sanding sponges or paper in the grits the finish names
- Brad or finish nails sized for your casing
- Color-matched wax filler for stained wood
- Wood glue for the miters
- Painter's tape and masking paper for the glass and the walls
Tools
- Miter saw with a fine-tooth finish blade
- Brad nailer and compressor
- Tape measure
- Combination square and a pencil
- Utility knife, stiff putty knife, and a flat pry bar
- End nippers for old nails
- Sawhorses and brushes or lint-free rags for the finish
- Safety glasses
Step by step
Step 1 of 11
Measure every window and buy the casing
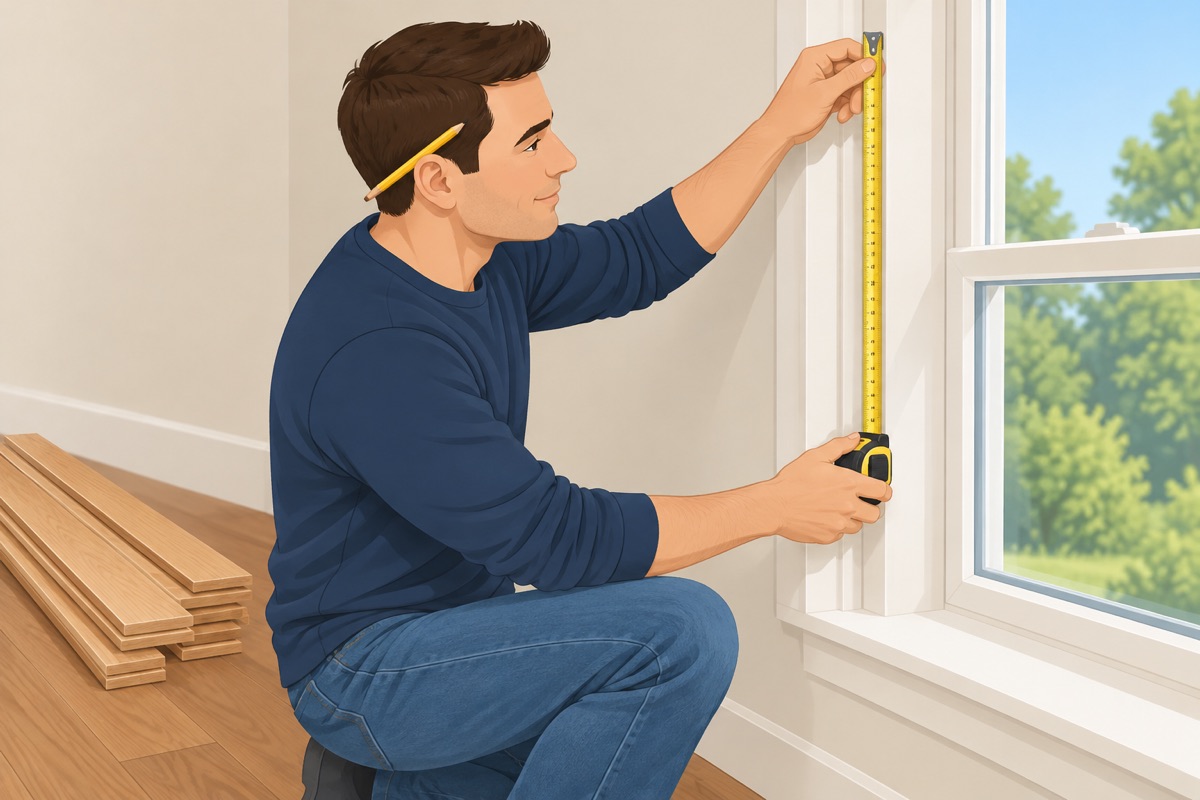
Measure the two sides and the top of every window from the jamb edge, plus the apron under the stool if there is one. Add a spare length per window for the miters. Let the boards sit in the room for the time the supplier gives before you cut them.
Step 2 of 11
Finish the boards before they go up
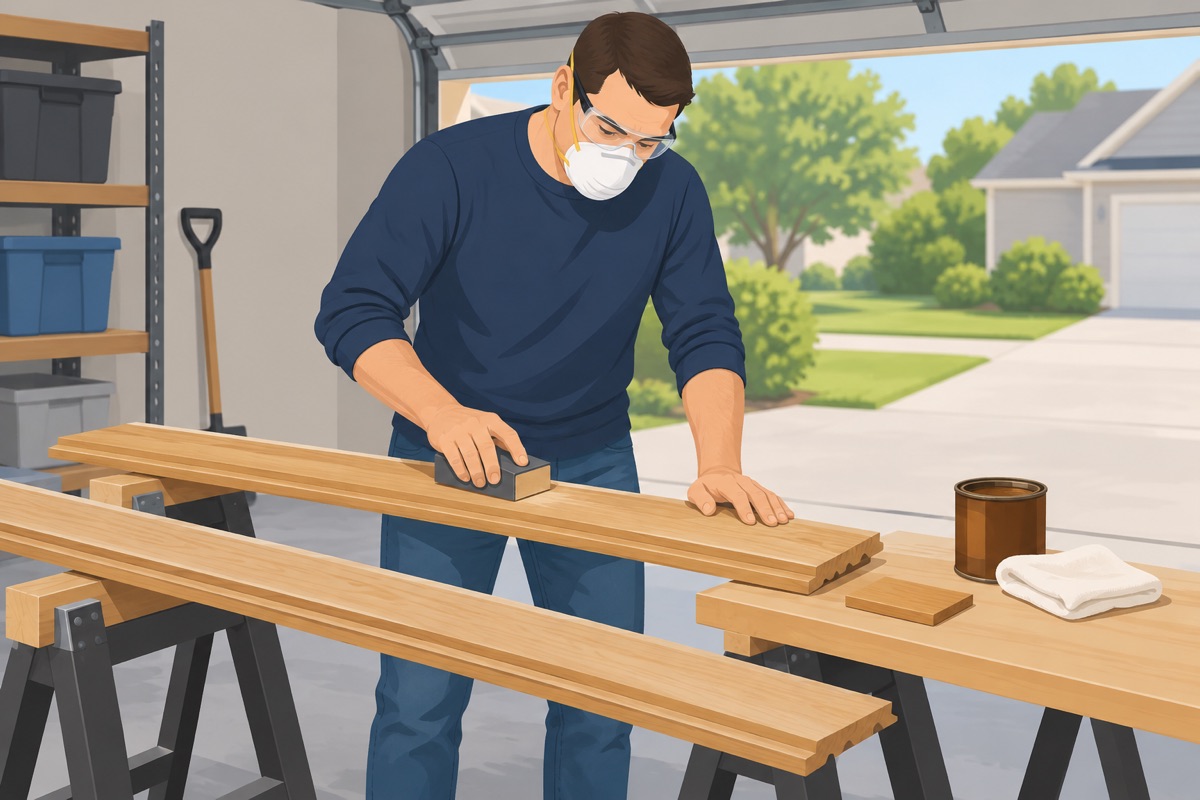
Lay the boards on sawhorses in a ventilated space, away from the windows. Sand them with the grits the finish names, wipe off the dust, and try the stain and the clear coat on an offcut first. Then stain, if you want it darker, and apply the clear coats the can calls for, with its dry time and light sanding between coats. Finish the backs and the edges too.
Step 3 of 11
Let it cure, and take care of the rags
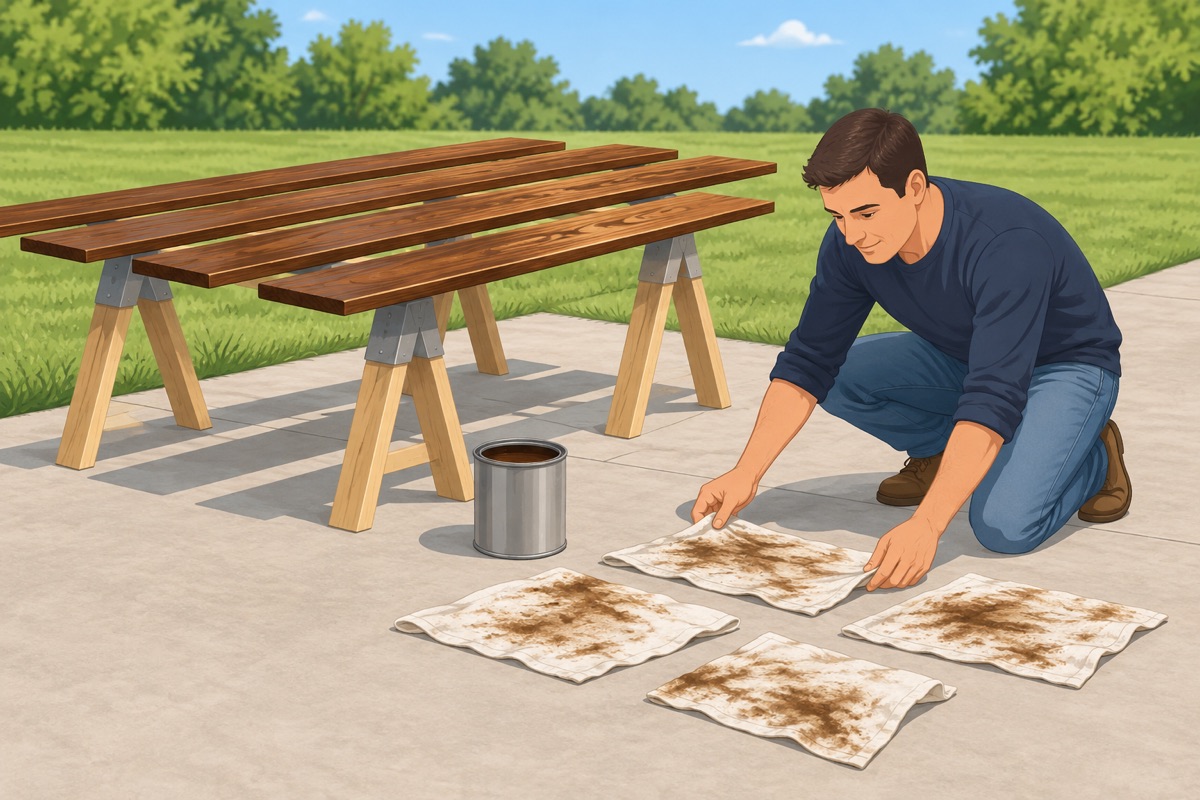
Let the last coat cure for the time on the can before you cut and handle the boards. Dry the oily rags flat outdoors, or dispose of them the way the can says — piled rags can catch fire on their own.
Step 4 of 11
Test, then take the old casing off
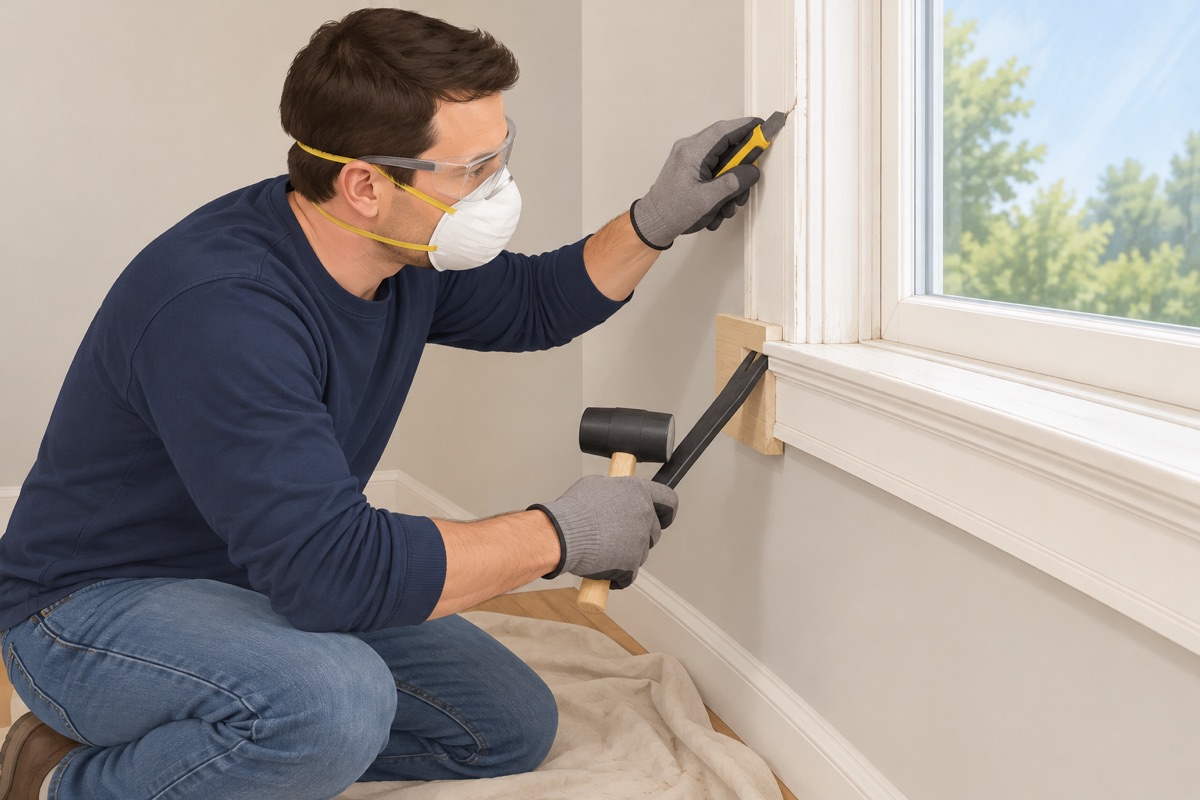
If the home is from before 1978 and the old trim is painted, test the paint with an EPA-recognized kit first; positive means you do not pry, sand, or scrape it yourself — see the stop-gate. Otherwise score the caulk and the paint line along the wall and the jamb with a utility knife, slip the putty knife in first, then the flat bar, and work each piece off a little at a time near the nails. Keep the stool unless it is damaged.
Before you pry anything off
- Home built in 1978 or later, OR the old trim is not painted, OR its paint tested negative for lead
- The new boards are finished and cured
- No rot or water stain at the sill or the jamb, and the window does not leak
- Safety glasses on, and a drop cloth under the window
Step 5 of 11
Pull the nails and check the jamb edge
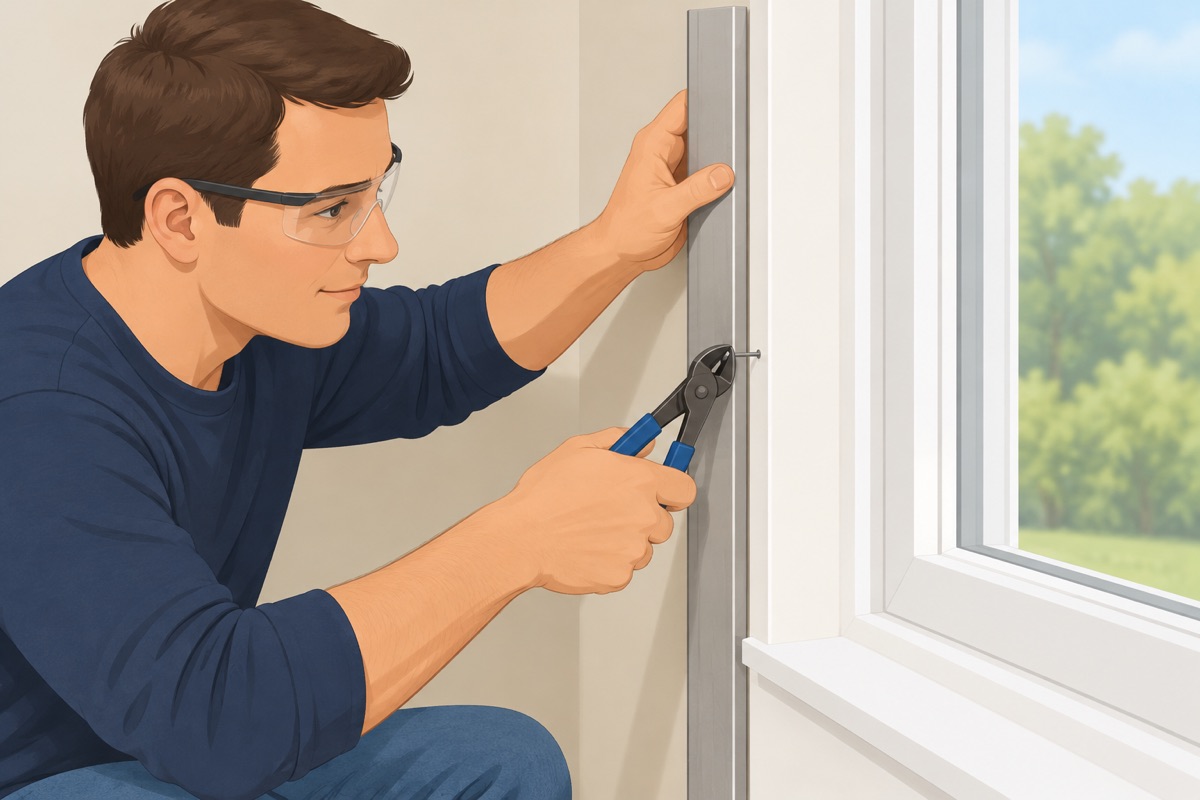
Pull every old nail, or snip it flush with the wall. Check that the jamb edge sits flush with the wall all around; one that sits proud or shy is planed or shimmed now, or the casing will rock.
Step 6 of 11
Mark an even reveal on the jamb
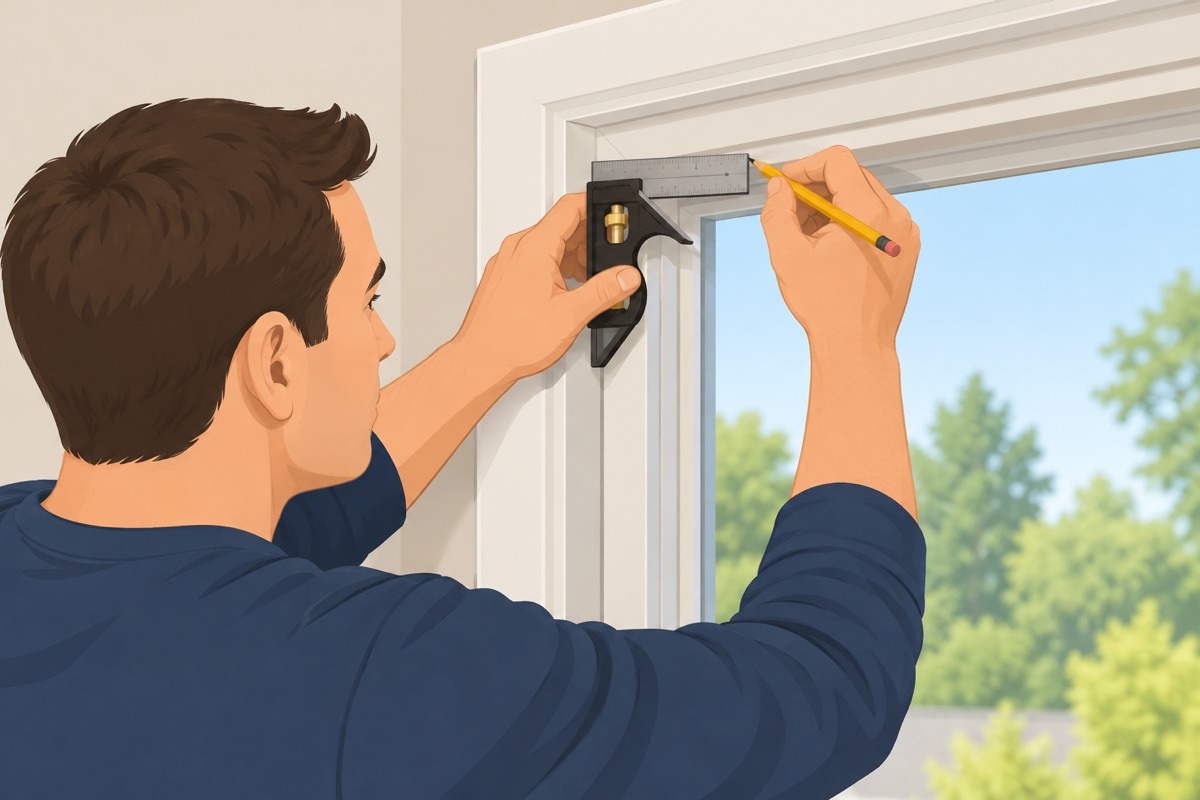
With the combination square, mark the same small reveal on the jamb edge all the way around: the casing sits back from the jamb's inside edge by that amount on every side. An even reveal hides small waves in the jamb and looks deliberate.
Step 7 of 11
Cut and tack the head casing first
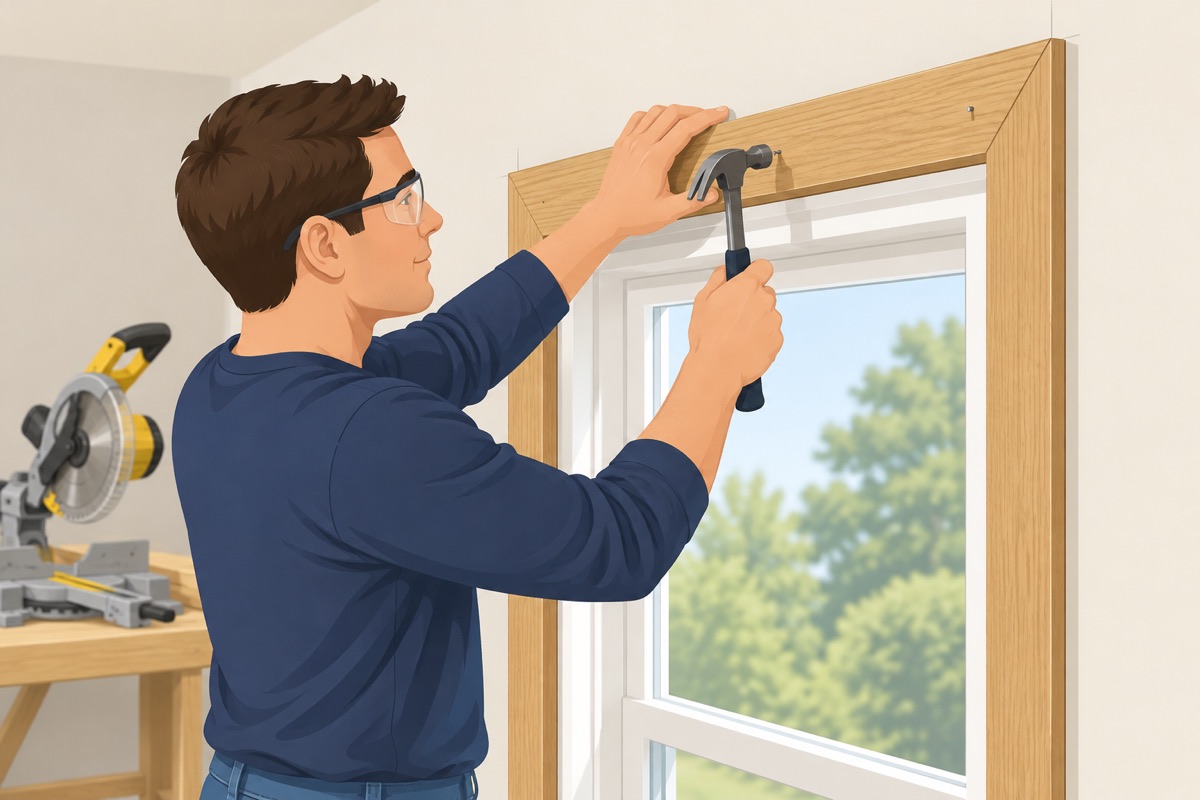
Cut the top piece with a miter at each end so its short points line up with the reveal marks. Tack it with a couple of nails, not fully set, so you can still adjust it.
Step 8 of 11
Fit each side to the head
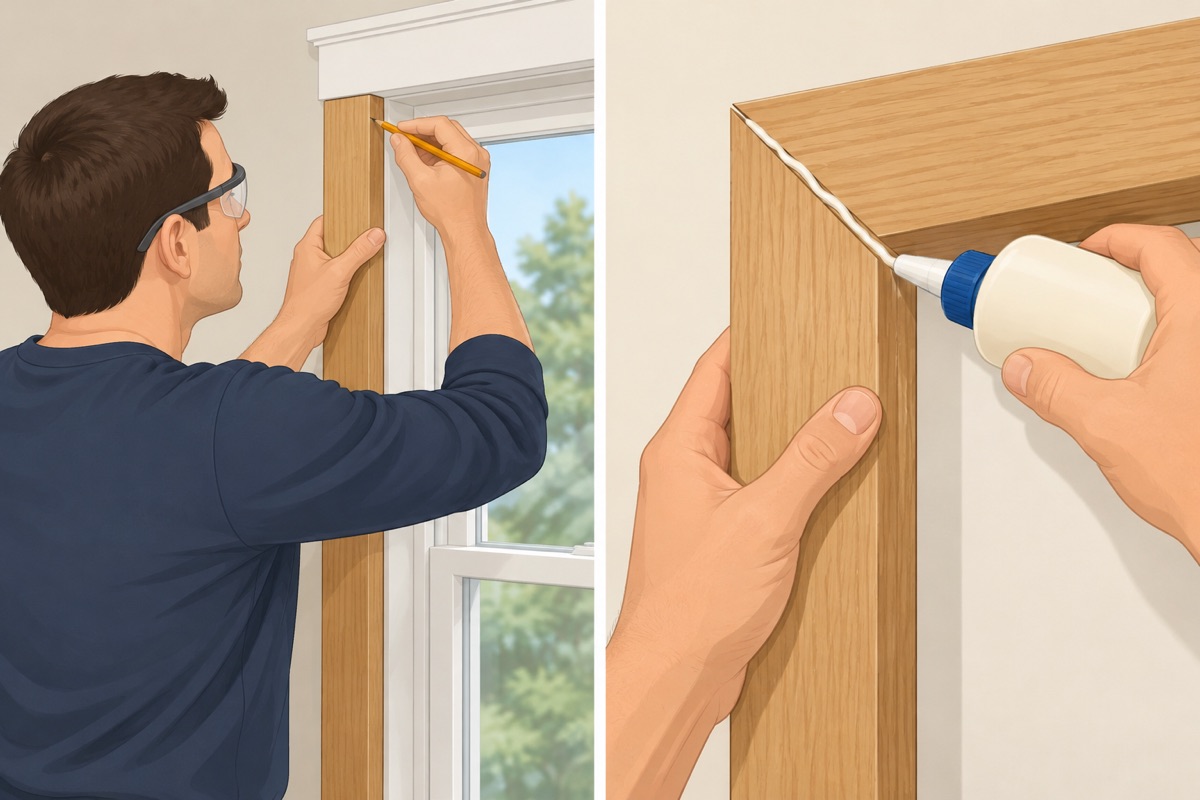
Hold a side piece upside down against the jamb, mark it where it meets the head, cut the miter, and test the joint before you nail. Shave the miter a hair at a time until the joint closes. Glue the miter, nail the side into the jamb and the framing, then nail through the corner to pin it.
Step 9 of 11
The apron under the stool, if the window has one
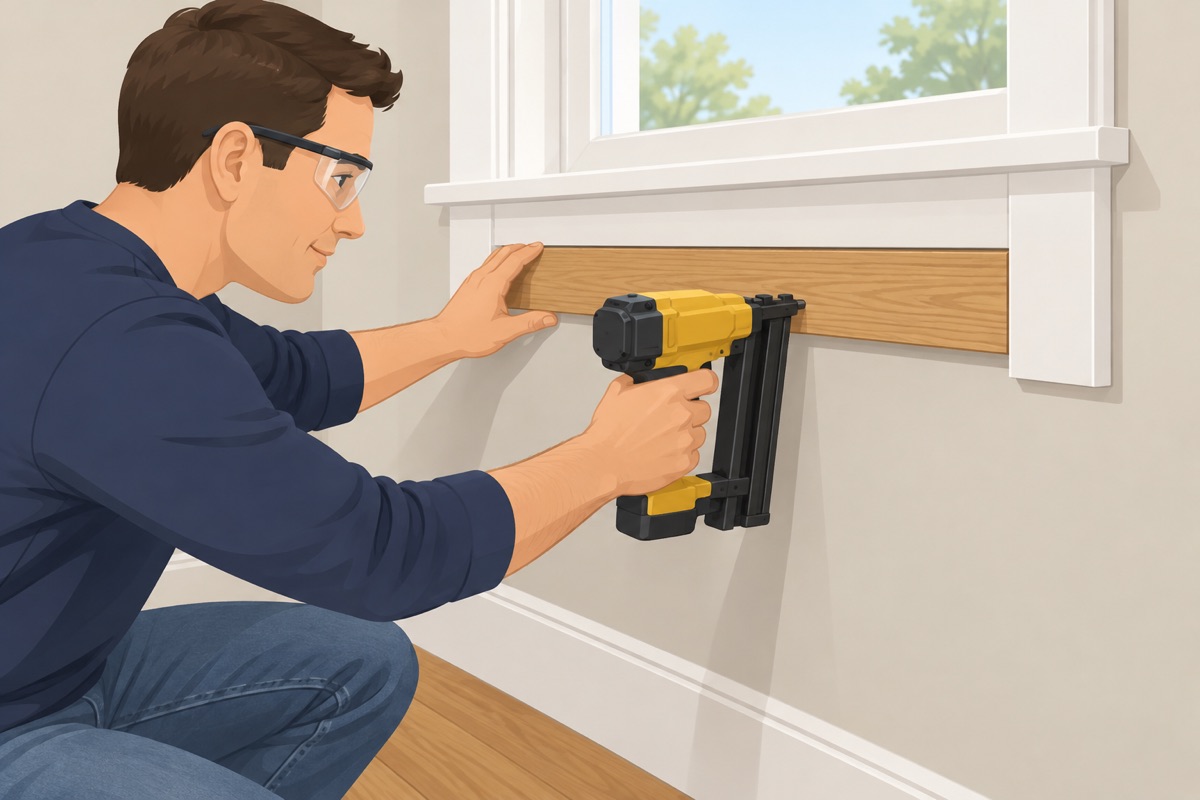
Cut the apron to the width between the outside edges of the side casings, finish its ends the way the old one was, and nail it under the stool.
Step 10 of 11
Fill the nail holes with matching wax
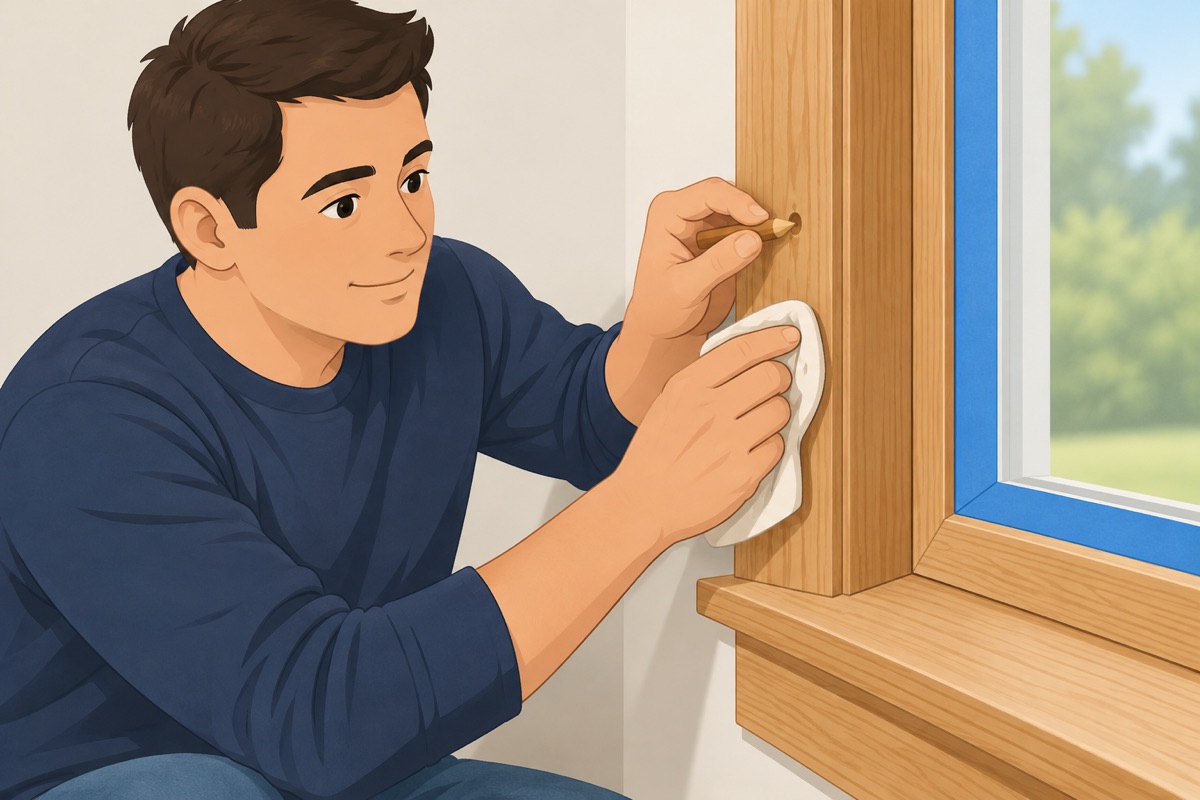
Set the nail heads just below the surface. Press a wax filler that matches the finished color into each hole and buff it flush with a soft cloth. Touch up any scuff with the same finish on a small brush, with tape on the glass and the wall.
Step 11 of 11
Seal the wall gap only where it shows, then check
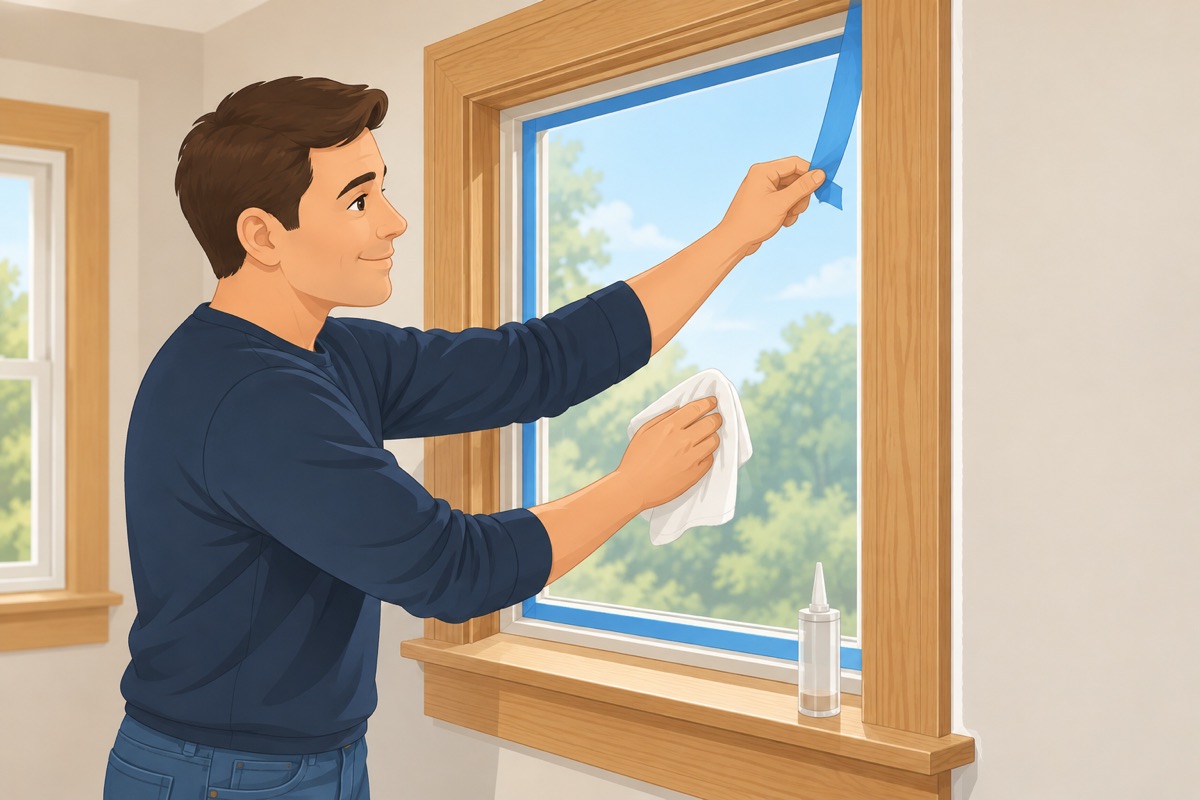
Clear-finished oak is not caulked like painted trim. A gap at the wall gets a clear or color-matched caulk, never white, and only where it shows. Peel the tape, clean the glass, and look at every window in daylight.
Quality check
- Every miter is closed and pinned, with no gap you can see from the room
- The reveal is even all the way around each window
- Nail holes are filled with matching wax, not white filler
- No stain or finish on the glass, the window frame, or the wall
- The windows still open, close, and lock
- Oily rags dried flat or disposed of the way the can says
Common mistakes
- Staining the trim on the wall, next to the glass. Stain runs onto the glass, the window frame and the wall, and the boards come out blotchy because you cannot wipe them evenly up there. Finish every board on sawhorses first; touch up only the small spots on the wall. Mistake #1 in this task.
- Leaving oily rags in a pile. Rags wet with oil-based stain or finish heat up as they dry and can catch fire on their own. Dry them flat or dispose of them the way the can says, the same day.
- Cutting the miters short. A side piece cut short leaves a gap at the corner that no filler hides in clear-finished oak. Cut long and shave the miter a hair at a time until the joint closes.
- White filler in the nail holes. Paintable filler is made to be painted over. In stained or clear oak it stays a pale dot at every nail. Use a wax filler that matches the finished color.
Questions
Should I stain oak window trim before or after installing it?
Before. Lay the boards on sawhorses in a ventilated space, away from the windows, sand them with the grits the finish names, and try the stain and clear coat on an offcut first. Staining the trim on the wall, next to the glass, runs stain onto the glass, the frame and the wall, and the boards come out blotchy.
How do you install window casing with mitered corners?
With a combination square, mark the same small reveal on the jamb edge all the way around. Cut the head casing with a miter at each end so its short points line up with the marks, and tack it with a couple of nails, not fully set. Hold each side piece upside down against the jamb, mark where it meets the head, cut the miter and test the joint before you nail. Shave a hair at a time until it closes, then glue the miter and nail the side into the jamb.
What do I fill the nail holes with on stained oak trim?
A wax filler that matches the finished color, pressed into each hole and buffed flush with a soft cloth. Paintable filler is made to be painted over; in stained or clear oak it stays a pale dot at every nail. Also from the guide: keep oily rags flat to dry or dispose of them the way the can says, because piled rags can catch fire on their own.
When should I stop and call a pro?
Stop if the home is from before 1978 and the old window trim is painted, and the paint has not tested negative for lead: do not pry, sand, or scrape it — keep it whole and wet, or hire an RRP-certified contractor to take it off. Stop and call a window installer if you find rot, soft wood, or water stains at the sill or the jamb, a window that leaks, or a stool (the inside sill) that is rotten or split — that is a window repair, not trim. This guide replaces the casing, and the apron under the stool if there is one; the window, its frame and its jambs stay. Stains and clear finishes give off fumes, and their oily rags can catch fire on their own: ventilate, and dry or dispose of the rags the way the can says.
You may also need
- Baseboard and trim calculator
- How to install door casing yourself: step by step
- How to fill nail holes and caulk trim yourself: step by step
- Replace windows: what a pro does and what you can do
- How to install baseboards yourself: step by step
- How to measure a door opening before buying a door yourself: step by step