How to lay a decomposed granite patio or path yourself: step by step
The cheapest hard surface you can build yourself: a shallow dig, fabric, a clean edge, and granite in two wet, compacted layers. It needs no watering and drains where it lies.
Difficulty 2 of 5 · 1.5 weekends · you can do this
Photo of your room, the look you pick, then this guide with the materials counted for your room.
What you need
- Decomposed granite (DG)
- Woven landscape fabric
- Steel, aluminum or bender-board edging
- Edging stakes
- DG stabilizer (optional)
Tools
- Flat and pointed shovels
- Wheelbarrow
- Steel garden rake
- Hand tamper
- Garden hose with a shower nozzle
- Stakes, mason's line and a line level
- 4 ft level
- Plate compactor — Worth it for more than a small path; a hand tamper does a path.
- Rubber mallet
- Hacksaw or angle grinder (cutting metal edging)
- Dust mask, gloves, safety glasses
Step by step
Step 1 of 10
Mark the area and its slope
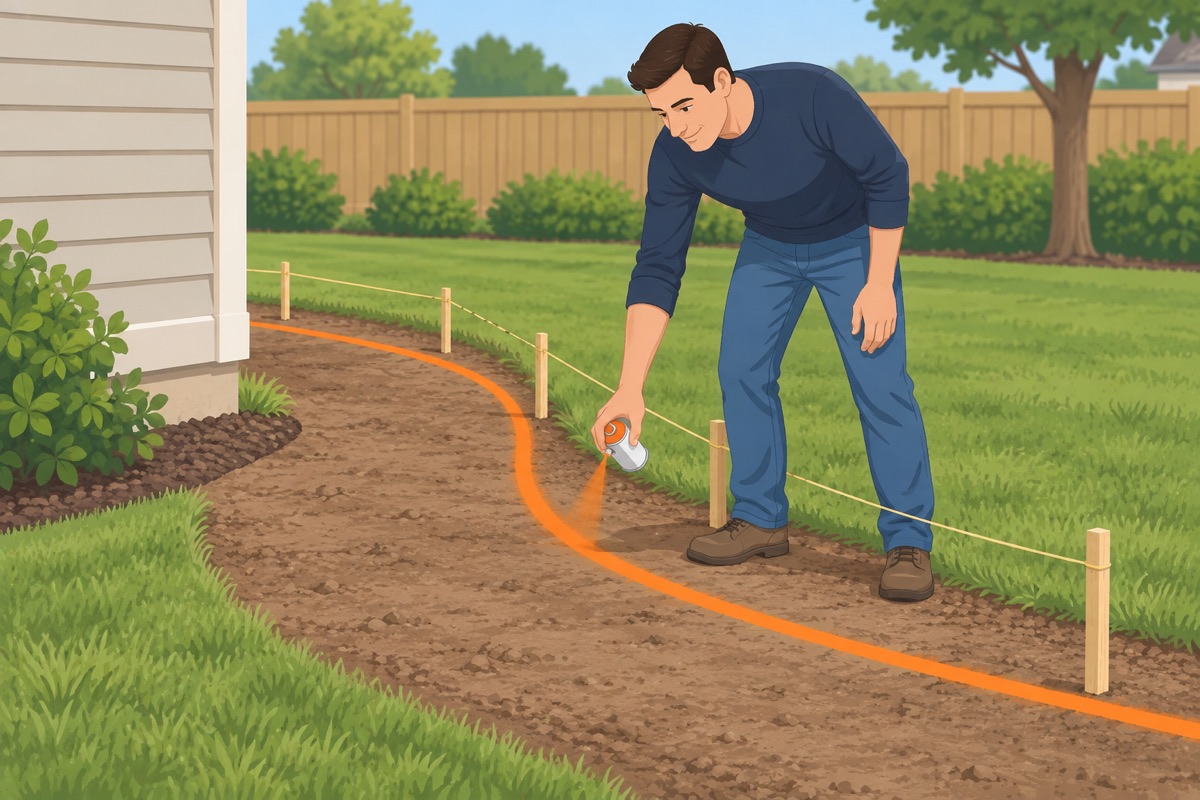
Paint the outline and set strings at the finished height, with a slight fall away from the house so rain runs off. Plan a hard landing (pavers or a step) at any door.
Step 2 of 10
Dig out 3–4 in
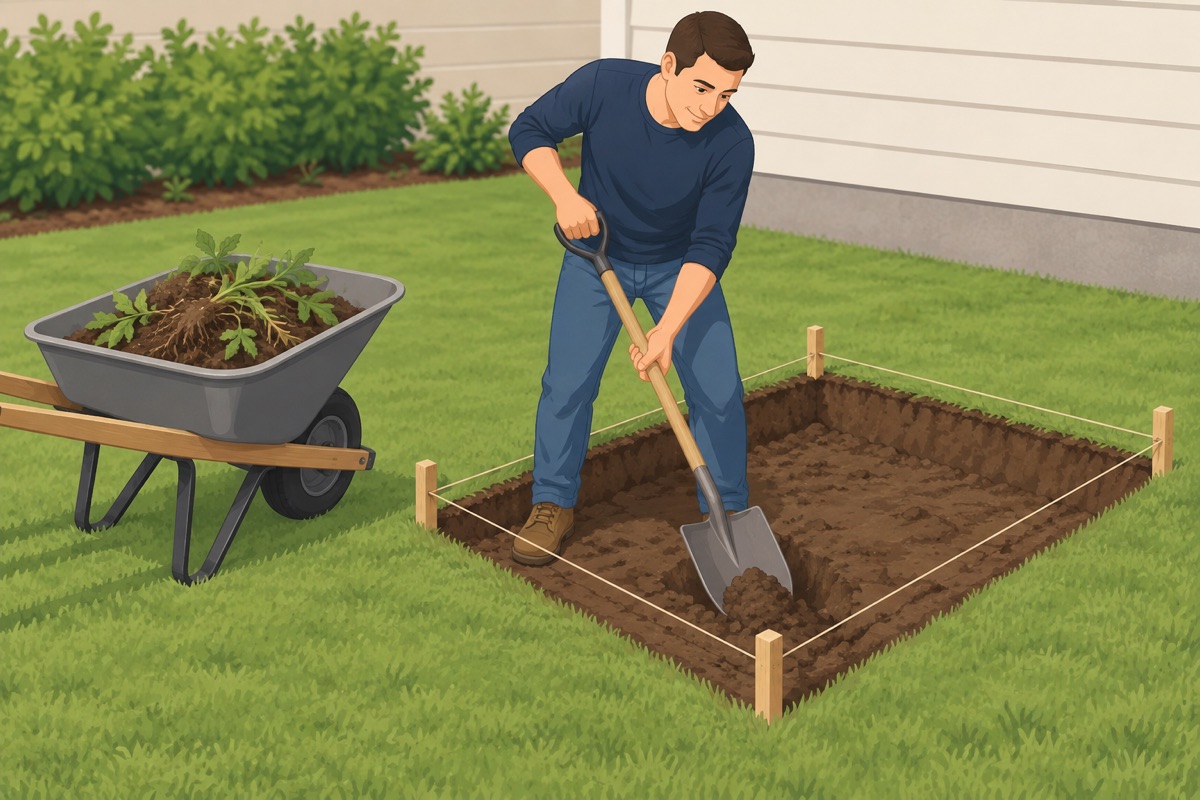
Dig the area 3–4 in below the finished height, following the fall of the strings. Take out roots and weeds with their roots.
Before you dig
- 811 marks are in and none cross the area, or you will dig by hand there
- The finished surface falls away from the house, and no downspout empties onto it
Step 3 of 10
Compact the soil
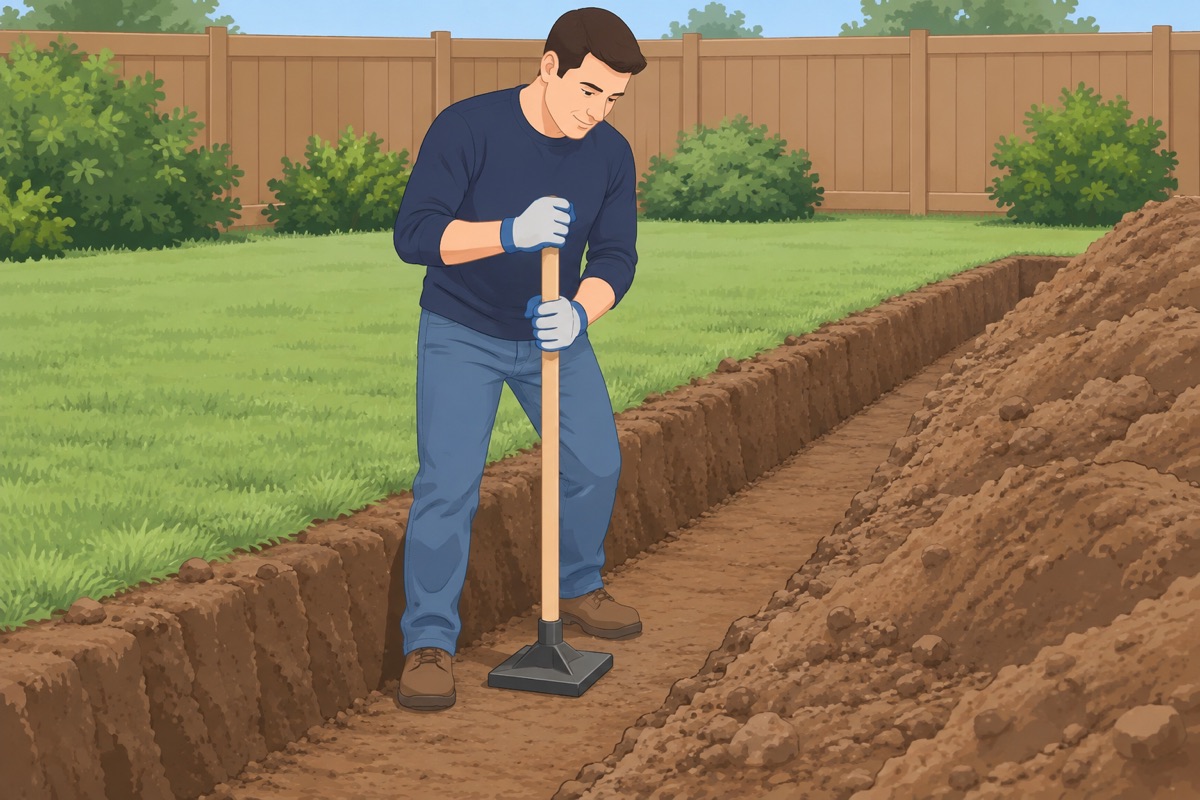
Tamp or run the compactor over the bare soil until it is firm underfoot.
Step 4 of 10
Lay the landscape fabric
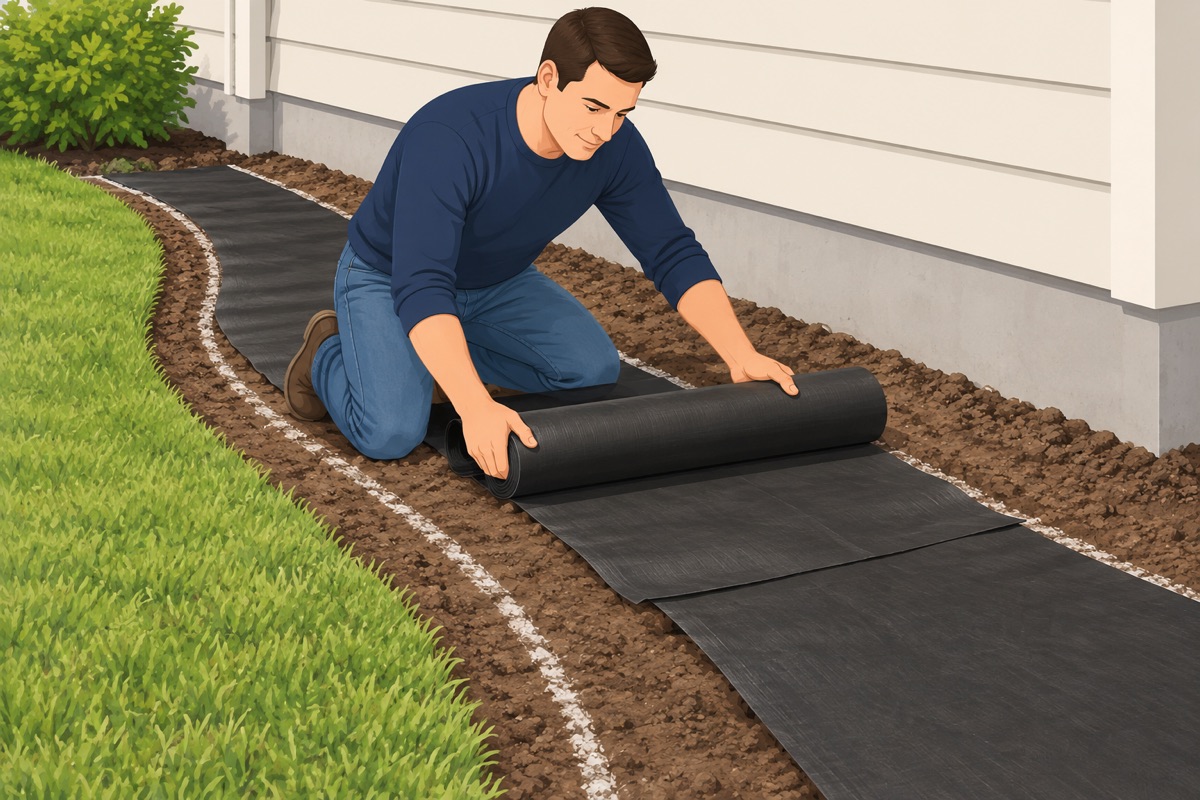
Roll the fabric over the whole area, overlapping the seams as the label says, and run it up to the edging line.
Step 5 of 10
Install the edging
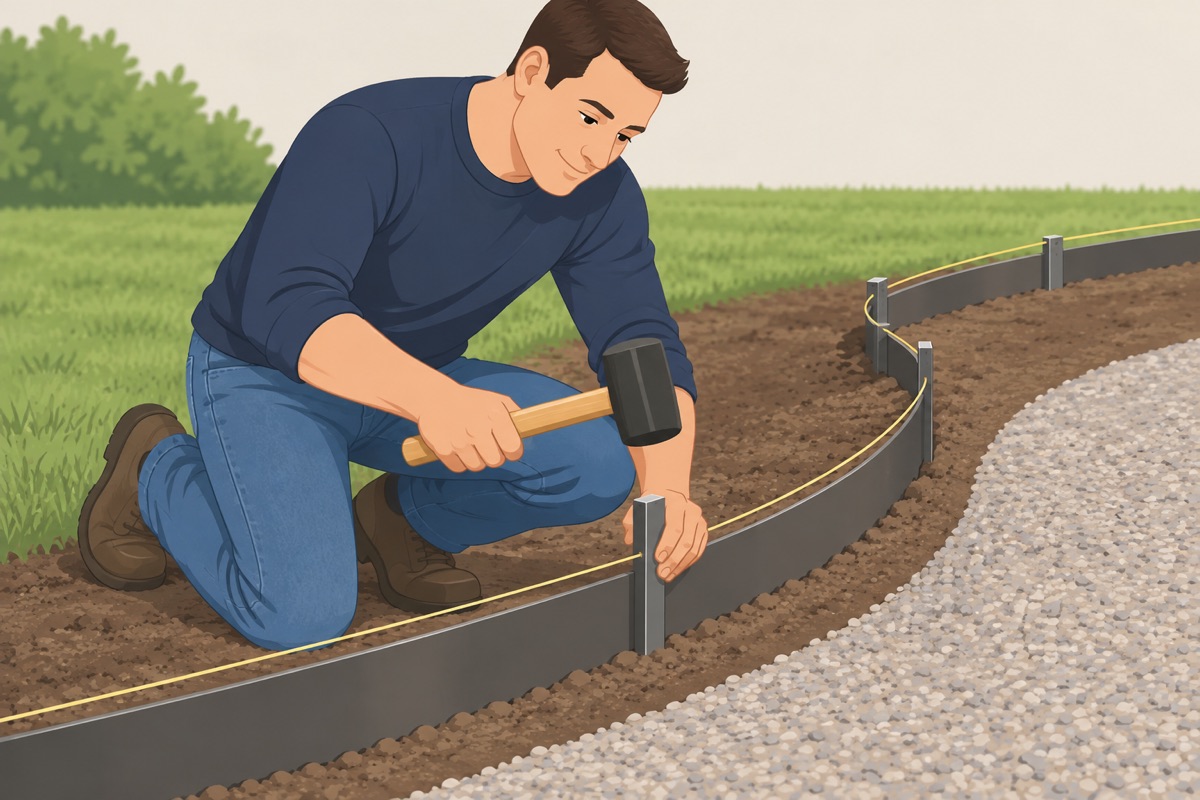
Set the edging along the outline with its top at the finished height, and stake it about every 2 ft (or as its instructions say). Tap the stakes in with the rubber mallet; join pieces with the connectors that come with it.
Step 6 of 10
Spread the first layer
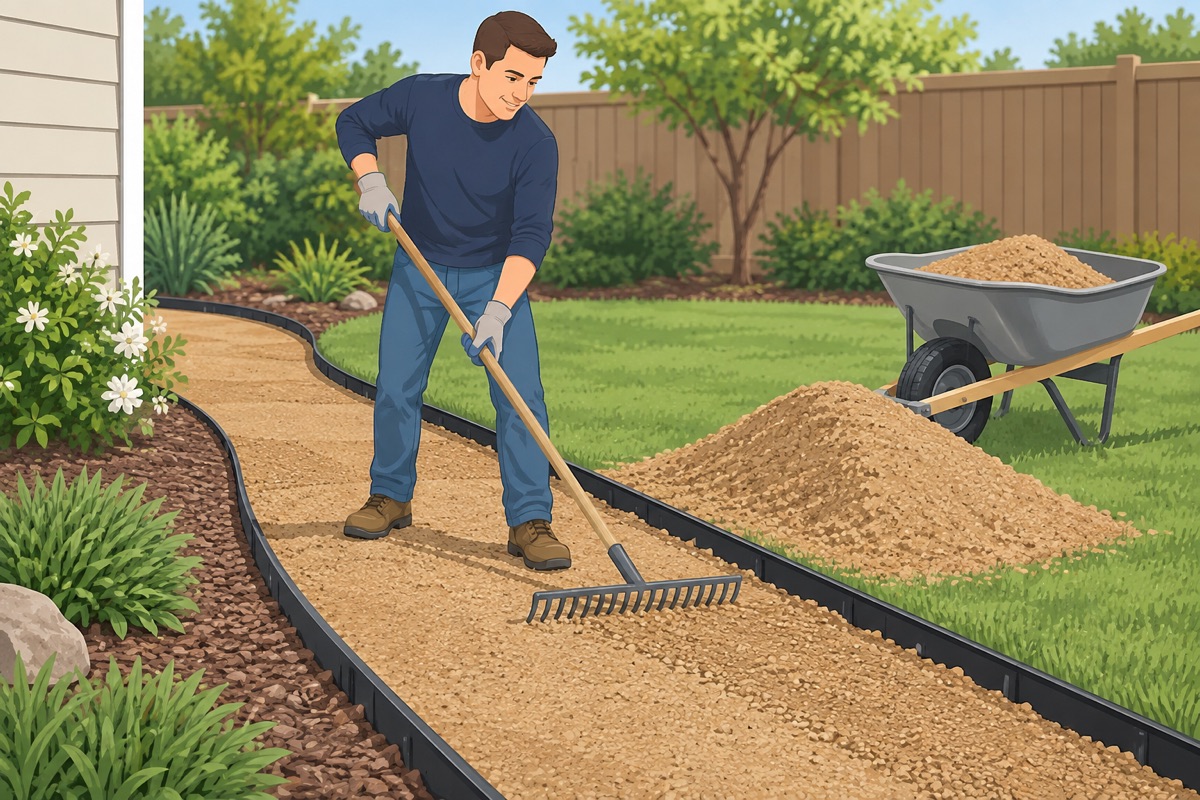
Dump DG in piles and rake it to about half the final depth, evenly across the area.
Step 7 of 10
Wet and compact the first layer
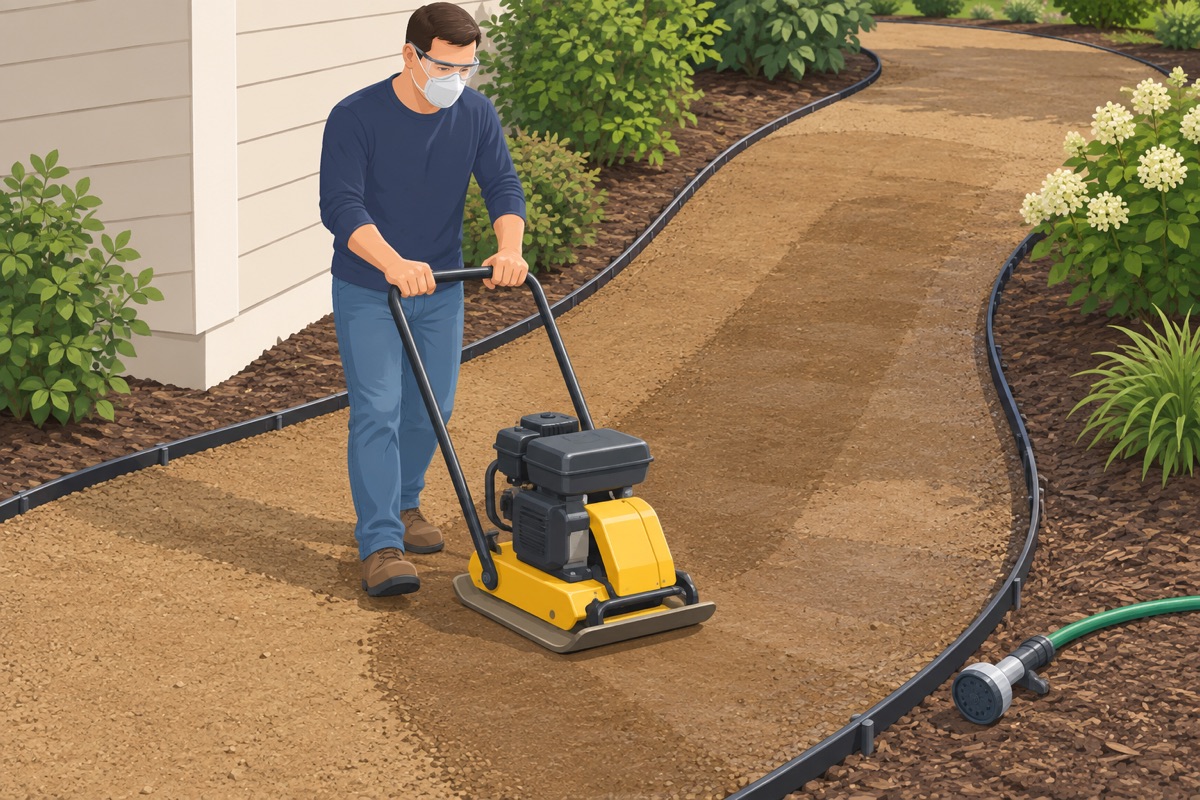
Mist it until it is damp all the way through, then compact it with the plate compactor or the hand tamper in overlapping passes until it is hard.
Step 8 of 10
Second layer: spread, wet, compact
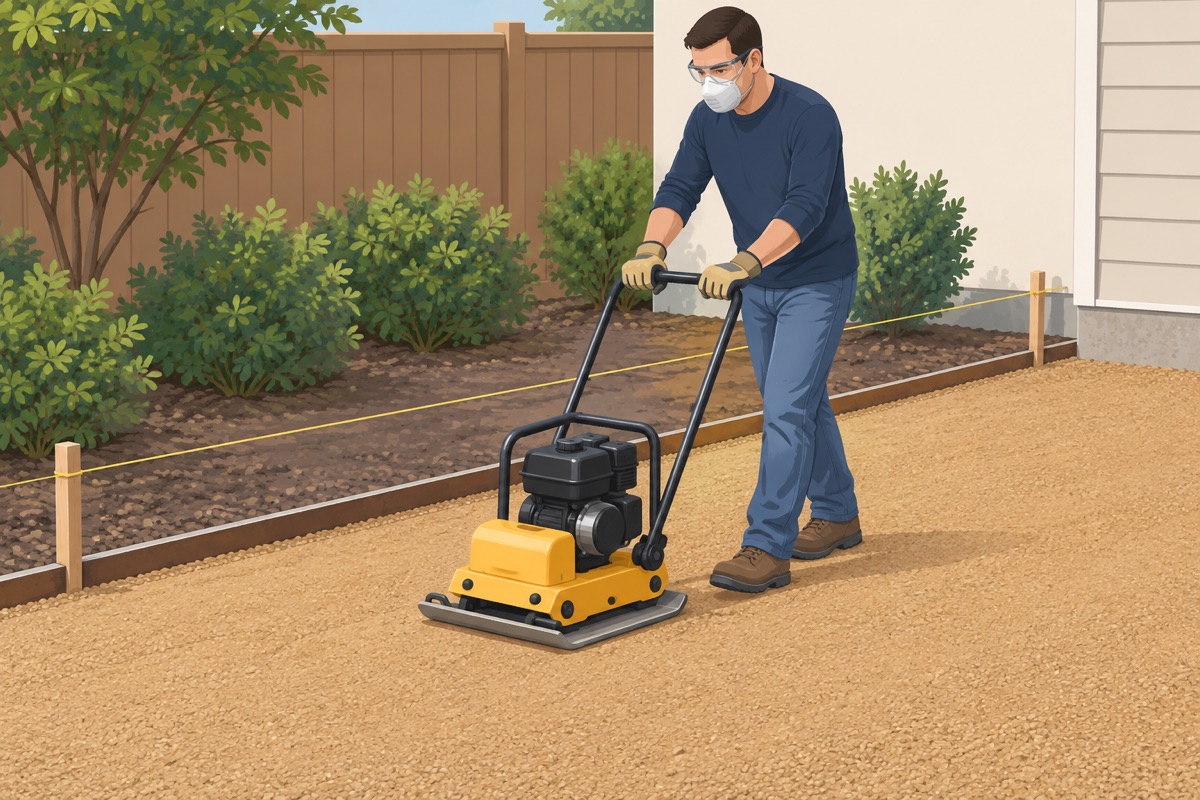
Spread the rest up to the finished height, a touch above the edging's top so it compacts flush. If you use stabilizer, mix it into this layer dry, per the bag. Mist until damp, compact, and check the surface against the strings.
Step 9 of 10
Let it cure, then top up
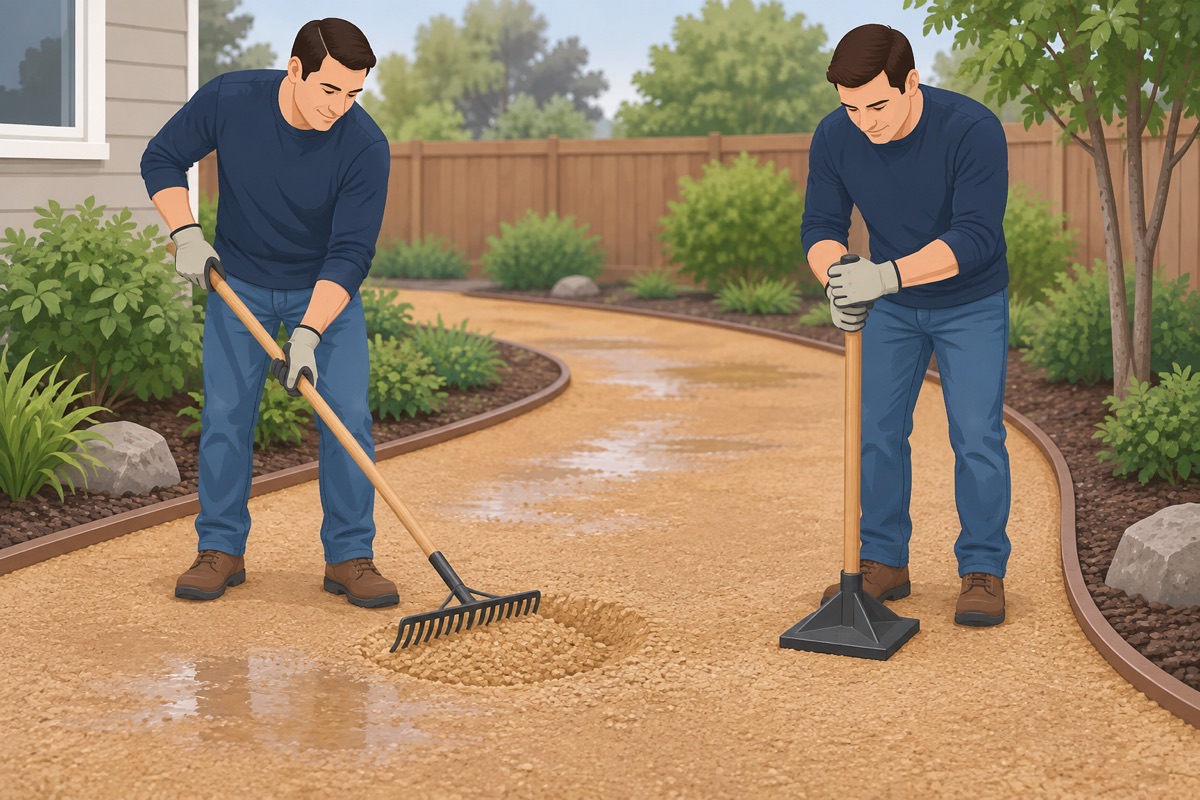
Keep off it for the time on the stabilizer bag (plain DG can take foot traffic once compacted). After the first few rains or weeks of use, rake a little DG into any low spot, wet it and tamp it.
Step 10 of 10
Clean up
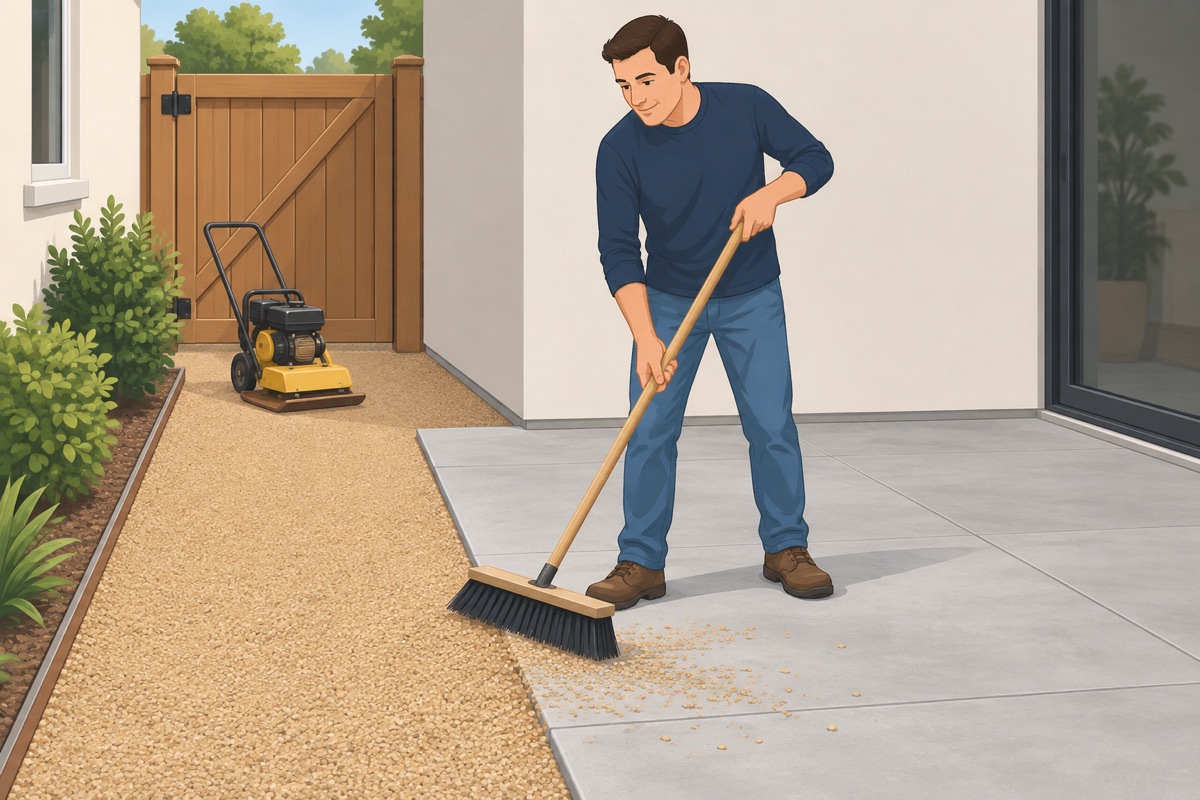
Sweep DG off the patio and walks so it does not scratch them, and return the rentals.
Common mistakes
- DG right up to the door. It sticks to shoes and ends up on the floors inside. Put a paver landing or a mat at the door.
- No edging. The DG spreads into the lawn and the beds, and the edge crumbles. Set edging before the first layer.
- Compacting all 3 in at once. The bottom stays loose and the path goes soft and rutted. Two layers, each wetted and compacted.
- Flooding it with water. Puddles wash the fine dust out, and the fines are what bind DG. Wet it with a shower spray until damp through, not running.
Draft guide written from standard practice, not yet reviewed by a licensed pro. Follow product labels where they differ.
Get this job planned for your roomRelated guides
- How to install click-lock LVP flooring yourself: step by step
- How to tile a bathroom or kitchen floor yourself: step by step
- How to check a subfloor before new flooring yourself: step by step
- How to level a floor with self-leveling underlayment yourself: step by step
- How to install floor transition strips yourself: step by step
- How to build a paver patio yourself: step by step