How to install low-voltage path and string lights yourself: step by step
Plug-in low-voltage lights, solar lights and string lights are safe DIY: the transformer steps the power down, and the only line-voltage part is an outdoor outlet that already exists.
Difficulty 2 of 5 · 1 weekends · you can do this
Photo of your room, the look you pick, then this guide with the materials counted for your room.
What you need
- Path lights (low-voltage or solar)
- 12-gauge low-voltage landscape cable
- Low-voltage transformer with timer or photocell
- Waterproof connectors for landscape cable
- Outdoor-rated string lights
- Screw hooks or string-light hangers
- Guide-wire kit with turnbuckles
Tools
- Flat spade or lawn edger (slit trench)
- Drill/driver or impact driver
- Multimeter (checking volts at the lights)
- Wire stripper
- Ladder
- Tape measure
- Safety glasses, work gloves, hearing protection
Step by step
Step 1 of 12
Plan where the light goes
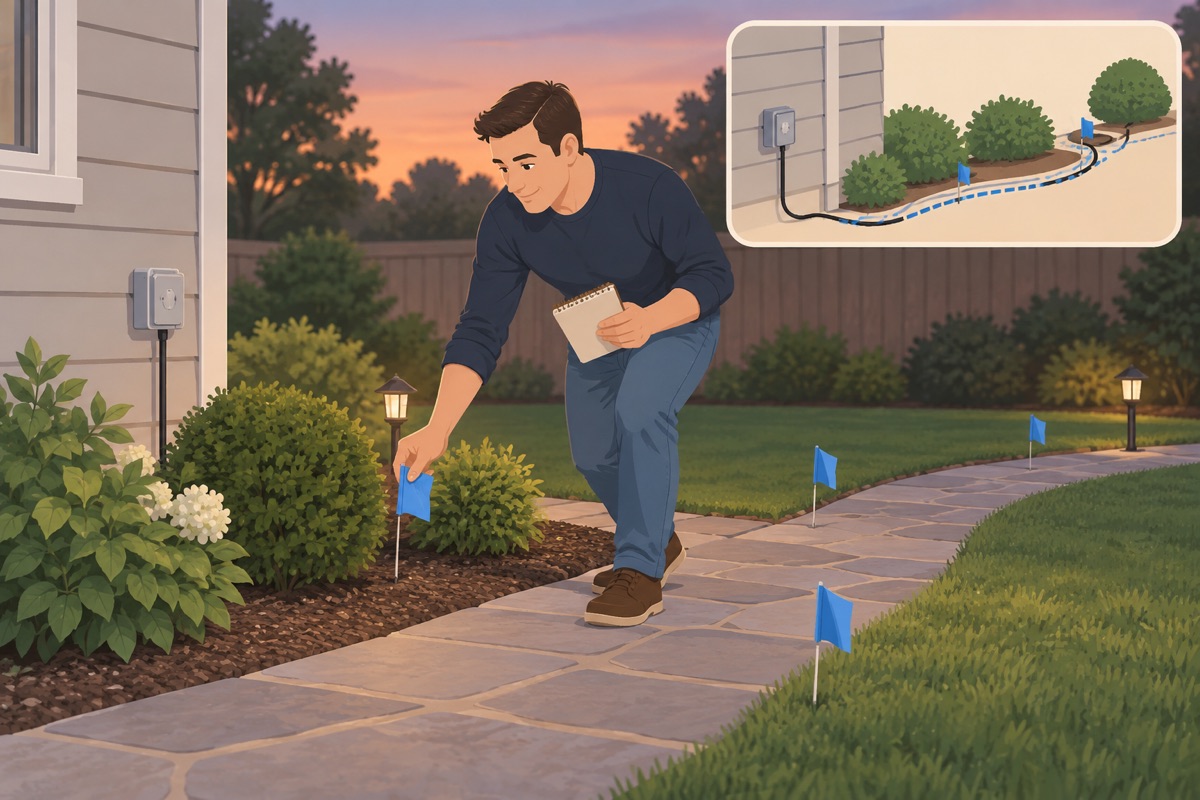
Walk the yard at dusk. Mark path lights along walks and steps, a light or two at plants or the fence, and where string lights will hang. Sketch the cable route from the outlet to every fixture.
Step 2 of 12
Add up the watts and size the transformer
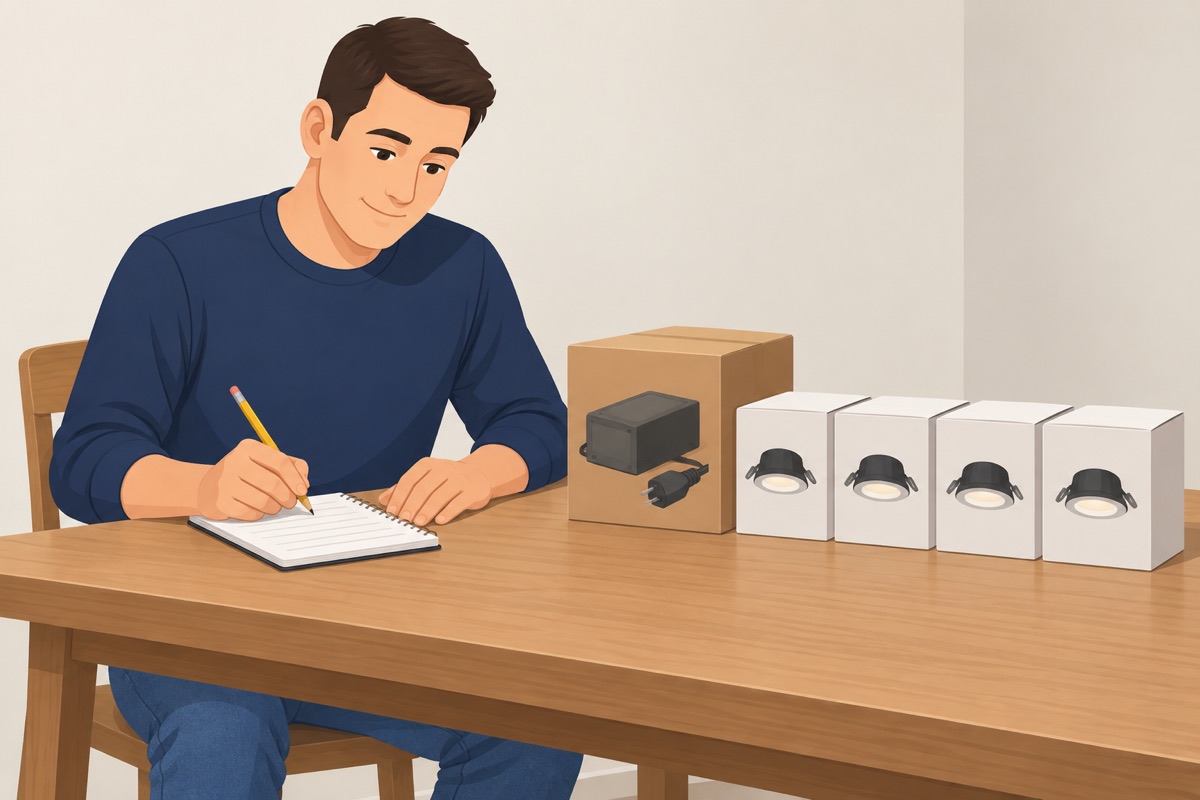
Add the watts of every low-voltage fixture. Pick a transformer rated above that total with the headroom its label asks for, with a timer or a photocell.
Step 3 of 12
Check the outdoor outlet
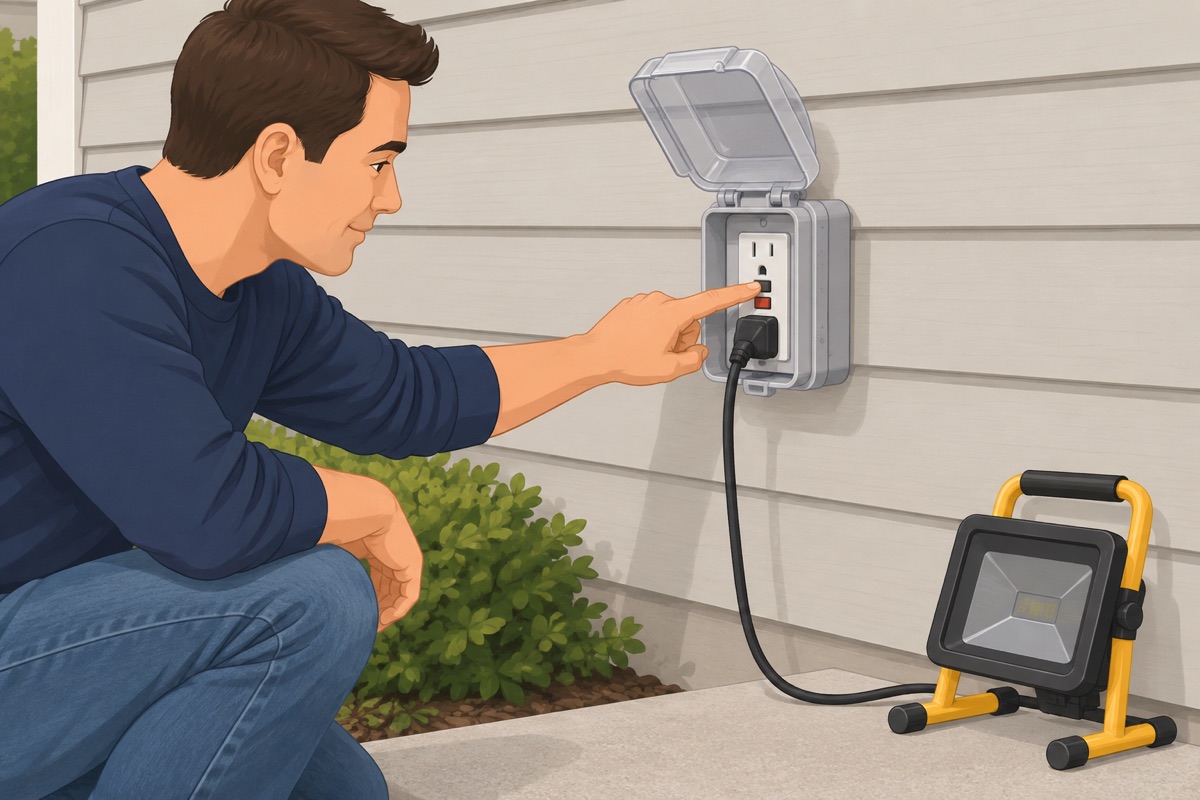
Press TEST on the GFCI outlet (or the GFCI breaker that protects it): the power must cut off. Press RESET: it comes back. The outlet needs an in-use cover — one that closes with a cord plugged in.
Before you plug anything in
- The outdoor outlet is GFCI-protected: TEST cuts the power, RESET brings it back
- It has a weatherproof in-use cover that closes with a cord plugged in
- No new outlet, circuit or switch is needed — otherwise an electrician does that part first
Step 4 of 12
Mount the transformer
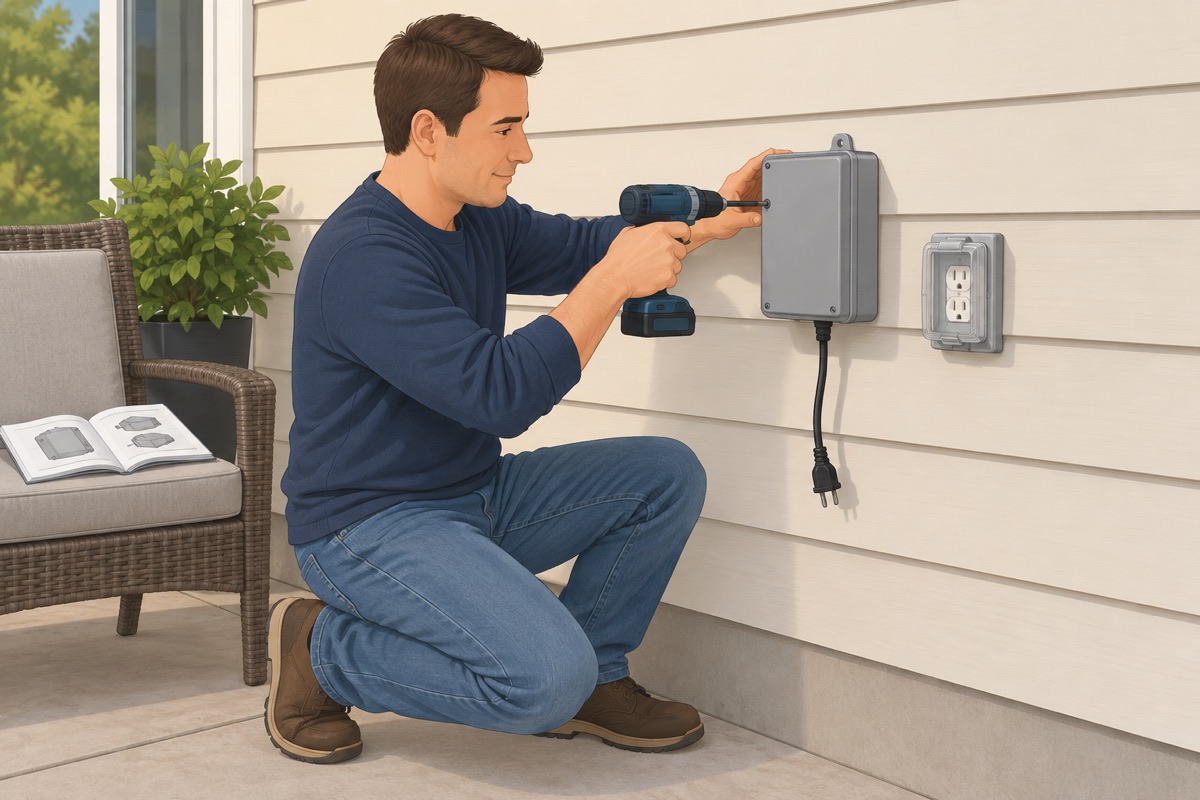
Mount it on the wall or a post next to the outlet, at the height its manual gives, and plug it in only at the end.
Step 5 of 12
Lay out the fixtures and the cable
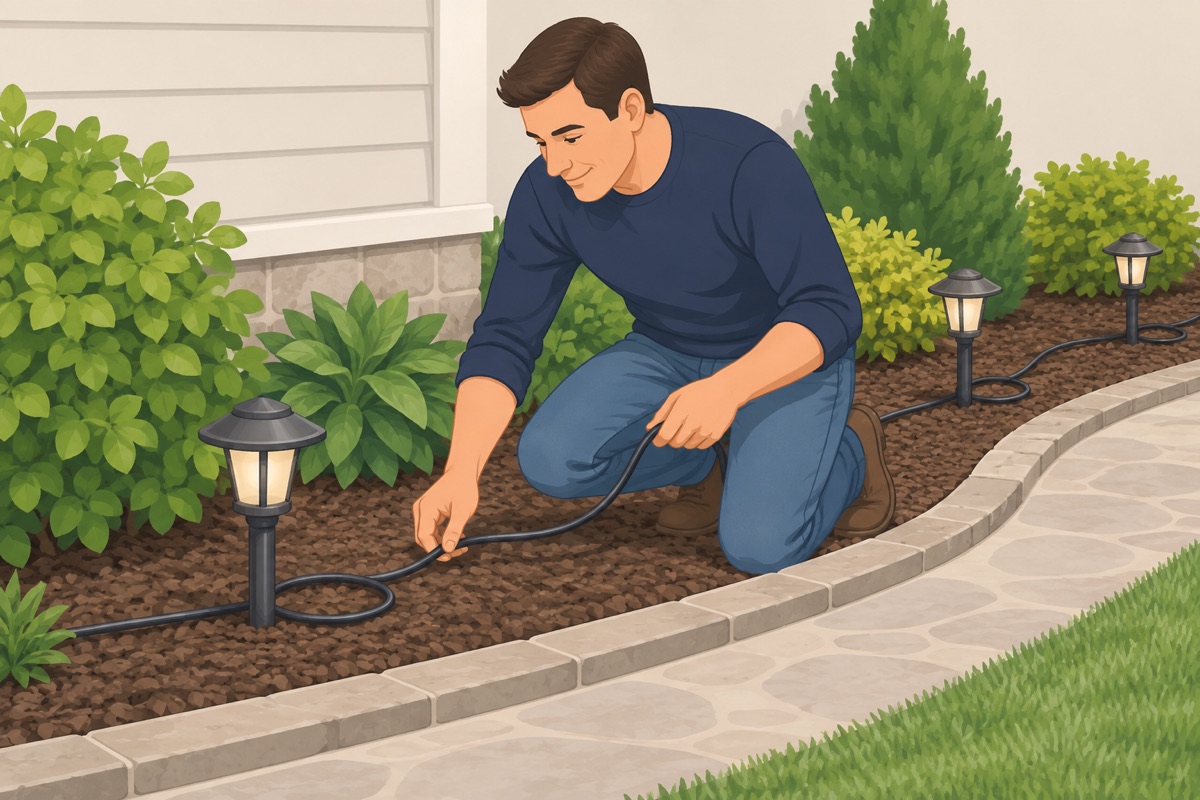
Set the fixtures on the ground where they will go and lay the cable along the route, with a little slack at each fixture.
Step 6 of 12
Connect the fixtures
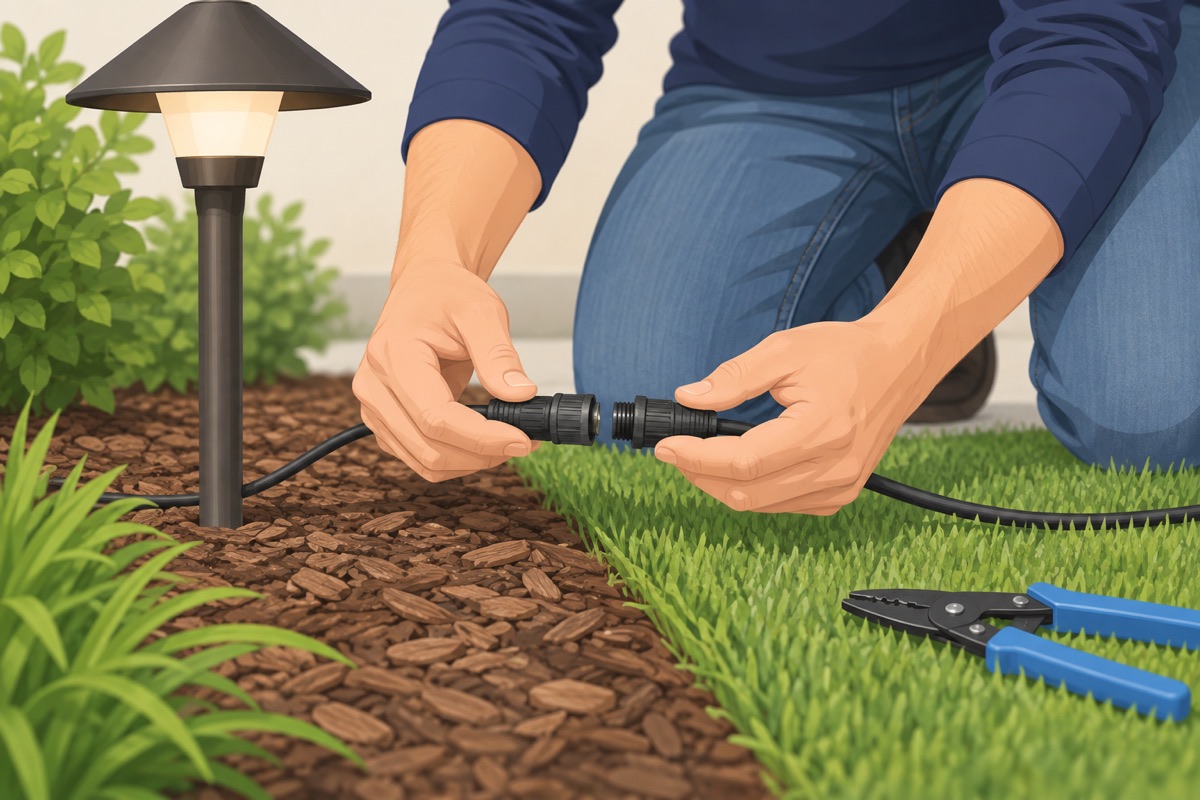
Connect each fixture to the cable with the connectors that come with it or waterproof landscape connectors. Strip and attach the cable to the transformer's low-voltage terminals as its manual shows.
Step 7 of 12
Test at dusk
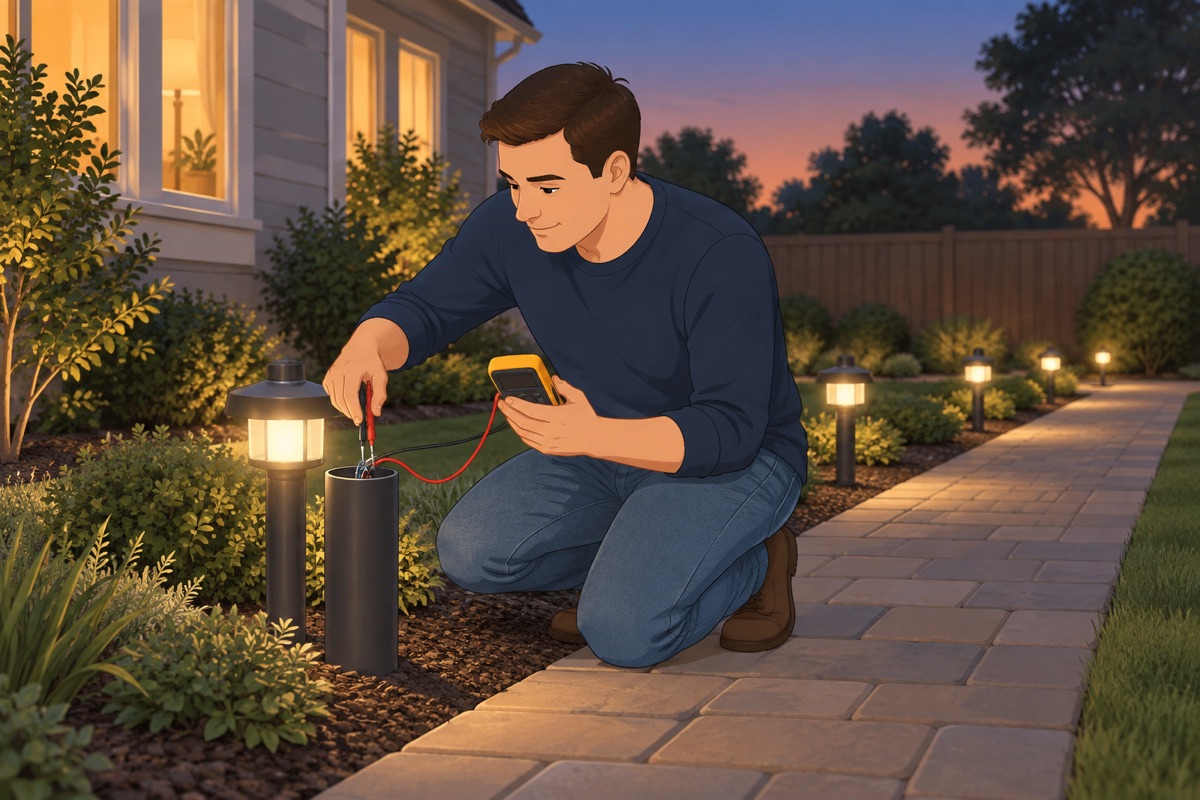
Plug in and switch on. Check every light works and, with the multimeter, measure the volts at the last fixture on each run: it must be inside the range the fixture's box gives. Low at the end: move the cable to a higher-voltage tap if the transformer has one, or shorten the run.
Step 8 of 12
Before you bury the cable
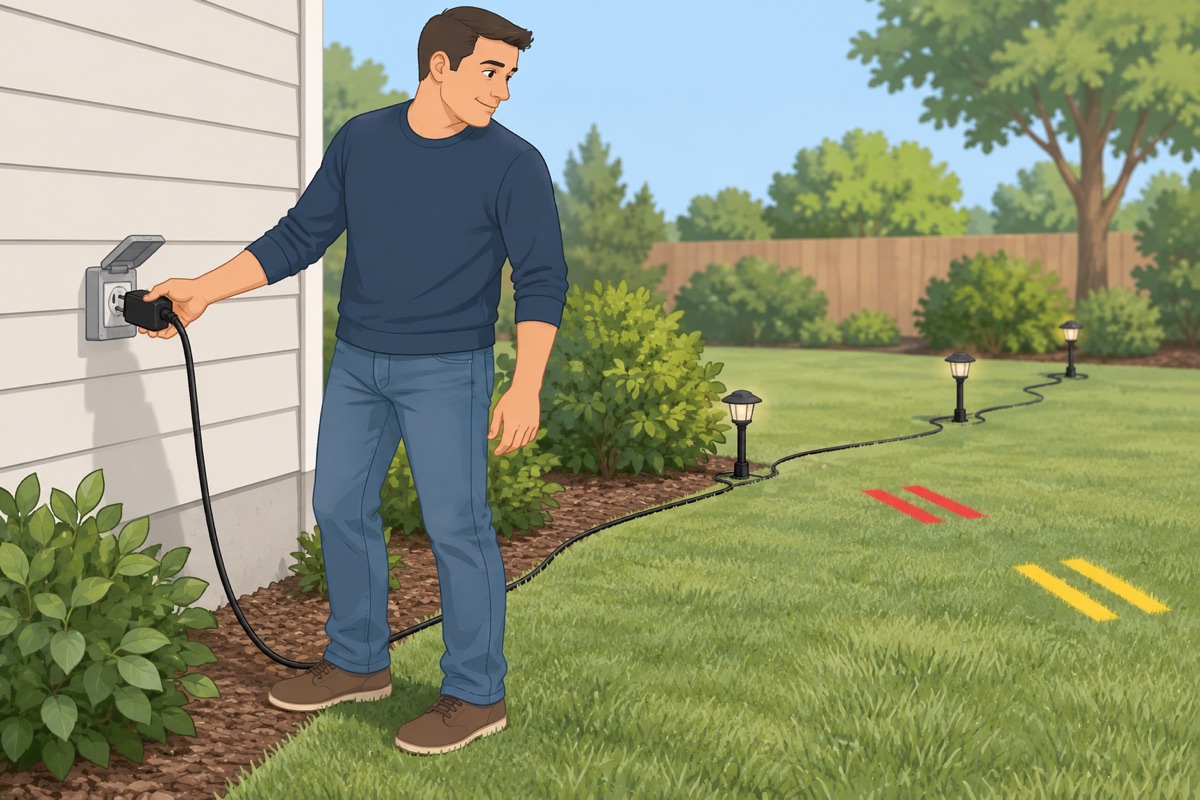
Unplug the transformer. Check the route one last time against the 811 marks.
Before you dig the trench
- 811 marks are in and the trench does not cross a marked or private line
- The buried cable is low-voltage from the transformer — never a 120 V extension cord
- Every light passed the test
Step 9 of 12
Bury the cable 6 in
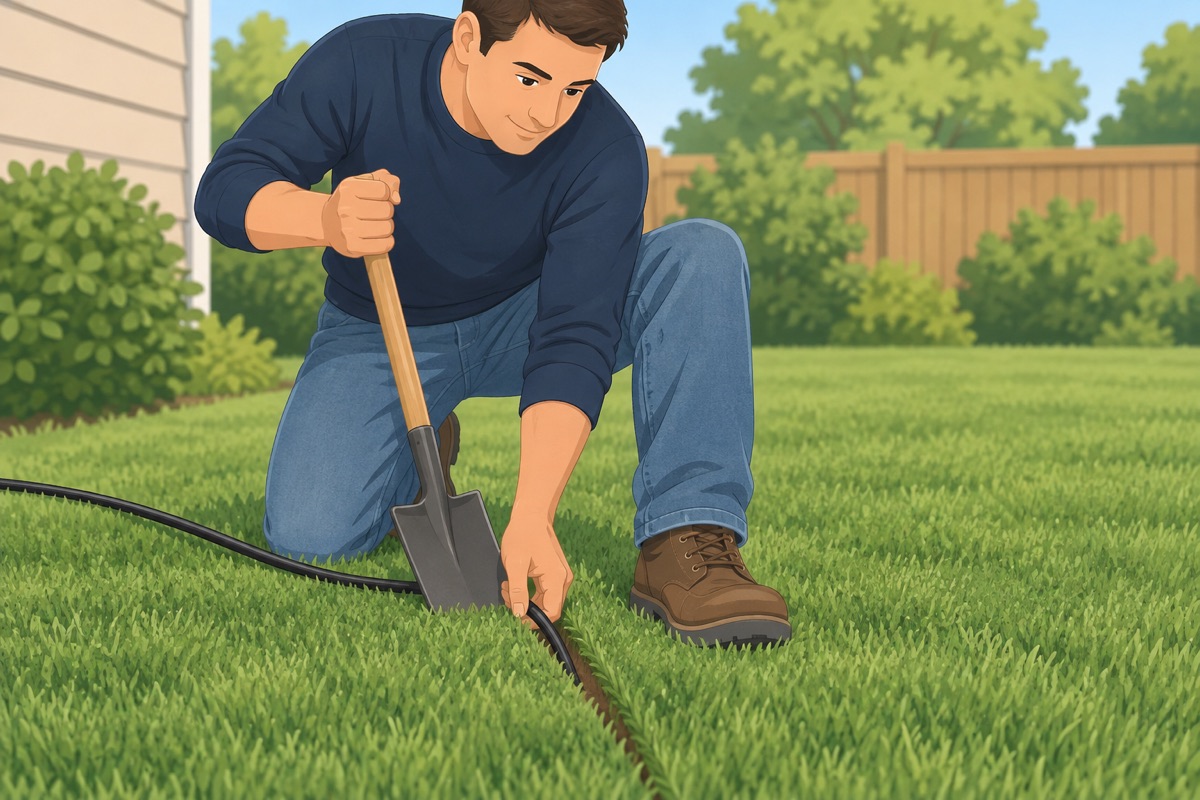
Push the flat spade in and rock it to open a slit about 6 in deep (or as deep as the fixture maker says), tuck the cable in, and step the slit closed.
Step 10 of 12
Mount the hooks or the guide wire
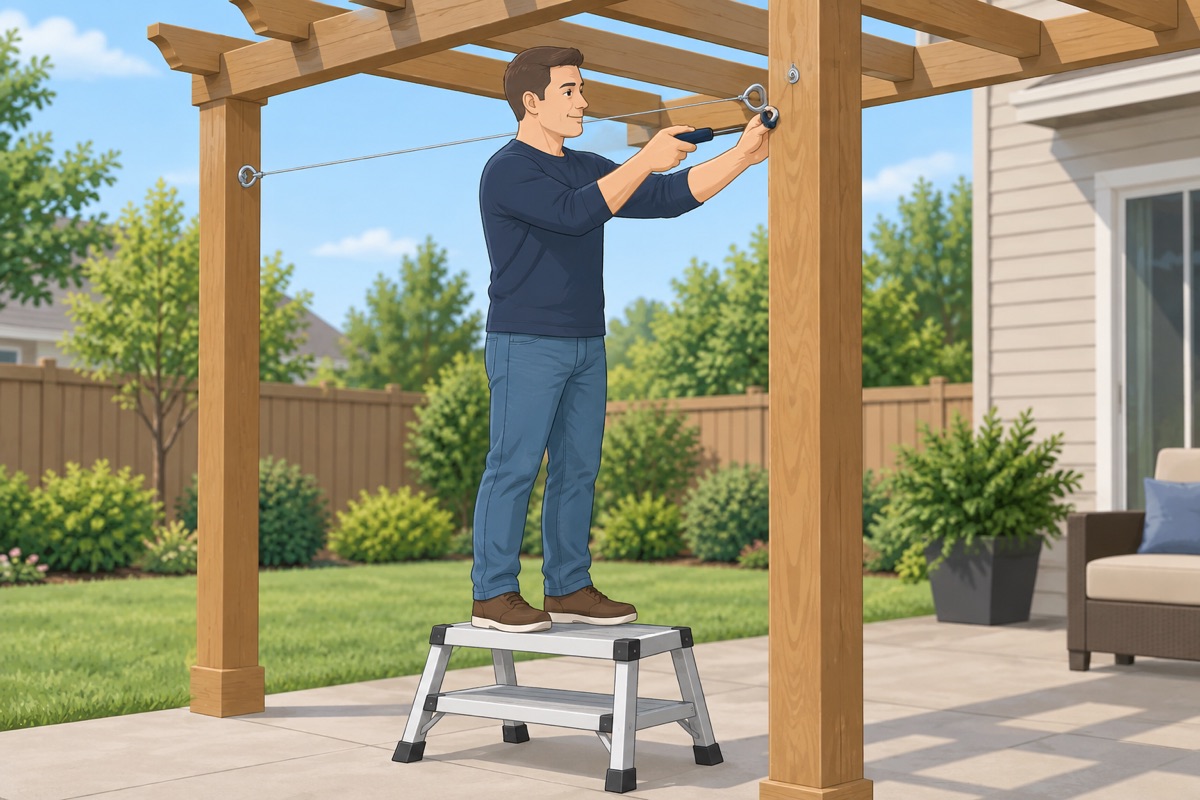
Screw hooks into solid wood — a post, the fascia, a fence post — about every 10 ft along the run. For long spans, stretch a guide wire between anchors and tighten it with the turnbuckles.
Step 11 of 12
Hang the string lights
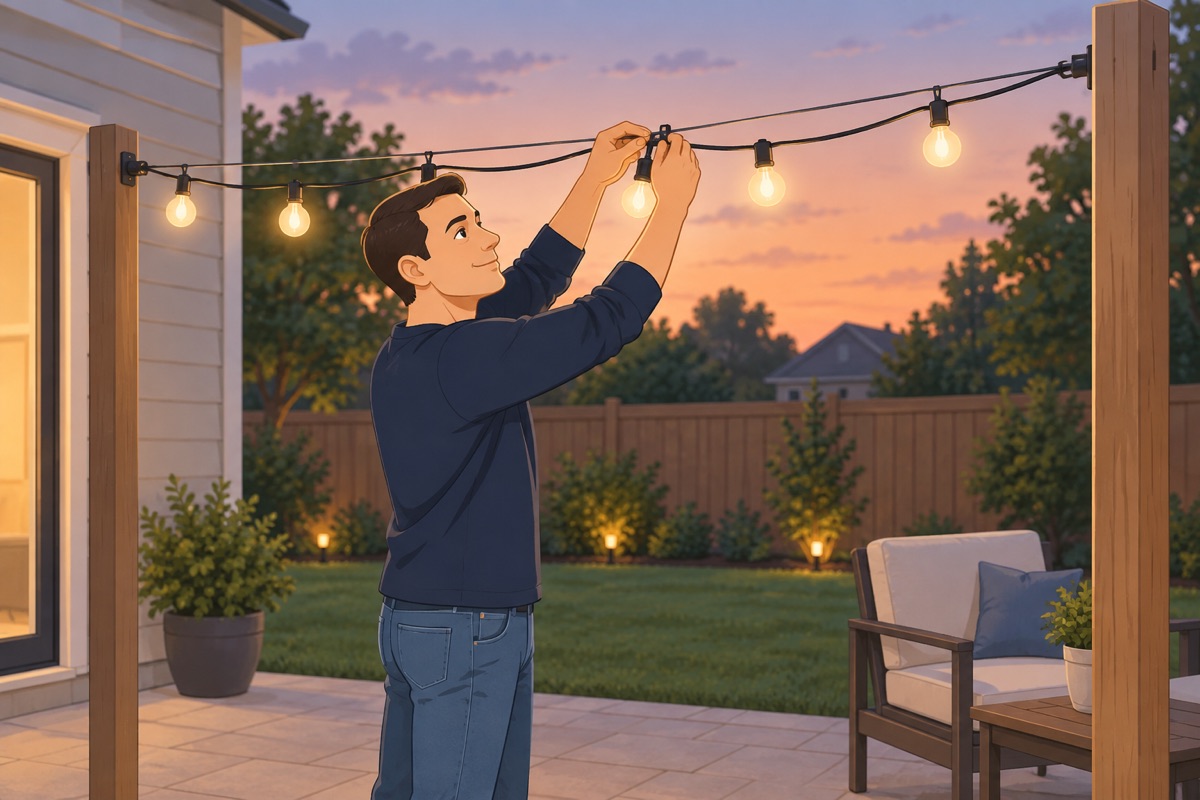
Hang outdoor-rated strings from the hooks or clip them to the guide wire. Link no more strings end to end than the box allows. Leave a drip loop — a dip in the cord — just before the plug so water drips off before it reaches the outlet.
Step 12 of 12
Set the timer and tidy up
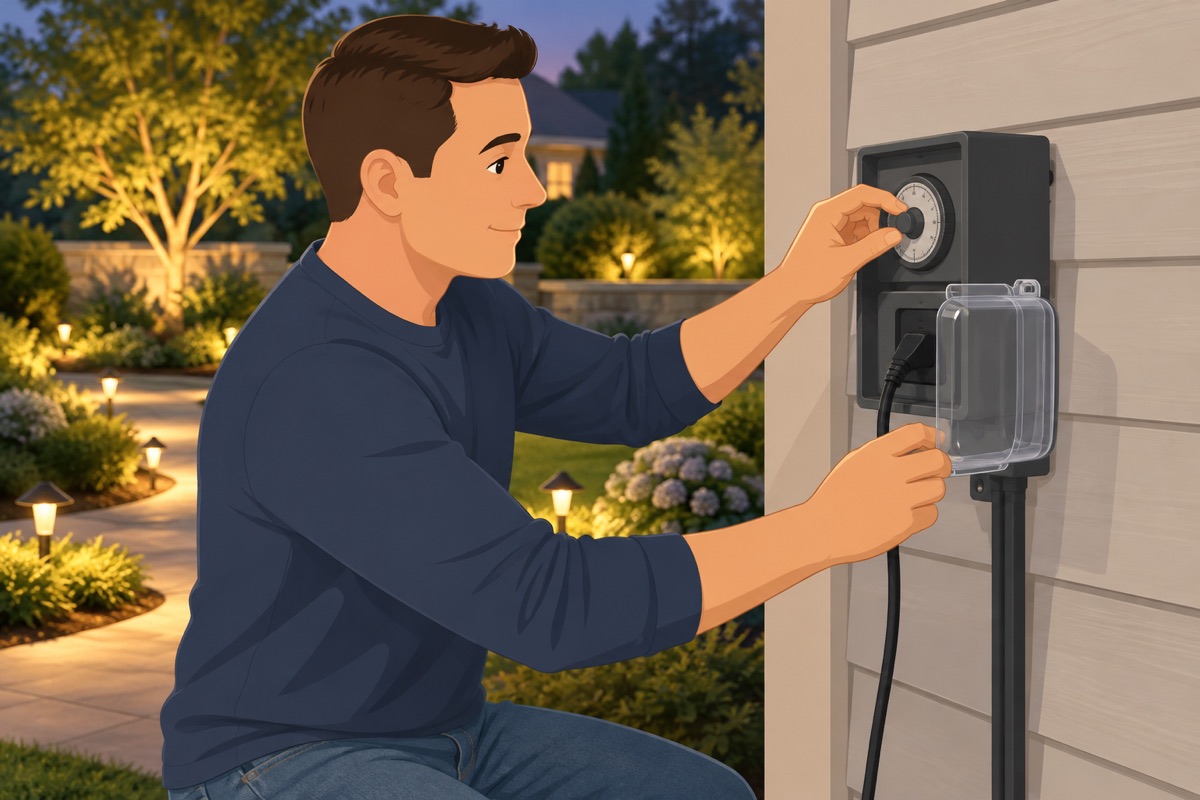
Set the timer or photocell, close the in-use cover, and tuck any loose cable out of the way of feet and mowers.
Common mistakes
- A transformer too small for the lights. The last lights glow dim and the transformer runs hot. Add up the watts and size it per its label.
- Plugging into an outlet with no GFCI or cover. Rain plus a bare outlet is a shock risk. Test the GFCI and use a cover that closes over the plug.
- Cable left on the surface. It trips people and gets cut by the mower or a shovel. Bury it as deep as the fixture maker says.
- Heavy strings hung by their own cord. The cord stretches, sags and pulls out of the sockets. Long runs hang from a guide wire.
Draft guide written from standard practice, not yet reviewed by a licensed pro. Follow product labels where they differ.
Get this job planned for your roomRelated guides
- How to install a closet system yourself: step by step
- How to install cabinet pulls, door handles and shelves yourself: step by step
- How to install a faucet, toilet and shower head yourself: step by step
- How to replace outlets, switches and light fixtures yourself: step by step
- How to connect a dishwasher, range and hood yourself: step by step
- Gas range connection: what a pro does and what you can do