How to install artificial turf yourself: step by step
Turf looks as good as the base under it. Dig out, lay the weed barrier, compact a flat base that drains, then unroll, seam, nail and brush in the infill. No mowing, no watering, and one hard weekend of shovel work.
Difficulty 3 of 5 · 2 weekends · you can do this
Photo of your room, the look you pick, then this guide with the materials counted for your room.
What you need
- Artificial turf
- Base: decomposed granite or class II road base
- Weed barrier fabric
- Turf infill (silica sand or the infill the turf maker names)
- Seam tape and turf adhesive
- Turf edge nails (landscape spikes)
Tools
- Sod cutter — Only if there is lawn to remove. About $80–110/day.
- Plate compactor — About $80–110/day.
- Flat and pointed shovels
- Wheelbarrow
- Steel garden rake
- Straight 2×4 for screeding
- Utility knife with plenty of spare blades
- Drop spreader
- Stiff push broom or a rented power broom
- Hammer
- Garden hose
- Work gloves, knee pads, dust mask
Step by step
Step 1 of 12
Measure the area and plan the rolls
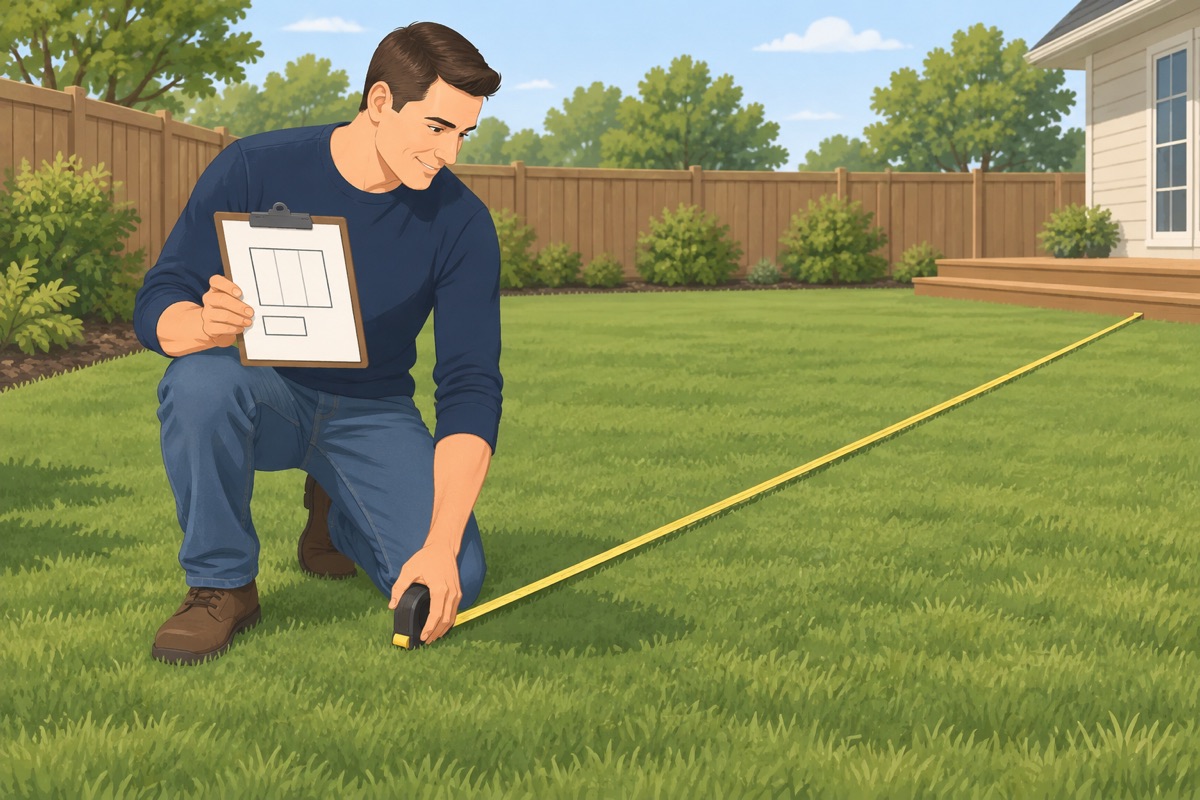
Measure the length and width and sketch the area. Turf comes in rolls of a fixed width, often 12 or 15 ft — check your supplier. Plan the rolls so there are as few seams as possible, all running the same way and out of the main walking path.
Step 2 of 12
Check drainage and call 811
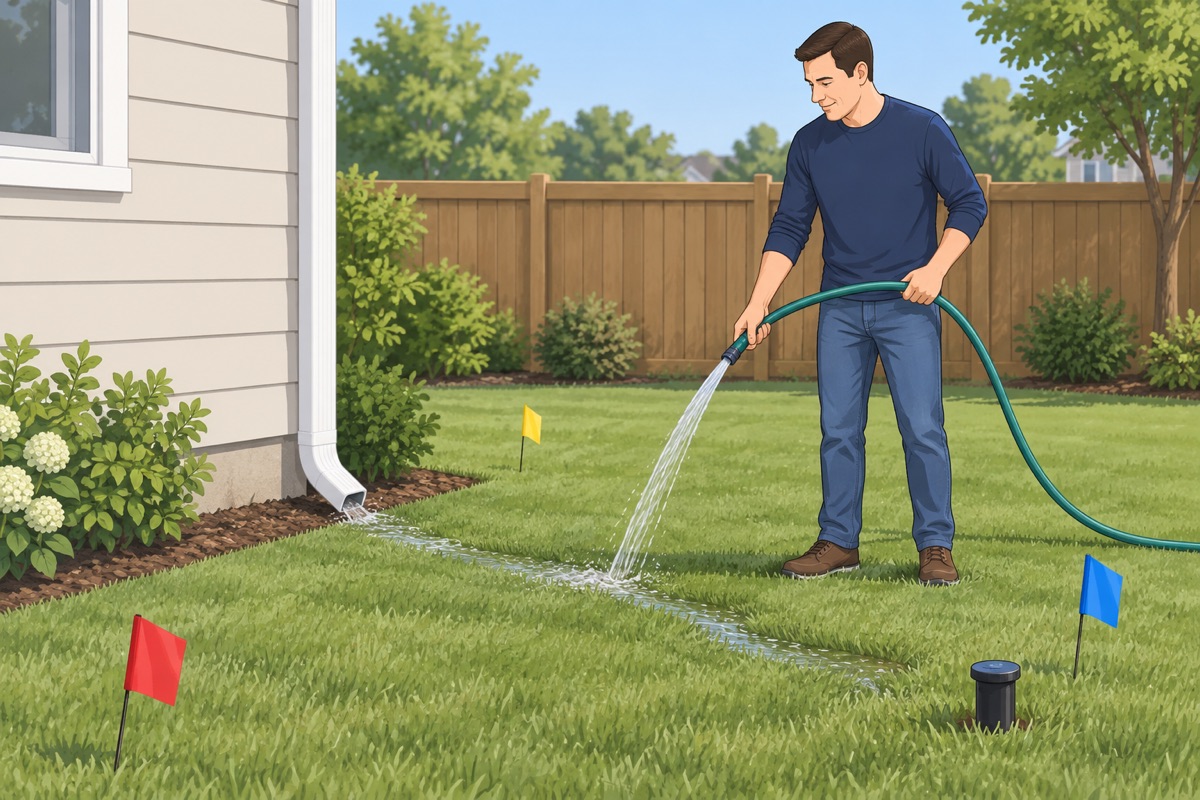
Hose the area and watch where the water goes: it must run away from the house. Call 811 a few working days before you dig, and find your sprinkler lines — cap or move any heads in the area.
Step 3 of 12
Remove the grass and dig 3 in down
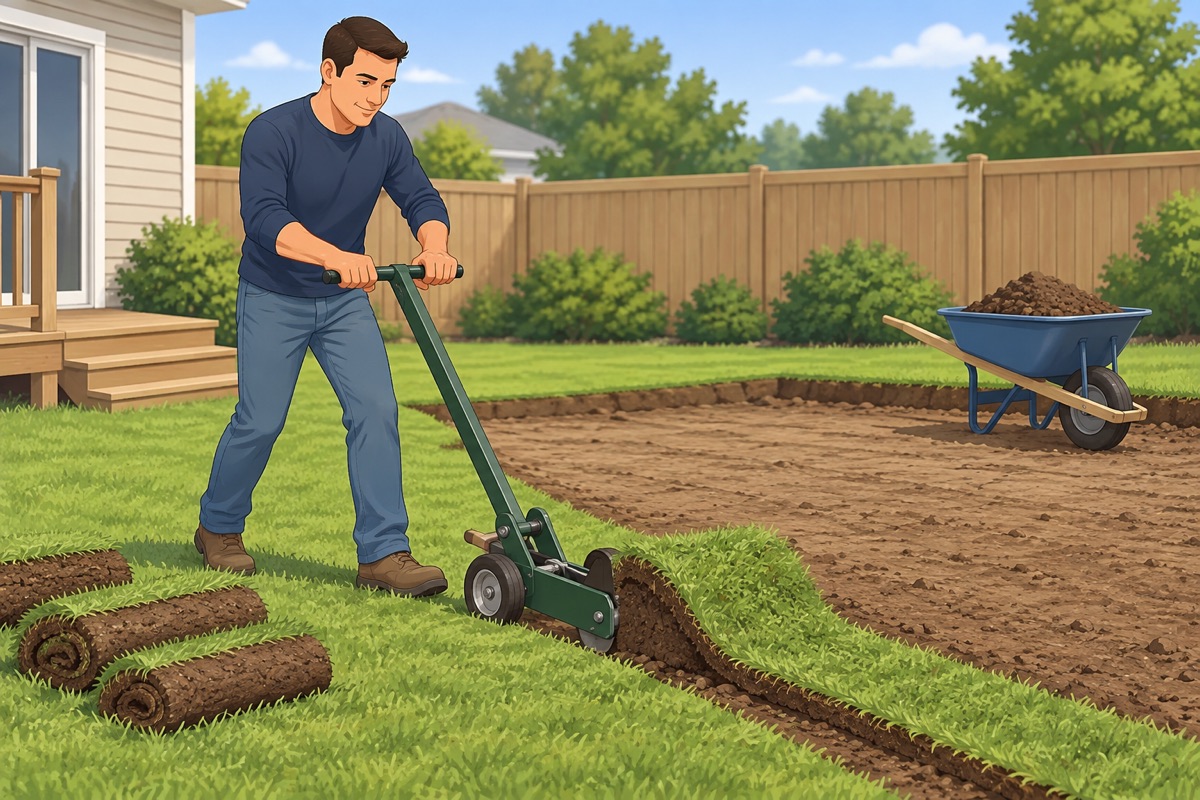
Cut out any lawn with the sod cutter and dig the whole area 3 in below where you want the finished base. Keep the bottom roughly flat, with a slight fall away from the house.
Before you dig
- 811 marks are in and every utility on the ticket answered
- Sprinkler lines in the area are capped or moved
- Water runs away from the house, not toward it
- The area is not over a septic tank or leach field
Step 4 of 12
Lay the weed barrier
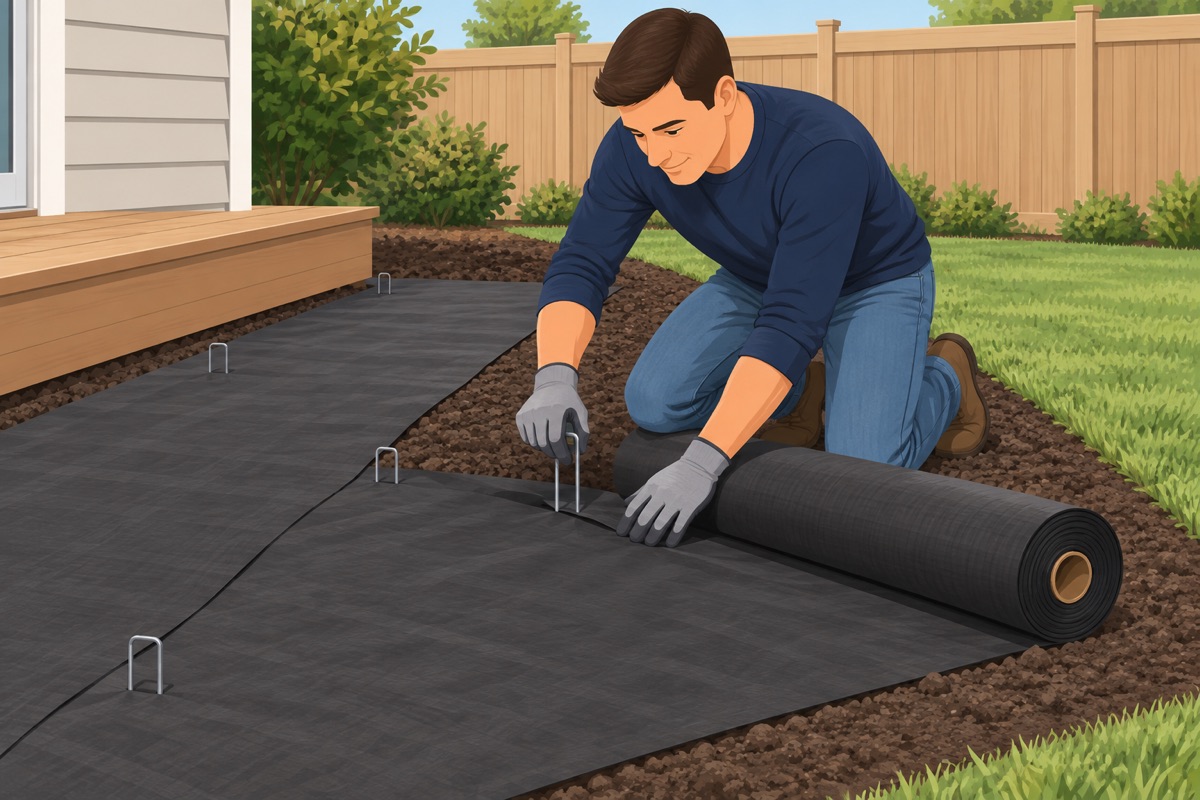
Roll the weed barrier over the dug soil, run it up to the edges, and overlap the strips about 6 in. Pin it down so it does not shift when you dump the base on it.
Step 5 of 12
Spread and compact the base
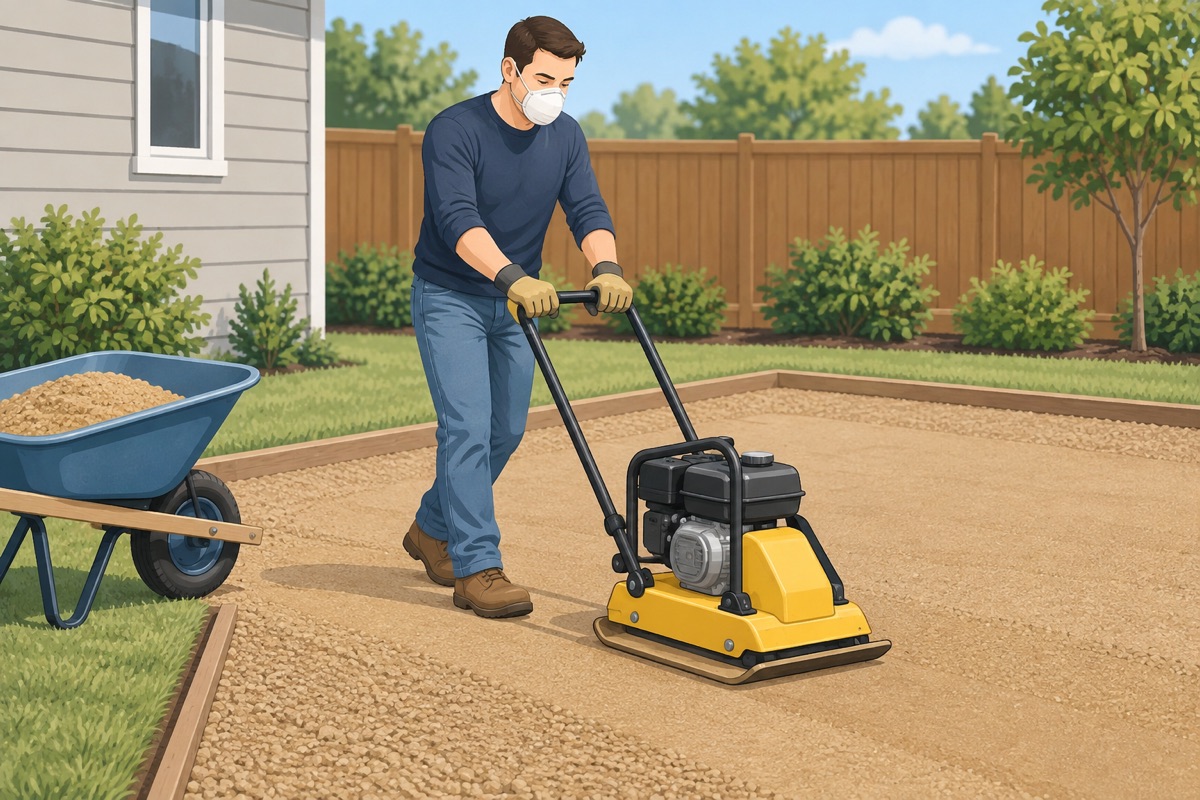
Spread 2–3 in of decomposed granite or class II base in thin layers. Dampen each layer and run the plate compactor over it several times until your boot leaves no print.
Step 6 of 12
Screed it flat and compact again
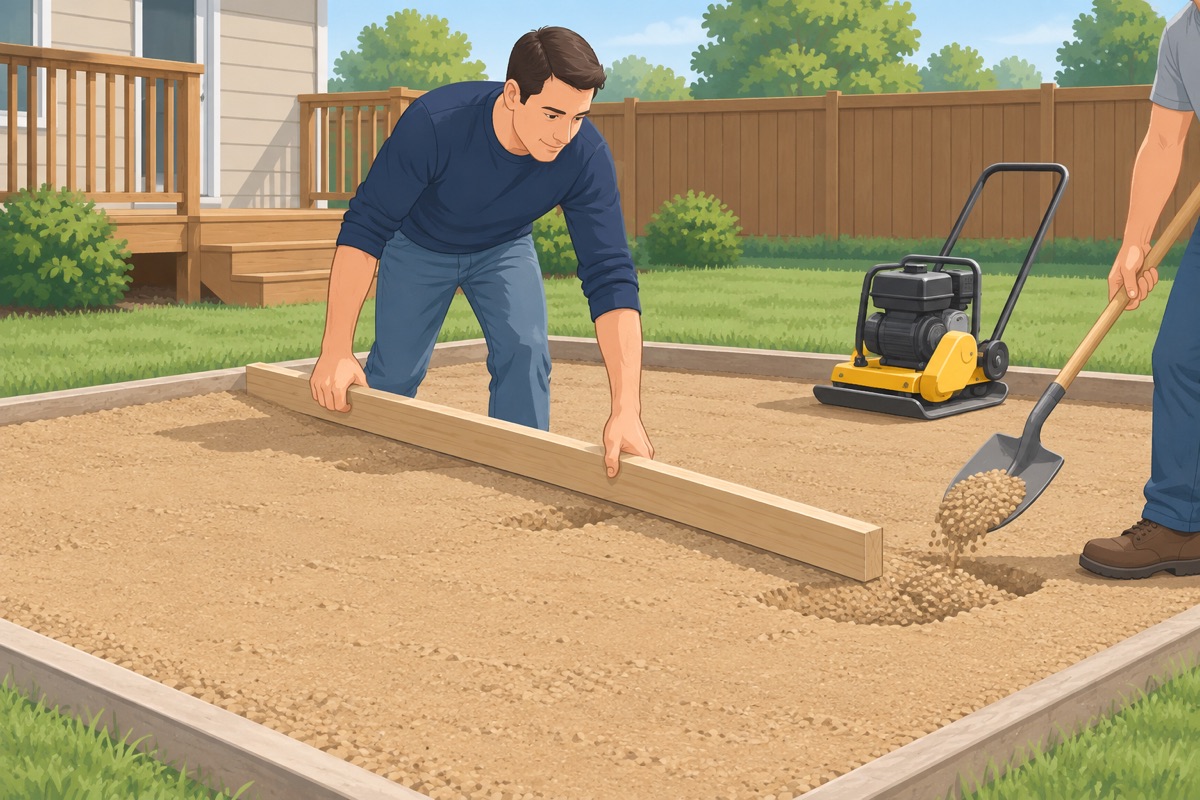
Drag a straight 2×4 across the base, fill the low spots, and compact again. If the turf label asks for a thin layer of sand on top, add it now. Any bump you leave will show through the turf.
Step 7 of 12
Unroll the turf and let it relax
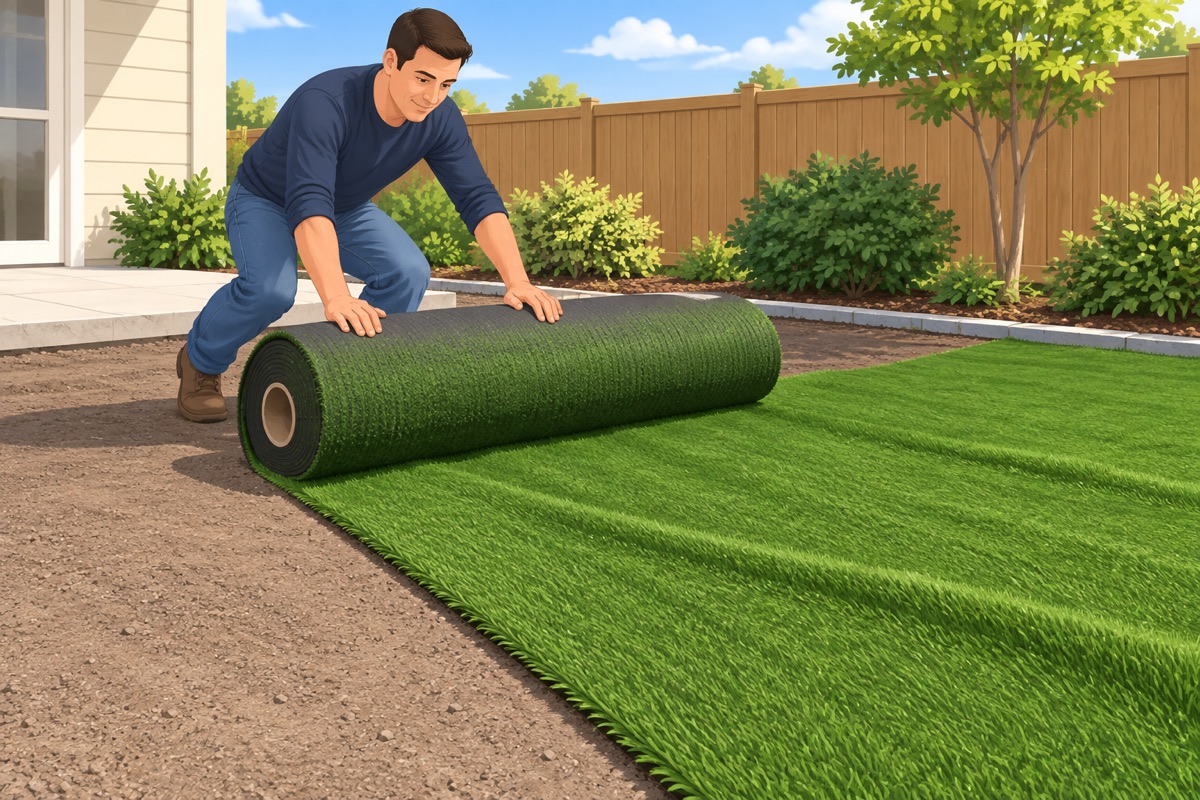
Unroll each piece in place with the blades leaning the same way — ideally toward where you usually look at the yard from. Leave it in the sun for an hour or more until the creases relax, per the supplier.
Before you cut the turf
- The base is compacted, flat and slopes away from the house
- Every piece has the blades leaning the same way
- The seams follow your plan and stay out of the main path
- Each piece runs a few inches past the edges, for trimming
Step 8 of 12
Trim the edges
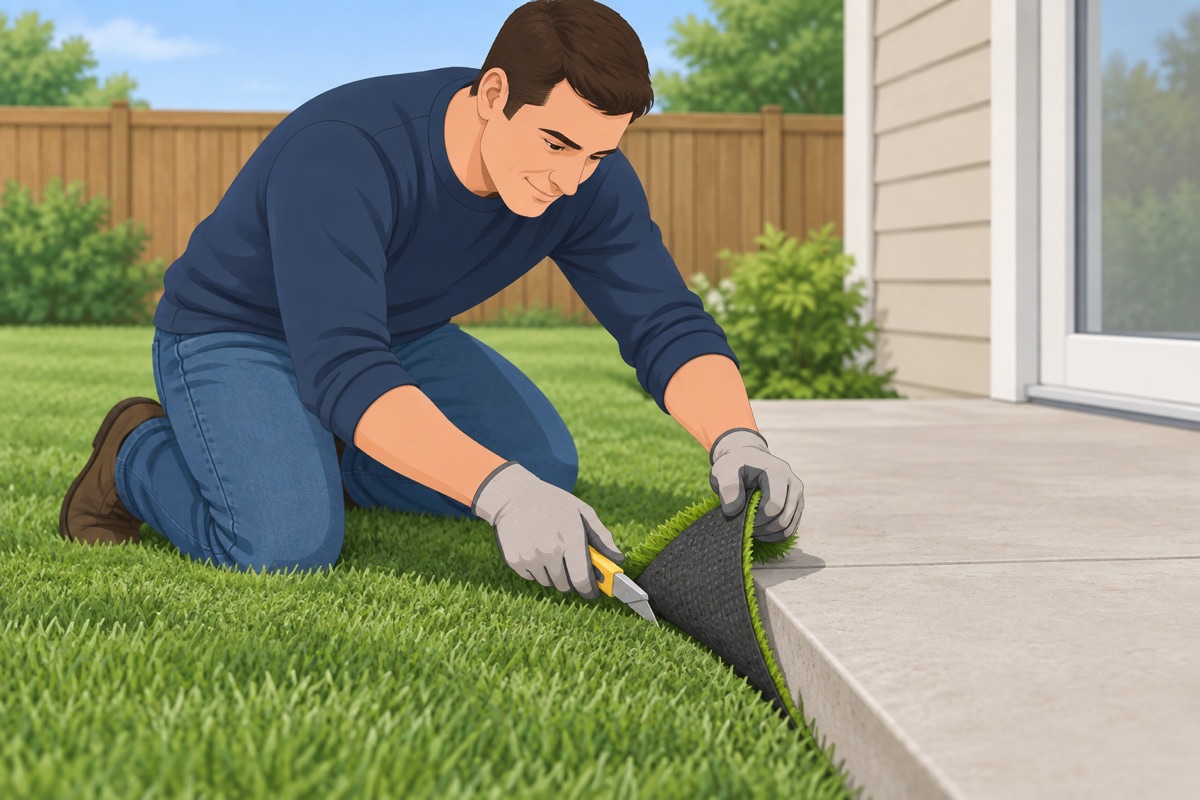
Flip the edge back and cut from the back with a sharp utility knife, between the stitch rows. Change blades often. Trim so the turf sits tight against the edging, the patio or the wall, with no gap.
Step 9 of 12
Join the seams
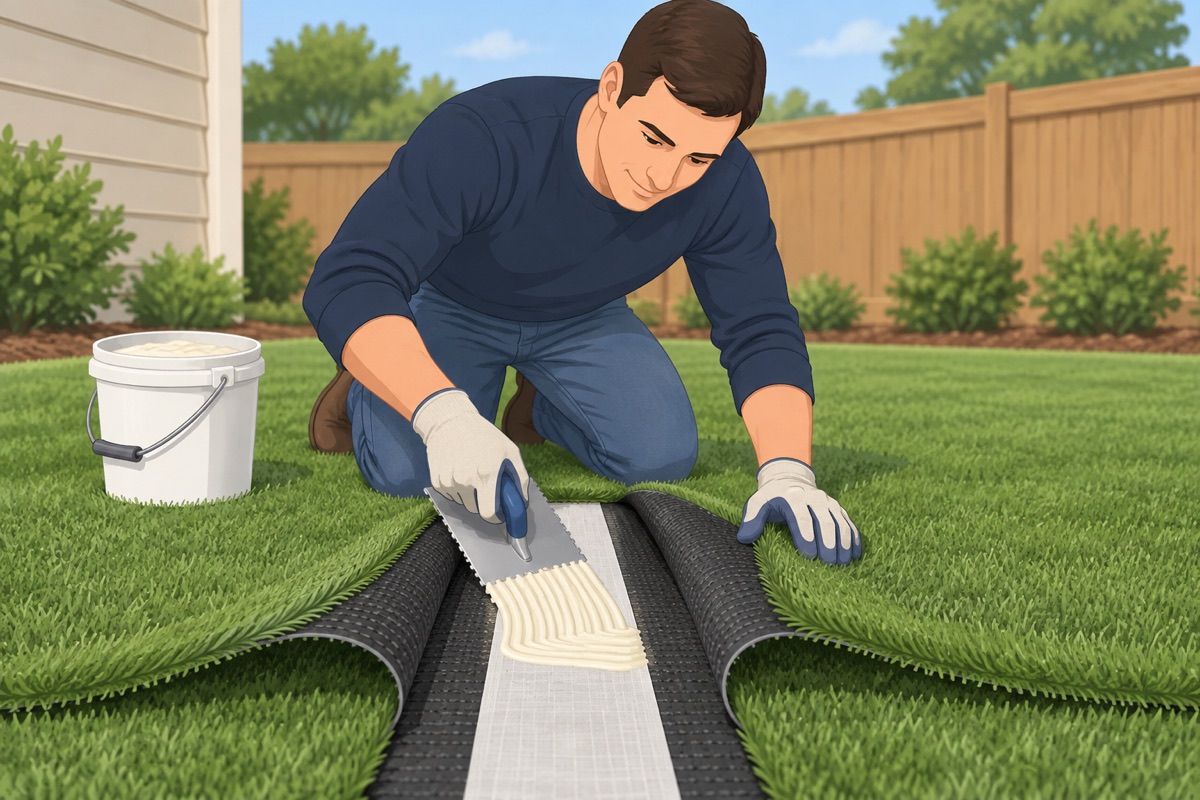
Trim the factory edge off both pieces as the turf label says, so the stitch rows match. Fold both edges back, lay the seam tape centered under the joint, spread the adhesive per its label, and lay the edges down without trapping blades in the glue. Weigh the seam down until the adhesive sets.
Before you glue a seam
- Both edges are trimmed and the stitch rows line up
- The blades on both pieces lean the same way
- The gap between the edges is what the turf label asks for
- You know the adhesive's working time from its label
Step 10 of 12
Nail the edges
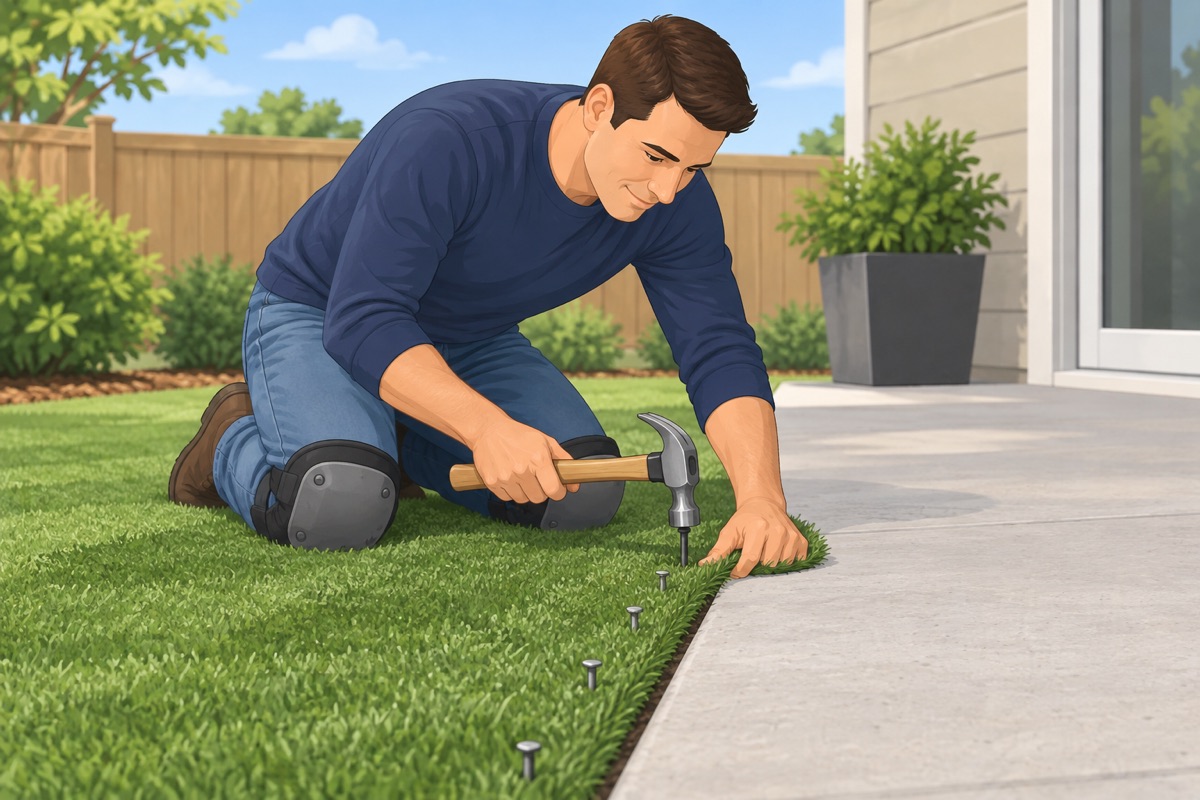
Drive a nail every 6 in along every edge, and along the seams and across the field as the turf label says. Part the blades before each nail so you do not pin them flat.
Step 11 of 12
Spread and brush in the infill
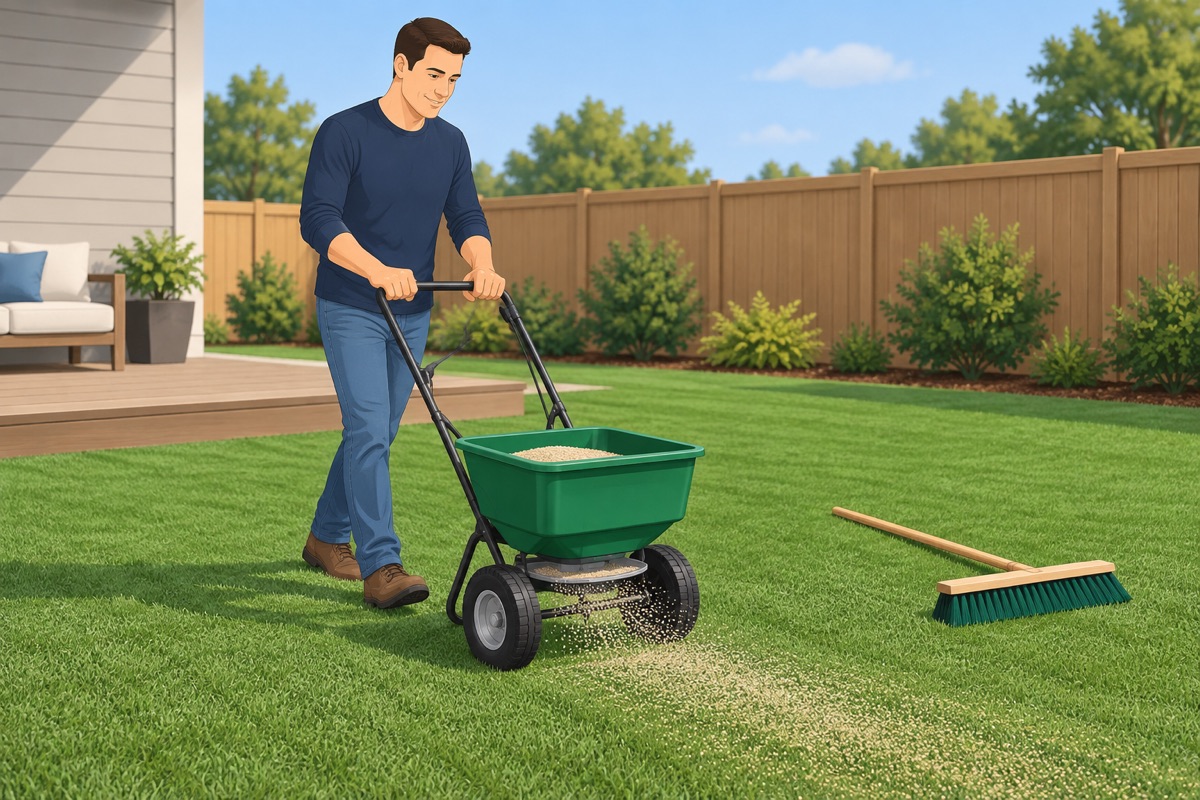
Spread the infill with the drop spreader in light passes, to the amount on the turf label. Brush against the grain after each pass so the infill drops to the backing and the blades stand up.
Step 12 of 12
Rinse it and plan the upkeep
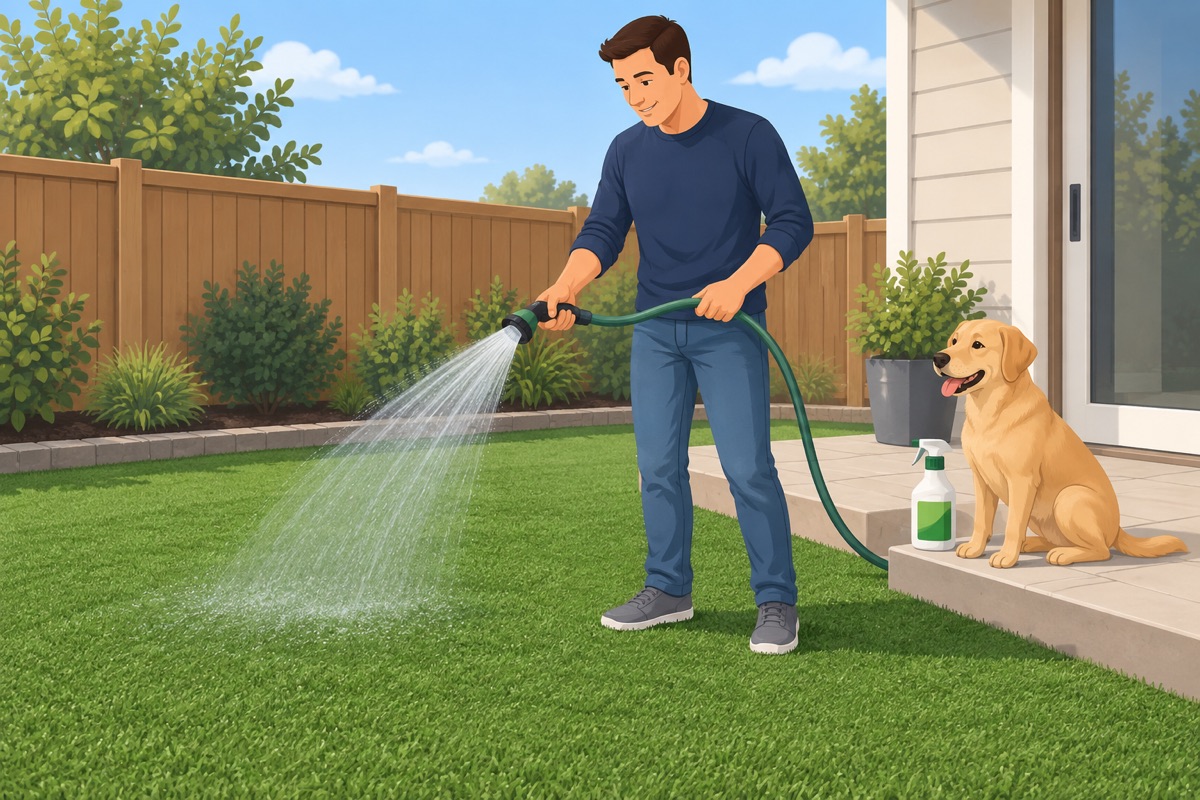
Hose the whole area down. With dogs, rinse the pet spot often and use the enzyme cleaner the turf maker recommends — the backing and the base must drain, or the smell stays. Brush it up a few times a year and check the edges after the first season.
Common mistakes
- A thin or loosely compacted base. Every dip and footprint in the base shows through the turf, and water pools in them. Compact in layers, damp, until your boot leaves no print.
- Pieces with the grain running different ways. Each piece looks a different shade and every seam shows. Lay every piece with the blades leaning the same way.
- Cutting from the front. You cut blades off and leave a bald line. Flip the edge and cut from the back, between the stitch rows.
- Seams with a gap or trapped blades. The seam shows as a line forever. Match the stitch rows, keep the gap the turf label asks for, and keep blades out of the glue.
- Letting pet urine sit in the turf. It soaks into the infill and the base and the smell builds in the heat. Rinse the pet spot often and use the cleaner the turf maker recommends.
Draft guide written from standard practice, not yet reviewed by a licensed pro. Follow product labels where they differ.
Get this job planned for your roomRelated guides
- How to install click-lock LVP flooring yourself: step by step
- How to tile a bathroom or kitchen floor yourself: step by step
- How to check a subfloor before new flooring yourself: step by step
- How to level a floor with self-leveling underlayment yourself: step by step
- How to install floor transition strips yourself: step by step
- How to build a paver patio yourself: step by step