How to install blinds and shades yourself: step by step
Inside or outside mount, measured exactly the way the maker's guide asks. Level brackets, anchors where there is no wood, and cordless blinds in any home where kids live or visit.
Difficulty 1 of 5 · about half a day · you can do this
See it in your own room — freePhoto of your room, the look you pick, then this guide with the materials counted for your room.
What you need
- Blinds (one set per window)
- Drywall anchors for the bracket screws
- Extension brackets or spacer blocks (outside mount over trim)
Tools
- Tape measure
- Pencil and a notepad (or your phone) to write every number down
- Drill/driver with a full bit set
- Torpedo level
- Step ladder
- Screwdriver set (hand-tighten the last turn on everything)
Step by step
Step 1 of 10
Choose inside or outside mount for each window
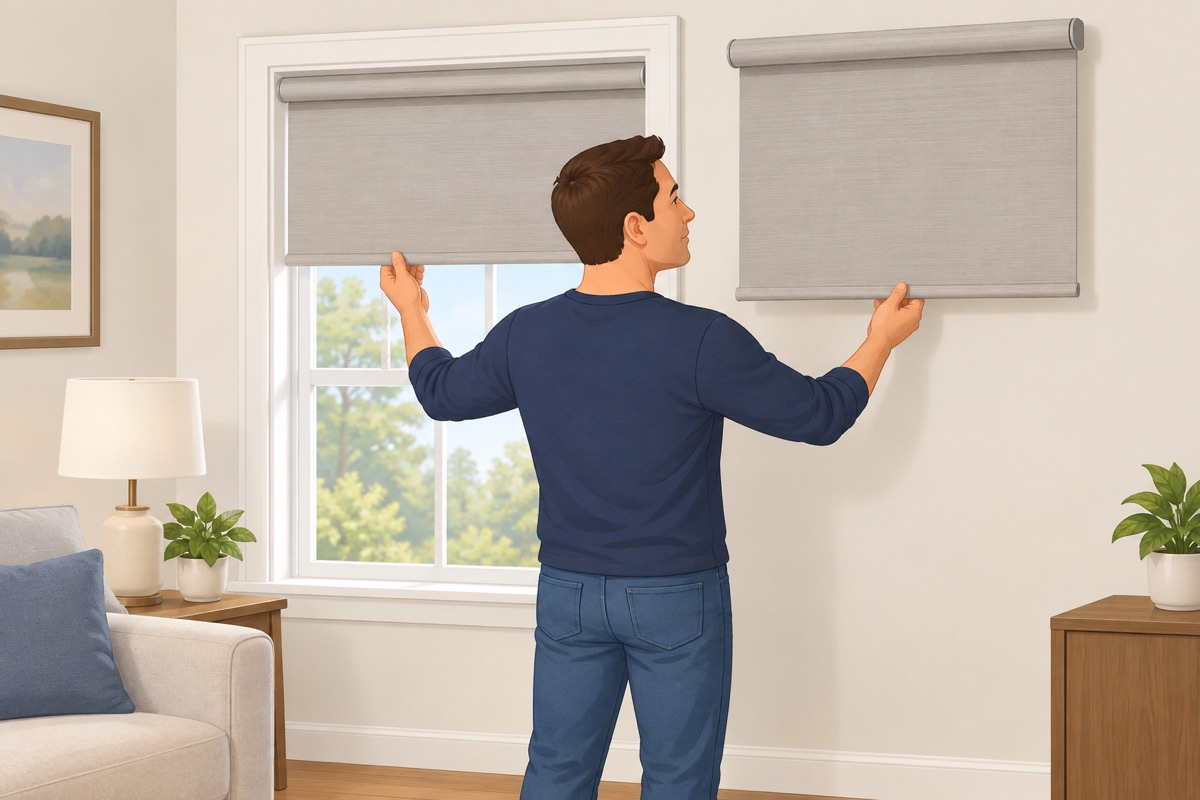
Inside mount sits within the window opening and shows off the trim, but needs enough depth and a fairly square opening. Outside mount hangs on the wall or the casing above the window, blocks more light at the edges, and hides an uneven opening. Decide window by window.
Step 2 of 10
Check the depth and what is in the way
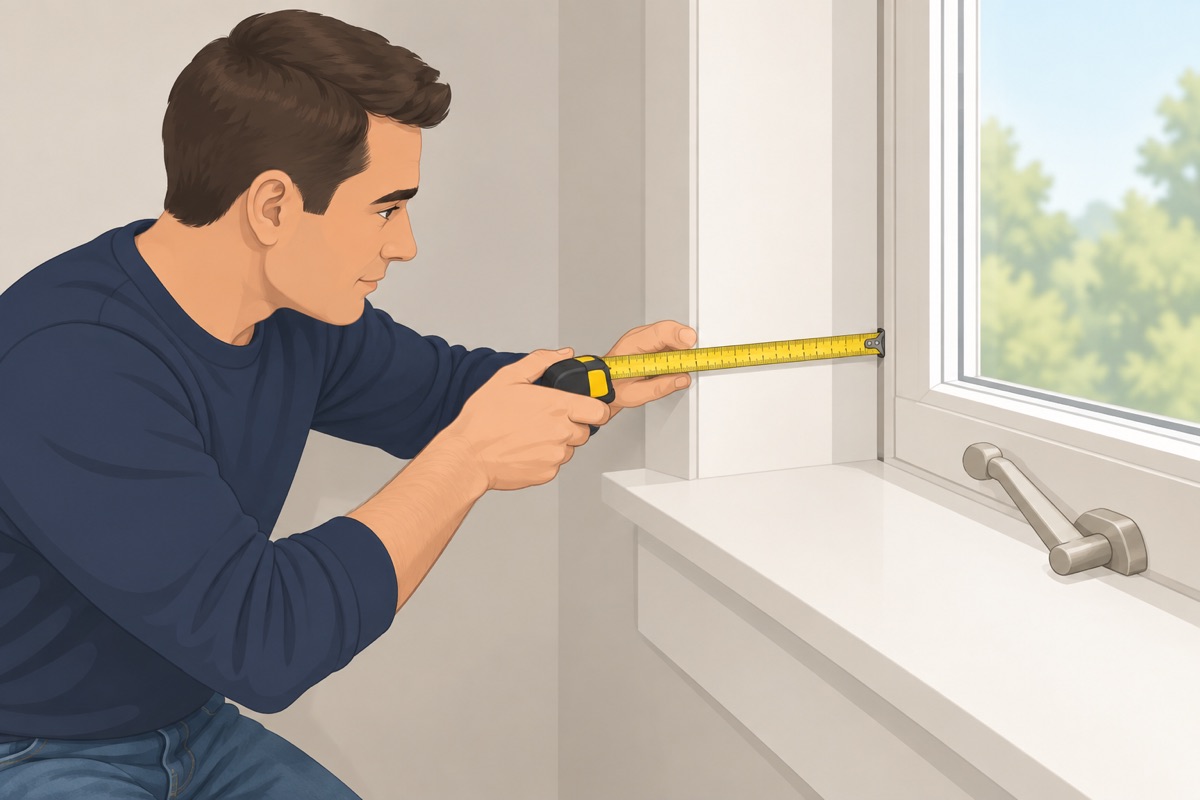
For an inside mount, measure the depth of the opening from the front edge to the glass or the window frame, and compare it with the depth the maker's guide lists. Look for window cranks, locks, handles, and alarm sensors the blind would hit when it goes up and down.
Step 3 of 10
Measure the width at three points
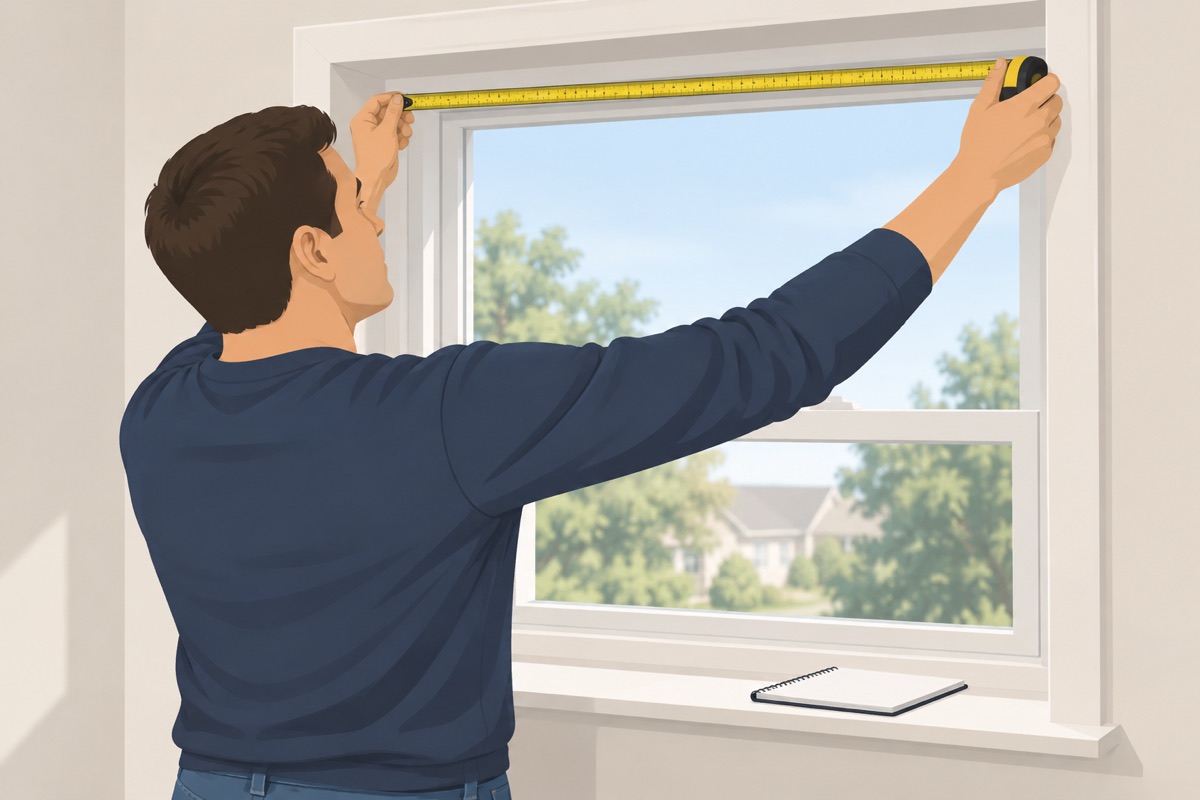
Use a steel tape. Inside mount: measure inside the opening at the top, the middle, and the bottom, and write down the smallest. Outside mount: measure the width you want to cover and add the overlap the maker's guide recommends on each side.
Step 4 of 10
Measure the height at three points
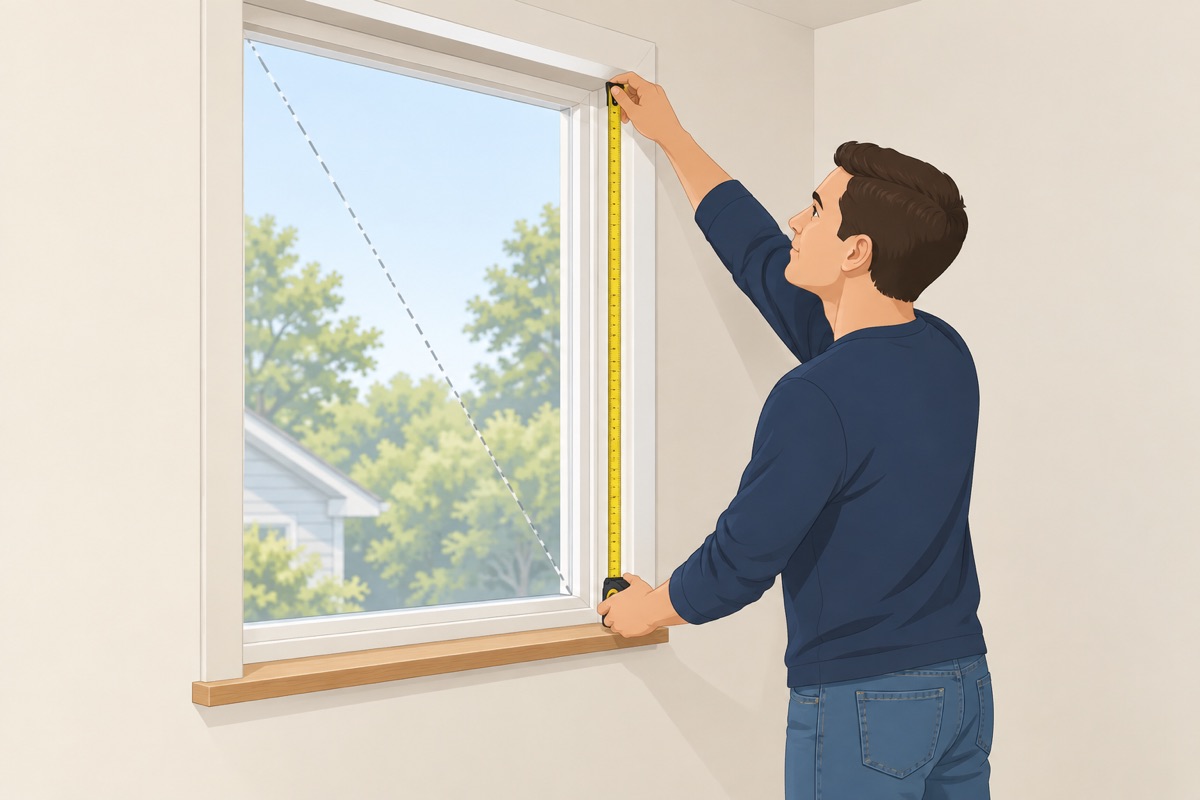
Measure the height at the left, the middle, and the right, and write down the one the maker's guide asks for. Outside mount: measure from where the brackets will go to where the blind should stop, usually past the sill. Measure the two diagonals of an inside-mount opening too — if they differ a lot, the opening is out of square and an outside mount may look better.
Step 5 of 10
Order per the maker's measuring guide

Enter width first, then height, exactly the way the maker's guide asks, and do not take your own deductions. Label each order with its room and window. Choose cordless, or a lift with no reachable cords, if kids live or visit.
Before you order
- Each window measured at three points for width and for height
- Numbers entered the way the maker's guide asks, with no deductions of your own
- Mount type and depth checked for each window
- Cordless, or no reachable cords, if kids live or visit
- Each order is labeled with its window
Step 6 of 10
Unbox and match each blind to its window
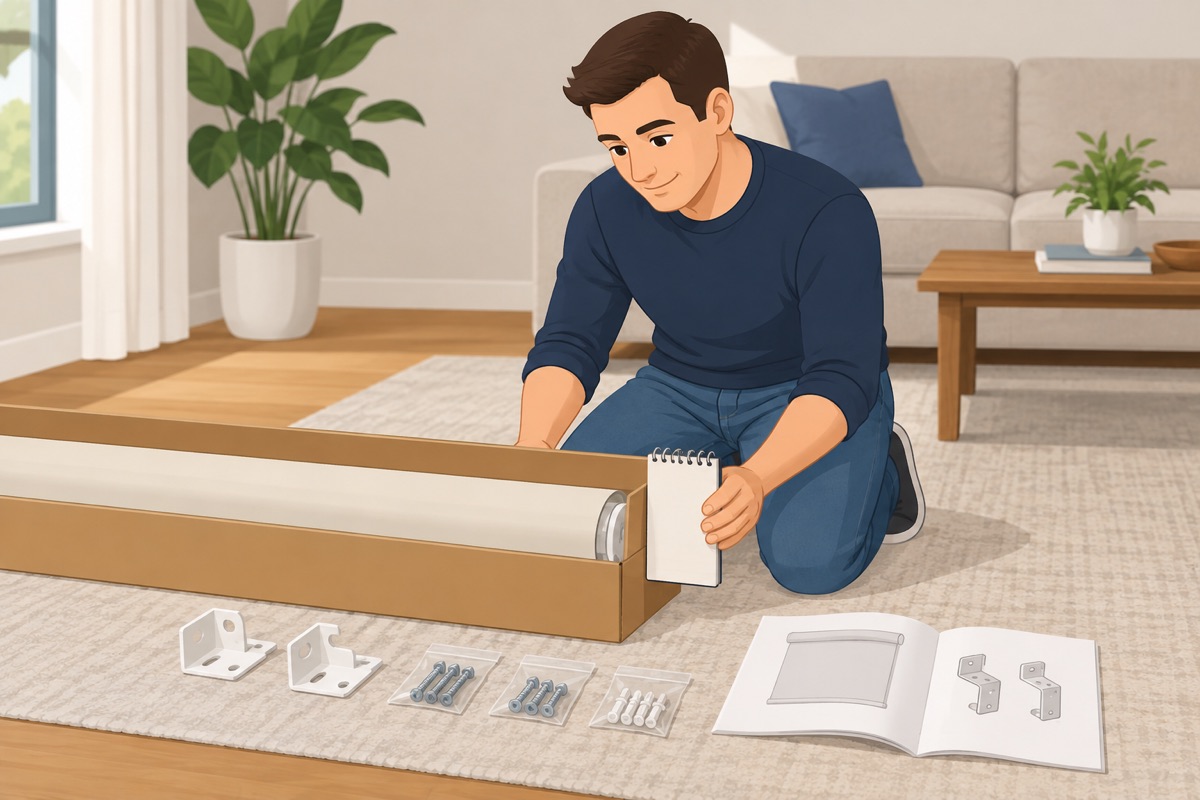
Check the size on each box against your notes and the window it goes on. Count the brackets and screws against the instructions, and read how the headrail locks into the brackets before you drill.
Step 7 of 10
Mark the brackets level
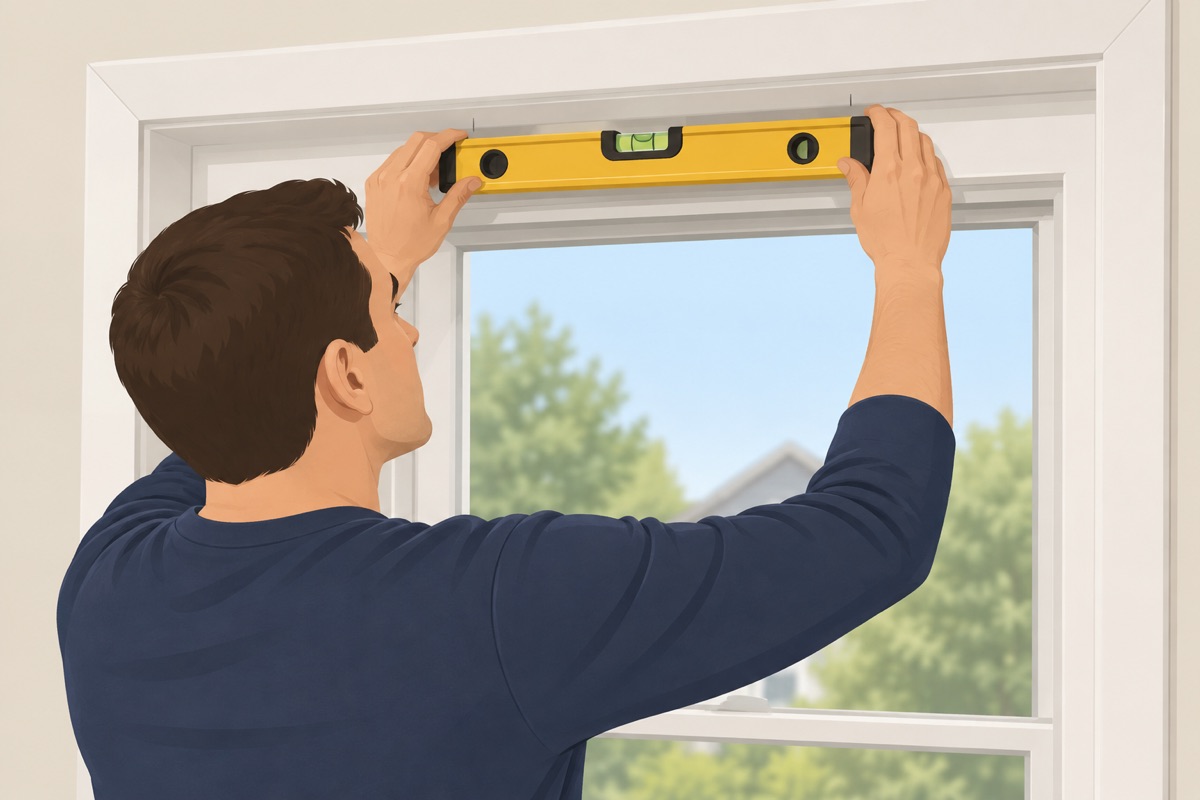
Mark the bracket positions the distance from each end the instructions give. Inside mount: set them back far enough that the blind clears cranks and handles. Outside mount: mark them the height above the opening the instructions give. Check that the marks for one blind are level with each other.
Step 8 of 10
Fasten the brackets into wood or anchors
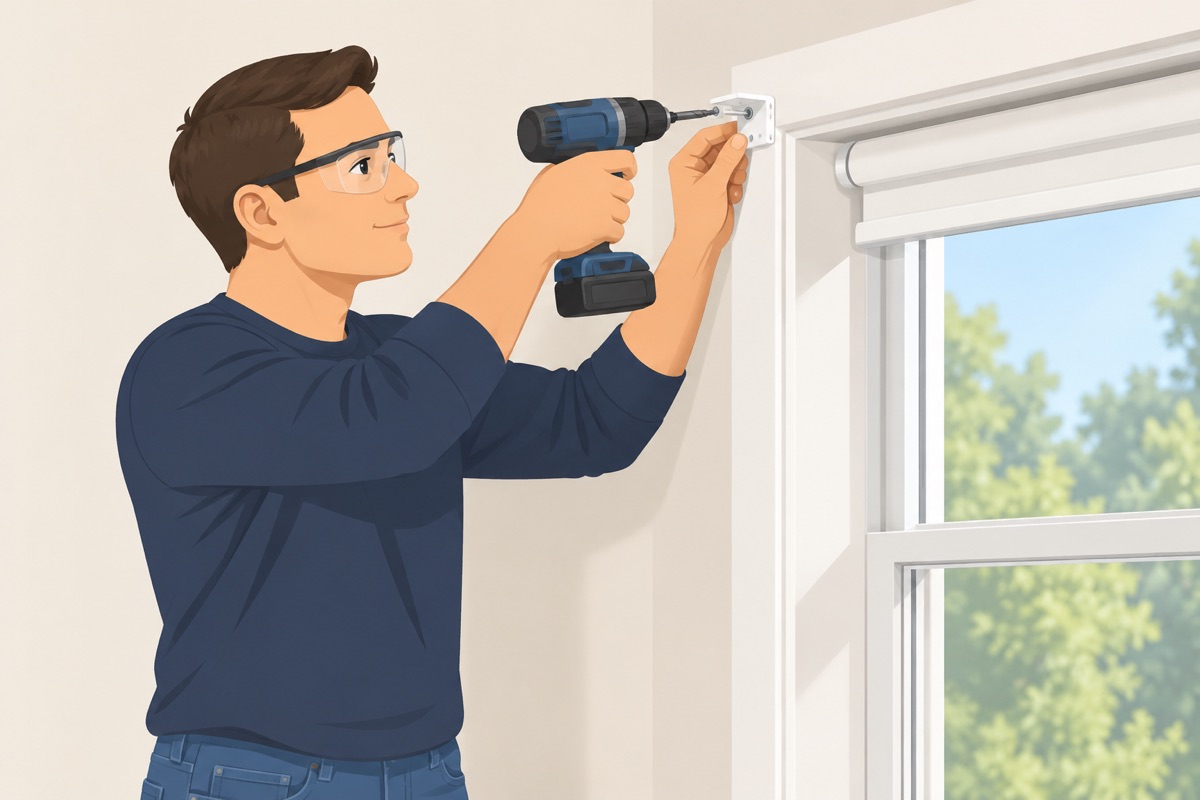
Drill pilot holes at the marks. Where the screw goes into wood — the window frame or the header — drive it straight in. Where it only hits drywall, set an anchor first. Snug the screws so the bracket cannot move, without stripping them.
Before you drill
- The marks for each blind are level with each other
- Inside mount: the brackets are set back far enough to clear cranks and handles
- You know which screws go into wood and which need an anchor
Step 9 of 10
Snap in the headrail and add the valance
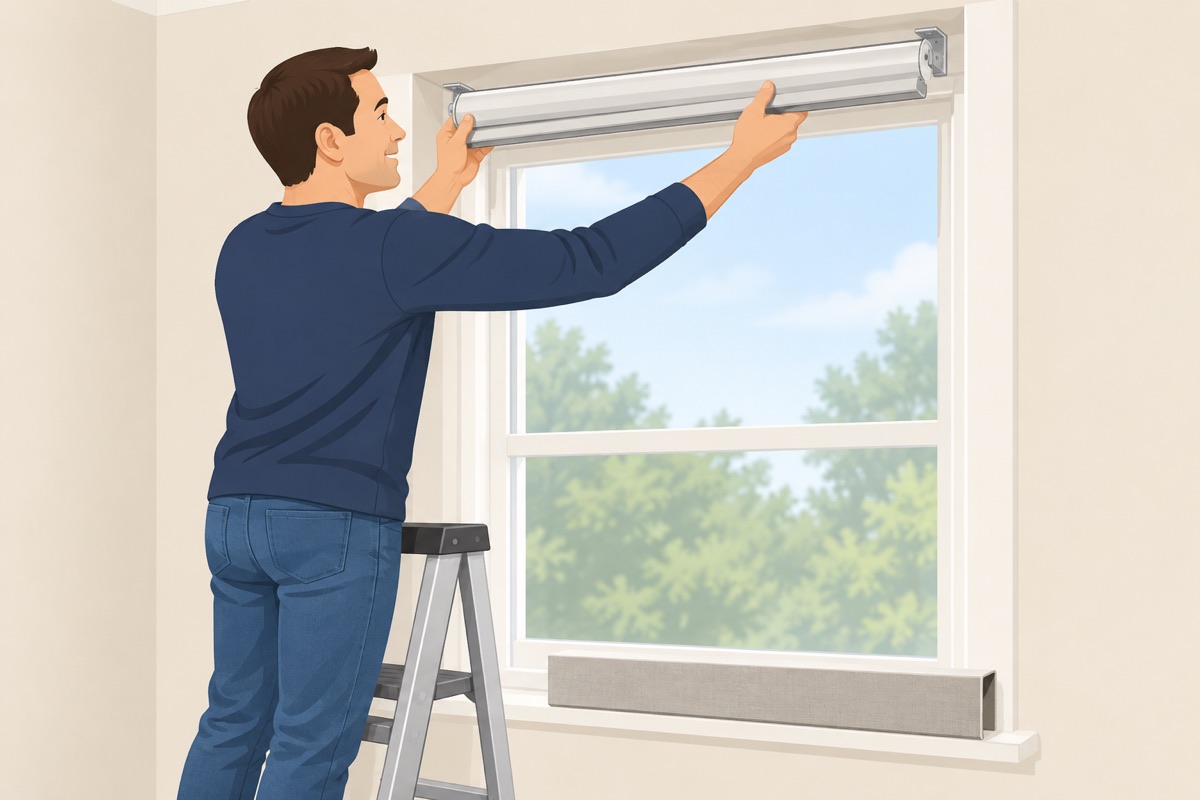
Slide or snap the headrail into the brackets and close the bracket covers exactly as the instructions show. Clip on the valance if there is one. On a door, fit the hold-down brackets at the bottom so the blind does not swing.
Step 10 of 10
Test the lift and secure any cords
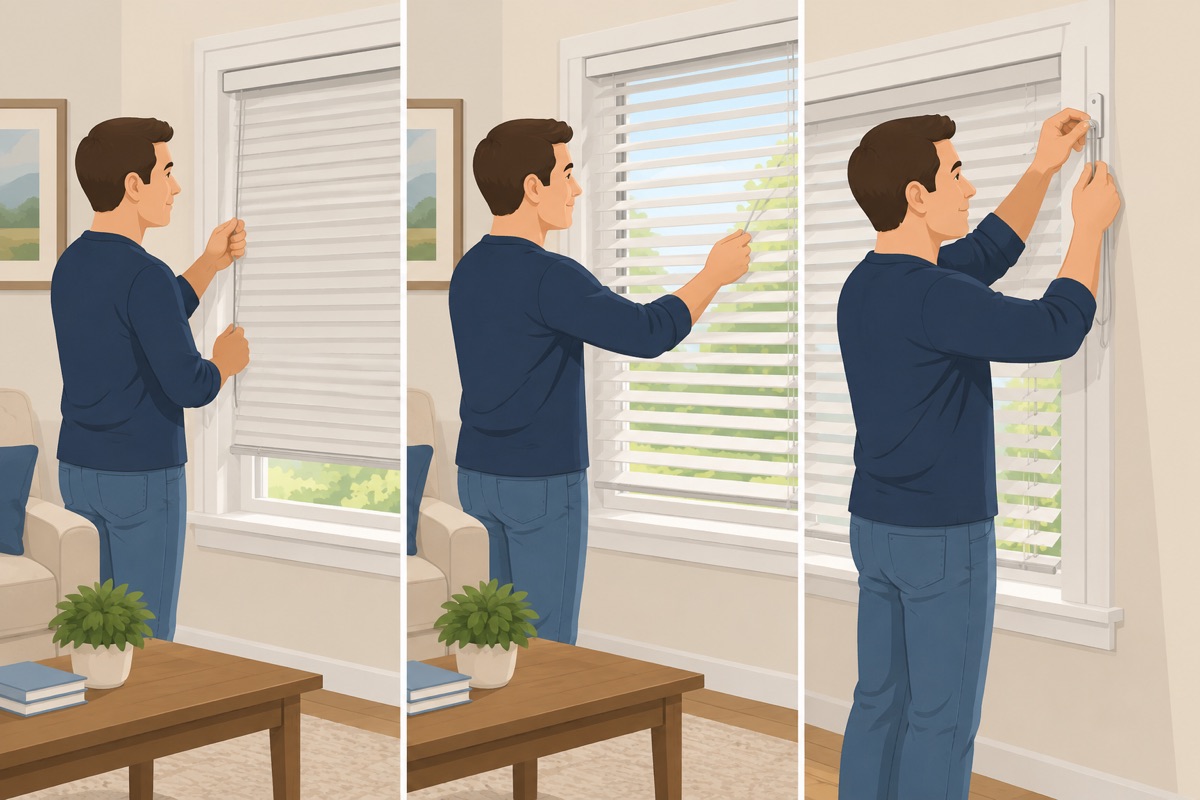
Raise and lower each blind all the way a few times and tilt the slats. It should stay level and stop where you leave it, and clear every handle. If a blind has a cord or a loop, fit the tension device or cleat it came with, high and out of a child's reach.
Before you call it done
- Every blind raises and lowers fully and stays level
- Every bracket is tight and the headrail is locked in
- No cord or loop hangs within a child's reach
- Cribs, beds, and furniture are away from the windows
Common mistakes
- Forgetting the depth of the opening. An inside-mount blind needs the depth the maker's guide lists, and it has to clear window cranks, locks, handles, and alarm sensors. Check before you choose inside mount.
- Measuring the width in one place. Window openings are rarely square. Measure at the top, the middle, and the bottom; for an inside mount the smallest number is the one that has to fit. Mistake #1 in this task.
- Taking your own deductions. For an inside mount, most makers want the exact opening and take the clearance off at the factory. If you subtract too, the blind comes back short. Give the numbers exactly the way the maker's measuring guide asks.
- Screwing brackets into bare drywall. A screw in drywall alone pulls out the first time someone yanks the blind. Find wood at the window frame or header, and use an anchor wherever a screw does not hit it.
- Reachable cords in a home with kids. Young children can be strangled by blind cords. The CPSC recommends cordless blinds, or blinds with no reachable cords, in any home where young children live or visit. Keep cribs, beds, and furniture away from windows.
Draft guide written from standard practice, not yet reviewed by a licensed pro. Follow product labels where they differ.
Get this job planned for your roomRelated guides
- How to install a closet system yourself: step by step
- How to install cabinet pulls, door handles and shelves yourself: step by step
- How to install a faucet, toilet and shower head yourself: step by step
- How to replace outlets, switches and light fixtures yourself: step by step
- How to connect a dishwasher, range and hood yourself: step by step
- Gas range connection: what a pro does and what you can do