How to replace a front entry door yourself: step by step
A prehung exterior door in the same opening, same size. The flashing under the sill is what keeps the floor dry for the next twenty years.
Difficulty 4 of 5 · 1.5 weekends · careful
Stop here
Photo of your room, the look you pick, then this guide with the materials counted for your room.
What you need
- Prehung exterior entry door unit
- Flexible flashing tape for the sill
- Door sill pan
- Exterior sealant (under the sill and around the trim)
- Low-expansion foam for windows and doors
- 3-in exterior screws for the jamb and hinges
- Composite shims
- Exterior casing or brick mold
- Entry lockset and deadbolt
- Exterior paint or stain for the door
Tools
- Tape measure
- 4 ft or 6 ft level
- Flat pry bar
- Utility knife with fresh blades
- Reciprocating saw with a metal-cutting blade (cuts the old nails)
- Cordless drill and driver
- Caulk gun
- Hammer and nail set
- Awl or a small screwdriver to probe the sill for rot
- Framing square
- Safety glasses and work gloves
- Plastic sheeting and a HEPA vacuum for lead-safe work in a pre-1978 house — Only needed if the old paint may contain lead.
Step by step
Step 1 of 14
Read the stop-gate and check what kind of job this is
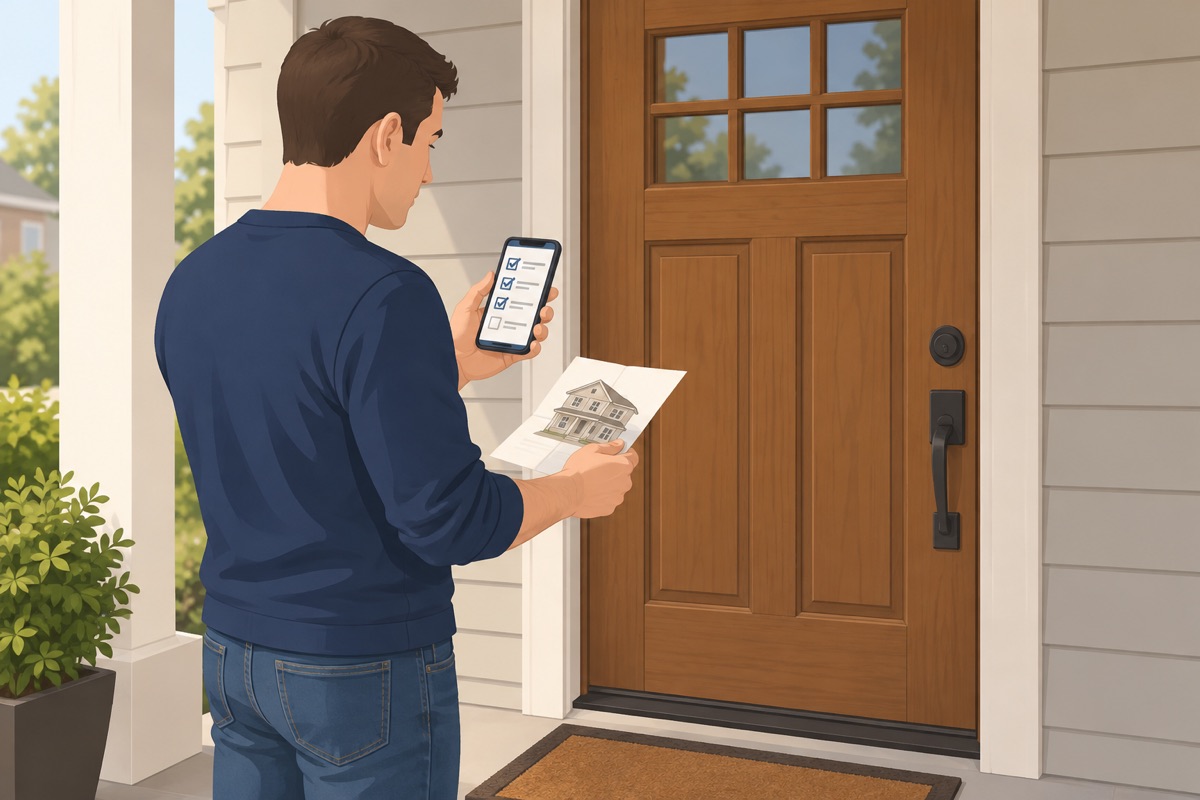
This guide is a same-size swap. If the opening has to change, if the door is going into brick or block, or if you already know the sill is soft, stop here and get a contractor. Check the year the house was built: before 1978, the old paint gets lead-safe handling.
Before you order anything
- The new door is the same size as the old one; the opening stays as it is
- The wall is wood-framed, not brick or block
- You know the year the house was built, and have a lead-safe plan if it is before 1978
- You have a helper for the day the old door comes out — exterior units are heavy
Step 2 of 14
Measure the old door and the opening
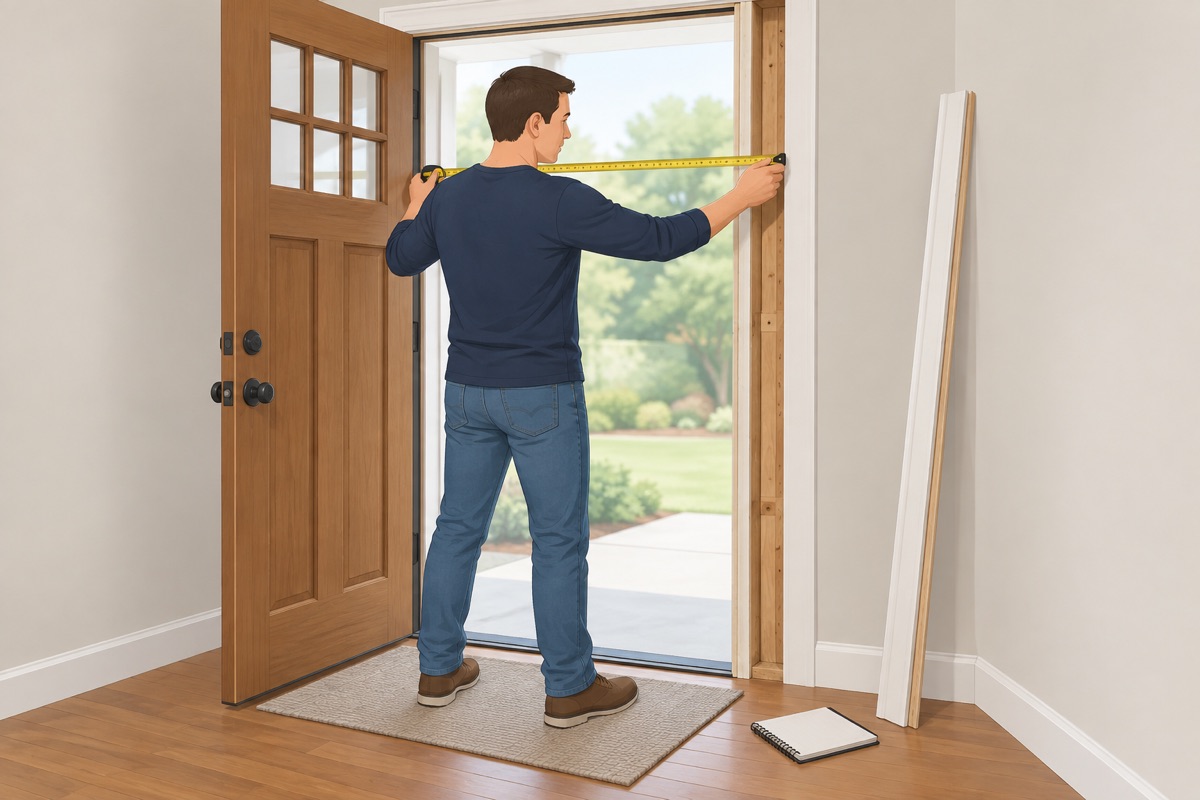
Pull off the inside casing on one side so you can see the framing. Measure the rough opening stud to stud and floor to header at several points, and write down the smallest numbers. Measure the wall thickness from the inside wall surface to the outside sheathing — that is your jamb width. Note which side the hinges are on and whether the door swings in or out, and how high the threshold sits above the floor inside.
Step 3 of 14
Order the prehung unit
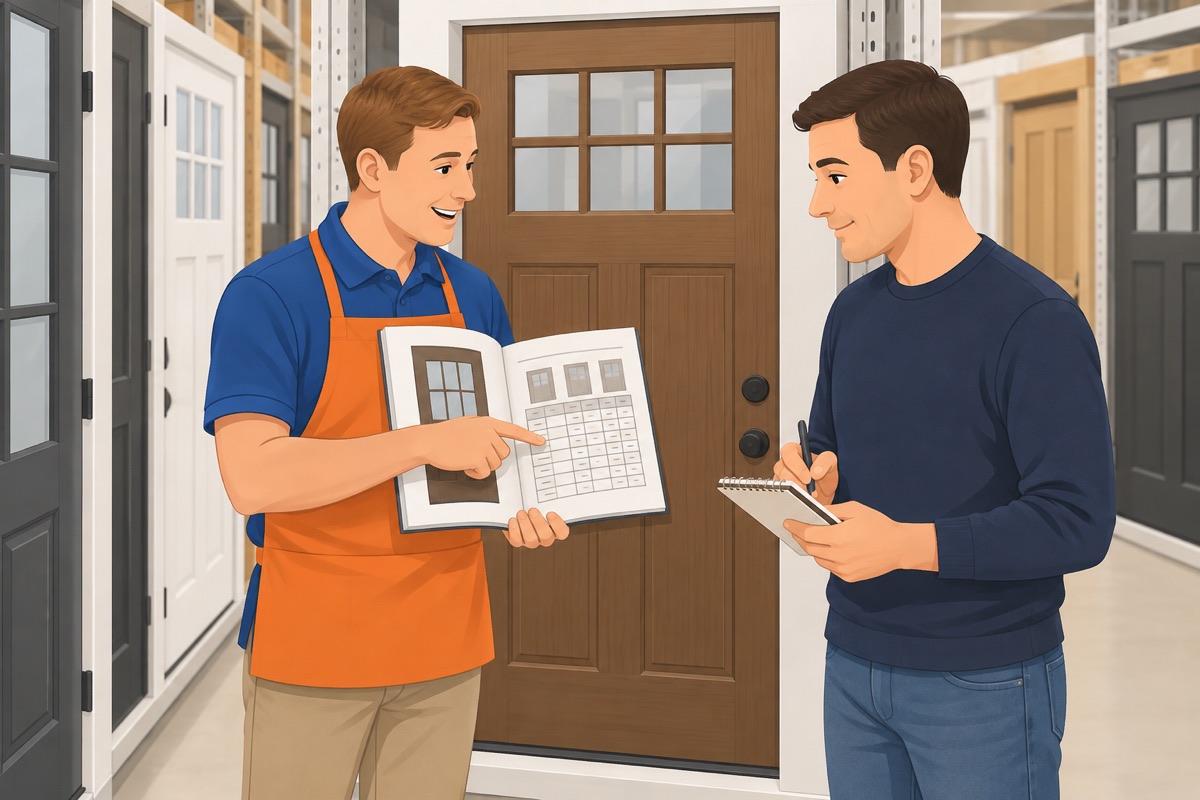
Take the rough opening, the jamb width, the swing, and the hinge side to the store or the maker's size chart and order the unit that fits that opening. Ask whether it comes bored for a lockset and deadbolt and whether the outside brick mold is already attached. Exterior doors are often special order — do not remove the old door until the new one is on site.
Step 4 of 14
Set up the day so the door is closed by dark
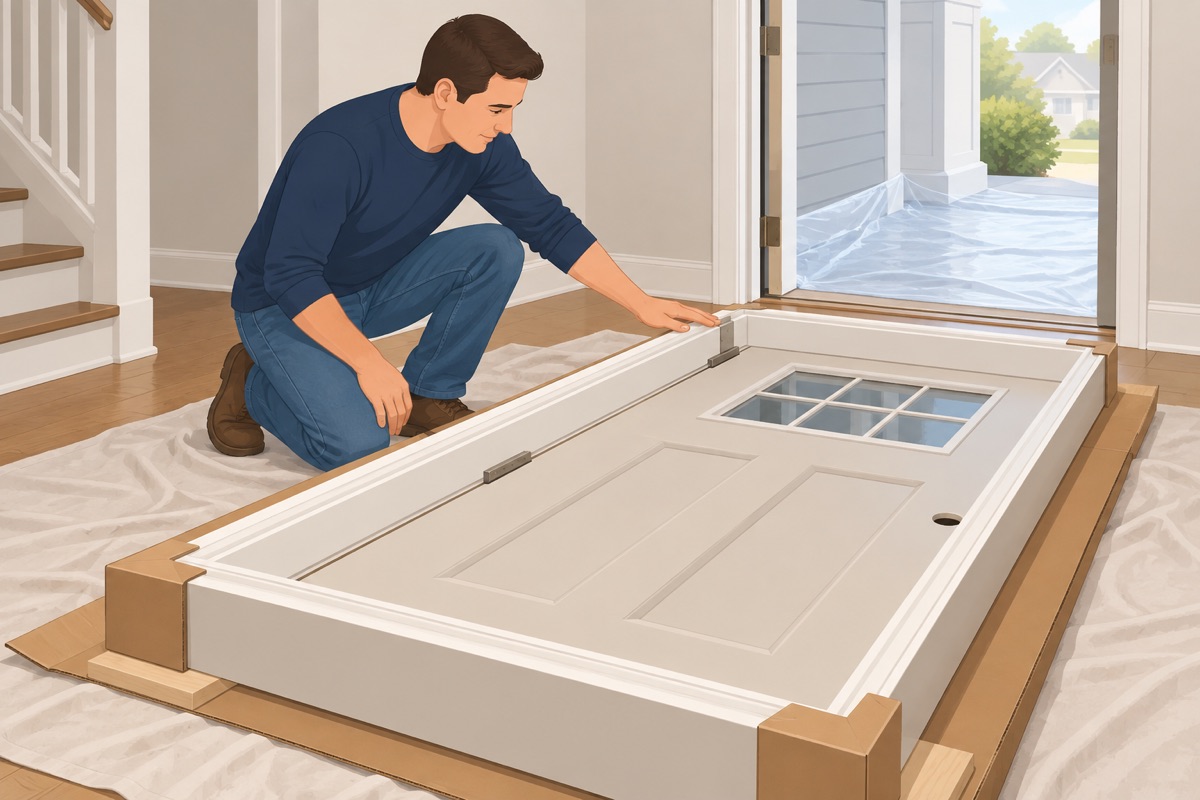
Unwrap the new unit and check it for damage, a twisted jamb, and the right swing before anything else. Lay a drop cloth inside and plastic outside, and set up lead-safe if the house is old. Take the old lockset off and keep it until the new one works.
Before the old door comes out
- The new unit is on site, unwrapped, undamaged, and swings the way you ordered
- Its size matches the rough opening you measured
- The weather is dry for the whole day
- Helper, tools, sill pan, tape, sealant, shims, and screws are all here
- Lead-safe setup is in place if the house is from before 1978
Step 5 of 14
Take out the old door and frame
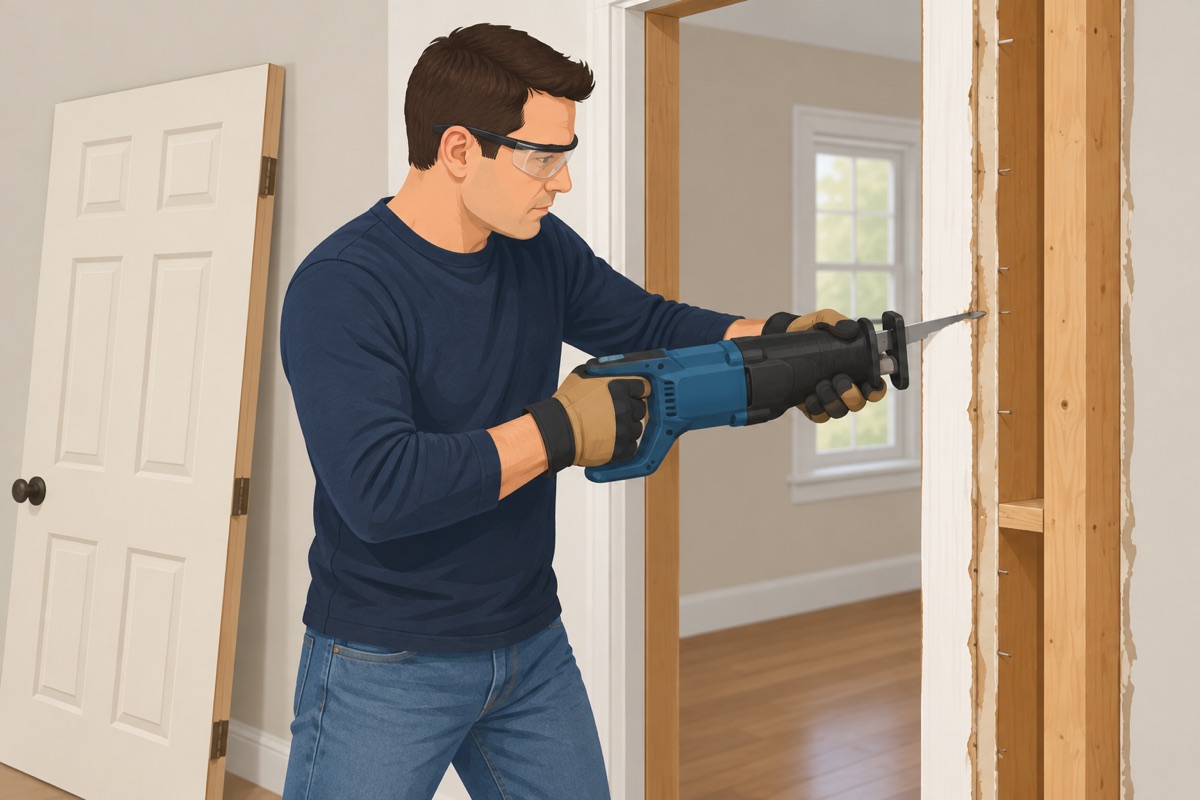
Pull the hinge pins and lift the slab off, then remove the inside casing and the outside trim, scoring any caulk and paint lines first so you do not tear the siding or the stucco edge. Cut the nails between the jamb and the framing with the reciprocating saw, then pull the old frame and threshold out as one piece if you can. Clear every old nail and chunk of caulk off the framing.
Step 6 of 14
Check the sill and the framing for rot
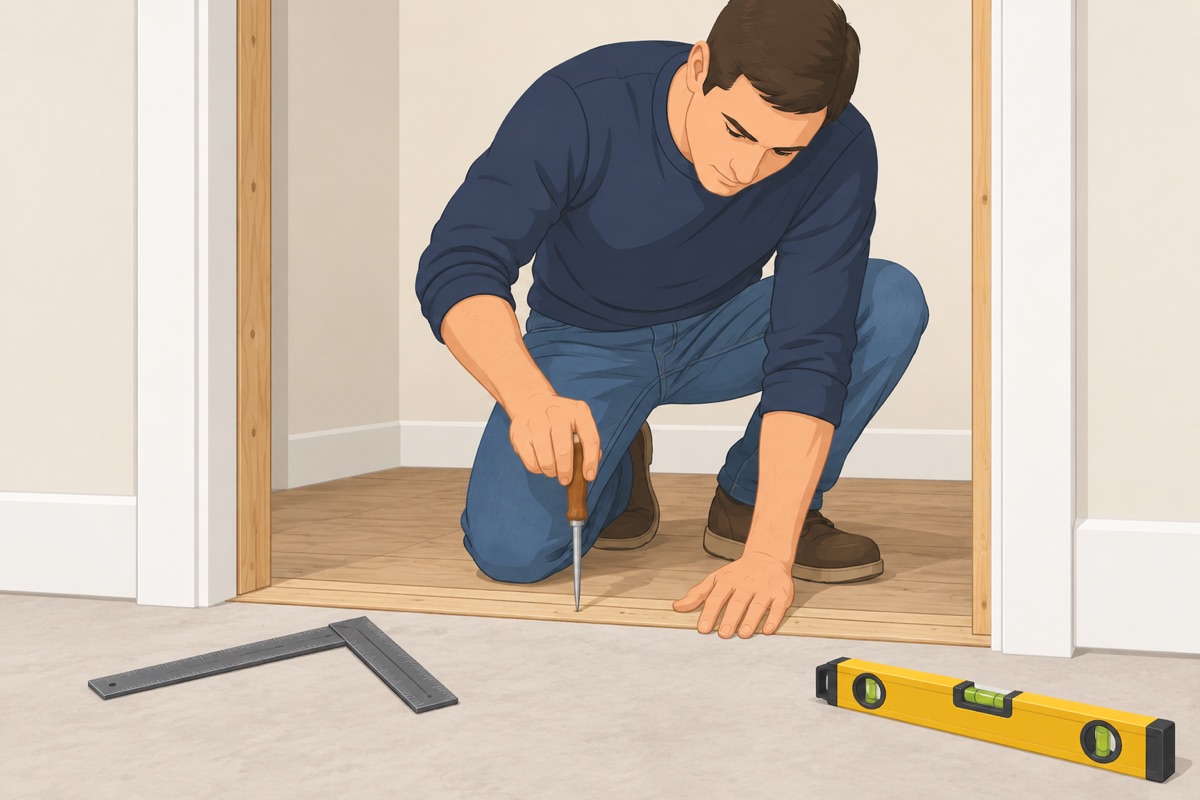
Push the awl into the subfloor at the sill, the bottom of each side stud, and the corners. Soft wood, dark stains, or wood that crumbles means stop: that repair comes before any door. Check the opening with the level and the square — the sides should be close to plumb and the floor under the sill close to level.
Before you flash the opening
- The awl did not sink in anywhere on the sill, the subfloor, or the stud bottoms
- The floor under the sill is flat and close to level
- The opening is big enough for the new unit with room for shims on both sides
- No wiring or pipes were found in the way
Step 7 of 14
Flash the sill
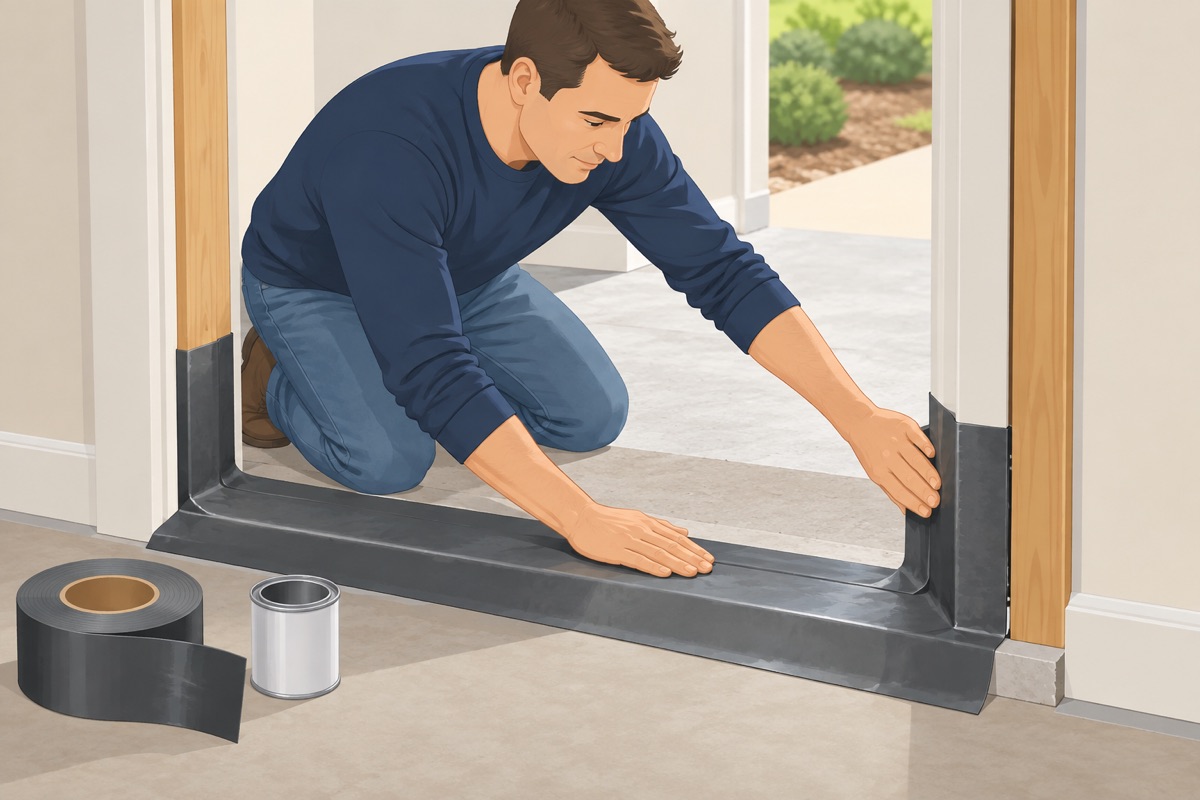
Set the sill pan in the opening, or build one with flexible flashing tape: tape across the sill and turned several inches up each side, and lapped over the outside face so water runs out, not in. Follow the door maker's instructions for the tape, the primer, and the order. Upper layers always lap over lower ones, like shingles.
Step 8 of 14
Dry-fit the unit
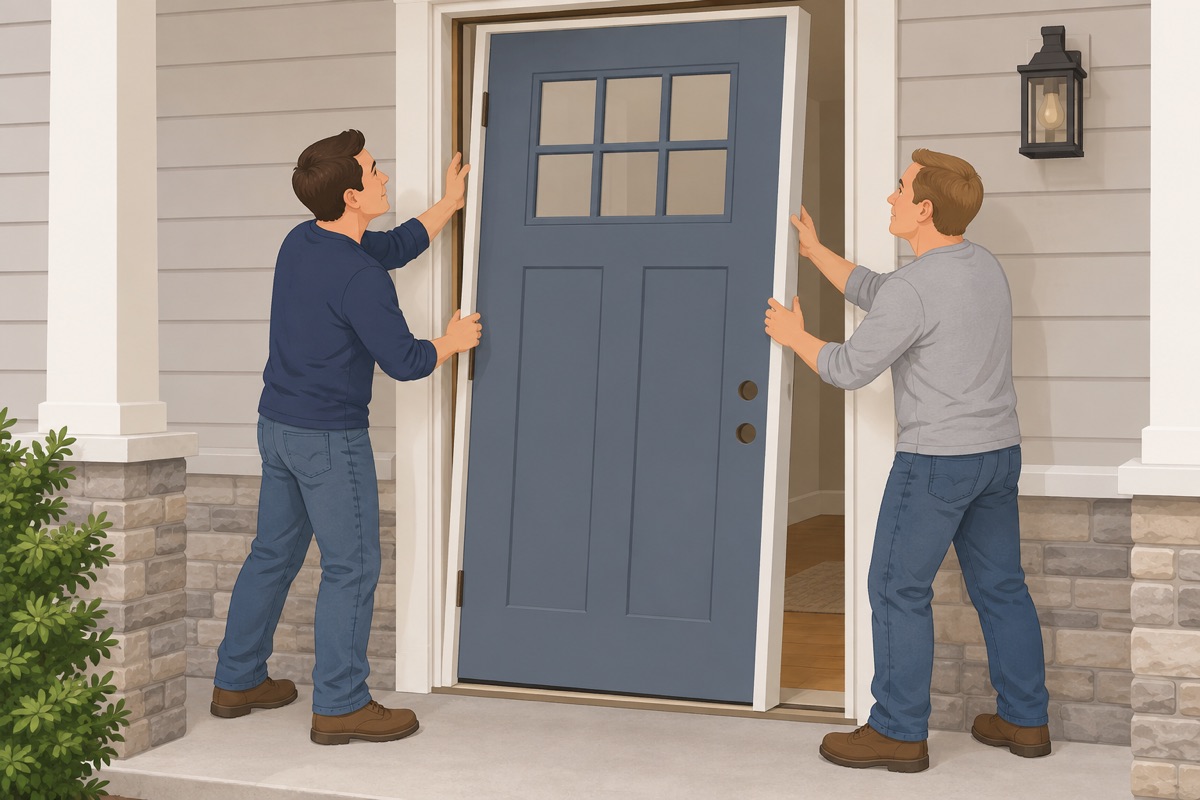
With your helper, tip the unit into the opening from outside without sealant. Check that it sits centered with room for shims on both sides, that the sill sits flat, and that the outside trim lands flat on the wall. Take it back out and fix anything that is off now.
Step 9 of 14
Set the unit in sealant
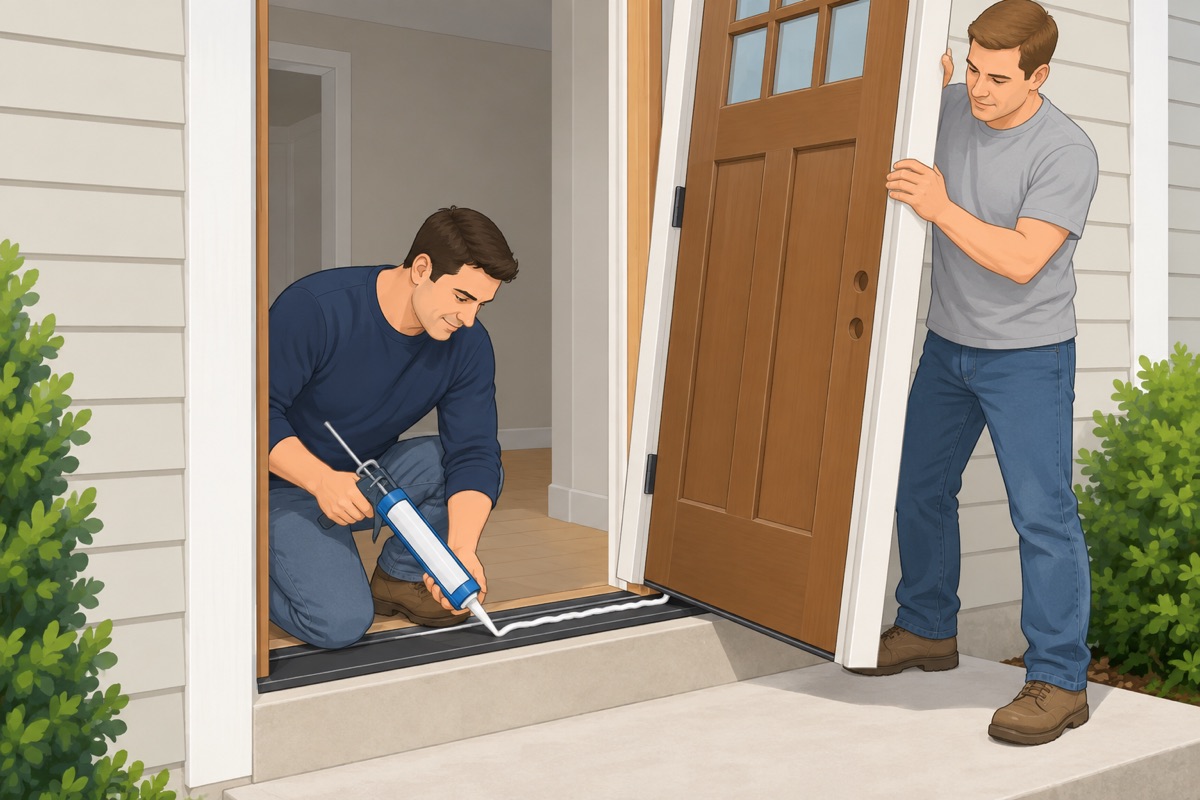
Run the beads of sealant on the sill pan the door maker's instructions call for, and behind the outside trim if they say so. Tip the unit in from the outside, press the sill down into the sealant, and hold it centered while your helper puts a temporary screw through the top of the hinge jamb.
Before the sealant goes down
- Dry-fit done and the unit fits
- Sill pan or flashing is in and lapped the right way
- Shims, screws, and the level are within reach
- Your helper is ready to hold the unit
Step 10 of 14
Plumb the hinge side and fasten it
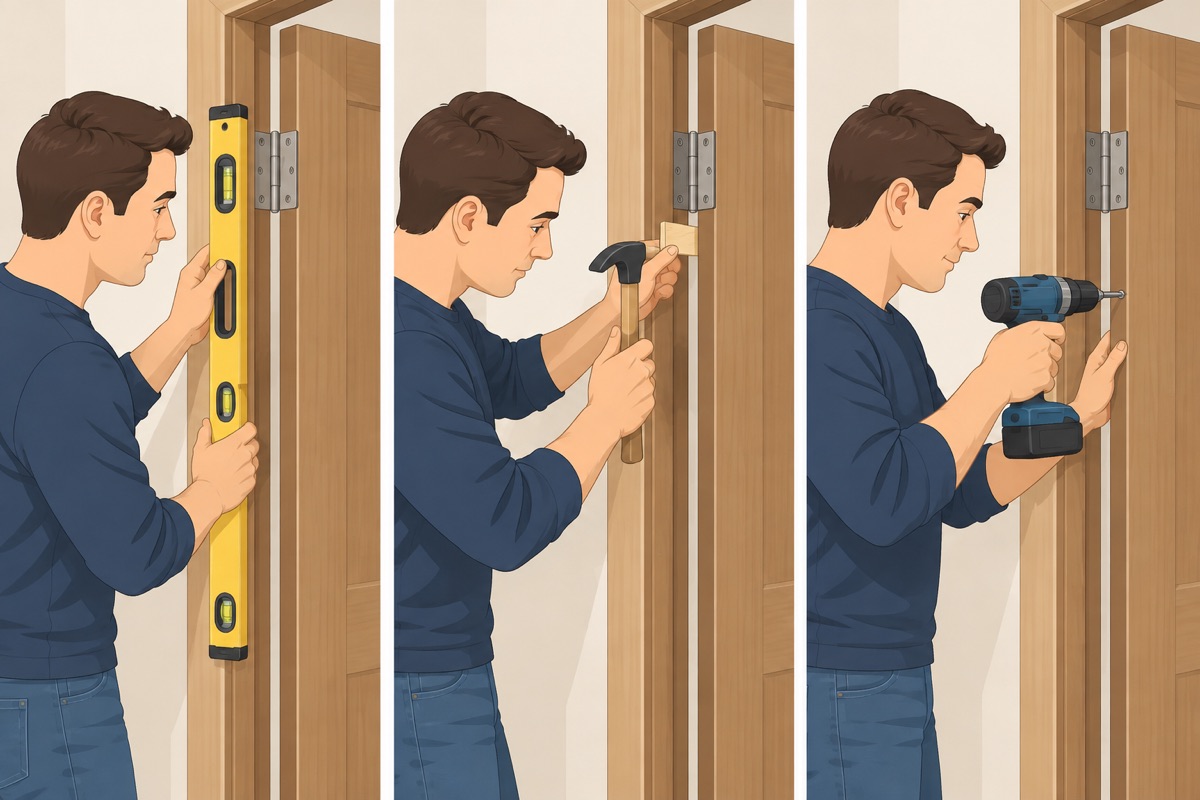
Shim behind each hinge until the hinge jamb is plumb both ways. Replace one screw in each hinge with a 3-in screw that reaches the framing, and drive a screw through the jamb at each shim pair. Snug only — stop the moment the shim is tight.
Step 11 of 14
Shim the latch side and the head
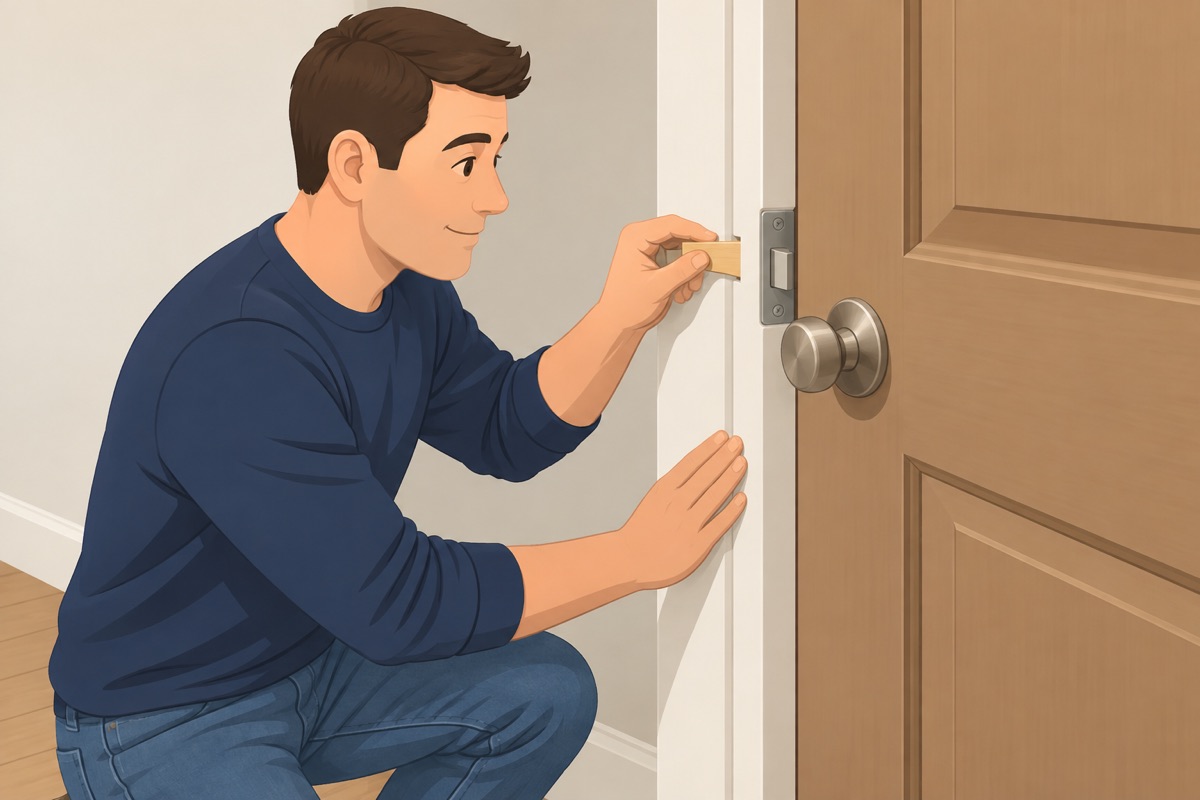
Close the door and shim the latch jamb at the strike and the deadbolt, and near the top and bottom, until the gap between door and jamb is even all the way up. Screw through the jamb at the shims. Open the door partway and let go: it should stay where you left it. Score the shims and snap them off flush.
Step 12 of 14
Foam the gap and fasten the trim
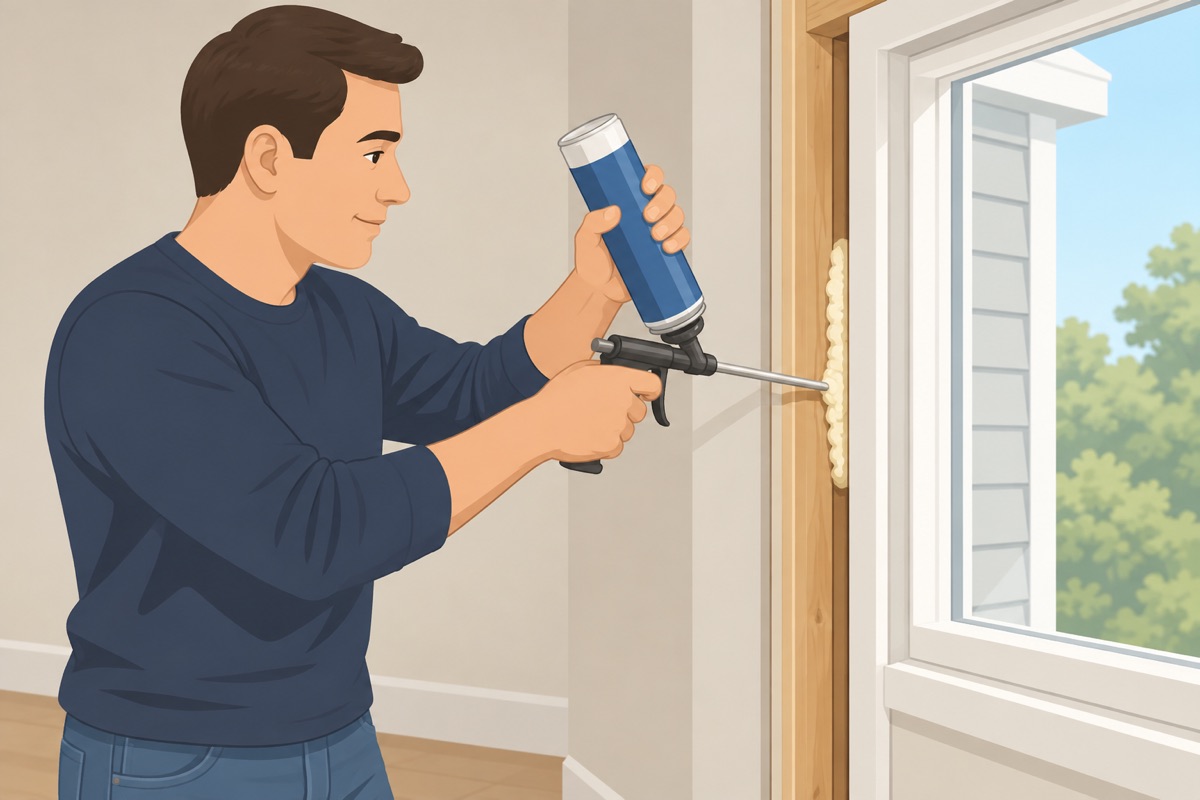
Fill the gap between jamb and framing with low-expansion foam, a partial fill from the inside, and let it cure per the can before you trim it. Fasten the outside trim, then caulk where the trim meets the wall on the top and both sides. Put the inside casing back on.
Step 13 of 14
Adjust the threshold and the weatherstrip
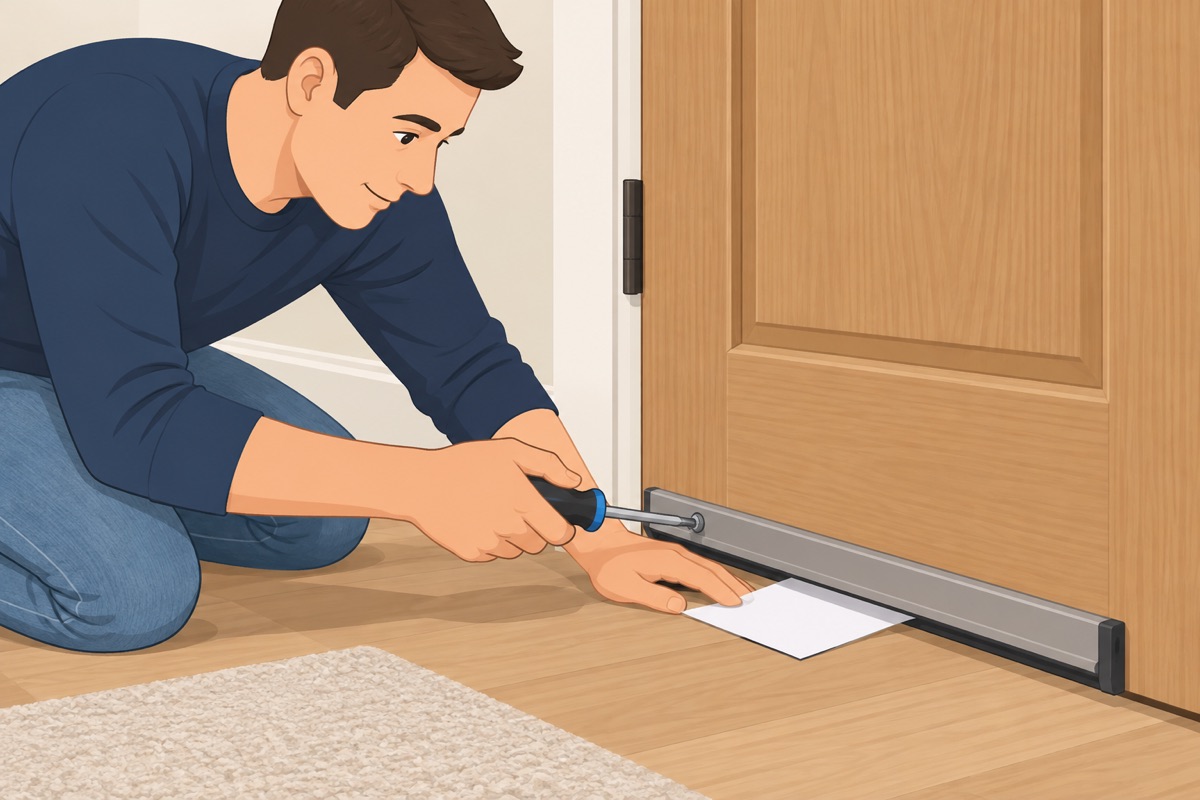
Turn the threshold adjustment screws until the door sweep touches the threshold lightly along its whole length: close the door on a strip of paper — it should drag, not tear. Check that the weatherstrip on the jamb touches the door all around and that you cannot see daylight from inside.
Step 14 of 14
Install the lockset and check the door
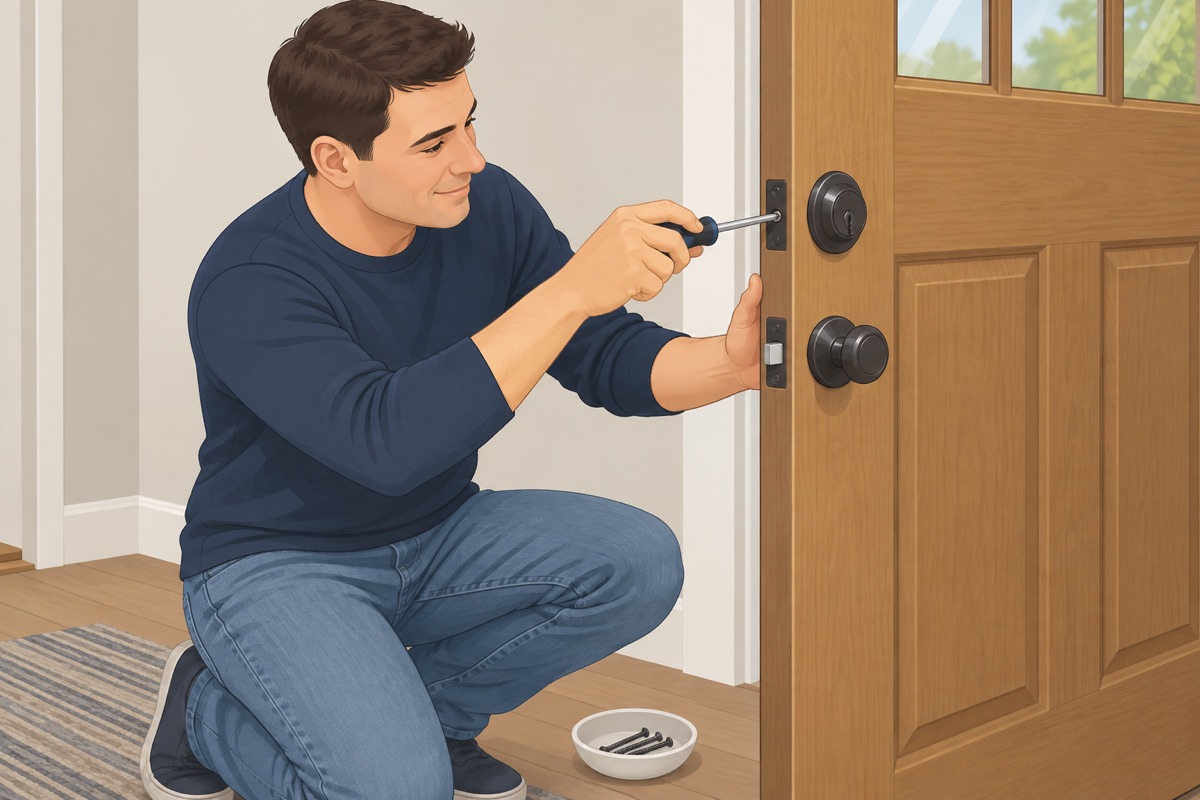
Install the lockset and deadbolt per their instructions, and use long screws in the strike plates so they reach the framing. Finish the door per the maker's instructions if it came primed or unfinished. Then check everything below.
Quality check
- Door swings, closes, and latches without slamming or lifting
- Deadbolt throws fully without pushing on the door
- Gap around the door is even and no daylight shows from inside
- Threshold sweep touches along its whole length
- Outside trim caulked on the top and both sides
- Old door and debris cleaned up, lead-safe cleanup done if it applied
Common mistakes
- Setting the new door without flashing under the sill. The sill is where water sits and where it gets into the floor. Without a sill pan or flashing tape lapped the right way, the subfloor under a brand-new door can rot in a few wet seasons and nobody sees it until the floor goes soft. Mistake #1 in this task.
- Ordering by the size of the door slab. A 36-in door is not a 36-in unit. Prehung units are sold to fit a rough opening, and the jamb has to match your wall thickness. Order from the rough opening, the jamb width, and the swing you measured, using the maker's size chart.
- Covering up a soft sill. Once the new unit is in, the old sill is hidden for good. If the awl sinks into the sill or the subfloor, the rot keeps spreading under your new door. Stop and repair it first, or bring in a contractor.
- Driving the screws until the jamb bows. A screw driven past snug pulls the jamb toward the stud and the gap around the door goes crooked. Drive each screw just until it holds the shim tight, then check the gap before the next one.
- Filling the gap with regular expanding foam. Regular foam keeps expanding and can bow the jamb enough that the door binds or the deadbolt no longer lines up. Only low-expansion foam made for doors and windows, and only a partial fill.
Draft guide written from standard practice, not yet reviewed by a licensed pro. Follow product labels where they differ.
Get this job planned for your roomRelated guides
- How to measure a door opening before buying a door yourself: step by step
- How to install a prehung interior door yourself: step by step
- How to install door casing yourself: step by step
- How to install baseboards yourself: step by step
- How to fill nail holes and caulk trim yourself: step by step
- How to build a wood or vinyl privacy fence yourself: step by step