How to replace a porch light yourself: step by step
Like-for-like: a new wet-rated fixture on the same box and the same wires, sealed so rain runs off it.
Difficulty 2 of 5 · about half a day · you can do this
Photo of your room, the look you pick, then this guide with the materials counted for your room.
What you need
- Wet-location exterior light fixture
- Fixture gasket for the wall
- Wire connectors
- Exterior sealant
- In-use (bubble) weatherproof outlet cover
- Weather-resistant GFCI receptacle
Tools
- Non-contact voltage tester — the one tool you do not skip
- Two-lead voltage tester or multimeter (confirms what the non-contact tester says)
- Plug-in receptacle tester with GFCI button
- Insulated screwdrivers, flat and Phillips
- Wire strippers
- Caulk gun
- Putty knife for the old caulk
- Step ladder
Step by step
Step 1 of 12
Read the stop-gate before you buy anything
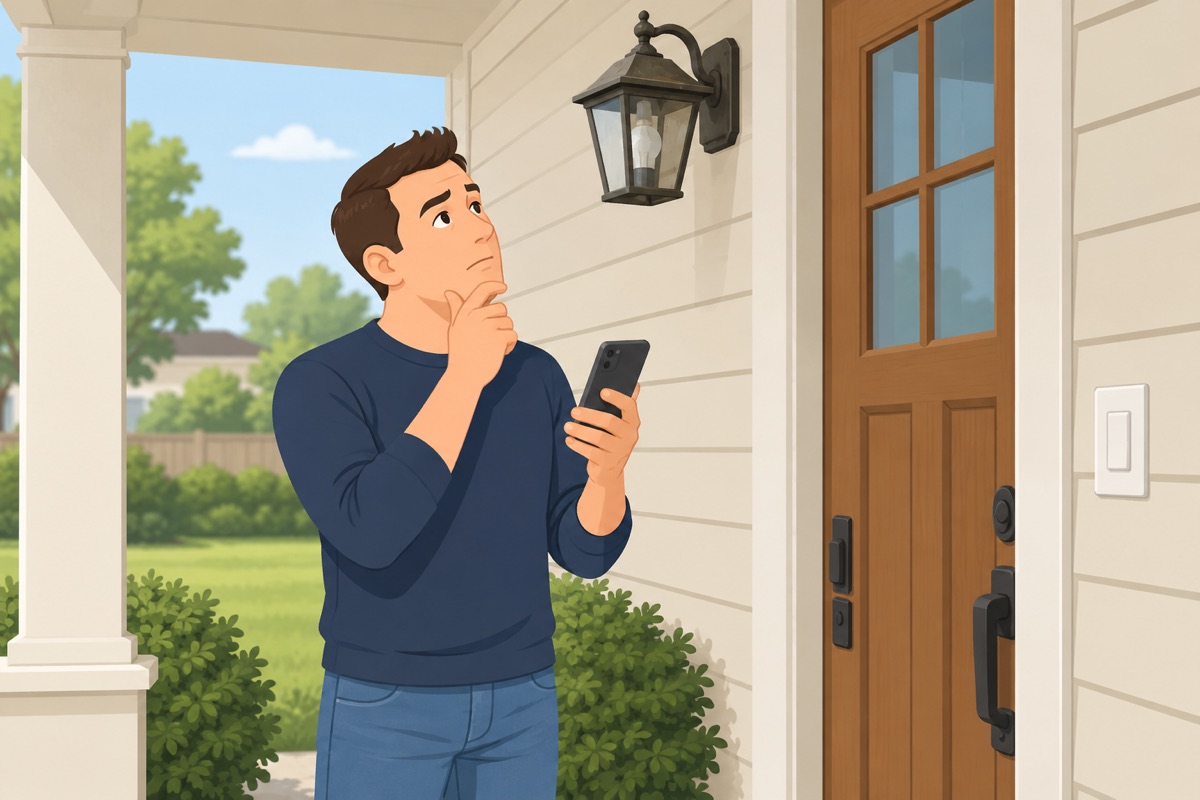
This task replaces a fixture with the same kind of fixture on the same box and the same wires, and swaps an outdoor outlet cover. A new box, a new switch, a new circuit, or wiring you cannot map is a licensed electrician's job.
Step 2 of 12
Buy the right fixture
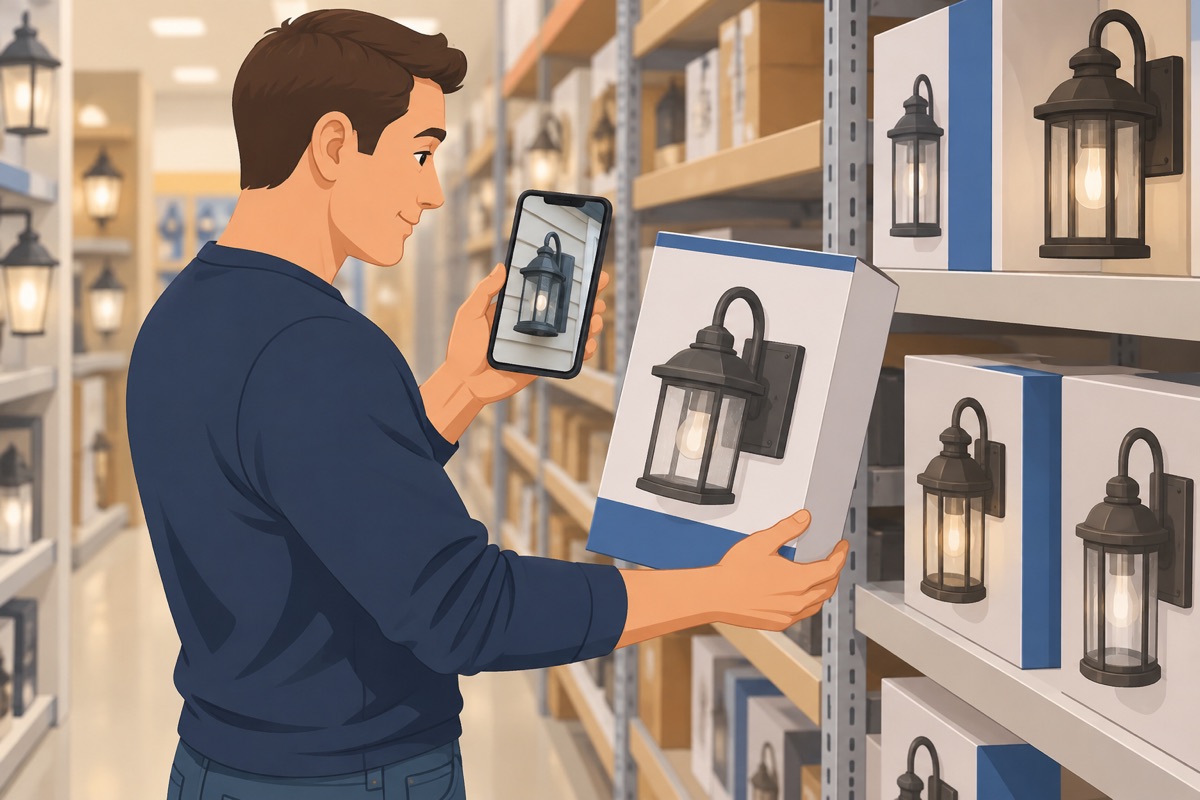
Read the label: where rain or sprinklers can reach it, it has to say wet location. Check the fixture's weight against the box, and that its base covers the old paint outline and the box on your wall.
Step 3 of 12
Turn off the breaker and tell the house
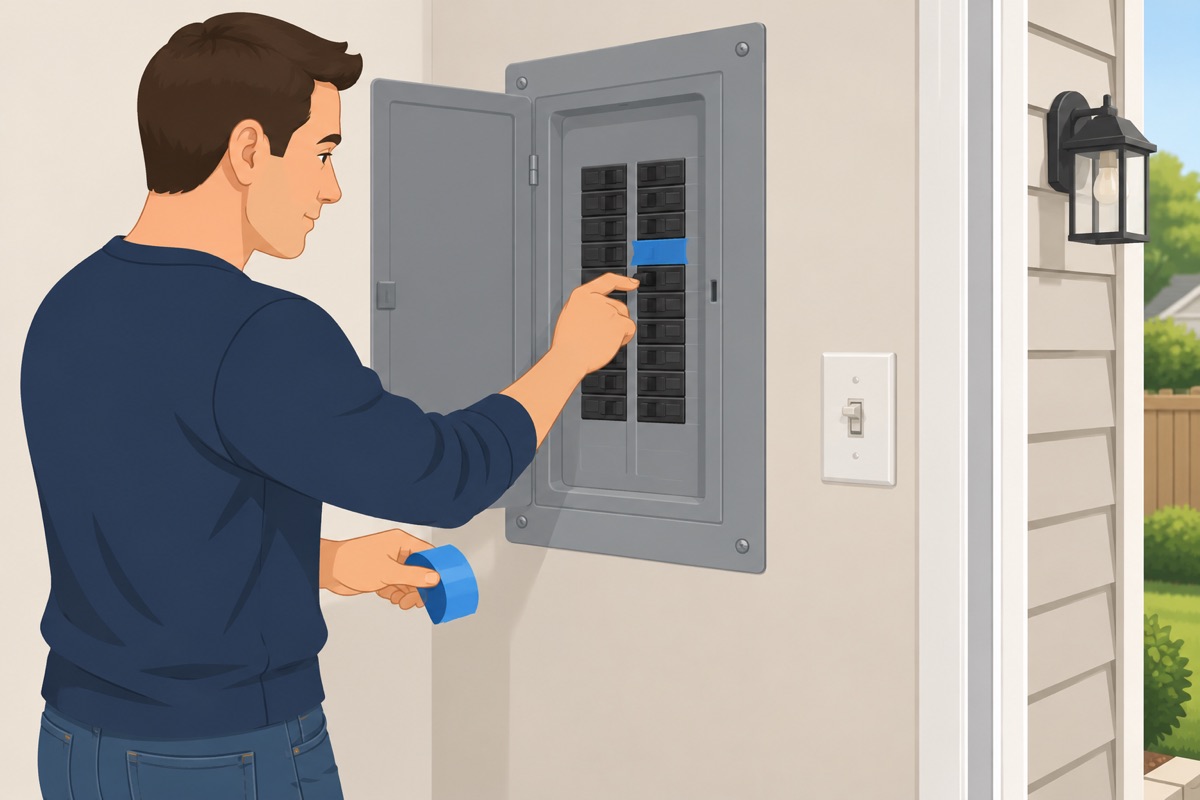
Switch off the breaker for the porch light and put tape over it so nobody flips it back on. Turn the light switch off too. If the fixture has a photocell or motion sensor, note how it is set now.
Step 4 of 12
Test every wire dead
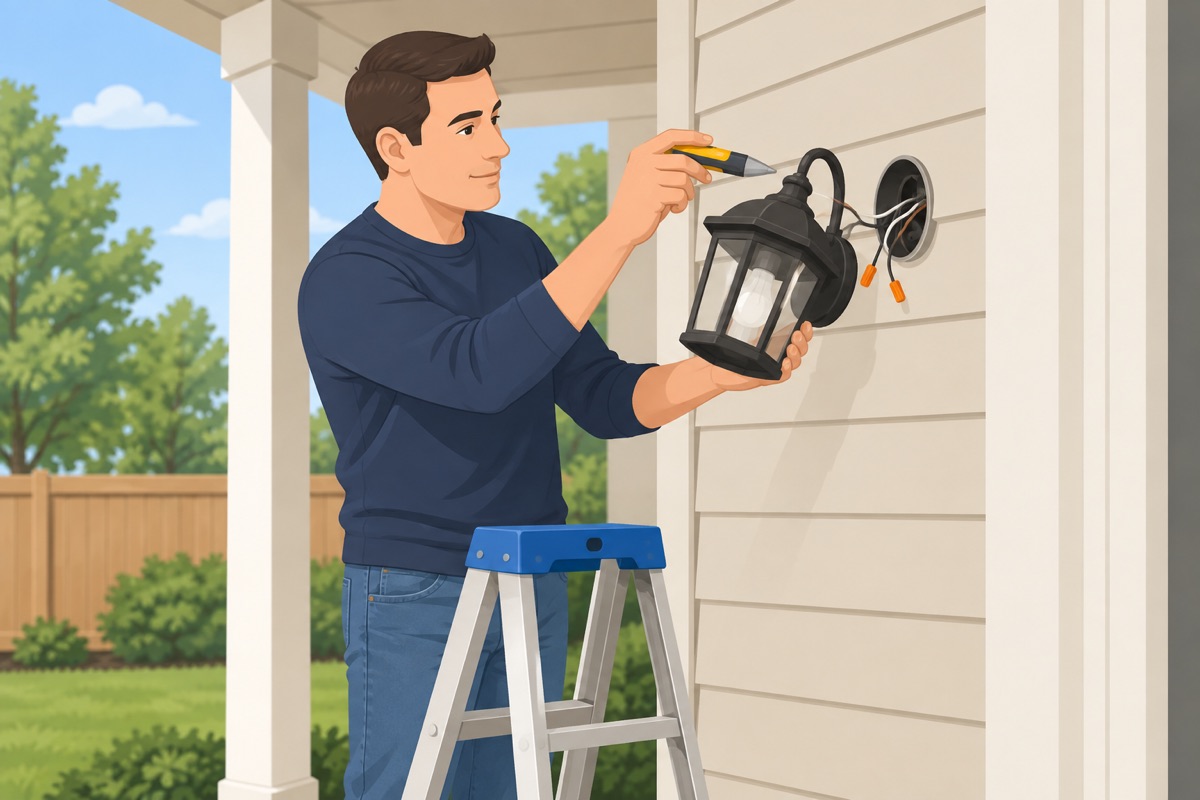
Check the non-contact tester on a live outlet first. Take off the globe and bulb, unscrew the fixture from the box, and hold it without touching bare wire. Test every wire with the non-contact tester, then with the two-lead tester between each pair and each wire to ground. Check the tester on the live outlet again.
Before you touch the wires
- Breaker off and taped
- Non-contact tester checked on a live outlet before and after
- Every wire in the box tested dead with the non-contact tester
- Every pair tested dead with the two-lead tester, including to ground
Step 5 of 12
Photograph the wiring and look for stop signs
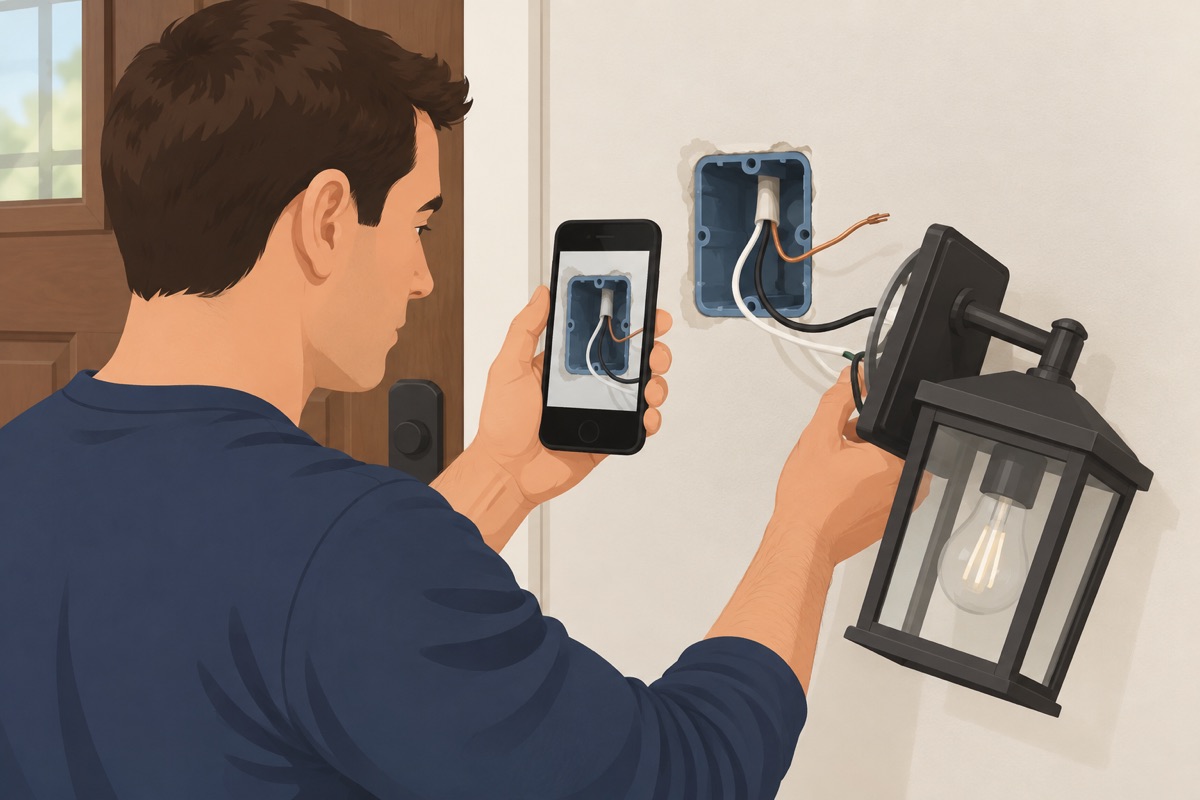
Photograph the connections before you undo anything. Look for a bare or green ground wire, the wire color and condition, and how many cables come into the box. No ground, aluminum wire, cloth or crumbling insulation, scorch marks, a loose box, or extra cables you cannot explain all mean stop and call an electrician.
Before you disconnect anything
- A photo of the connections is on your phone
- There is a ground wire in the box
- Copper wire with sound insulation, no scorch marks
- The box is tight to the wall and not damaged
- You can say what every wire in the box does
Step 6 of 12
Take the old fixture off and clean the wall
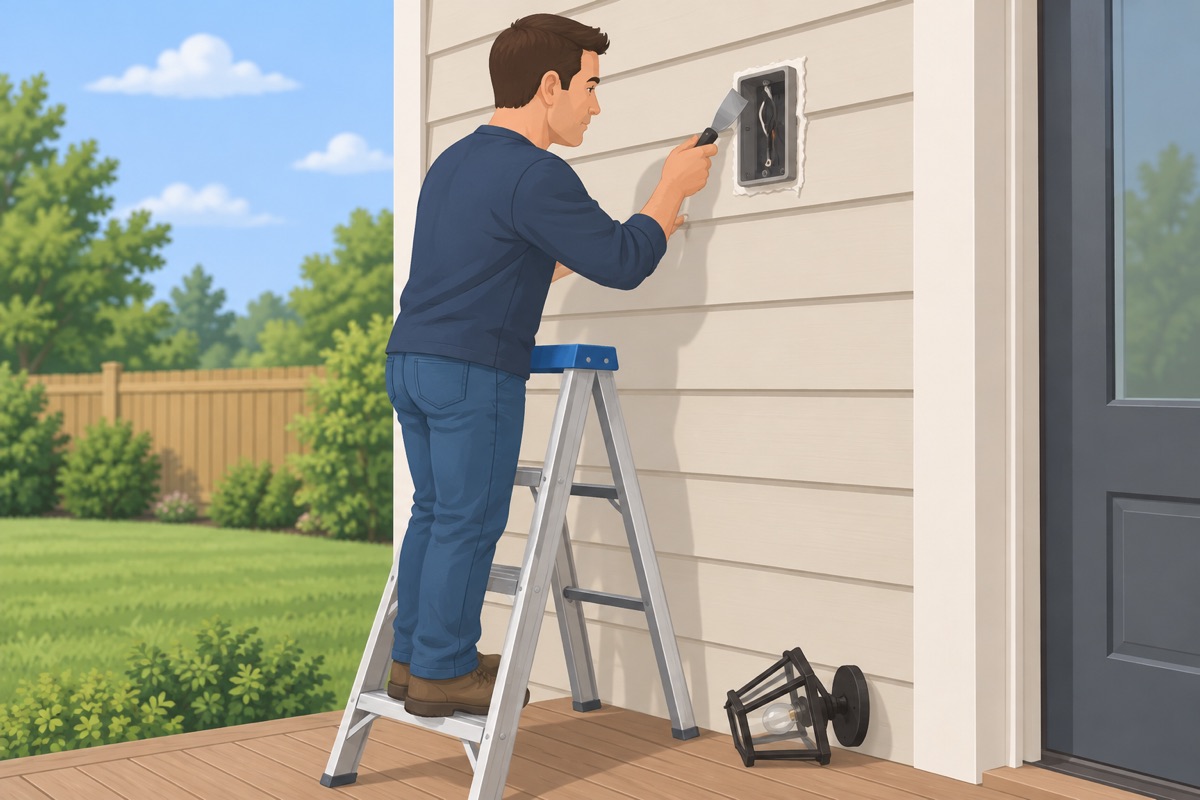
Undo the connectors and remove the old fixture and its bracket. Scrape the old caulk off the wall around the box so the new gasket sits flat. Check that the box is still tight.
Step 7 of 12
Mount the bracket and bond the ground
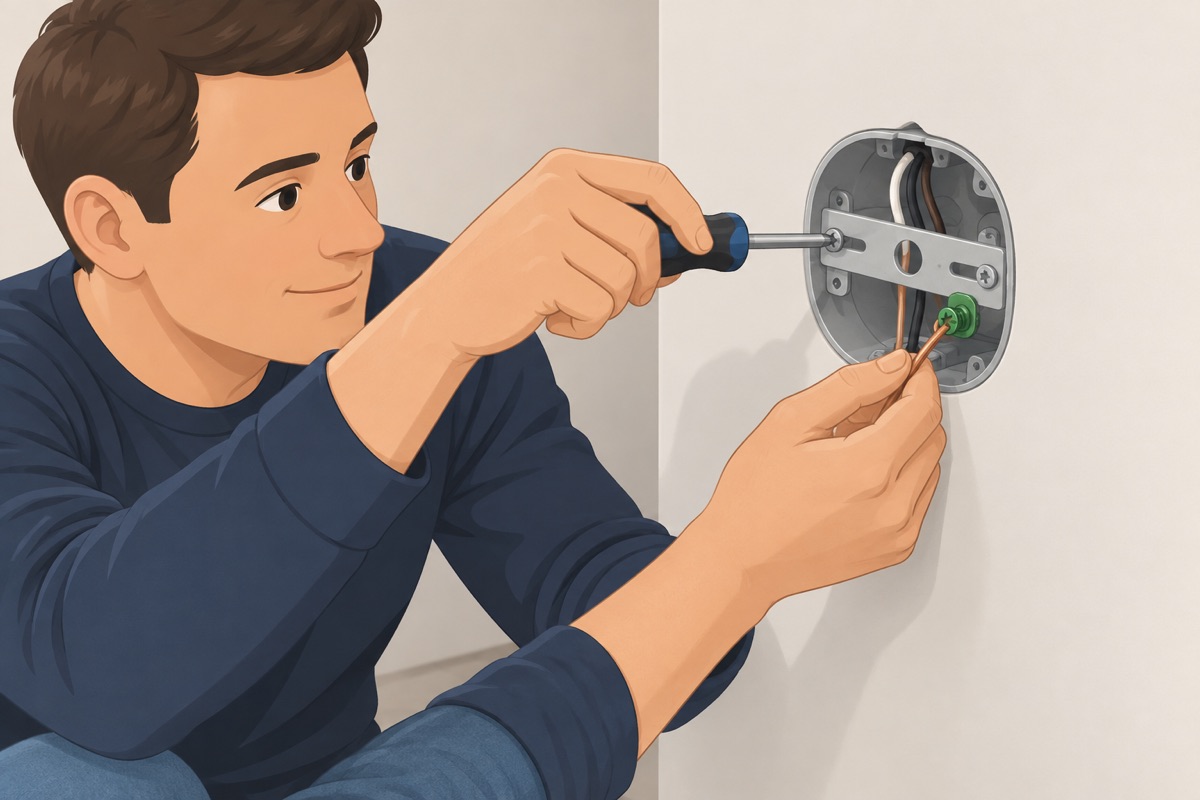
Screw the new mounting bracket to the box. Connect the house ground wire to the green screw on the bracket and to the fixture's ground wire, per the fixture instructions.
Step 8 of 12
Connect the wires
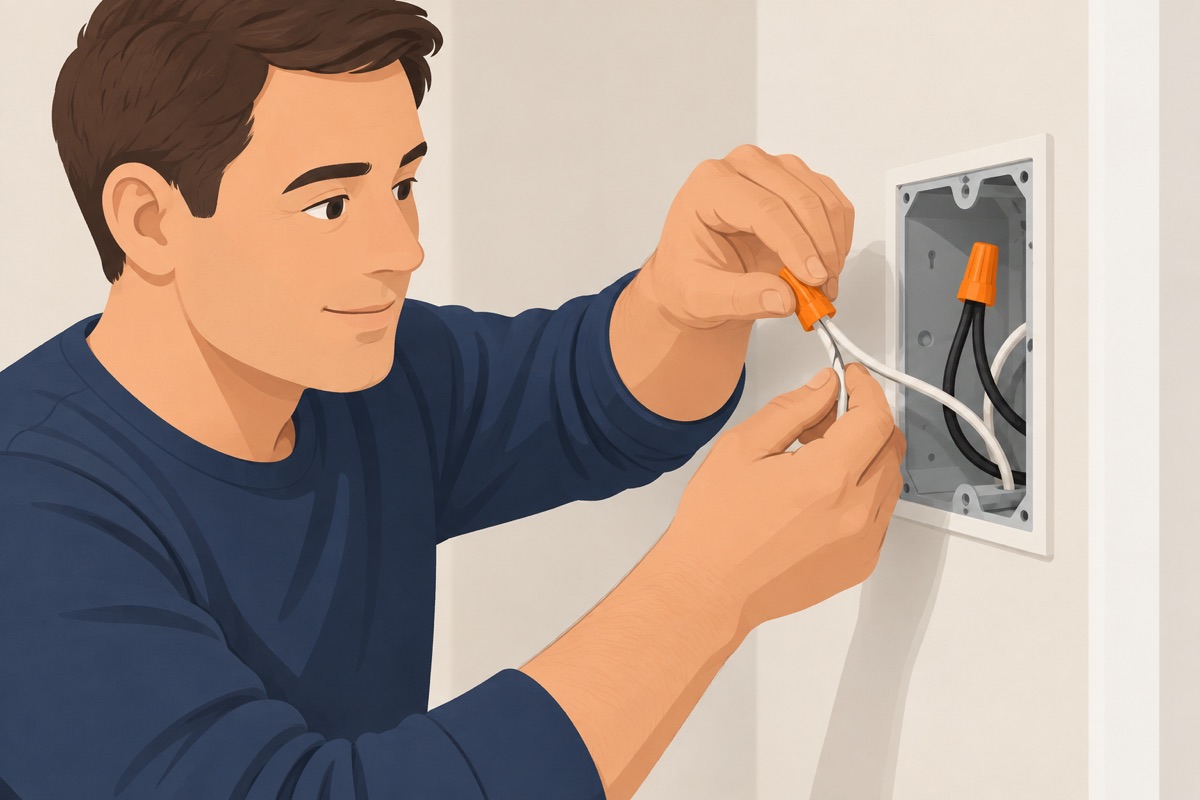
Join white to white and black to black with connectors rated for those wires, the way your photo shows. Tug each wire — none should pull out. Fold the wires neatly into the box.
Step 9 of 12
Set the gasket and fasten the fixture
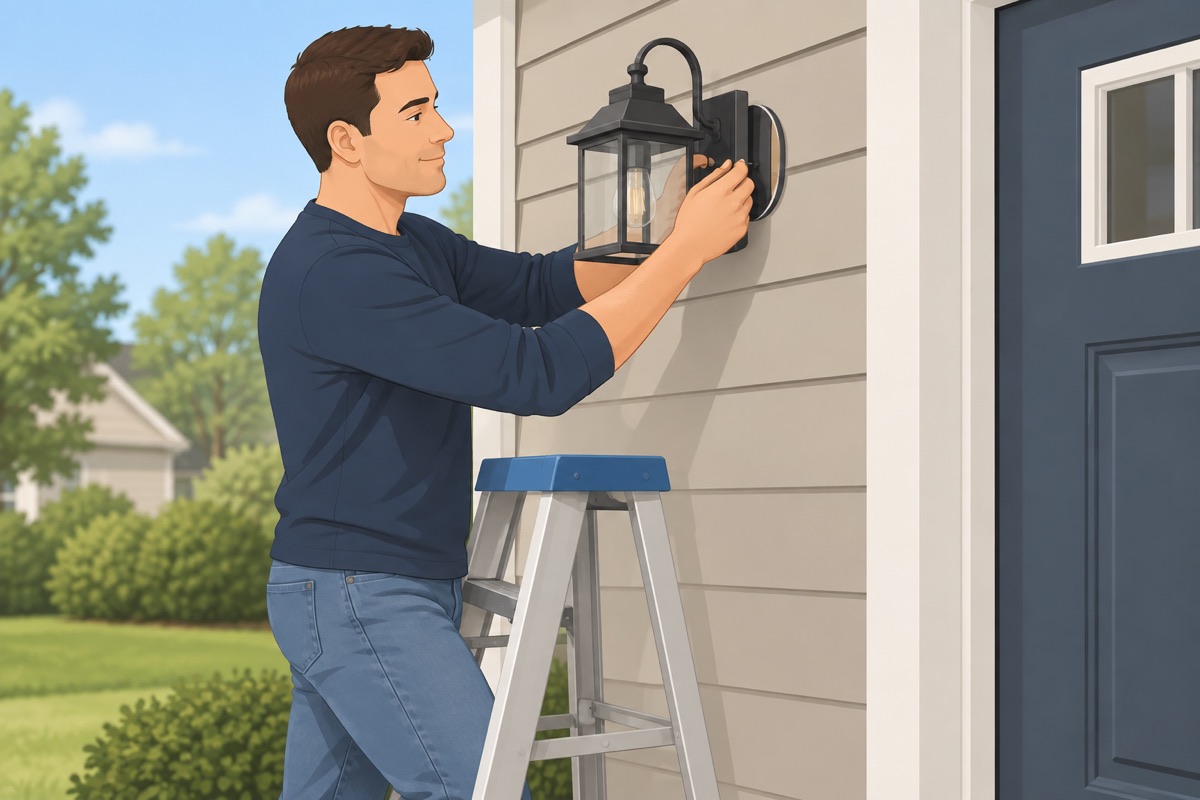
Put the gasket between the fixture base and the wall and fasten the fixture to the bracket. Tighten until the gasket seals evenly, not until the base bends.
Step 10 of 12
Seal the top and sides only
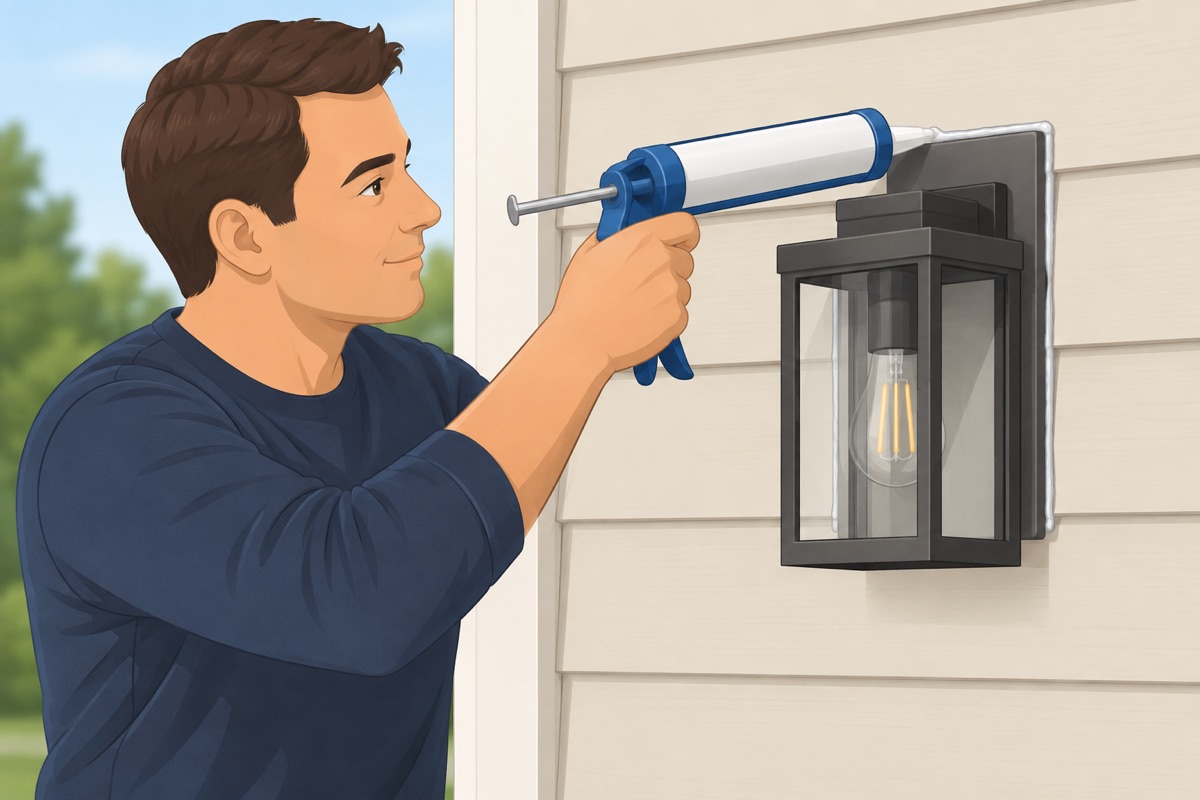
Run a bead of exterior sealant along the top and both sides where the base meets the wall. Leave the bottom open so any water that gets behind it can drain out.
Step 11 of 12
Put an in-use cover on the outdoor outlet
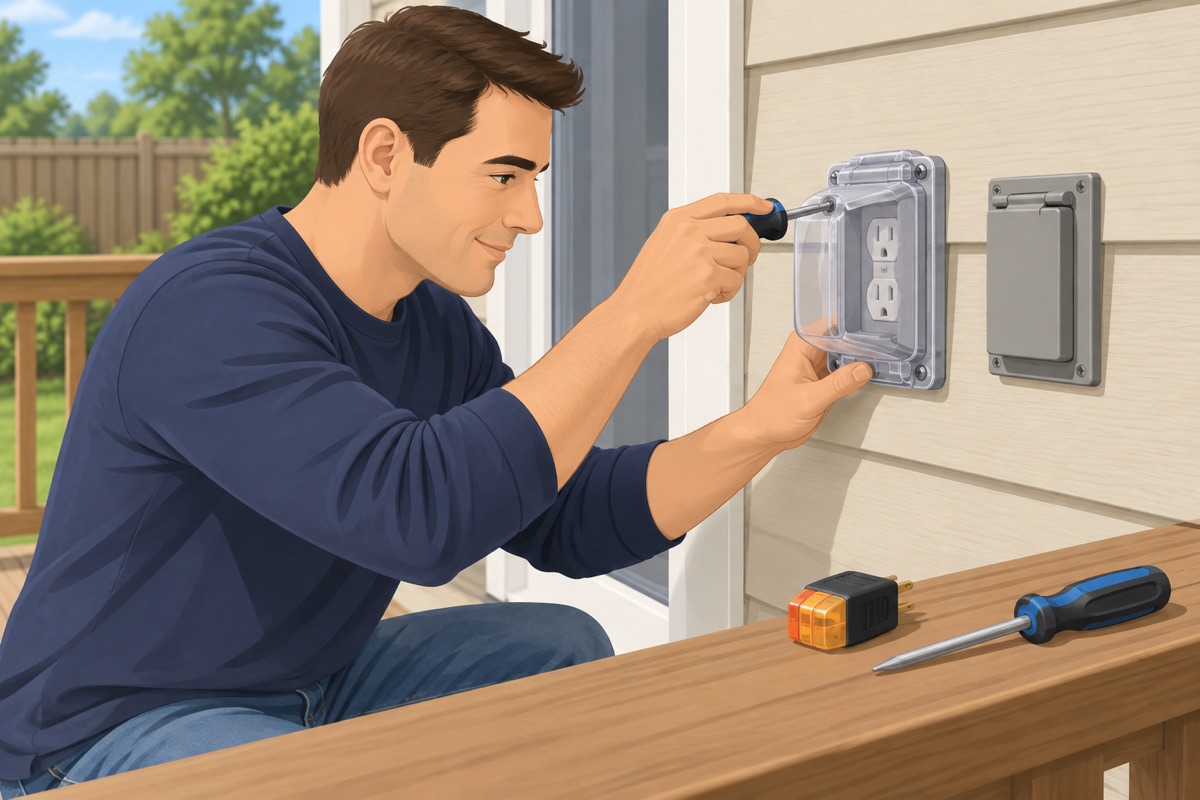
With that breaker off and the outlet tested dead, replace a flat cover with an in-use (bubble) cover. Whether the outlet is GFCI protected can only be checked with the power on — you do that in the next step.
Step 12 of 12
Power on and test
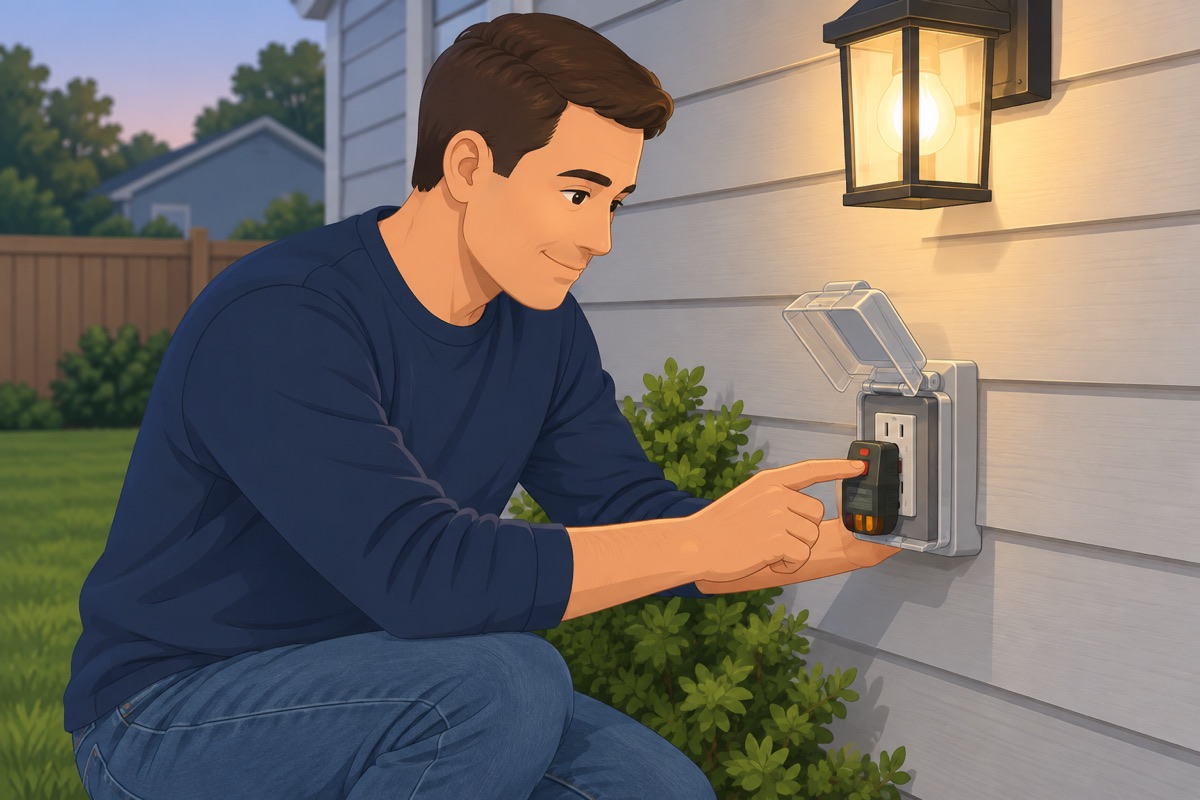
Put in a bulb no bigger than the fixture label allows, turn the breaker on, and test the light. Test the outdoor outlet with the plug-in tester and press its GFCI test button (or the one on the outlet): the power must cut off. If it does not, the outlet is not protected — breaker off again, test dead, and replace it with a weather-resistant GFCI receptacle wired like-for-like per its instructions, then test again.
Quality check
- Light works from the switch
- Fixture label says wet location
- Ground connected to the bracket and the fixture
- Sealant on top and sides, bottom left open
- Outdoor outlet has an in-use cover and trips when you press the GFCI test
Common mistakes
- Trusting the switch or the breaker label. A porch light can be fed from a second switch, a timer, or a mislabeled breaker. Test every wire in the box with both testers before you touch it, and check the tester on a live outlet before and after. Mistake #1 in this task.
- Buying a damp-rated fixture for a spot the rain reaches. Damp-rated fixtures are made for covered porches that never get wet. Where rain or sprinklers reach the fixture, the label has to say wet location, or water gets into the socket.
- Leaving the ground wire off. The ground is what trips the breaker if a wire touches the metal fixture. Connect the house ground to the mounting bracket's green screw and to the fixture's ground. No ground wire in the box is a stop.
- Caulking all the way around. Water that gets behind the fixture has to be able to get out. Seal the top and both sides and leave the bottom open to drain.
- Leaving a flat cover on an outdoor outlet. A flat cover only works with nothing plugged in. An in-use cover closes over the plug and keeps the outlet dry while a cord is in it.
Draft guide written from standard practice, not yet reviewed by a licensed pro. Follow product labels where they differ.
Get this job planned for your roomRelated guides
- How to install a closet system yourself: step by step
- How to install cabinet pulls, door handles and shelves yourself: step by step
- How to install a faucet, toilet and shower head yourself: step by step
- How to replace outlets, switches and light fixtures yourself: step by step
- How to connect a dishwasher, range and hood yourself: step by step
- Gas range connection: what a pro does and what you can do