How to replace a kitchen faucet
Short answer
To replace a kitchen faucet: count the holes in your sink and buy a faucet that fits them, close both valves under the sink and prove the faucet runs dry, unhook the supply lines and the spray hose, take the old faucet off from below with a basin wrench, clean the deck, set the new faucet the way its sheet says, connect the hose with its weight and the supply lines, then flush the lines and check every joint. Difficulty 2 of 5; for a first-timer, plan on about half a day. Read the “Stop here” box below before step 1.
Draft guide written from standard practice, not yet reviewed by a licensed pro. Follow product labels where they differ.
Difficulty 2 of 5 · about half a day · careful
Stop here
Photo of your room, the look you pick, then this guide with the materials counted for your room.
What you need
- Kitchen faucet that fits your sink's holes
- Faucet supply lines (if the faucet's own are not attached)
- Plumber's putty or silicone, only if the faucet maker asks for it
- Sink hole cover (only if a hole will stay empty)
Tools
- Basin wrench
- Adjustable wrench and channel-lock pliers
- Bucket, towels, headlamp
- Plastic putty knife and rubbing alcohol
- Penetrating oil, for a seized mounting nut
Step by step
Step 1 of 10
Read the new faucet's sheet and look under the sink
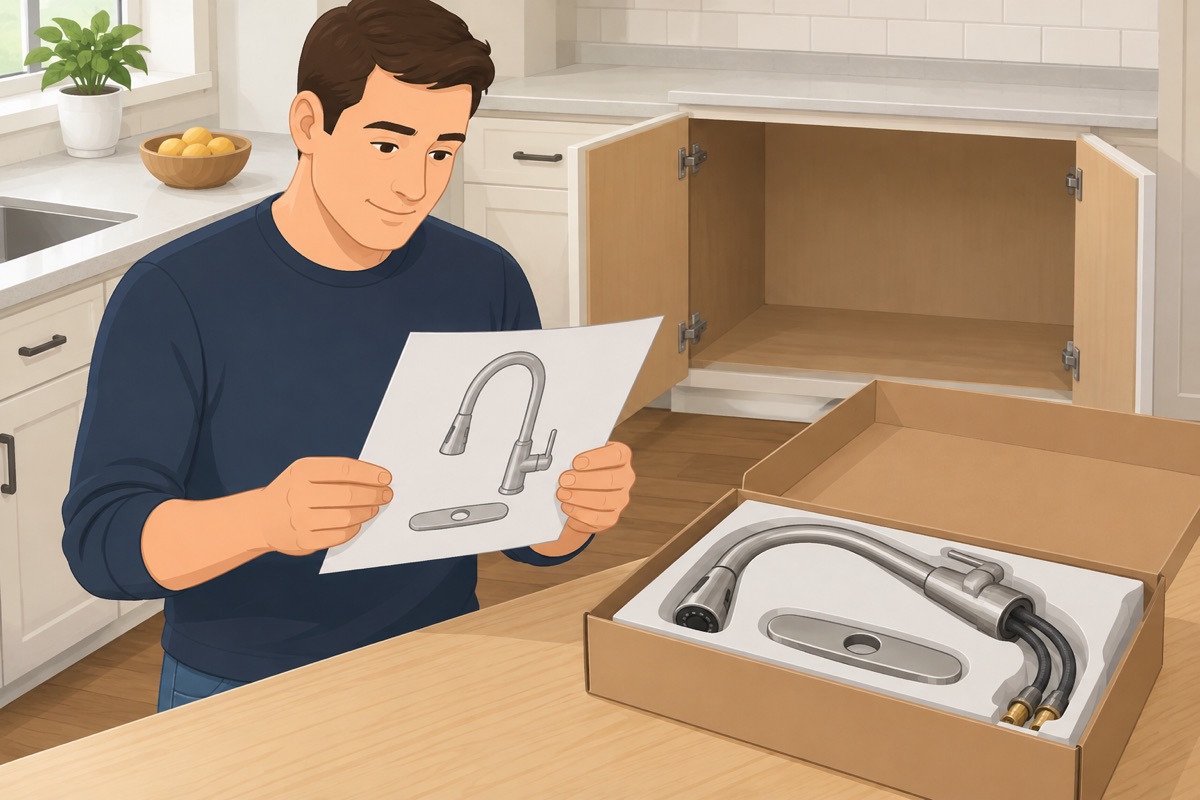
Find the new faucet's installation sheet: how many holes it needs, how it mounts, and what comes in the box — the supply lines, a deck plate, the spray hose weight. Empty the sink base and look at what you have: two shutoff valves, the lines to the old faucet, the spray hose, and anything else on the valves, such as a dishwasher line. Photograph it all.
Step 2 of 10
Count the holes and check the fit
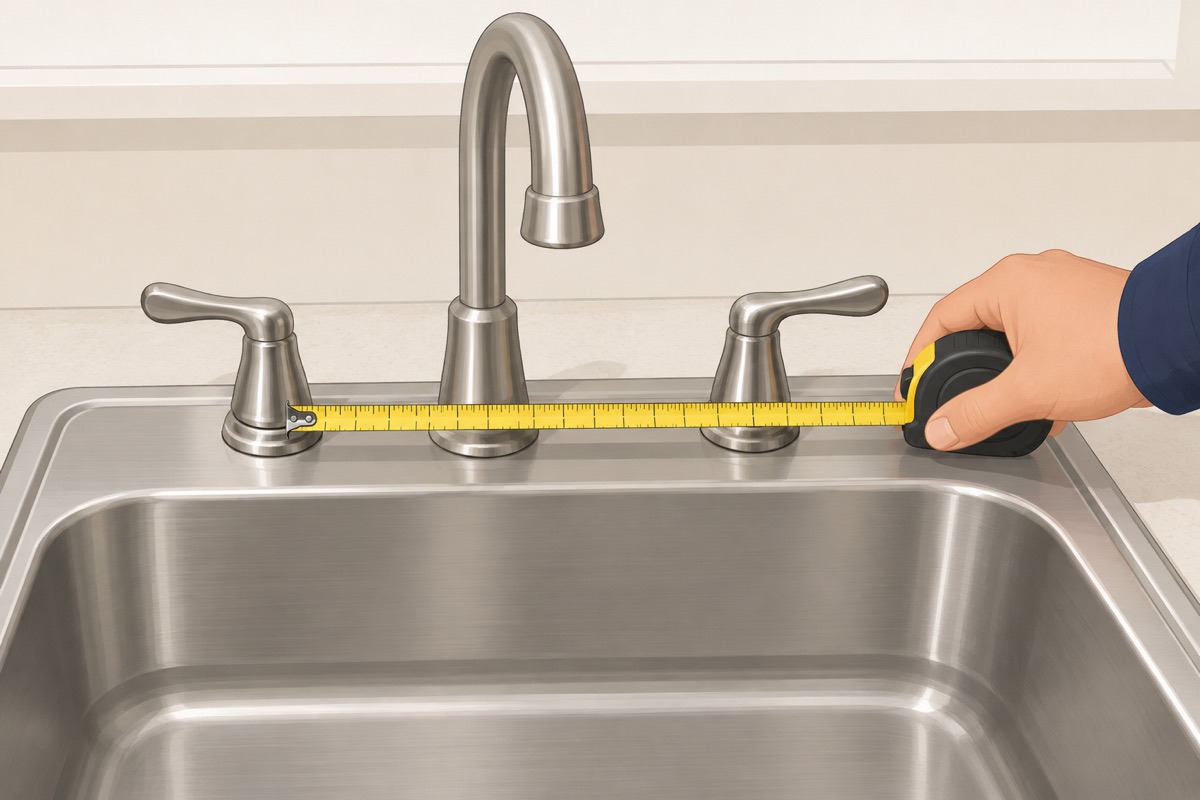
Count the holes in the sink or the counter behind it, and measure the spread between the outer ones. Compare with the faucet's sheet. A new faucet that needs a new or bigger hole in stone, quartz, or solid surface is the fabricator's job — see the stop-gate. Extra holes take the deck plate, a soap dispenser, or a hole cover.
Step 3 of 10
Water off at the valves and prove it
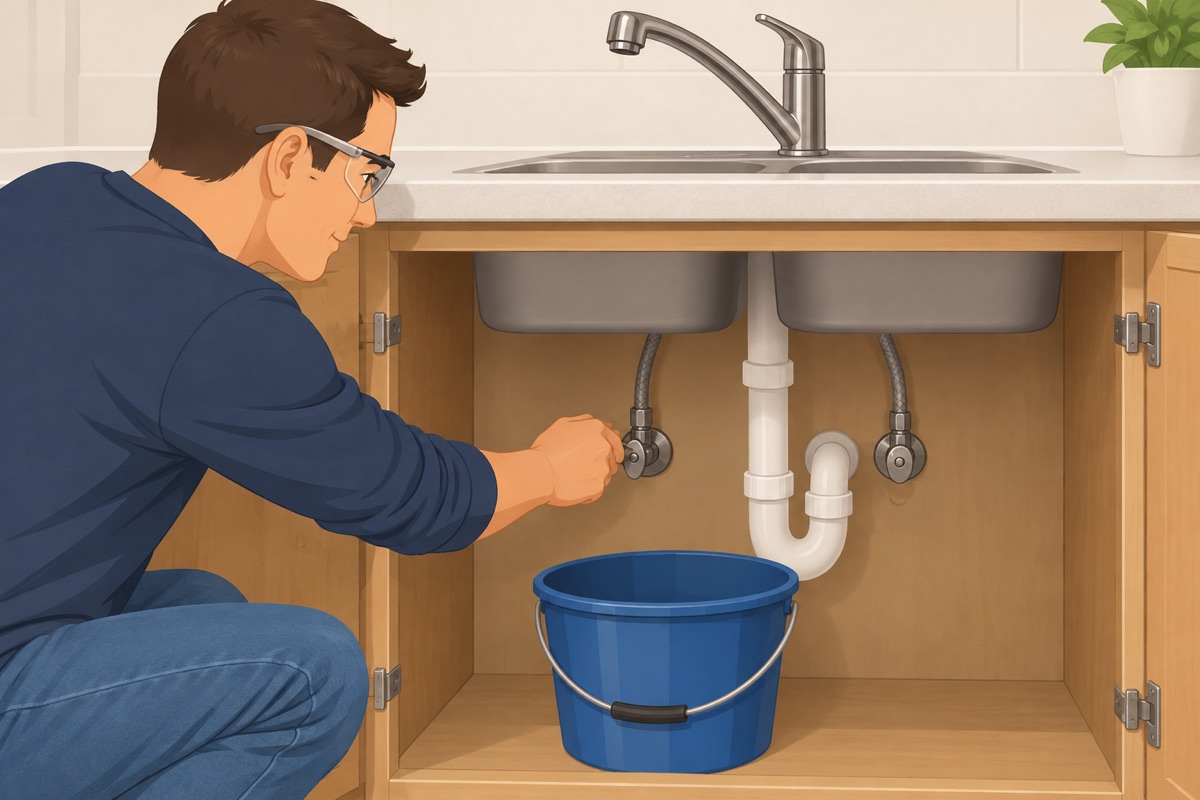
Close both shutoff valves under the sink gently, clockwise. Open the faucet, hot and cold: the flow should stop completely and stay stopped. If a valve will not close fully, weeps at the stem, or will not turn, stop here. If a dishwasher line shares the hot valve, the dishwasher is off too — do not run it until the job is done. If there is a garbage disposal, unplug it before you work under the sink.
Safe to start?
- Both shutoff valves close fully — the faucet runs dry and nothing drips at the stems
- The new faucet fits the holes you have, or a deck plate or a cover takes the extra ones
- No new hole will be drilled in a stone, quartz, or solid-surface counter
- You know where the home's main water shutoff is
- Bucket, towels, and a headlamp under the sink
Step 4 of 10
Unhook the supply lines and the spray hose
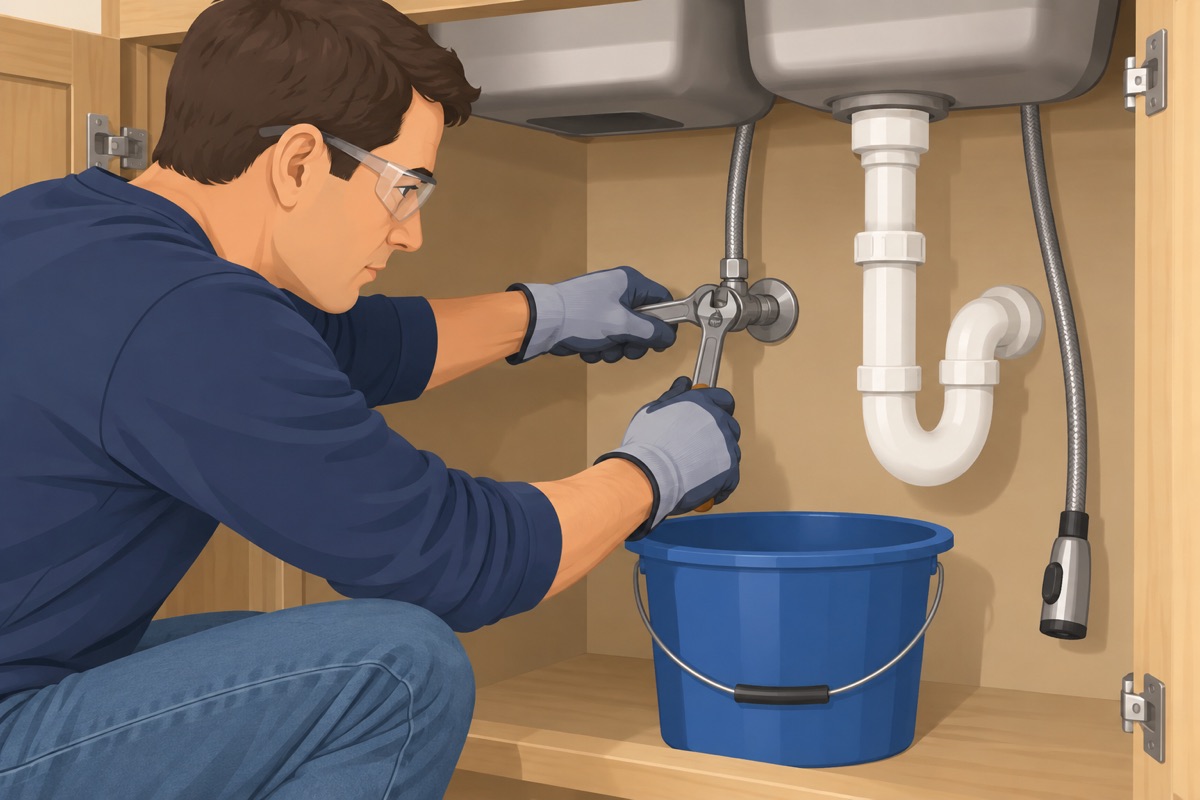
Bucket under the valves. Hold each valve body still with one wrench and undo the supply line nut at the valve with the other; stop at the first sign the pipe turns in the wall. Unclip or unscrew the spray hose from the faucet the way the old faucet's design allows. Let the water in the lines drain into the bucket.
Step 5 of 10
Take the old faucet off
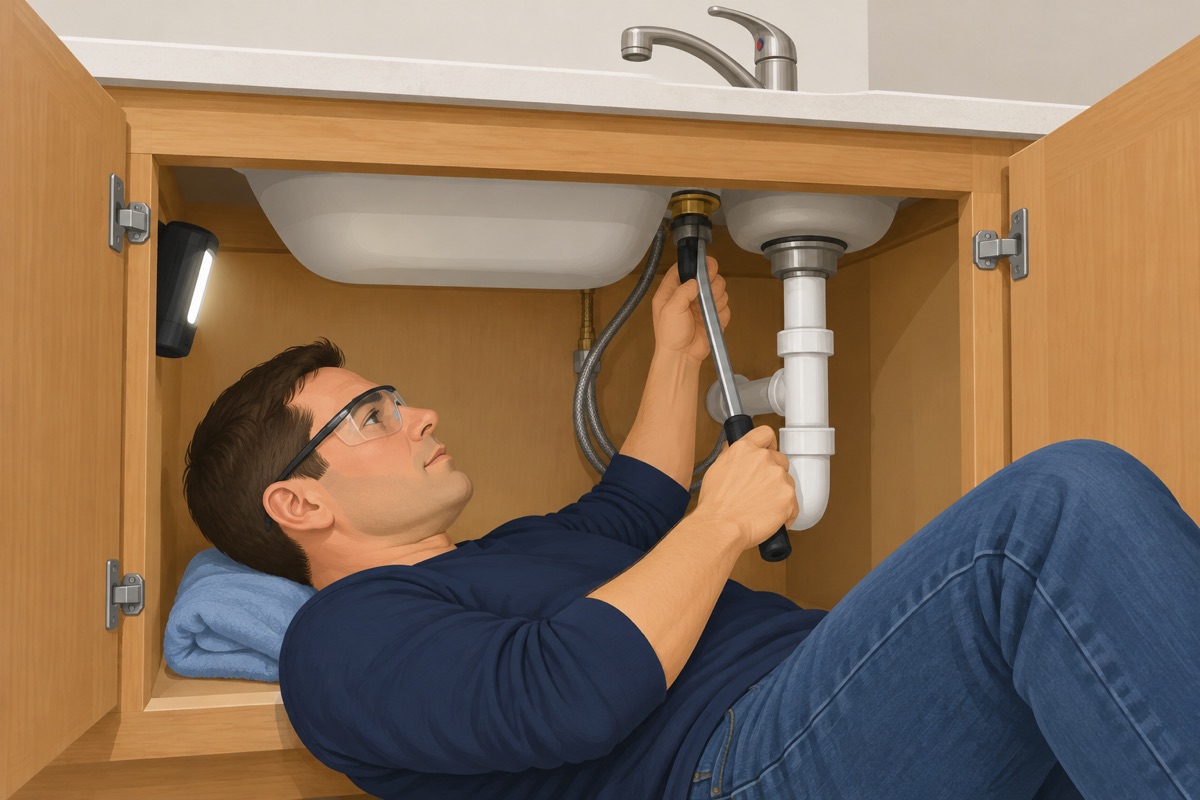
From below, loosen the mounting nut or nuts with the basin wrench; a few drops of penetrating oil help a seized one. Lift the faucet and its hoses up and out from the top. Keep the old faucet until the new one works, in case you need to compare a part.
Step 6 of 10
Clean the deck and look at the cabinet floor
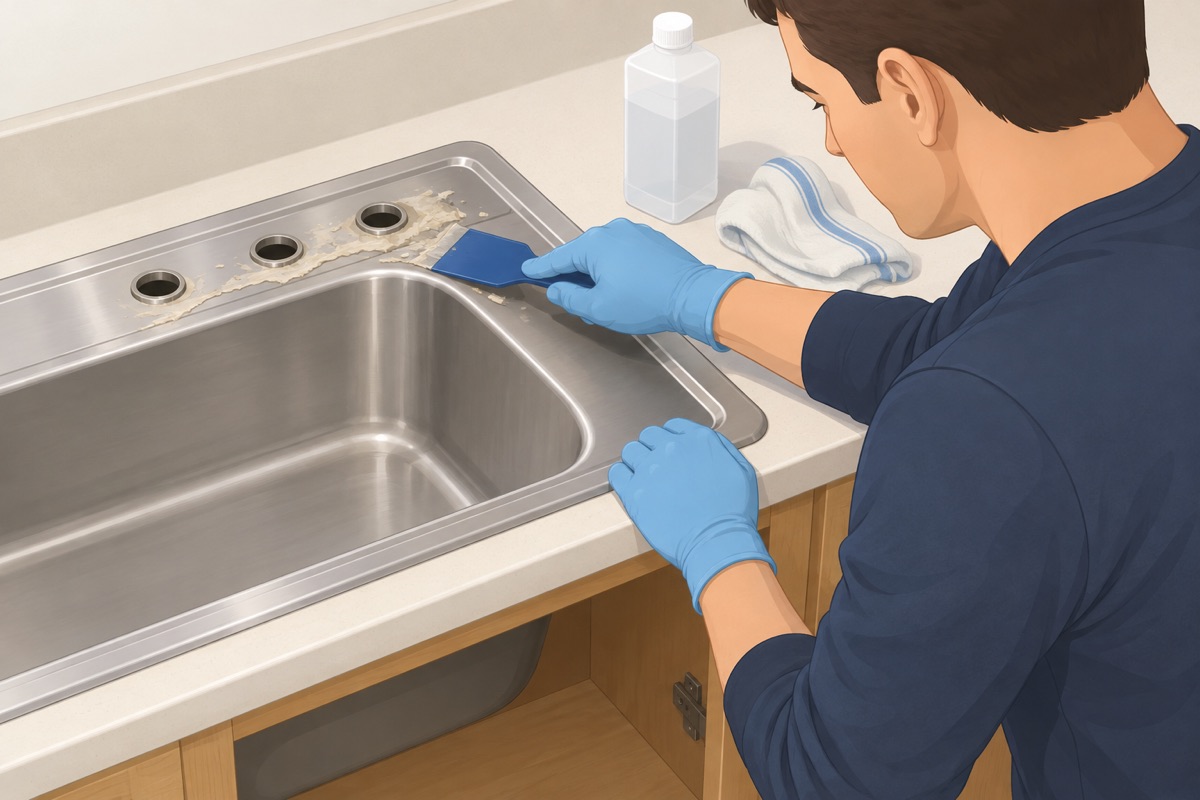
Scrape the old putty, caulk, and mineral crust off around the holes with the plastic putty knife, and wipe the deck with rubbing alcohol so the new base sits flat and seals. Look at the cabinet floor under the sink: stains or soft wood mean an old leak to fix before the new faucet goes in.
Step 7 of 10
Set the new faucet on the deck
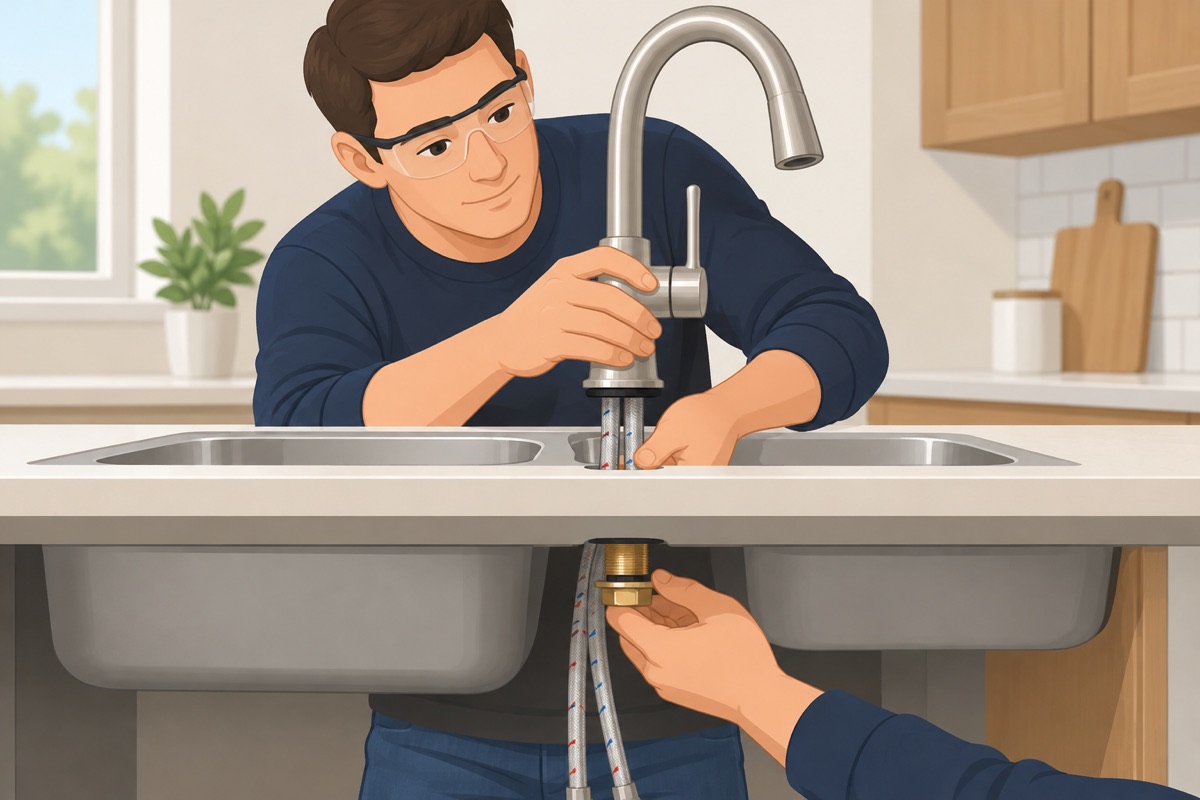
Follow the faucet's sheet: the gasket or the deck plate under the base, and putty or silicone only if the sheet asks for it. Feed the lines and the hose down through the hole, set the faucet square to the sink, and tighten the mounting hardware from below, evenly, until the faucet does not turn when you push the spout.
Step 8 of 10
Connect the spray hose and its weight
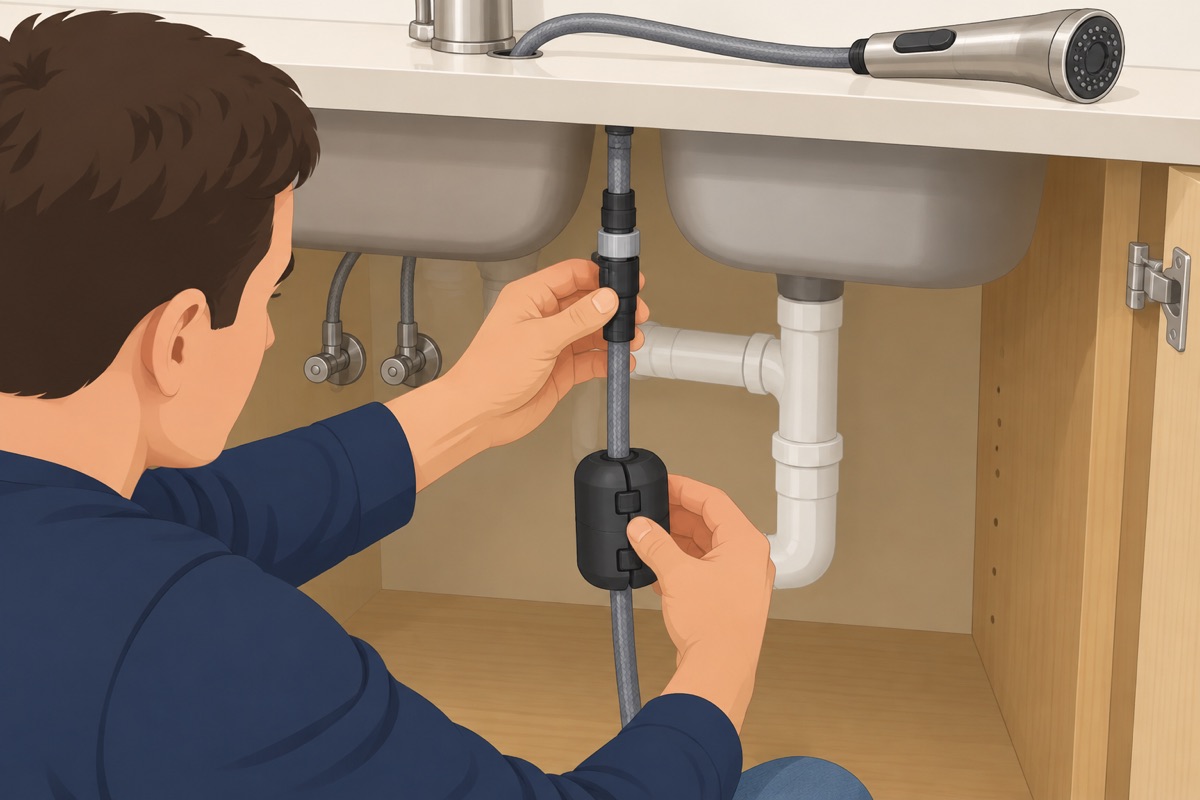
Connect the spray hose to the faucet the way the sheet shows — most click into a quick-connect. Clamp the hose weight where the sheet says, so the spray head pulls out and goes back freely. Pull the head out all the way and let go: it should return on its own.
Step 9 of 10
Connect the supply lines
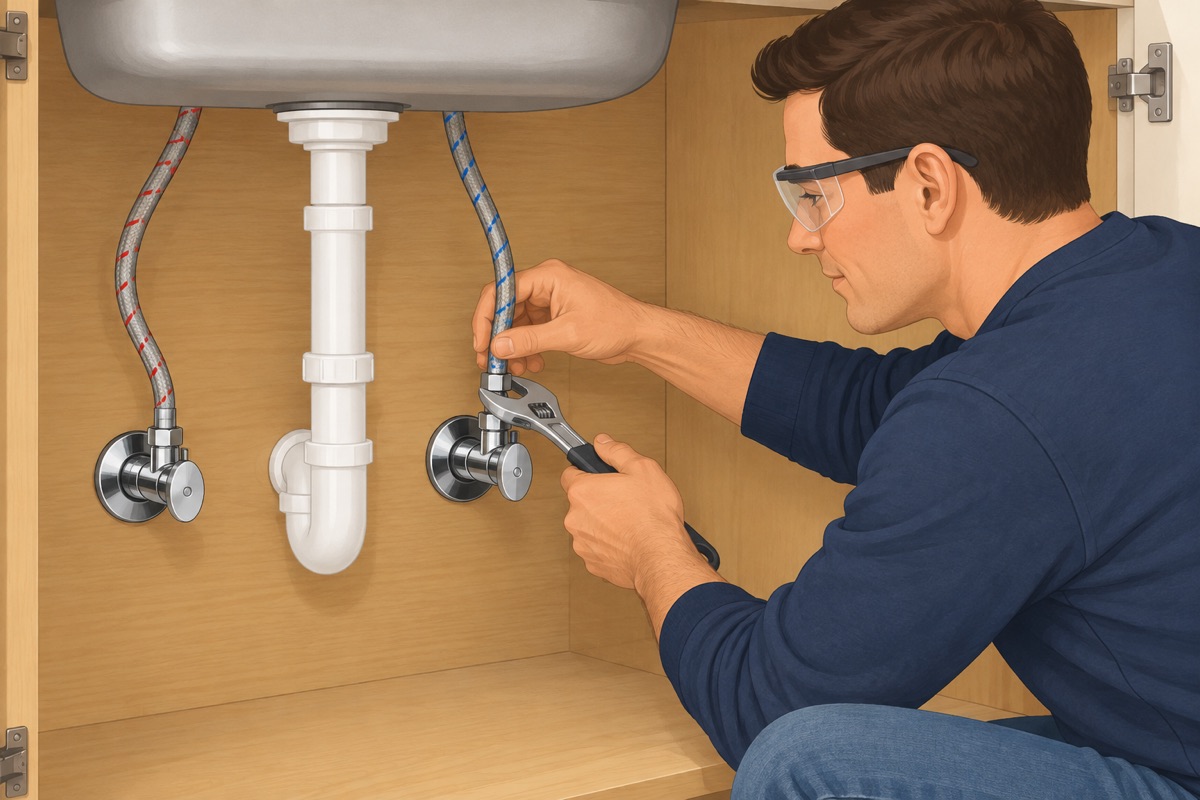
Hot to the hot valve, cold to the cold, as the faucet marks them. Use the faucet's own lines or new ones, never the old ones. Route them without sharp bends, start each nut by hand, then give it the extra turn the line's package says. No thread tape on compression fittings.
Step 10 of 10
Water on slowly, flush, and test
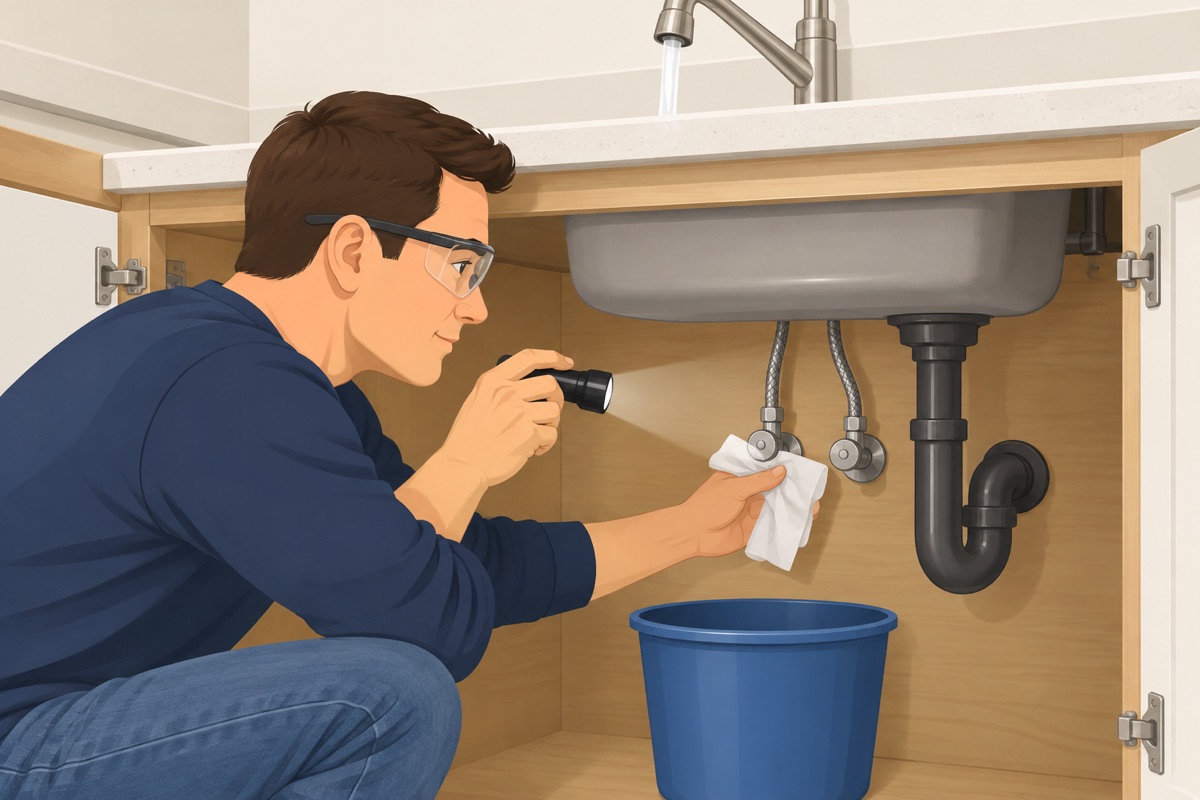
Take the aerator off, or follow the faucet's flushing steps. Open each valve slowly, run hot and cold to flush the lines, then put the aerator back. Run the faucet and the sprayer while you watch every joint under the sink with a dry paper towel. Lay dry towels under the valves and look again after an hour and the next day.
Quality check
- No drip at the valves, the supply lines, the hose connection, or around the faucet base after a day of use
- Hot and cold come out where the handle says, with a strong flow from the spout and the sprayer
- The spray head pulls out and returns on its own
- The faucet is tight to the deck and does not turn when you push it
- Both shutoff valves still close fully, and a dishwasher on the same valve runs without a leak
Common mistakes
- Forcing an old shutoff valve. Old multi-turn valves under a sink often snap or start leaking at the stem the moment you lean on them, and then the water to the kitchen cannot be closed. If a valve will not close gently and fully, stop: a plumber replaces it before the faucet comes off. Mistake #1 in this task.
- Buying a faucet for the wrong holes. A faucet that needs more holes than you have means drilling the sink or the counter, and drilling stone or quartz is the fabricator's job. Count and measure the holes first; a deck plate covers extra holes, nothing covers a missing one.
- Forgetting the spray hose weight. A pull-down or pull-out spray hose comes with a small weight that clamps on the hose under the sink. Without it, or clamped in the wrong place, the spray head will not pull back into the spout.
- Kinking or cranking the supply lines. A kinked line cuts the flow, and a cranked nut crushes its seal. Route the lines without sharp bends, start each nut by hand, then give it the extra turn its package says — no thread tape on compression fittings.
- Turning the water on with the aerator in. Bits of scale come loose after a faucet swap and clog a new aerator or spray head. Take it off, or follow the faucet's flushing steps, the first time the water runs.
Questions
How do I replace a kitchen faucet?
Close both shutoff valves under the sink and open the faucet: the flow must stop completely. Undo the supply lines at the valves, unhook the spray hose, loosen the mounting nut from below with a basin wrench and lift the old faucet out. Clean the deck, set the new faucet with the gasket or the deck plate its sheet names, tighten it from below, connect the spray hose and its weight, then the supply lines, hand-tight plus the turn the line's package says.
Will a new kitchen faucet fit my sink?
Count the holes in the sink or the counter and measure the spread between the outer ones, then compare with the faucet's sheet. A deck plate, a soap dispenser or a hole cover takes extra holes; nothing covers a missing one. A faucet that needs a new or bigger hole in stone, quartz or solid surface is the countertop fabricator's job.
Why won't my pull-down sprayer go back into the faucet?
The spray hose needs its weight. A pull-down or pull-out hose comes with a small weight that clamps on the hose under the sink; without it, or clamped in the wrong place, the head will not pull back into the spout. Clamp it where the faucet's sheet says, then pull the head out and let go: it should return on its own.
When should I stop and call a pro?
Like-for-like on the holes you have: the new faucet fits the existing holes in the sink or the counter, or covers the extra ones with its deck plate. Stop and call a plumber if: a shutoff valve under the sink will not close all the way, weeps at the stem, or will not turn — forcing an old valve usually breaks it; there is no shutoff valve under the sink; a supply pipe turns or moves inside the wall when you put a wrench on it; or the old faucet's lines are soldered or hard-piped to the valves instead of screwed on. A new faucet that needs a new or bigger hole in a stone, quartz, or solid-surface counter is the countertop fabricator's job — do not drill it yourself. A faucet with a touch or motion sensor, a filter, or a hot-water dispenser follows its own manual; one that needs power under the sink where there is no outlet is an electrician's call. Never touch a gas line.