How to paint walls: the final coat yourself: step by step
Short answer
To paint walls: the final coat, follow the 9 steps below, from “Repair install damage and spot-prime” to “Final check with a flashlight at an angle”. Difficulty 2 of 5; for a first-timer, plan on about half a day.
Quick review by a licensed contractor on Oct 7, 2026. This is not a certification. Follow product labels where they differ.
Now that all install work is done, the second coat gives the even color. The first coat is always patchy — that is normal.
Difficulty 2 of 5 · about half a day · you can do this
See it in your own room — freePhoto of your room, the look you pick, then this guide with the materials counted for your room.
Tools
- 9" roller frame + covers
- 2–2.5" angled brush
- Flashlight
- Delicate-surface painter's tape (fresh enamel)
- Spackle, putty knife, sanding sponge
Step by step
Step 1 of 9
Repair install damage and spot-prime
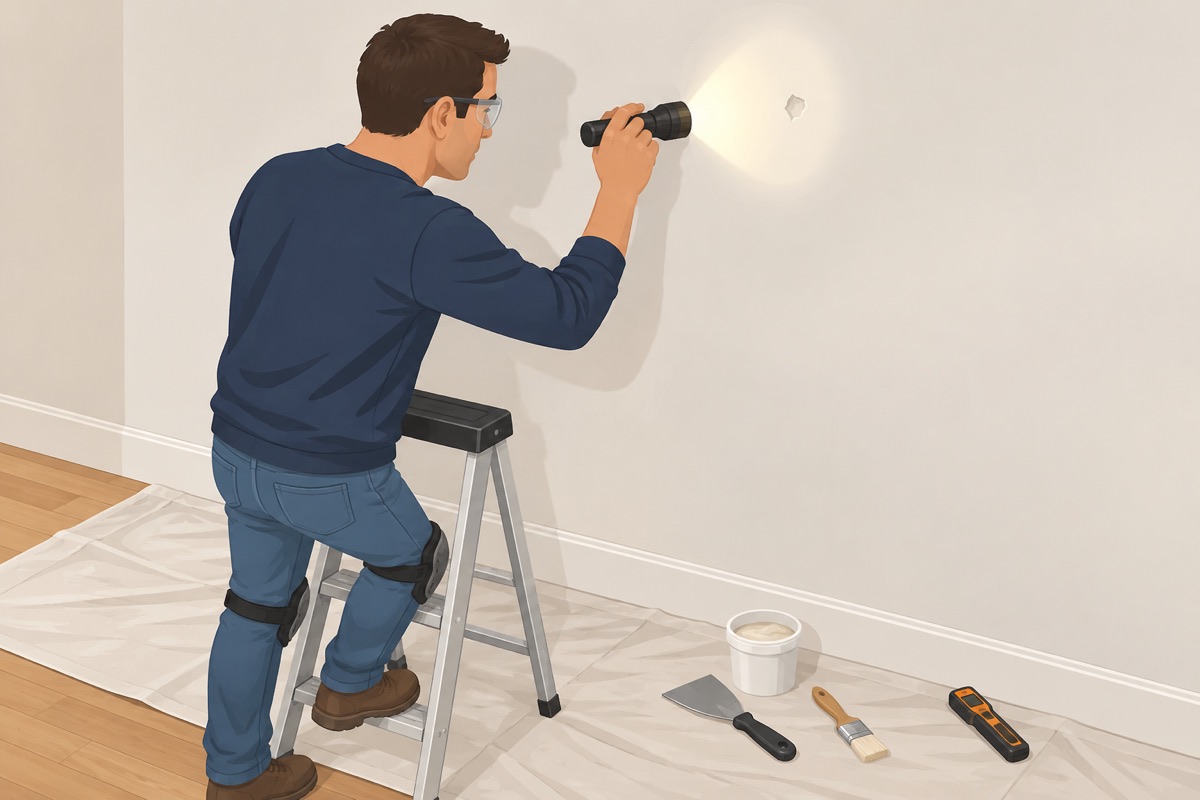
Walk the walls with a flashlight at an angle. Fill dings, sand flush, spot-prime every patch, and wipe off dust before the final coat.
Step 2 of 9
Tape the trim once the enamel has cured
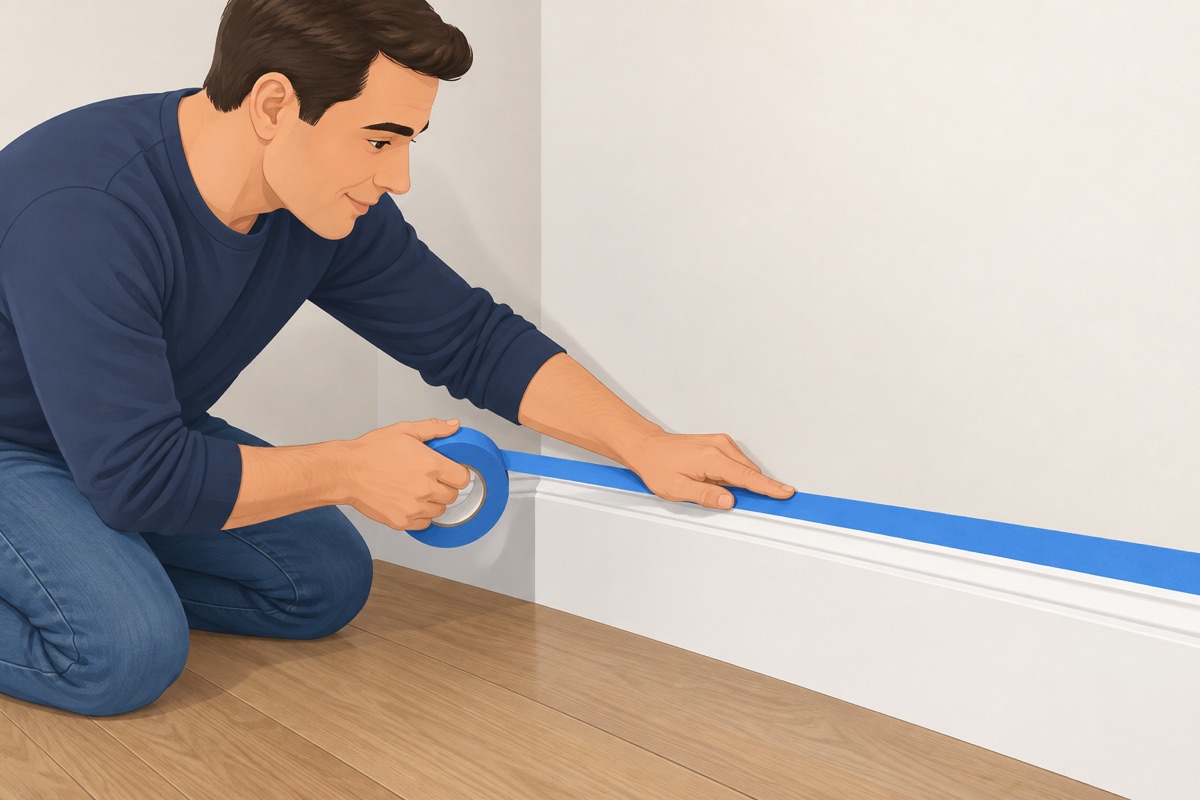
Tape the trim once the enamel has cured the time on the can (often 24 hours or more) — use delicate-surface tape on fresh enamel.
Step 3 of 9
Cut in the corners, ceiling line, and around windows and doors
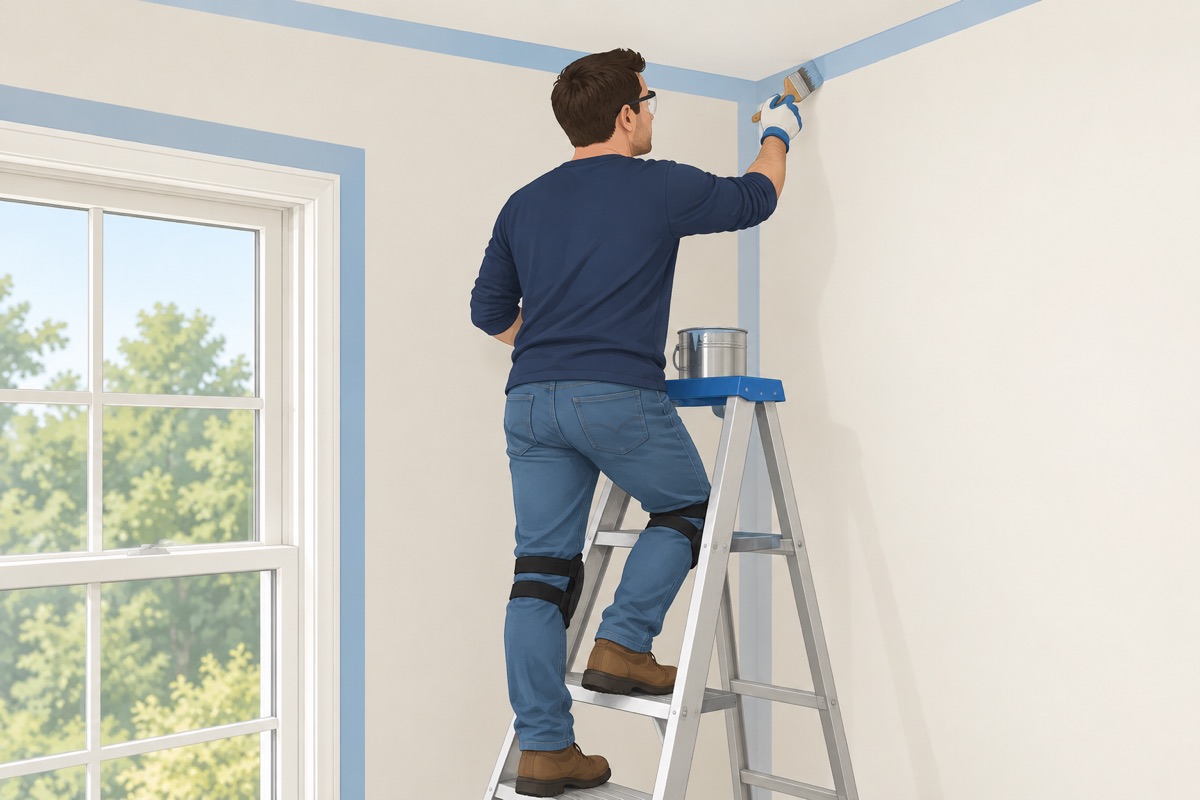
Same as the first coat. Brush every edge before rolling.
Step 4 of 9
Roll in 3×3 ft sections, W pattern, then even out top to bottom
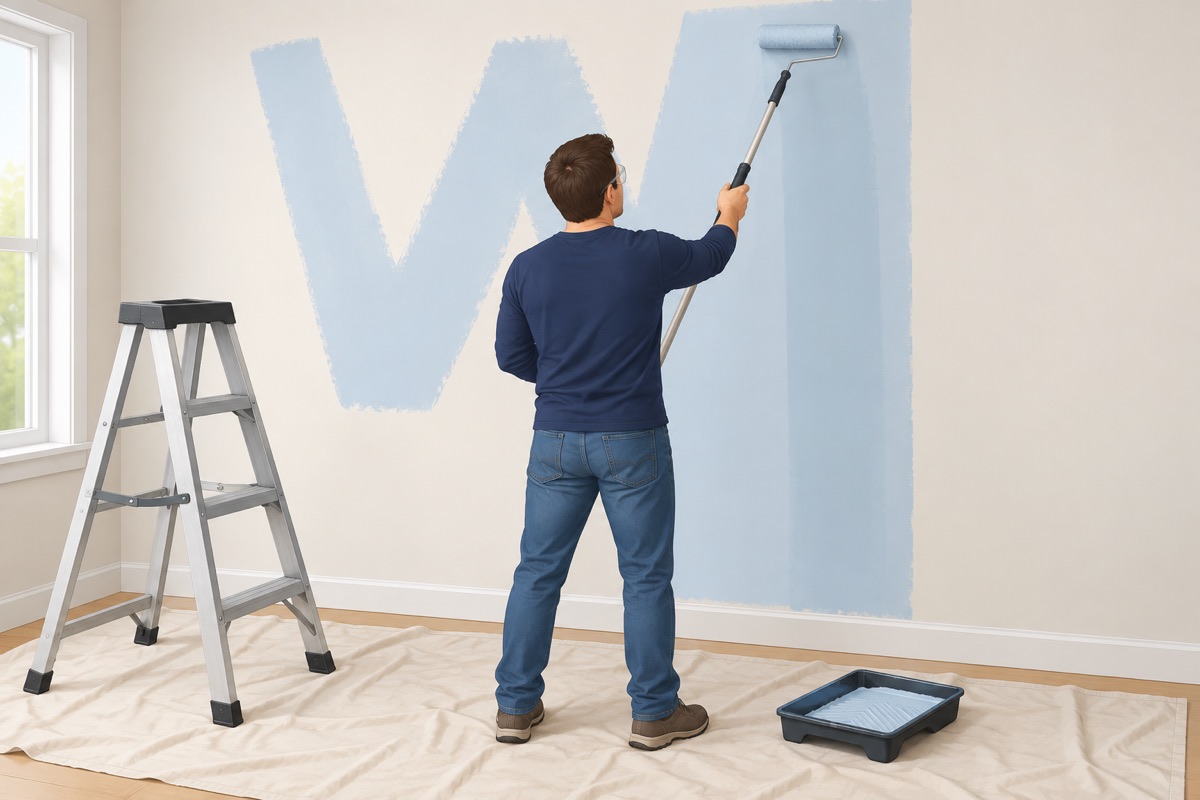
No pressure on the final strokes.
Step 5 of 9
Keep a wet edge, one wall in one pass
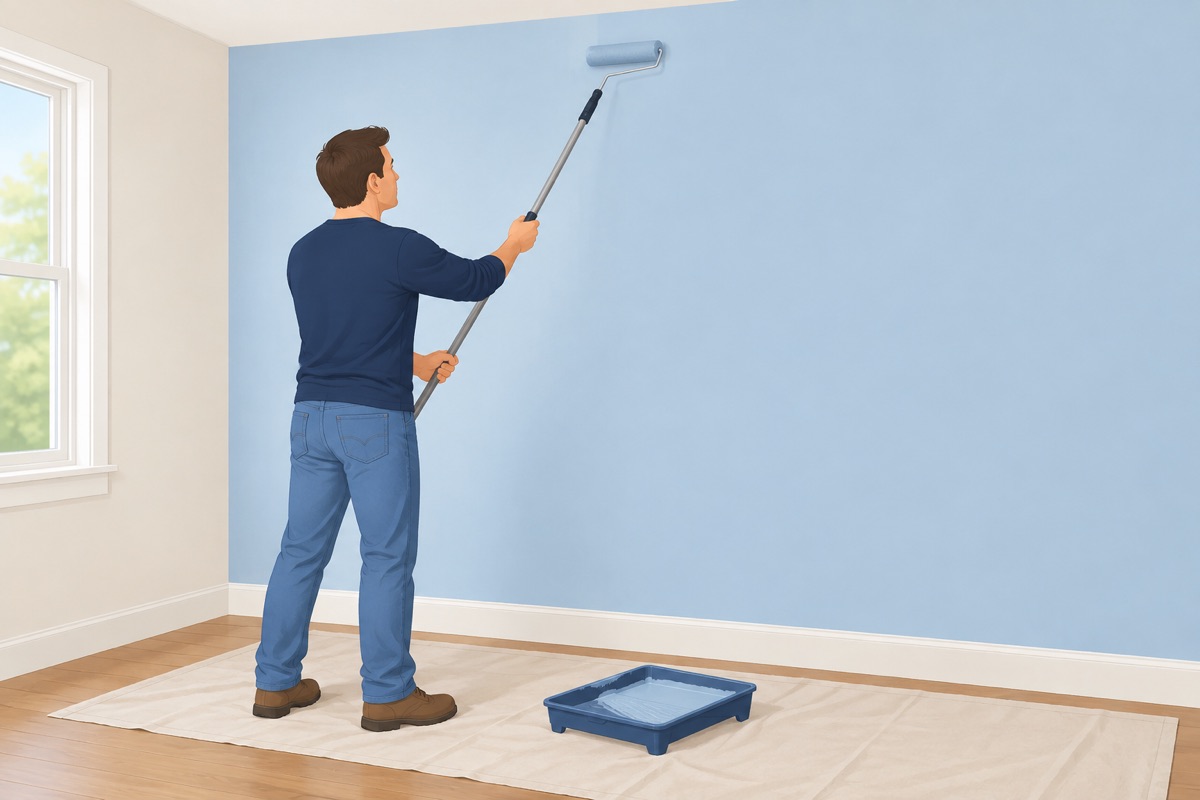
This is the coat that gives the even color.
Step 6 of 9
Step back and check for misses and drips
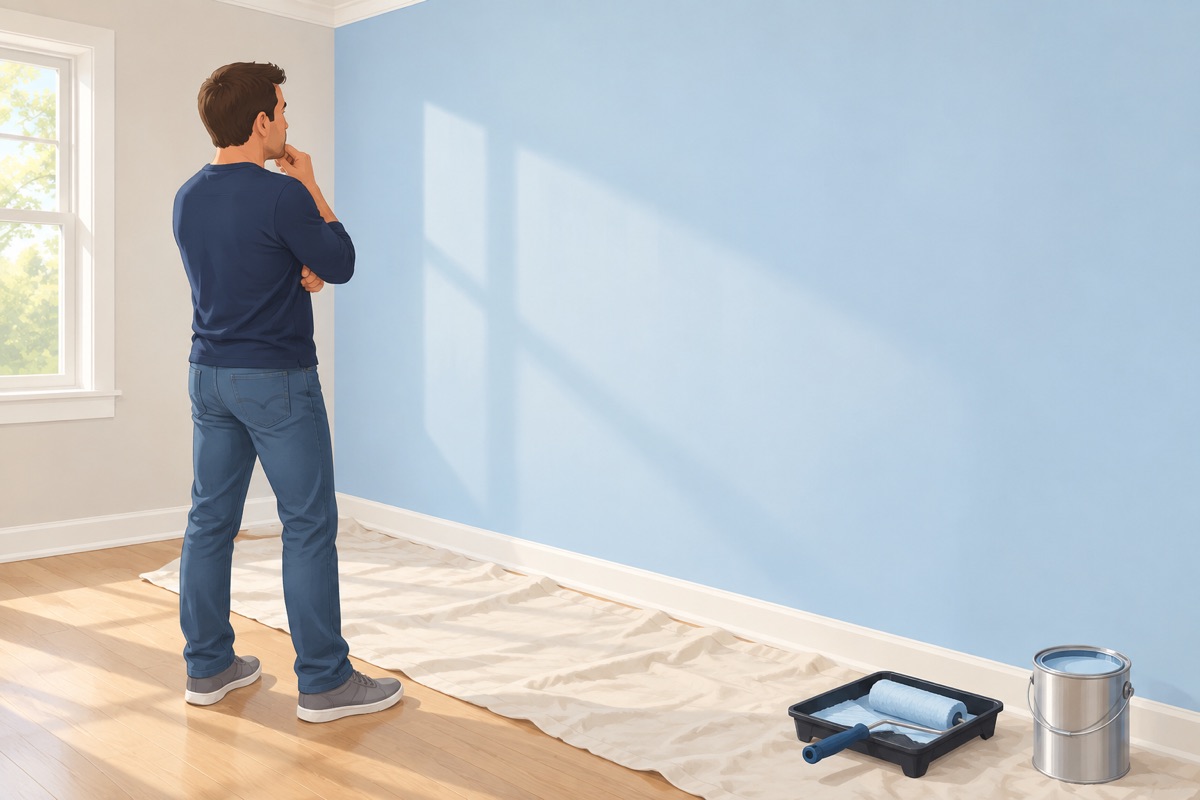
Every 2–3 sections, from 6 ft away, at an angle.
Step 7 of 9
Pull the tape at 45° while the paint is still slightly soft
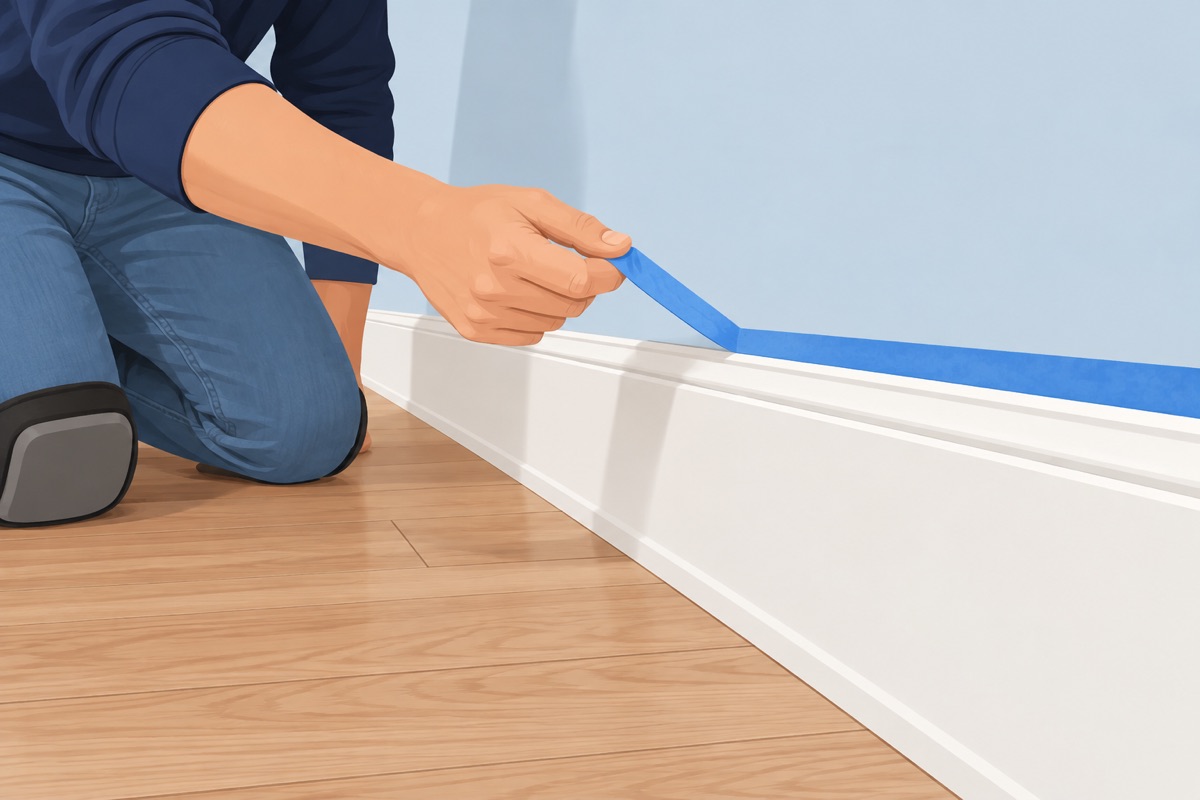
Along the line, not away from the wall.
Step 8 of 9
Put the cover plates back, remove the floor protection
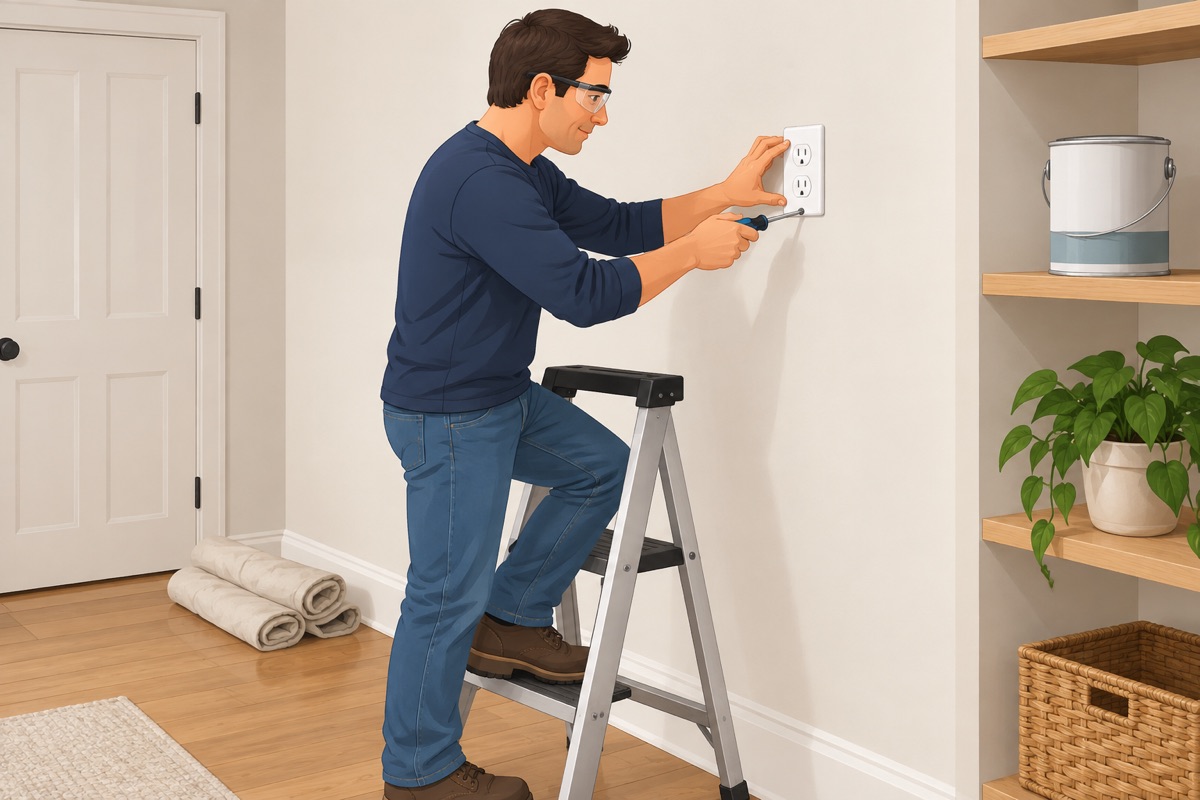
Furniture goes back no sooner than 24 hours. Keep a labeled can of leftover paint for touch-ups. Wash latex tools in water; take the rest of the paint to a paint take-back site (PaintCare in California and several other states) or your city's household hazardous waste drop-off — never pour it down a drain.
Step 9 of 9
Final check with a flashlight at an angle
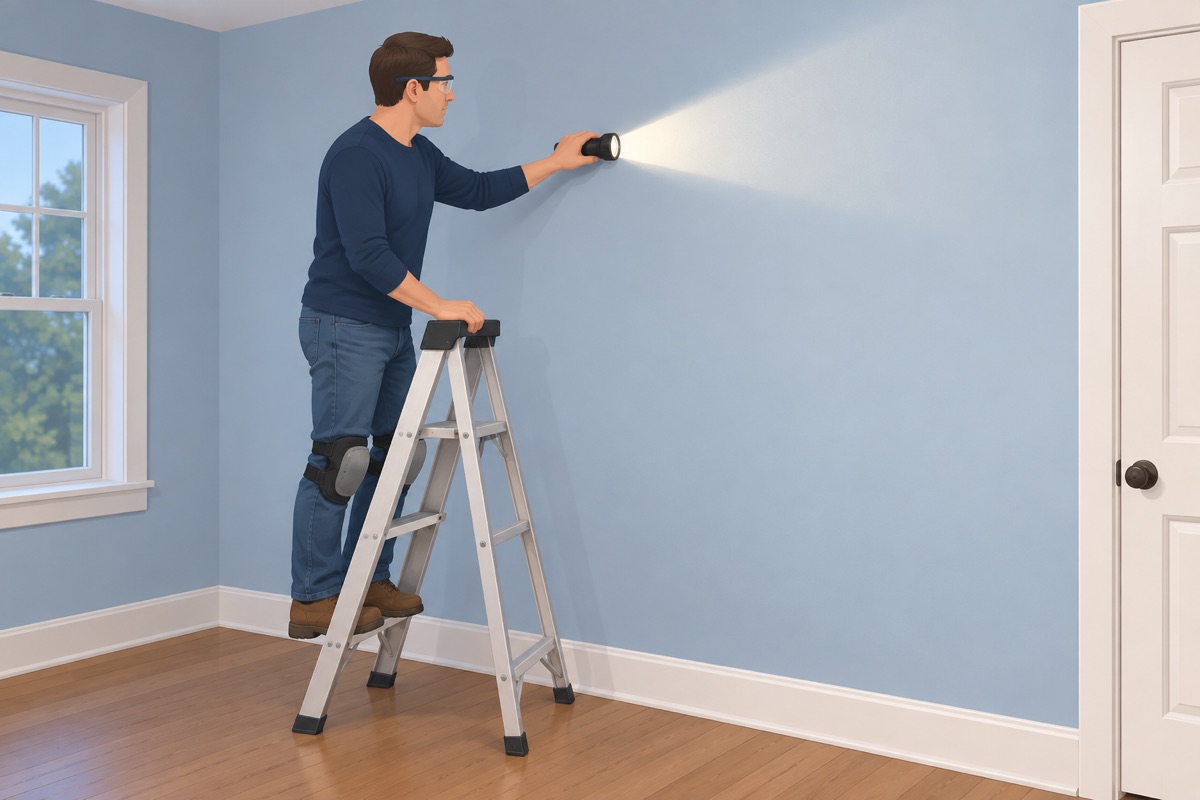
No misses, no drips, no roller marks, no brush lines in the corners.
Common mistakes
- Second coat too soon. The roller lifts the first coat. Wait the recoat time on the can.
- Pulling tape after full dry. Ragged edge. Pull at 45° along the line while the paint is still slightly soft.
Questions
How long does it take to paint walls: the final coat?
Difficulty 2 of 5. For a first-timer, plan on about half a day.
What are the most common mistakes when you paint walls: the final coat?
Second coat too soon. The roller lifts the first coat. Wait the recoat time on the can. Pulling tape after full dry. Ragged edge. Pull at 45° along the line while the paint is still slightly soft.