How to seal an asphalt driveway yourself: step by step
Clean it, fill the cracks, and put on two thin coats in the right weather. Thin is the whole trick.
Difficulty 2 of 5 · 1 weekends · you can do this
Photo of your room, the look you pick, then this guide with the materials counted for your room.
What you need
- Asphalt driveway sealer
- Pourable asphalt crack filler
- Cold patch asphalt repair
- Driveway sealer squeegee and brush
- Driveway degreaser or oil-spot primer
Tools
- Pressure washer
- Stiff push broom
- Leaf blower
- String trimmer or edger for the grass along the edges
- Hand tamper
- Drill with a mixing paddle, or a stir stick
- Painter's tape and cardboard to mask walls and the garage door
- Cones or rope to close the driveway
- Rubber boots and gloves you can throw away
Step by step
Step 1 of 12
Make sure this driveway can be sealed
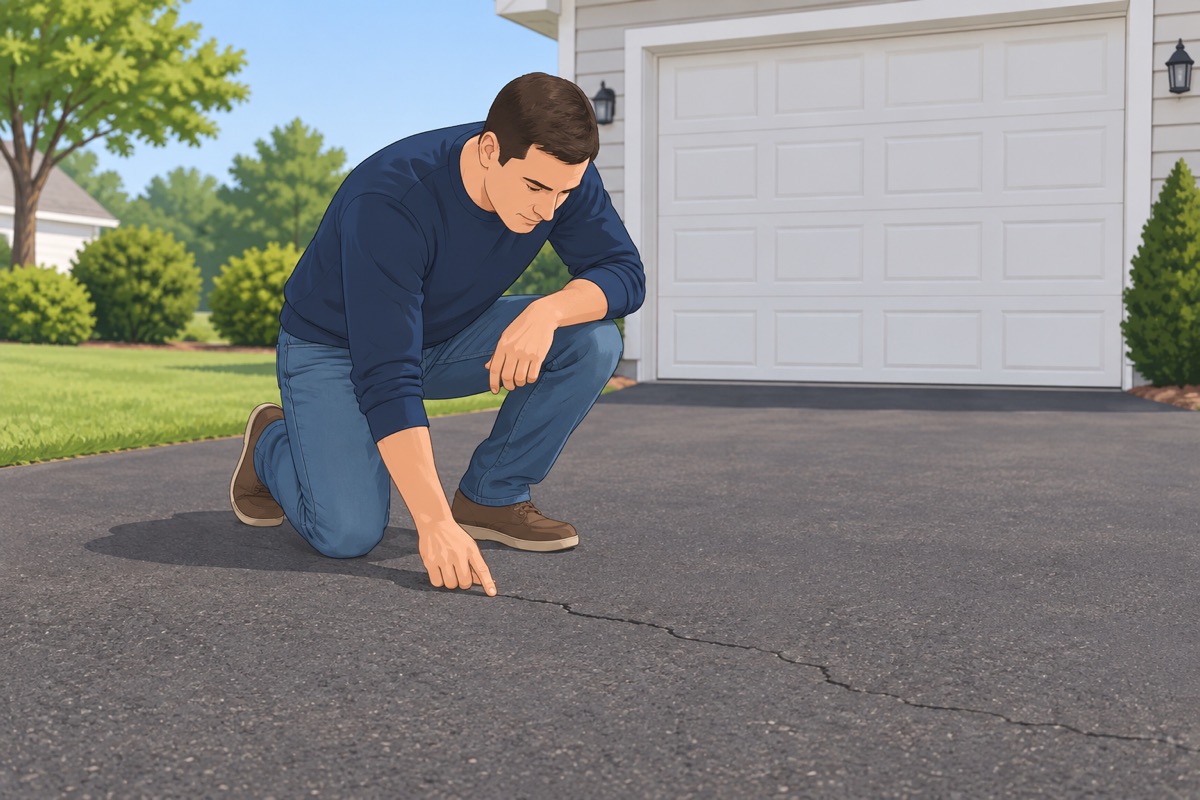
Confirm it is asphalt, not concrete, and that it is older than 6 months or the time on the sealer label. Walk it and look for large areas of alligator cracking, sinking, or ruts — those are a paving contractor's job, not a sealer job.
Before you buy the sealer
- The driveway is asphalt
- It is older than 6 months, or older than the sealer label asks
- No large areas of alligator cracking, sinking, or ruts
- The sealer you picked is allowed where you live
Step 2 of 12
Pick the weather window
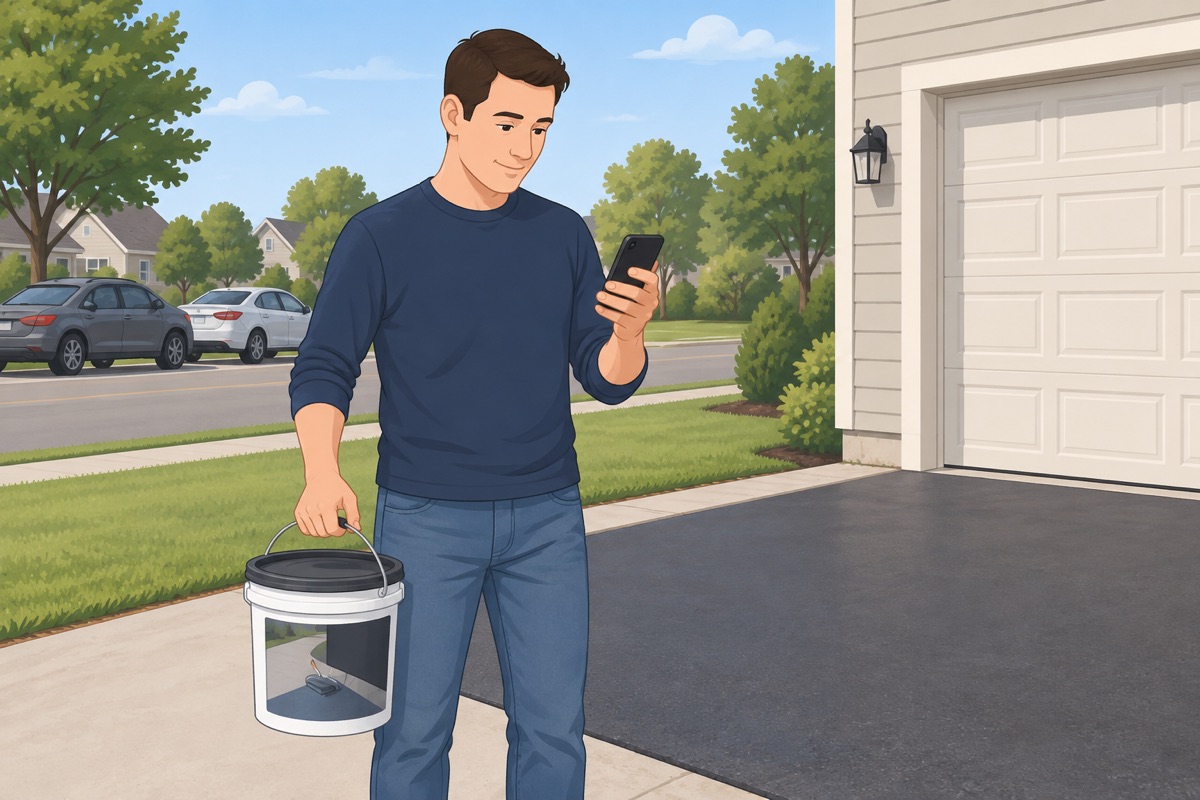
Read the bucket: most sealers need it typically above 50 °F and rising, and no rain for 24 h after. Plan for the driveway to be closed for 24–48 h. Move the cars out to the street the night before.
Step 3 of 12
Edge and sweep
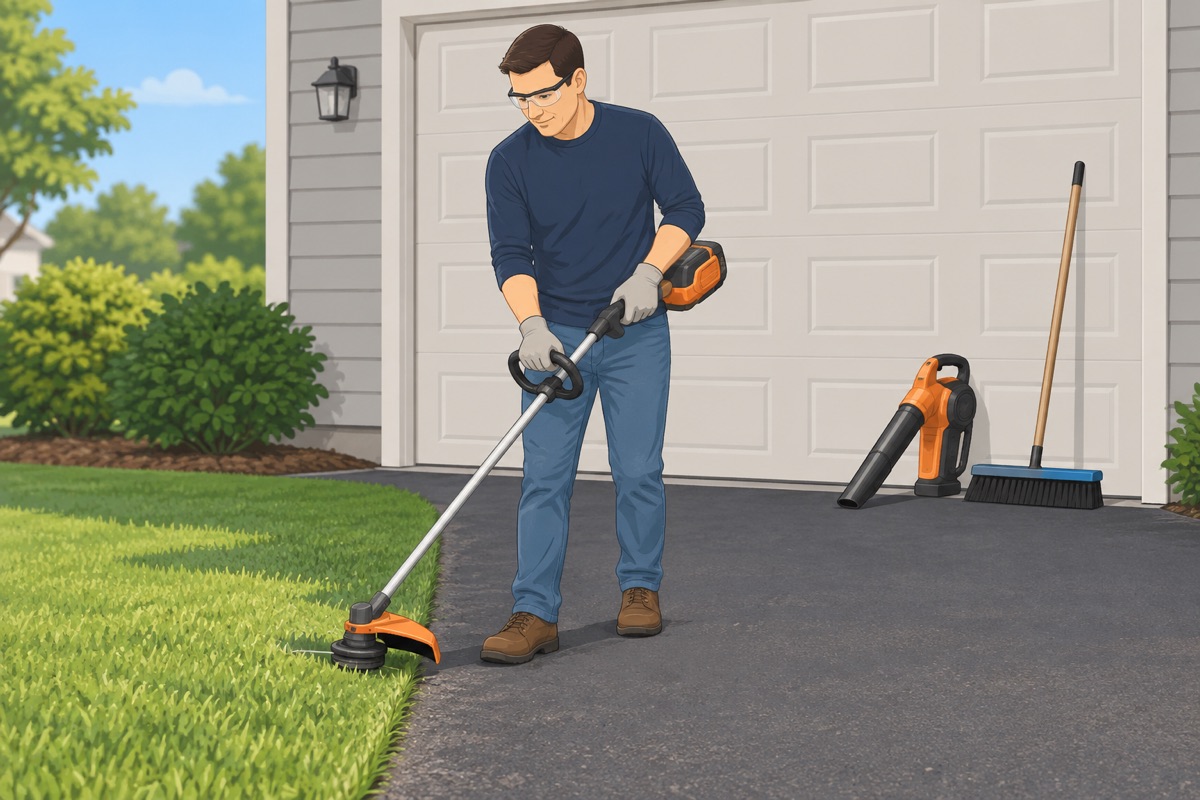
Trim the grass back from the edges so the sealer reaches the asphalt. Sweep and blow off all dirt, leaves, and loose stones.
Step 4 of 12
Treat the oil spots
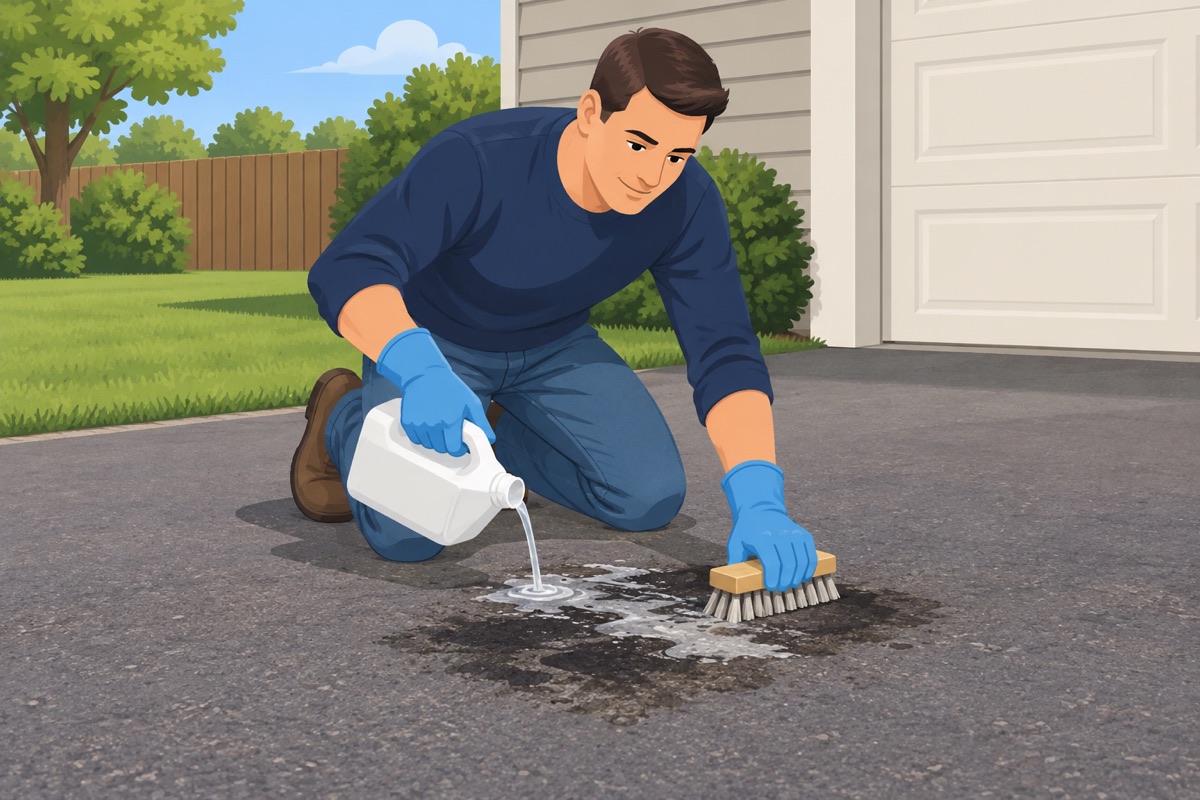
Scrub each oil spot with the degreaser or apply the oil-spot primer, exactly as its label says, and let it dry.
Step 5 of 12
Wash the driveway
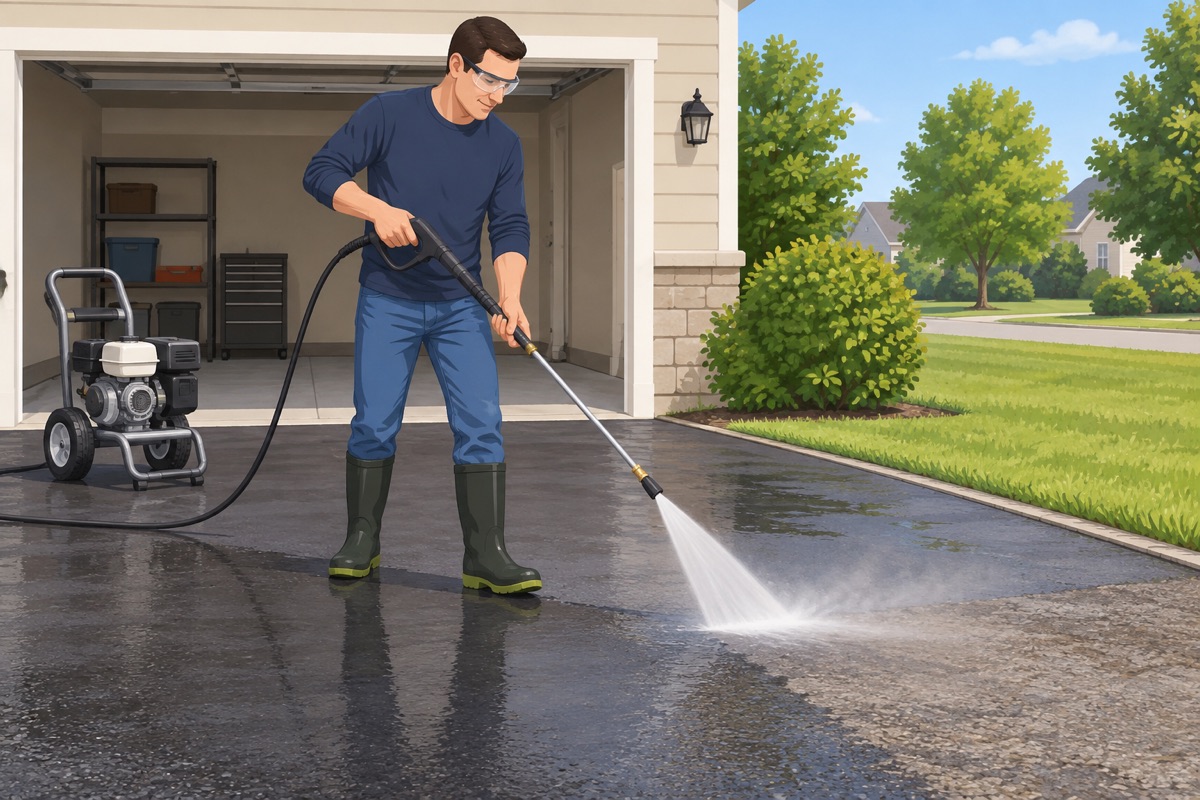
Pressure-wash or hose and scrub the whole surface with the stiff broom, working toward the street. Keep the wand moving so you do not dig into the asphalt.
Step 6 of 12
Fill the cracks
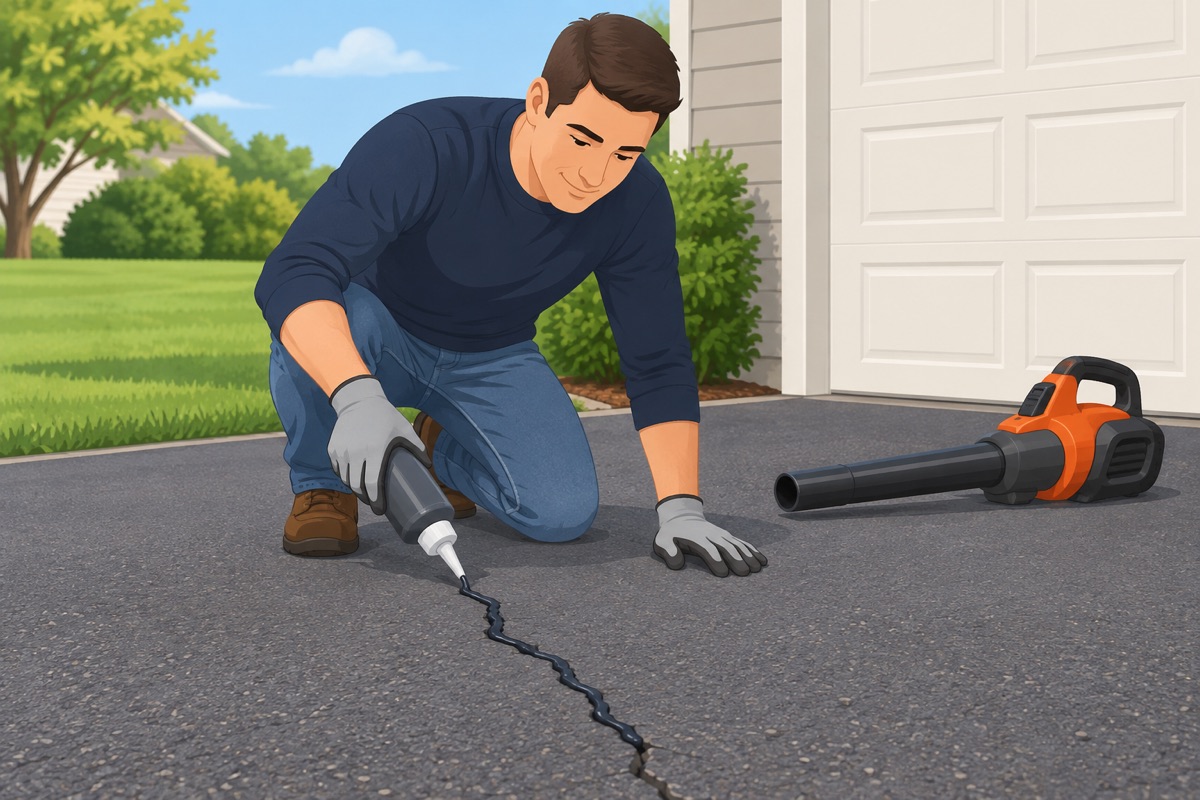
Once the surface is dry, blow out each crack and fill it with the pourable filler, a little proud of the surface, per the label. Cracks wider than the filler label allows get the treatment the label describes.
Step 7 of 12
Patch the potholes
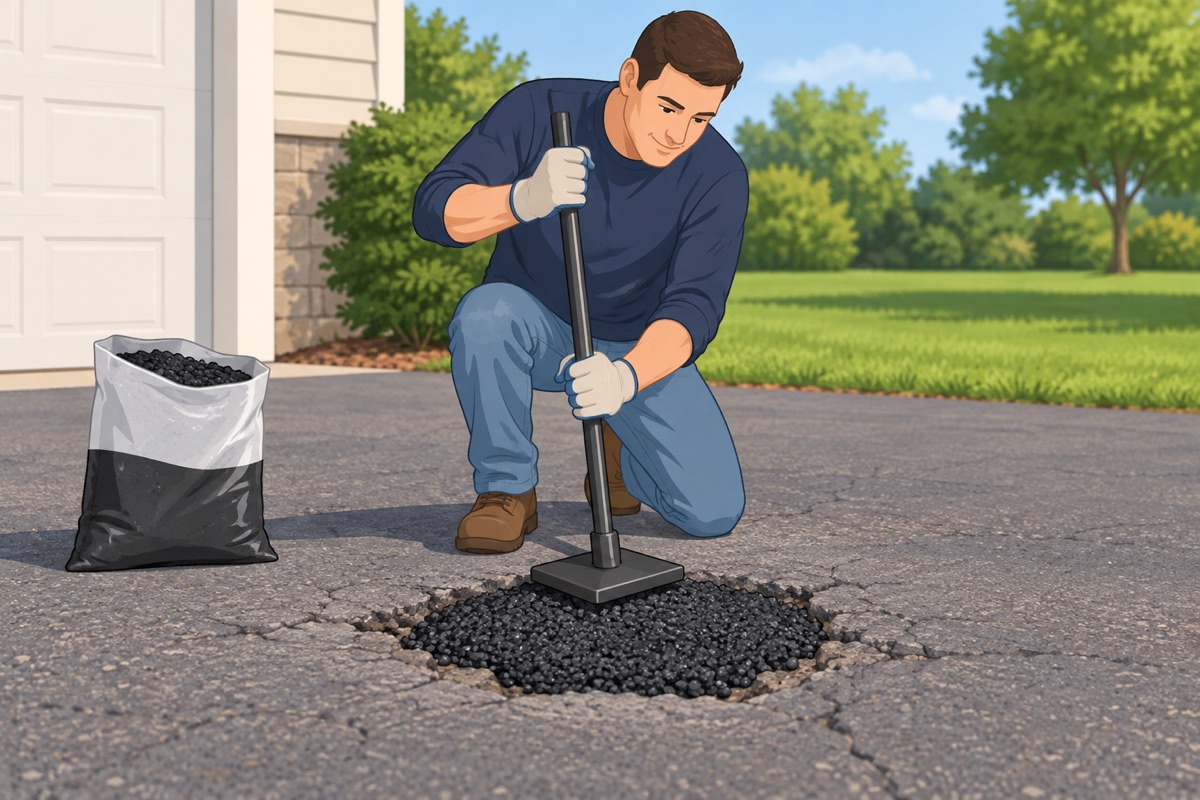
Clean loose material out of each hole, fill the cold patch in layers, and tamp each layer hard. Leave it slightly higher than the surface, per the bag, so it ends up flush after it settles.
Step 8 of 12
Let the repairs cure
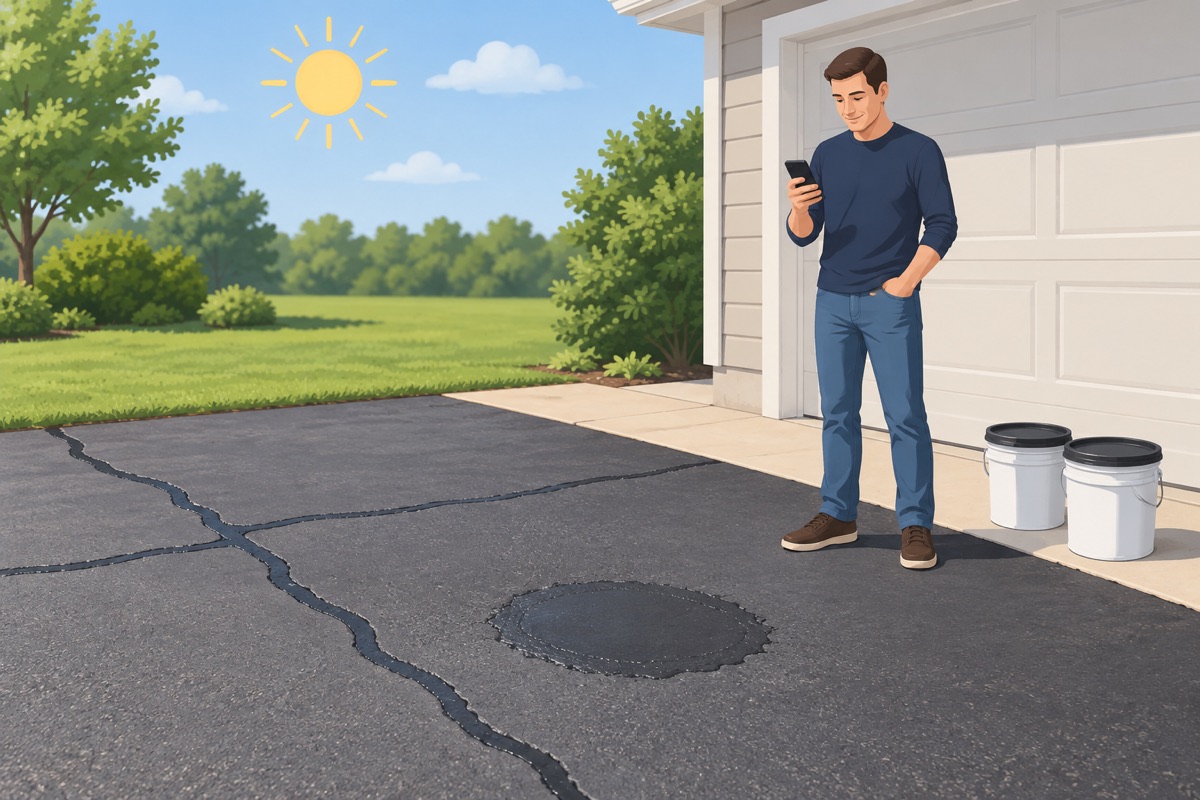
Give the filler and the patch the cure time on their labels before sealing over them. Check the forecast again.
Step 9 of 12
Mask and stir
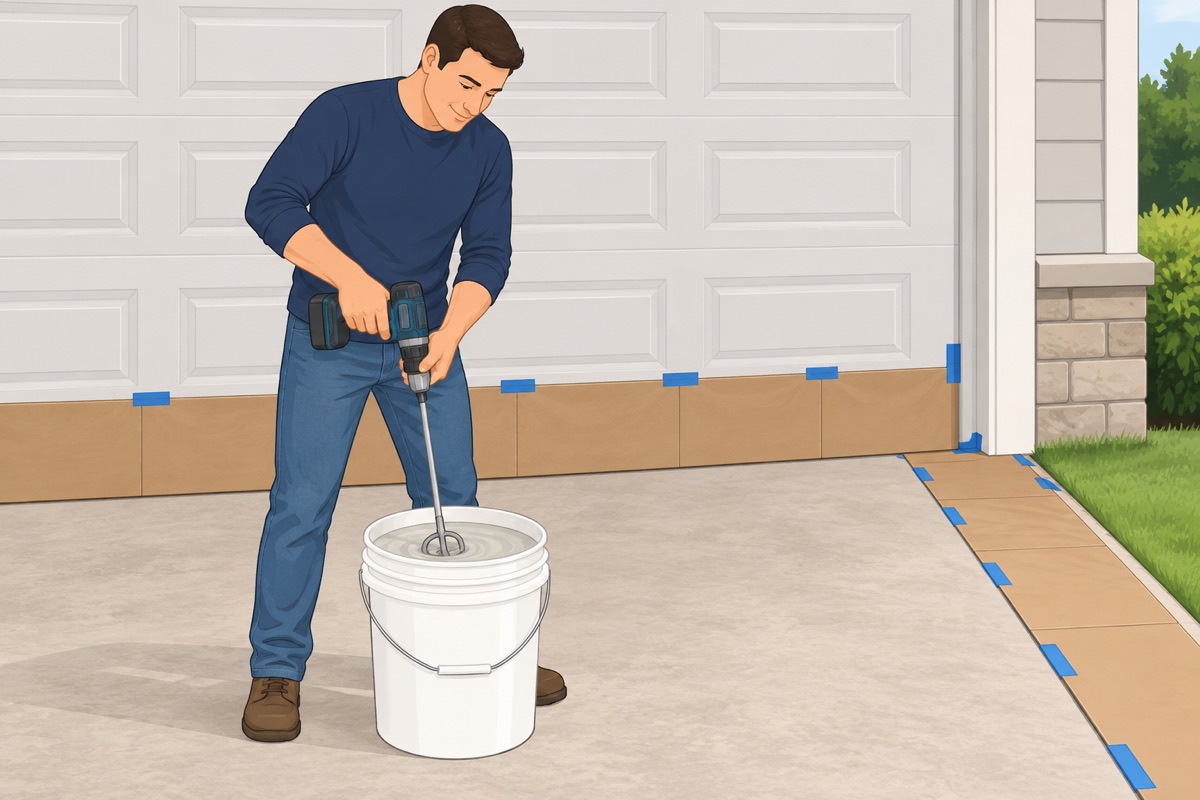
Tape cardboard along the bottom of the garage door, the house wall, and the walkway edge. Stir the sealer until the sand and the solids at the bottom are fully mixed in.
Step 10 of 12
Put on the first thin coat
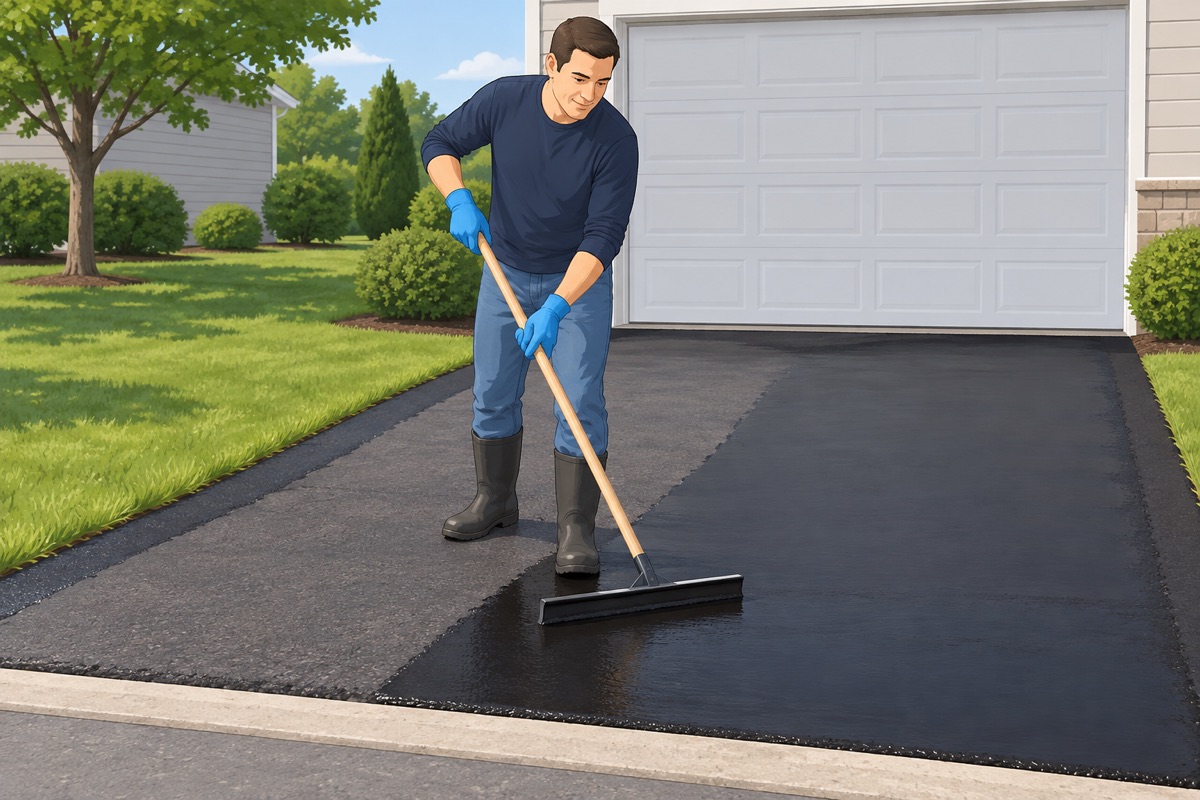
Brush the edges first. Pour a strip of sealer across the top of the driveway and spread it thin with the squeegee, working in sections toward the street so you never have to walk on it. Stir the bucket again before each pour.
Before the first pour
- Surface completely dry, cracks included
- Repairs cured per their labels
- Weather within the label's range, no rain in the forecast
- Walls, garage door, and walkway edges masked
- Cars out and the driveway closed off
Step 11 of 12
Put on the second thin coat
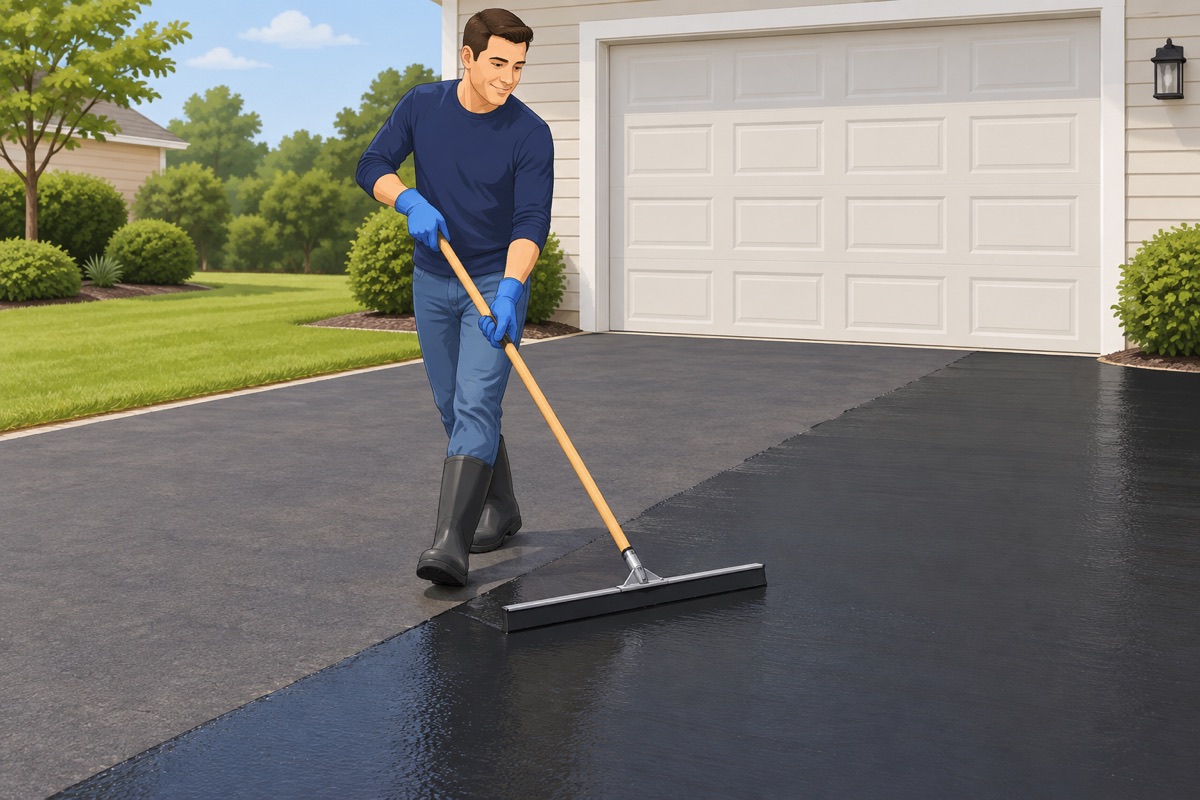
Wait until the first coat is dry to the time on the bucket, then put on the second coat the same way, going the other direction if the label suggests it.
Step 12 of 12
Let it cure and reopen
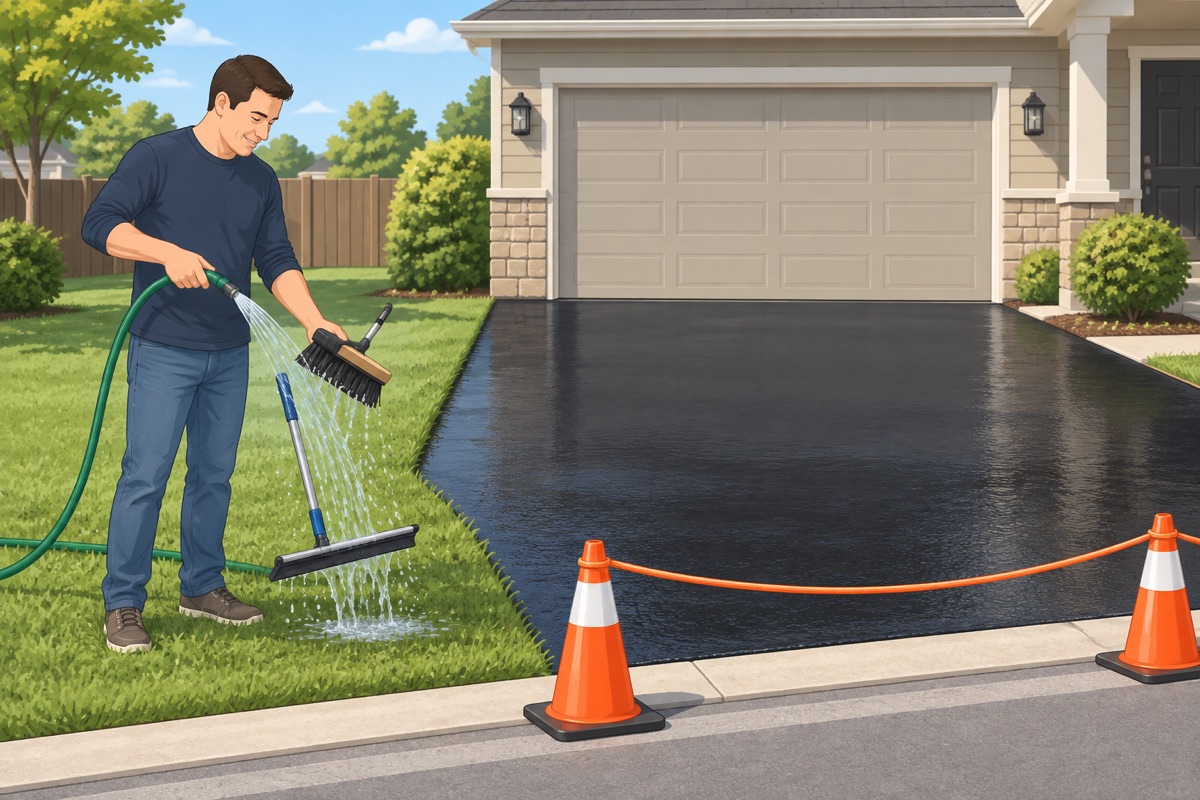
Keep the driveway closed: walking after the time on the bucket, driving after 24–48 h or longer if the label says. Clean the tools as the label says before the sealer dries on them.
Before you drive on it
- Two thin coats, even color, no puddles
- Edges covered up to the grass and the walls
- Cure time on the label has passed
- Tools cleaned and leftover sealer stored or taken to hazardous waste per the label
Common mistakes
- Putting the sealer on thick. A thick coat stays soft, peels, and tracks into the house on your shoes. Two thin coats, spread the way the bucket says, cure harder and last longer. Mistake #1 in this task.
- Sealing a new driveway. Fresh asphalt needs time to cure — commonly at least 6 months, or what the sealer label says. Sealing it early traps the oils and leaves it soft.
- Sealing when it is cool or rain is coming. Sealer needs warm, dry weather to cure: typically above 50 °F and no rain for 24 h, per the label. Rain on a fresh coat washes it down the street.
- Sealing over oil spots. Sealer will not bond to oil, and the spot peels within weeks. Degrease or prime every spot first.
- Sealing a damp driveway. After washing, the surface has to dry completely — including the cracks. Water under the sealer keeps it from bonding.
Draft guide written from standard practice, not yet reviewed by a licensed pro. Follow product labels where they differ.
Get this job planned for your room