How to regrout a shower
Short answer
To regrout a shower: tap the tiles and check the wall first, cut the old grout out by hand with the dust under control, clean the joints and let them dry the way the grout's label asks, pack a small batch of new grout into the joints, sponge off the haze at the right time, put silicone in the corners instead of grout, and wait the full cure time before the first shower. Difficulty 2 of 5; for a first-timer, plan on 1 weekend. Read the “Stop here” box below before step 1.
Draft guide written from standard practice, not yet reviewed by a licensed pro. Follow product labels where they differ.
Difficulty 2 of 5 · 1 weekend · careful
Stop here
Photo of your room, the look you pick, then this guide with the materials counted for your room.
What you need
- Grout for your joint width, in a matching color
- 100% silicone tub and tile caulk, mildew-resistant
- Grout sealer (only if the grout's label calls for it)
- Mildew cleaner for tub and tile
- Plastic sheeting and painter's tape
Tools
- Hand grout saw or carbide grout scraper — By hand only in this guide: a power tool makes fine dust and chips tile edges.
- Rubber grout float
- Two buckets and two grout sponges
- Margin trowel, for mixing by hand
- Shop vacuum with a fine-dust (HEPA) filter
- Utility knife and plastic caulk removal tool
- Caulk gun with a smooth trigger
- Safety glasses and a dust mask rated for fine dust (N95 or better)
- Rubber gloves
Step by step
Step 1 of 10
Tap the tiles and read the stop-gate
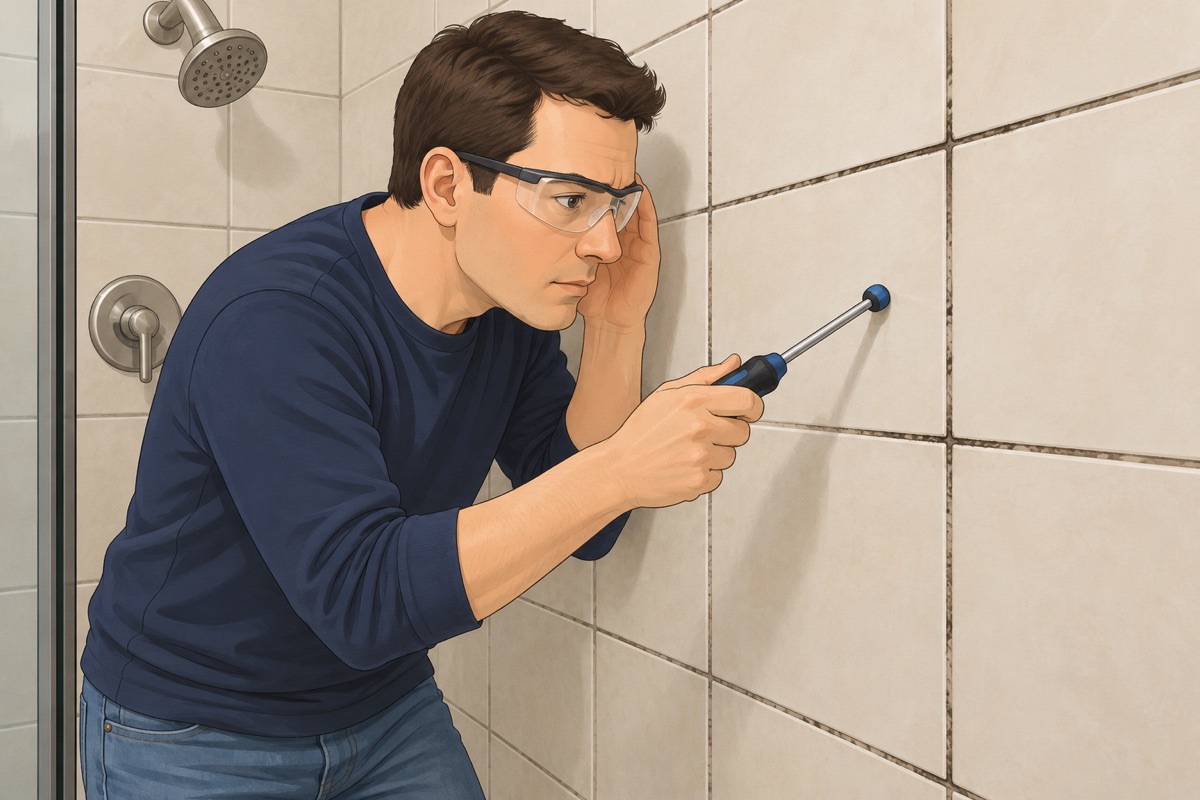
Tap each tile near the joints with the handle of a screwdriver: a hollow sound, a tile that moves, or a crack is a stop. Press the wall at the edges of the shower, and look for stains outside the shower, on the floor next to it, and on the ceiling below. Old grout that is hard and glossy like plastic may be epoxy — ask before you cut it. In a home from before 1980, or of unknown year, have the grout tested for asbestos first.
Before you cut any grout
- No loose, cracked, or hollow-sounding tiles, and the wall does not give when you press it
- No water stains outside the shower, on the floor next to it, or on the ceiling below
- In a home from before 1980 or of unknown year: the old grout tested negative for asbestos — otherwise a pro does this job
- Safety glasses and a dust mask rated for fine dust on, the fan running, and the window open if there is one
- Another shower can be used until the new grout and caulk have cured
Step 2 of 10
Cover the drain, the floor, and the fixtures
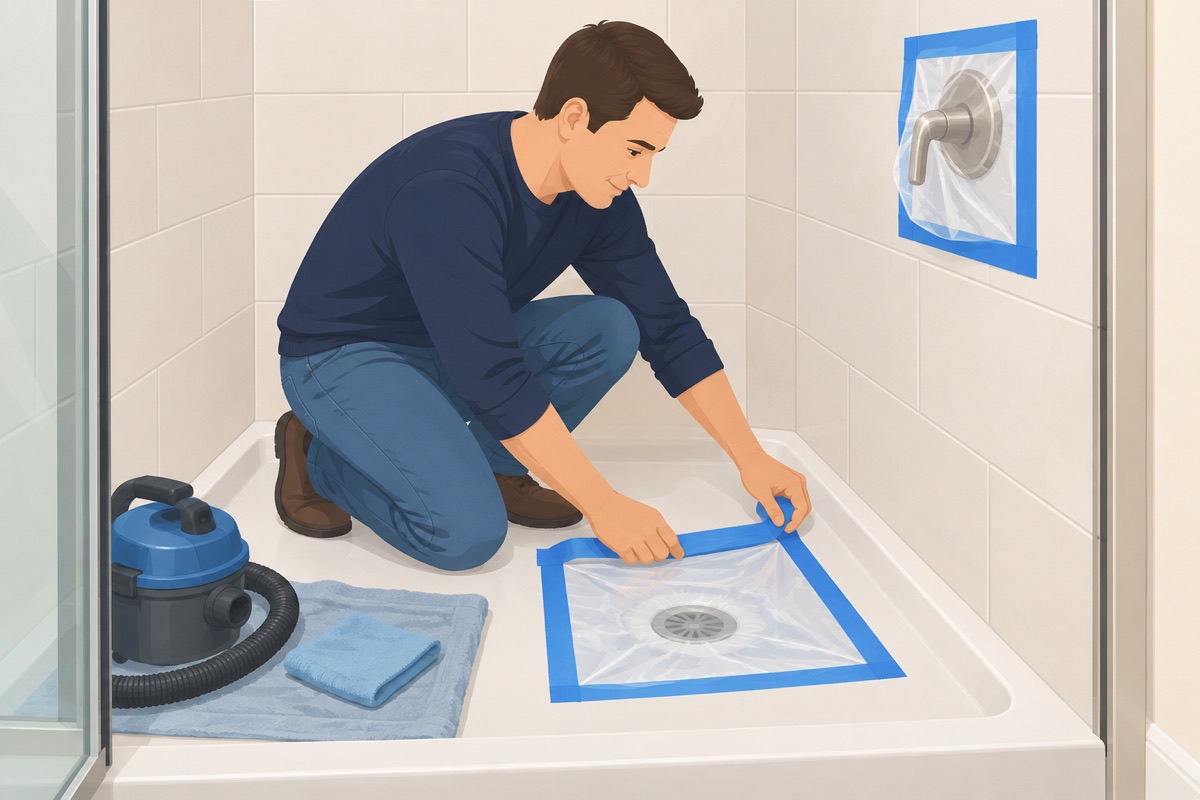
Tape plastic over the drain so grout and dust stay out of it. Cover the tub or the shower floor, and tape plastic over the valve handle and the shower head. Keep a damp cloth and the vacuum within reach.
Step 3 of 10
Cut the old grout out by hand
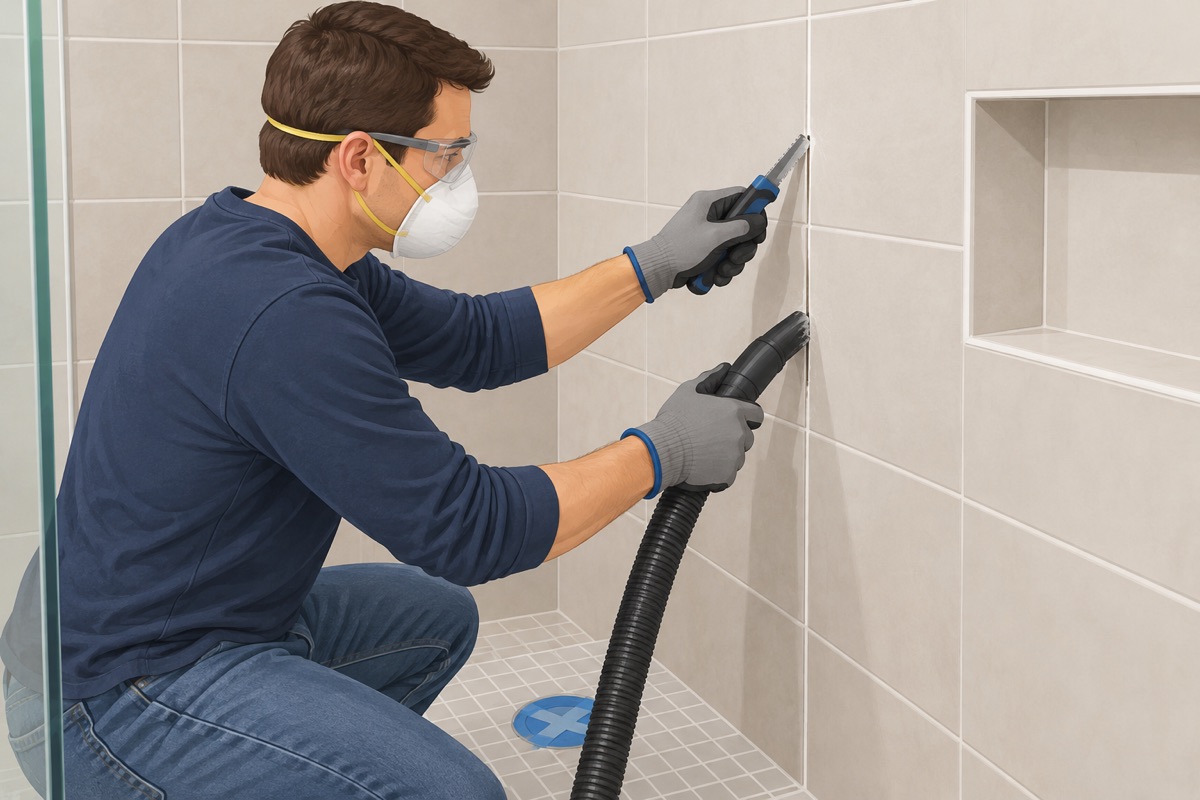
Run the grout saw down the middle of each joint with short, steady strokes, letting the blade do the work. Take the grout down as deep as the new grout's label asks, without prying against the tile edges. Vacuum the dust as you go instead of letting it fall. A tile that moves, or a wet or crumbling wall behind a joint, is a stop.
Step 4 of 10
Cut out the caulk in the corners and at the tub
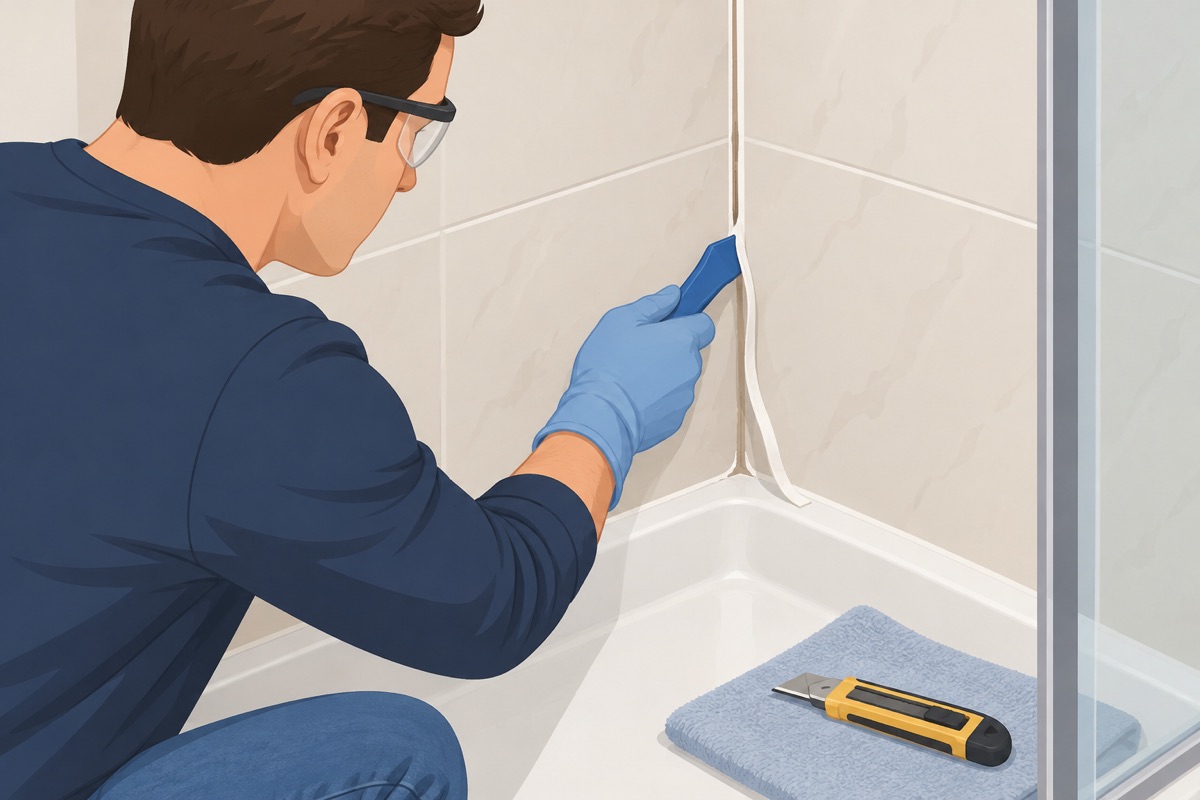
Cut the old caulk out of the inside corners and along the tub or the shower floor with the knife or the plastic tool, along both edges, and pull it out in strips. Plastic blades on an acrylic or fiberglass tub.
Step 5 of 10
Vacuum, wash, and let the joints dry
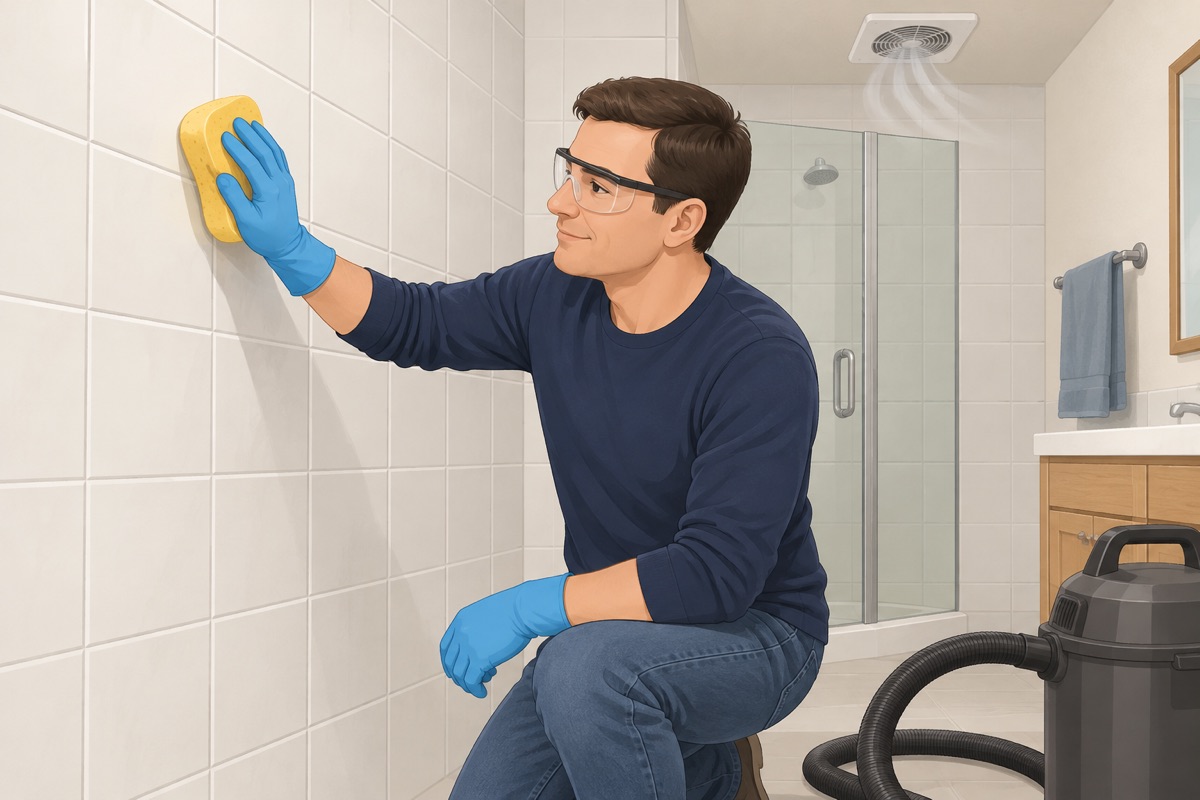
Vacuum every joint, then wipe the tile with a damp sponge. Clean mildew with the mildew cleaner as its label says, with the fan running, and rinse. Let the joints dry the way the grout's label asks — dampen them before grouting only if the label says so.
Step 6 of 10
Mix a small batch the way the label says
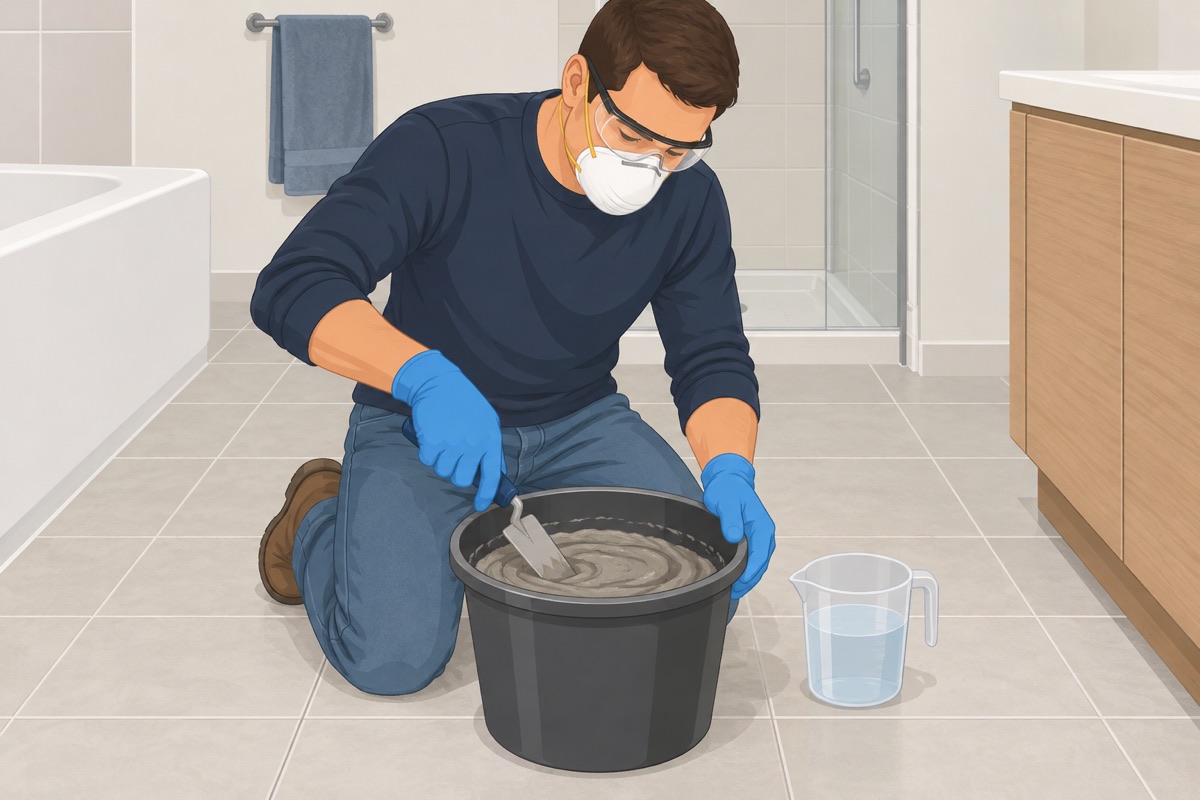
Measure the water the label gives, add the powder, and mix by hand to a smooth paste. Let it rest and remix if the label says so. Mix only what you can pack and clean in the label's working time; a premixed grout goes straight from the tub.
Step 7 of 10
Pack the joints, a small area at a time
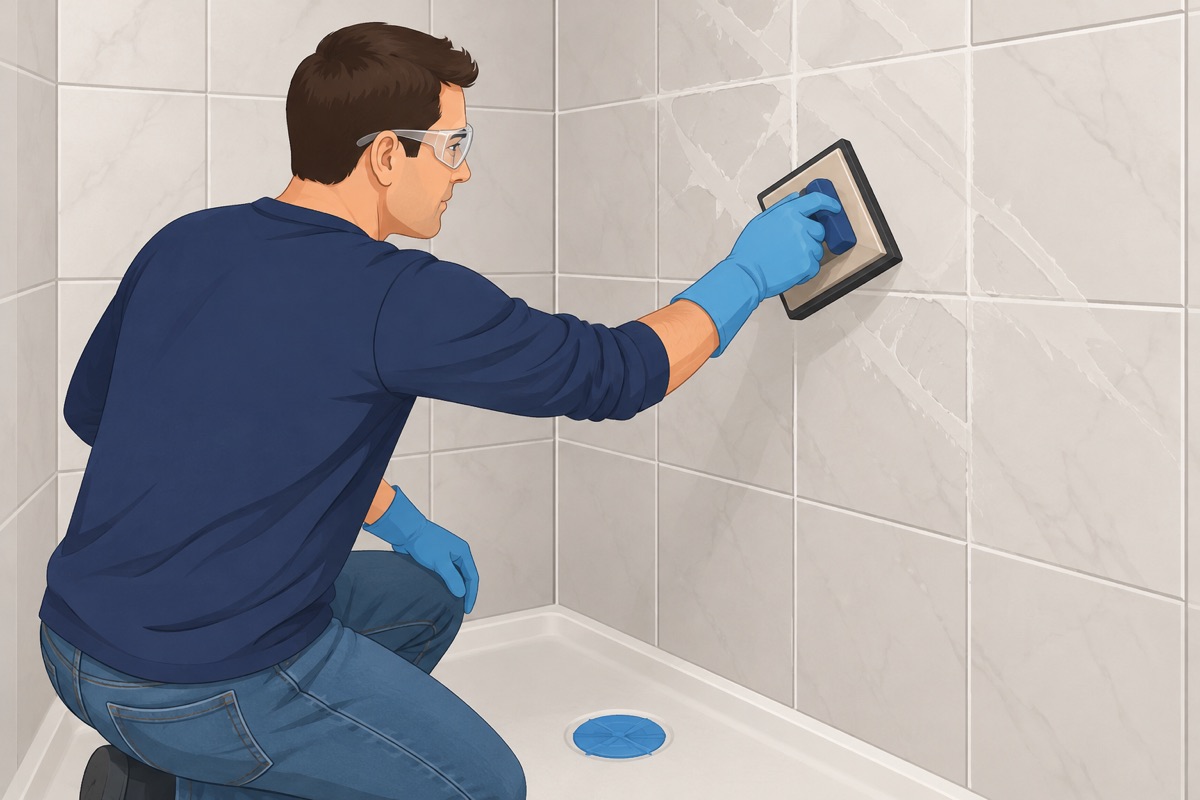
Load the float and push the grout into the joints at an angle, working diagonally across them so the float does not dig grout back out. Press until every joint is full. Leave the inside corners and the joint at the tub or the shower floor empty: they take silicone, not grout. Scrape the excess off with the float held on edge, again diagonally. Work a small area, then clean it before the next.
Step 8 of 10
Sponge off the haze at the right time
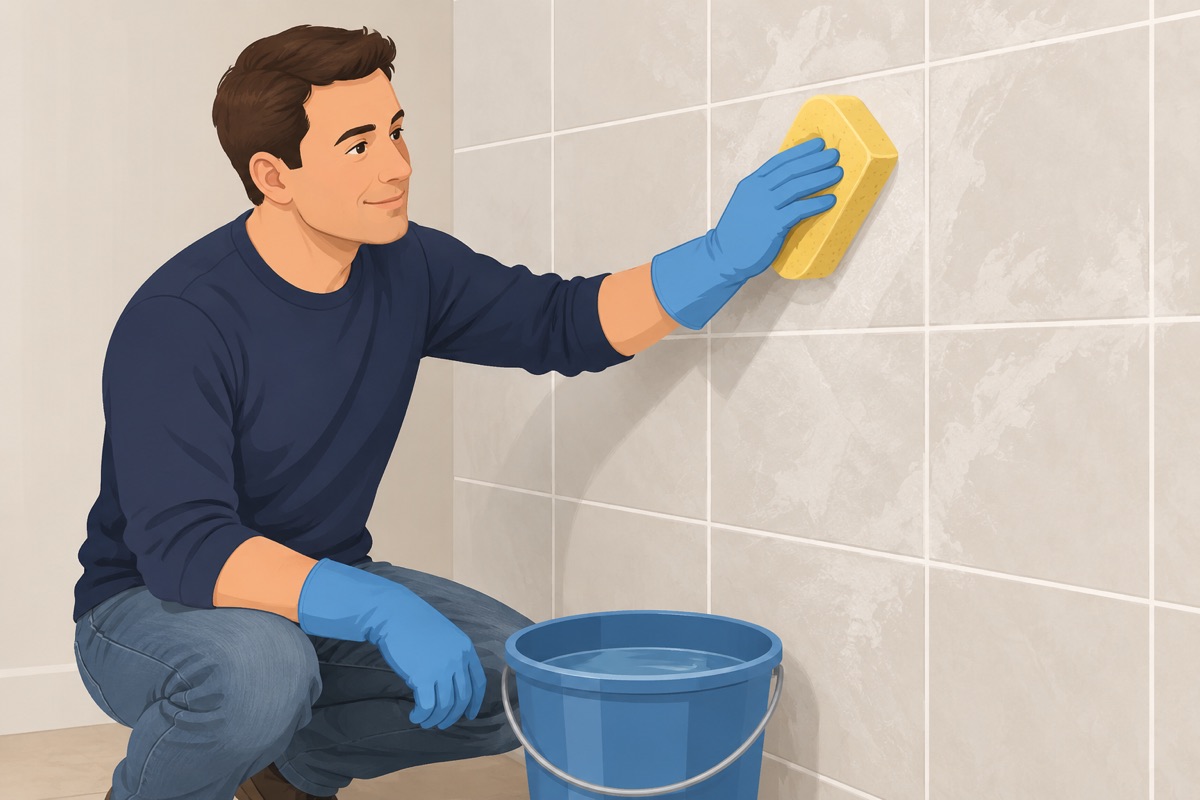
Wait the time the label gives, until the grout is firm. Wipe the tile with a sponge wrung almost dry, in light passes, shaping the joints evenly and rinsing the sponge often in the second bucket. Buff the last haze off with a dry cloth when the label says.
Step 9 of 10
Silicone the corners and the tub joint after the grout cures
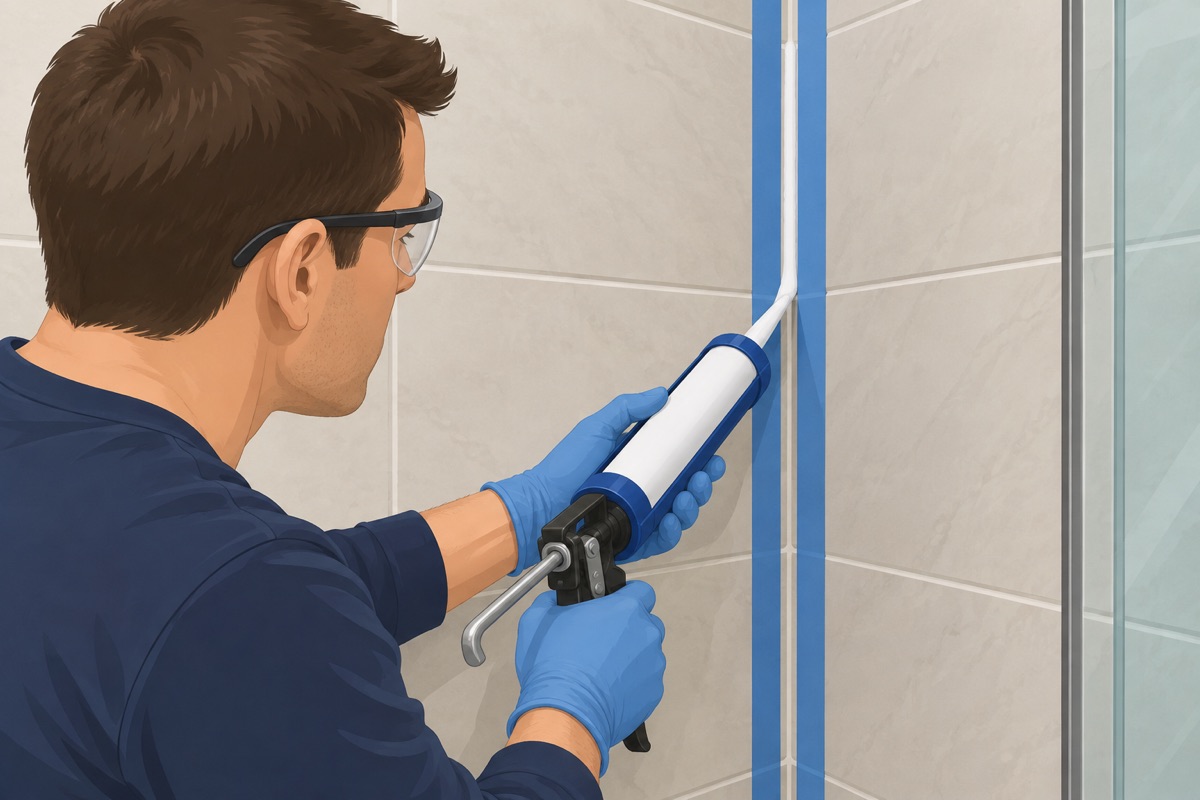
When the grout's label allows, run a bead of silicone in the inside corners and along the tub or the shower floor, as in the tub recaulk guide: clean and dry joint, tape on both sides, one steady bead, smoothed, tape pulled right away.
Step 10 of 10
Let it cure, seal if the label says, then check
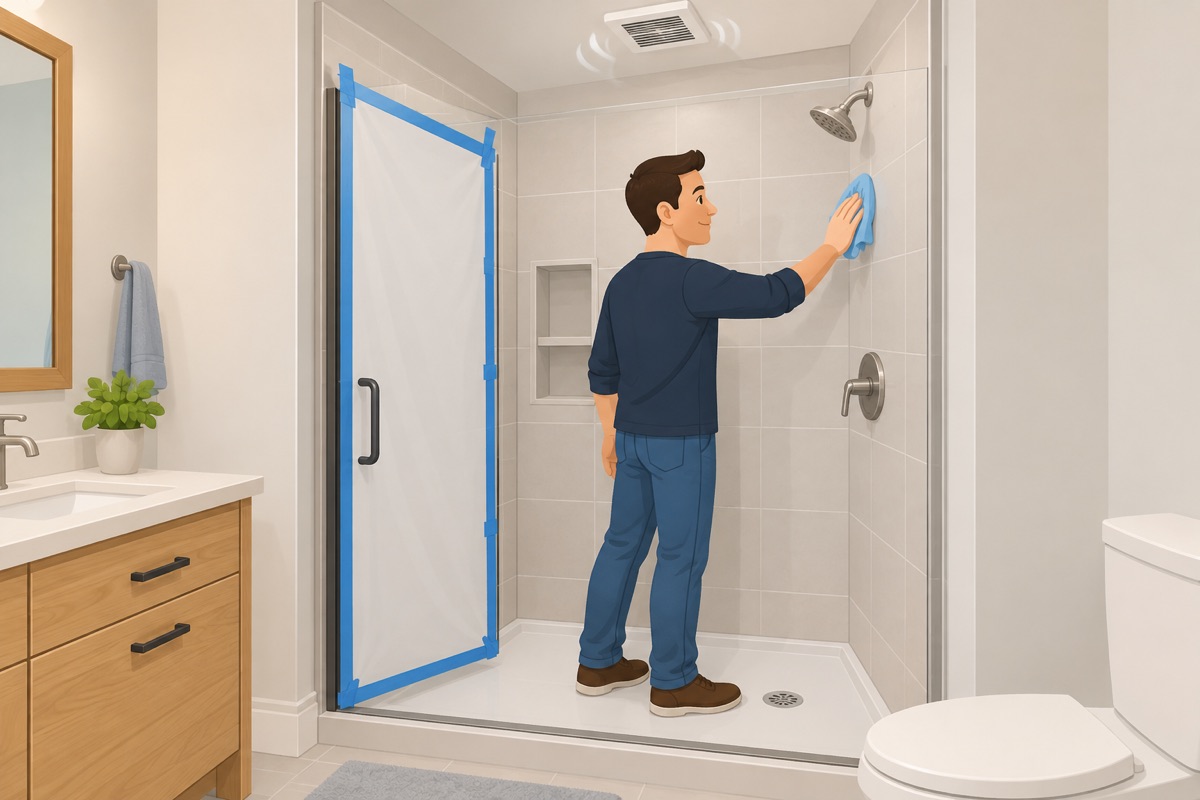
Keep water off the shower for the full cure time on the grout's and the caulk's labels, with the fan running. Seal the grout only if its label calls for it, when and how the sealer's label says. Clean up the last dust with a damp cloth or the HEPA vacuum, then look at every joint.
Quality check
- Every joint is full and even, with no pinholes, gaps, or low spots
- No tile was cracked or chipped, and none moves
- The corners and the tub joint carry a continuous silicone bead, not grout
- The grout and the caulk have cured for the time on their labels before the first shower
- The dust was cleaned up with a damp cloth or a HEPA vacuum, not swept
Common mistakes
- Cutting grout with a power tool or prying on the tile. A grinder or a power blade throws fine dust into the room, chips the glaze at the tile edges, and can crack a tile. Prying against a tile edge does the same. Cut each joint by hand, down the middle, with short strokes. Mistake #1 in this task.
- Adding extra water to the grout. Grout mixed wetter than the label says spreads easily and then shrinks, cracks, turns powdery, and dries blotchy. Measure the water the label gives, and mix only what you can use in its working time.
- Sponging too early or too wet. A sponge that goes in before the grout firms up, or drips with water, pulls grout out of the joints and leaves them low and weak. Wait the time the label gives, wring the sponge almost dry, and rinse it often.
- Grouting the corners. Inside corners and the joint at the tub or the shower floor move a little, and grout there cracks. They take a silicone bead after the grout cures.
- Showering before the grout cures. Grout that is dry to the touch is not cured. Water on it too early weakens it and washes color out. Wait the full cure time on the grout's and the caulk's labels.
Questions
How do you regrout a shower?
Tap the tiles and look for stains first: loose or hollow tile or a wet wall is a stop. Cover the drain, then cut the old grout down the middle of each joint with a hand grout saw, as deep as the new grout's label asks, vacuuming as you go. Clean and dry the joints, mix a small batch with the water the label gives, pack it in diagonally with a rubber float, sponge the haze off when the label says, silicone the corners, and keep water off for the full cure time.
Can I use a power tool to remove old grout?
Not in this guide. A grinder or a power blade throws fine dust into the room, chips the glaze at the tile edges and can crack a tile. Cut each joint by hand with short strokes, wearing eye protection and a dust mask rated for fine dust, with the fan running. In a home from before 1980, or of unknown year, have the grout tested for asbestos before you cut it out.
Do I grout or caulk the corners of a shower?
Caulk them. Inside corners and the joint at the tub or the shower floor move a little, and grout there cracks. Cut the old caulk out, and after the grout cures run one steady bead of silicone there, the same way as in the tub recaulk guide: clean and dry joint, tape on both sides, smoothed, tape pulled right away.
When should I stop and call a pro?
This guide replaces worn, stained, or cracked grout between tiles that are still solid. New grout is not a waterproofing repair. Stop and get a tile pro if: tiles are loose, cracked, or sound hollow when you tap them, or come away once the grout is out; the wall behind the tile is soft, crumbles, or is wet, or water shows up outside the shower, under the floor, or on the ceiling below — the waterproofing behind the tile may have failed, and new grout only hides it; mold comes back through the grout soon after cleaning, or the wall smells musty; the shower floor moves, cracks, or holds water away from the drain; or the old grout is epoxy — removing it is a different job. In a home from before 1980, or of unknown year, old grout and tile adhesive may contain asbestos: have the grout tested before you cut it out, or hire the job out — never grind or power-cut it. Cutting grout makes fine dust: wear eye protection and a dust mask rated for fine dust, keep the fan running, and clean up with a damp cloth or a HEPA vacuum, not a broom. Cleaners are chemicals: use them only as their labels say, and never mix a bleach product with an ammonia or acid cleaner.