How to recaulk a bathtub
Short answer
To recaulk a tub: check the tile and the wall around it first, cut every bit of the old caulk out by hand, clean off the soap film and the mildew, let the seam dry completely, fill the tub with water, tape both edges, run one steady bead of silicone, smooth it and pull the tape right away, then wait the full cure time on the tube before the first shower. Difficulty 1 of 5; for a first-timer, plan on about half a day. Read “When to stop” below before you start.
Draft guide written from standard practice, not yet reviewed by a licensed pro. Follow product labels where they differ.
Difficulty 1 of 5 · about half a day · you can do this
Photo of your room, the look you pick, then this guide with the materials counted for your room.
What you need
- 100% silicone tub and tile caulk, mildew-resistant
- Caulk remover (optional)
- Mildew cleaner for tub and tile
- Rubbing alcohol
- Painter's tape
- Foam backer rod (only for a deep gap)
Tools
- Caulk gun with a smooth trigger
- Plastic caulk removal tool
- Utility knife or razor scraper — Plastic blades on an acrylic or fiberglass tub; a metal blade scratches it.
- Nylon scrub brush
- Clean rags and paper towels
- A fan, for drying the seam
- Rubber gloves and eye protection
Step by step
Step 1 of 8
Look at the seam and read the stop-gate
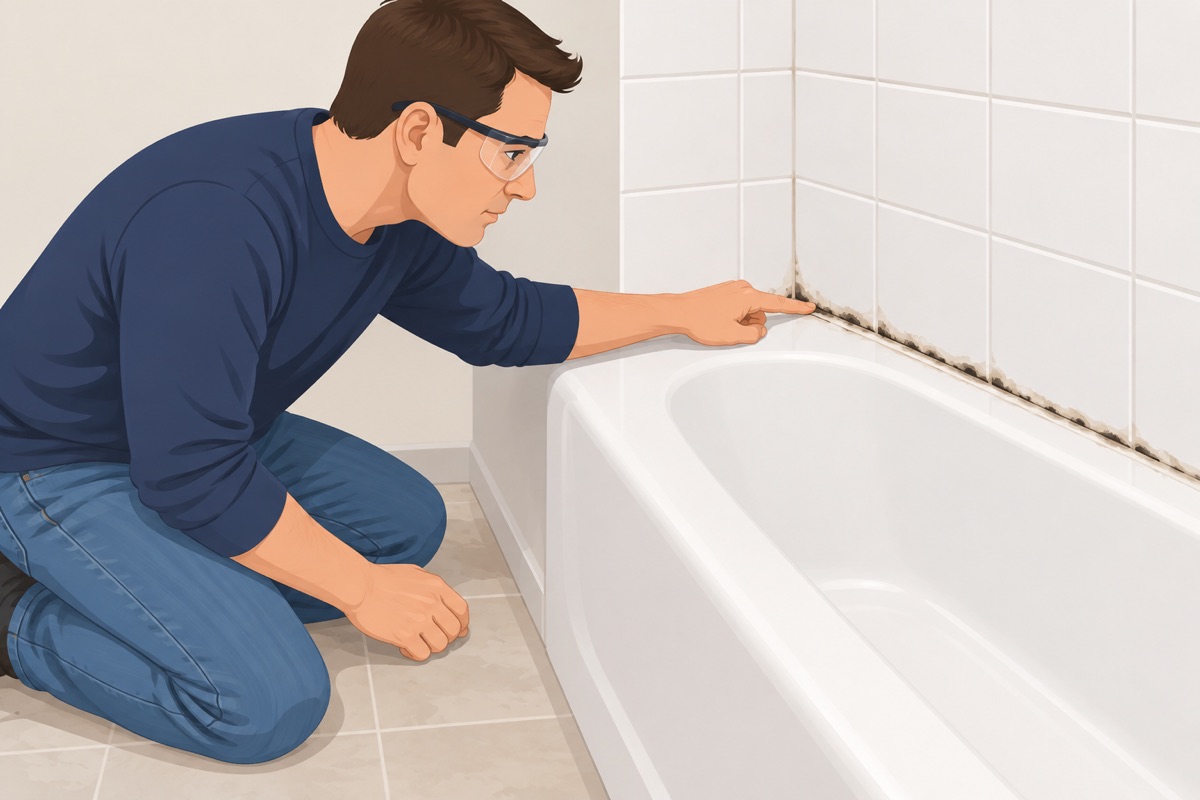
Look along the seam between the tub and the tile or the wall. Press the tiles next to the tub and the wall below the soap dish: loose or hollow tile, a soft wall, or water stains below or behind the tub are a stop. Black spots in the caulk itself come out with it; mold that keeps coming back through the grout, or a musty smell from the wall, is a stop. In a home from before 1980, plan to cut the old caulk out by hand — no sanding or grinding.
Before you cut the old caulk
- No loose or hollow tiles, soft wall, or water stain at the tub
- The tub does not move or flex when you step in
- In a home from before 1980 or of unknown year: the old caulk comes out by hand, with no sanding, grinding, or power tools — or it tested negative for asbestos
- The fan runs, and the window is open if there is one
Step 2 of 8
Cut the old caulk out
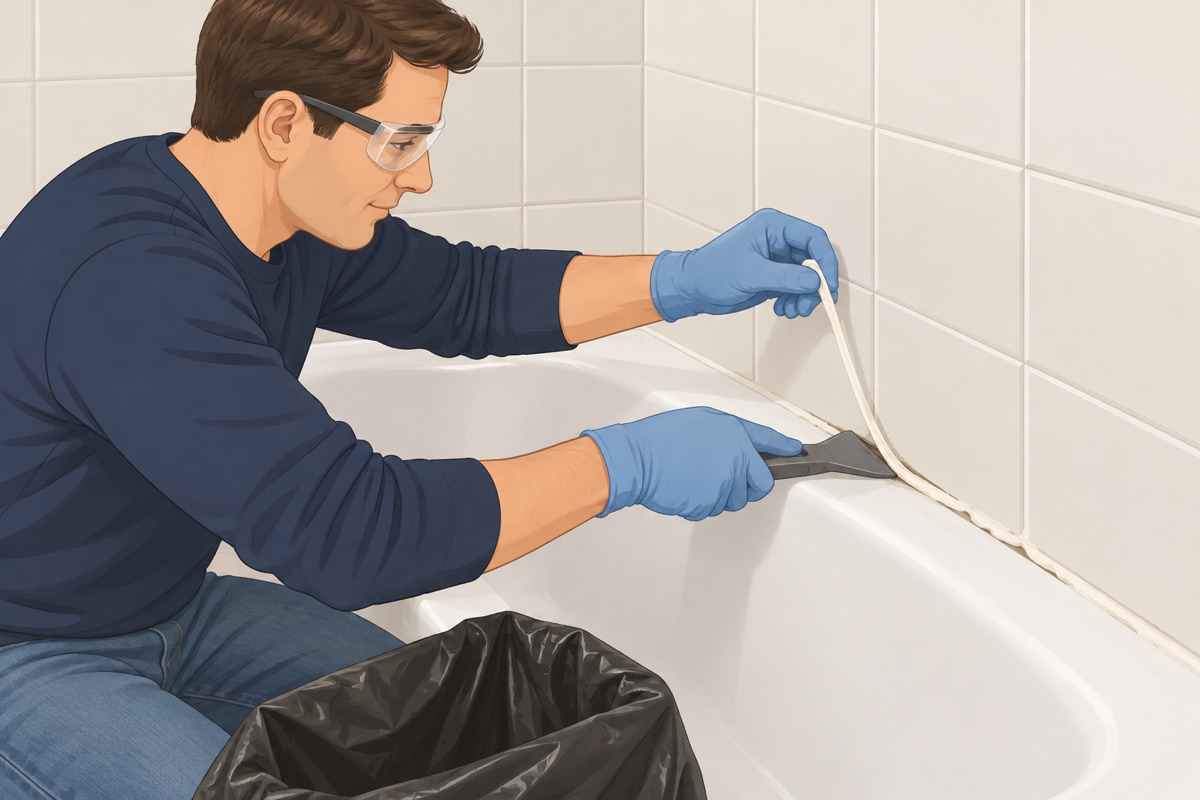
Run the knife or the plastic tool along both edges of the old bead, on the tile side and the tub side, and pull it out in strips. Use plastic blades on an acrylic or fiberglass tub. For stubborn bits, a caulk remover used as its label says softens them. No sanding, no grinding, no power tools on the joint.
Step 3 of 8
Scrape off every trace and clean off the mildew
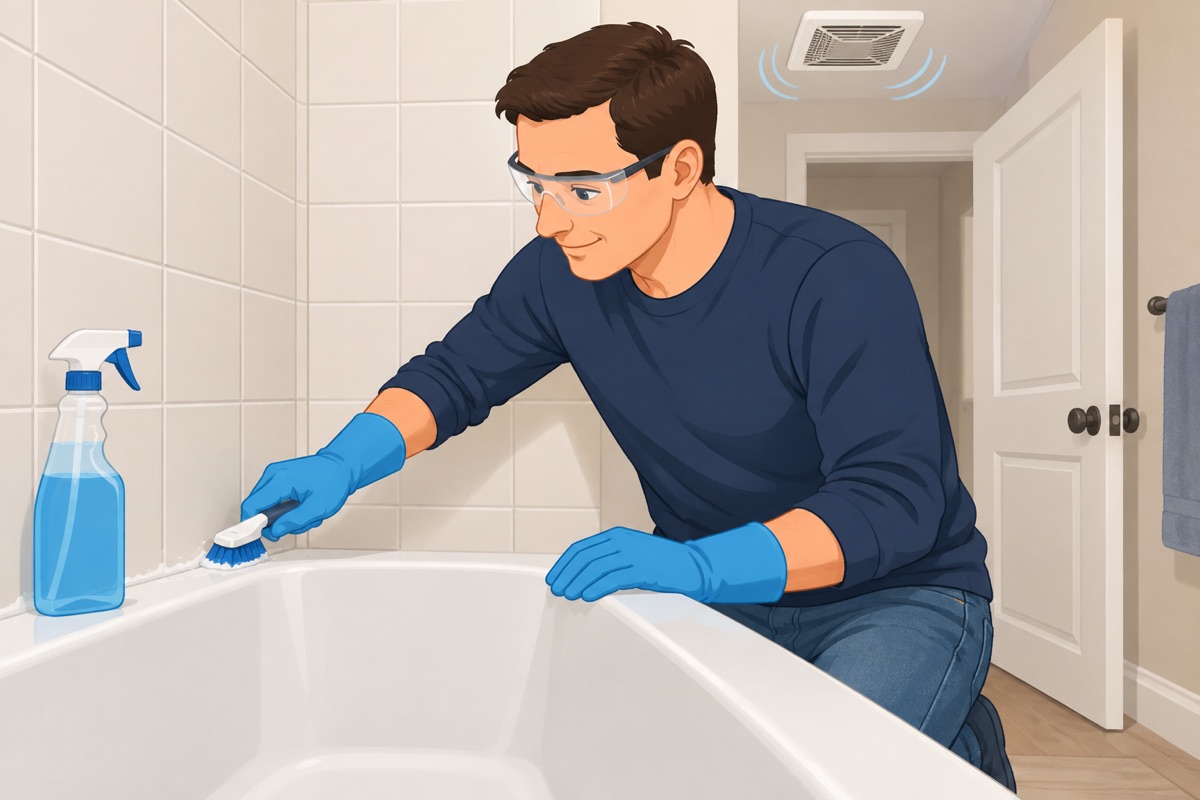
Scrape the leftover film off the tub and the tile with the plastic tool. Spray the seam with the mildew cleaner, leave it the time its label says with the fan running, then scrub with the brush and rinse with plenty of water. Never mix a bleach product with an ammonia or acid cleaner. Black stains that stay in the grout after cleaning are a stop-gate question, not something to caulk over.
Step 4 of 8
Dry the seam completely
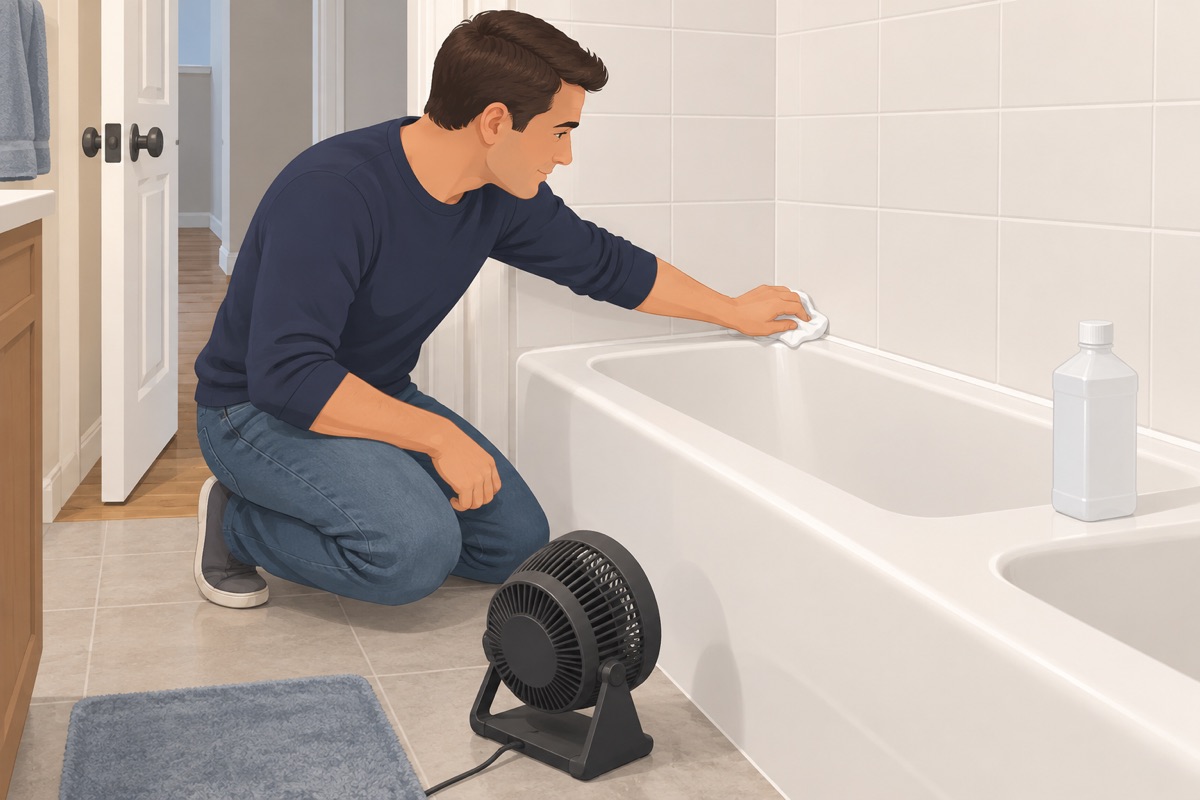
Wipe the seam with rubbing alcohol on a clean rag, then let it dry with the fan running and the door open; a fan pointed at the seam speeds it up. Do not rush it: the joint must be completely dry before you go on, as the caulk's label says.
Step 5 of 8
Fill the tub and tape the edges
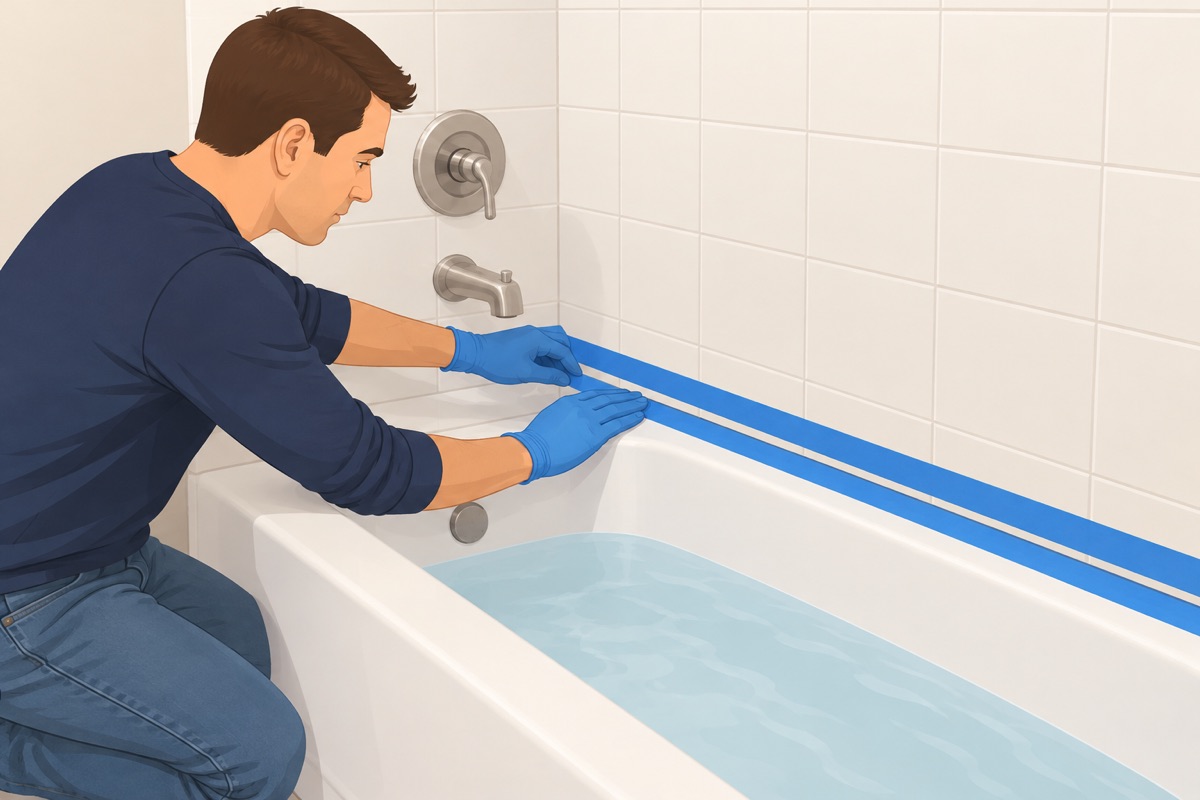
Fill the tub with water so it sits the way it does in use, and leave it full until the bead has set. Run painter's tape along the tile and along the tub, leaving a strip the width of the bead you want between them. For a gap deeper than the caulk's label allows, press foam backer rod into it first.
Step 6 of 8
Run one steady bead
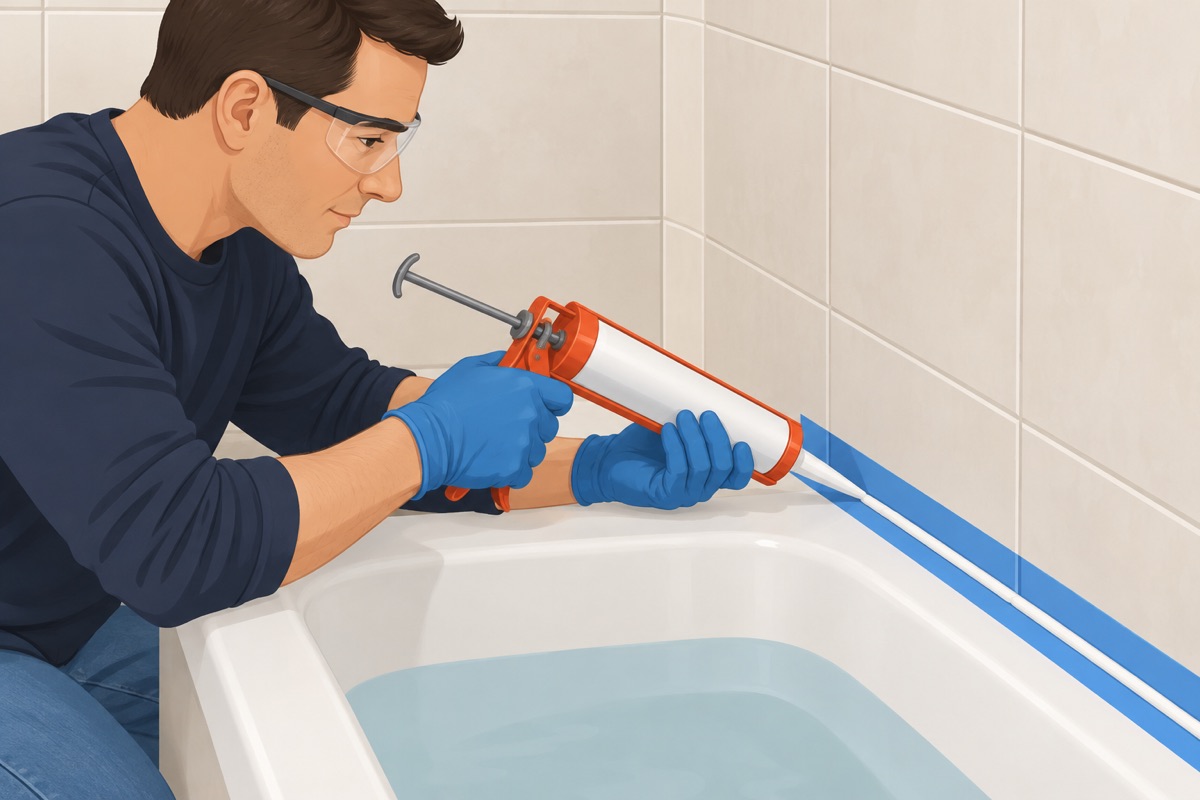
Cut the tube tip at an angle, small at first — you can cut it bigger, not smaller. Push the bead into the joint in one steady pass per side, at an even speed. Start in a corner and work out.
Step 7 of 8
Smooth the bead and pull the tape
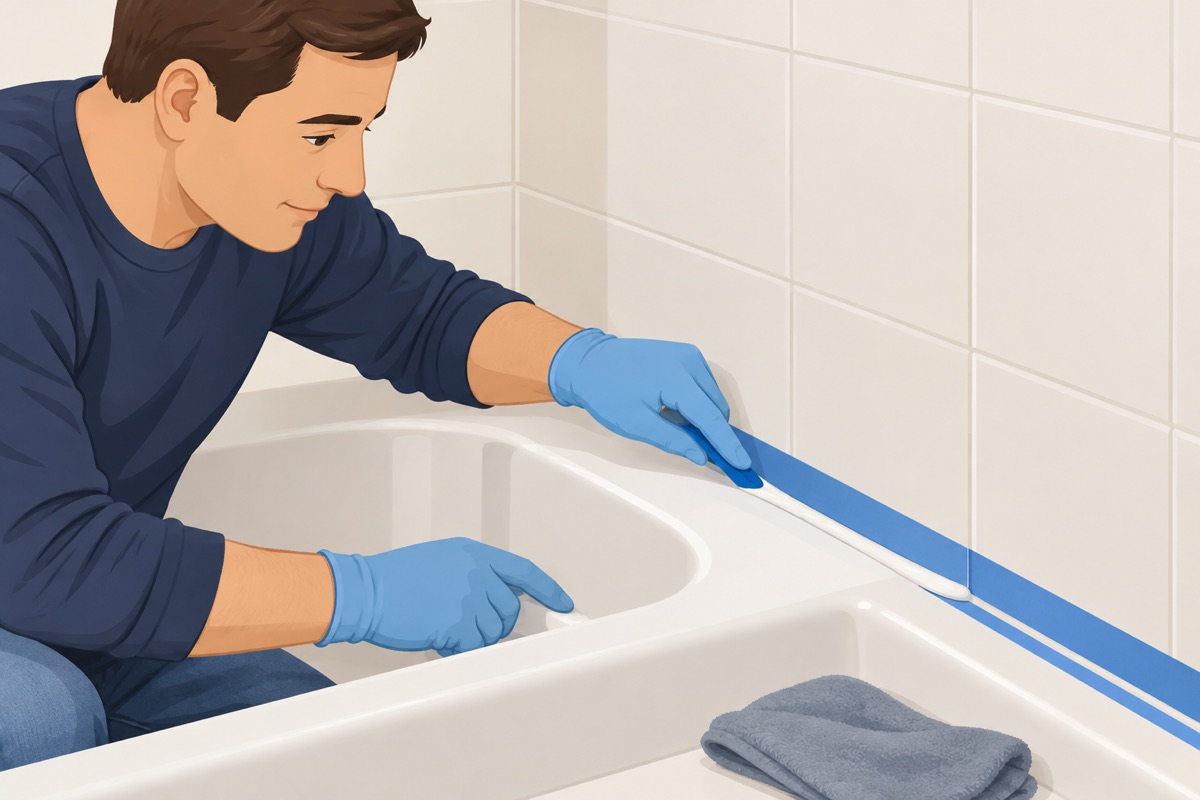
Smooth the bead in one pass with a caulk tool or a fingertip in a glove, pressing it into the joint. Pull the tape right away, slowly, away from the bead. Wipe stray caulk with a dry rag before it skins over.
Step 8 of 8
Let it cure, then check
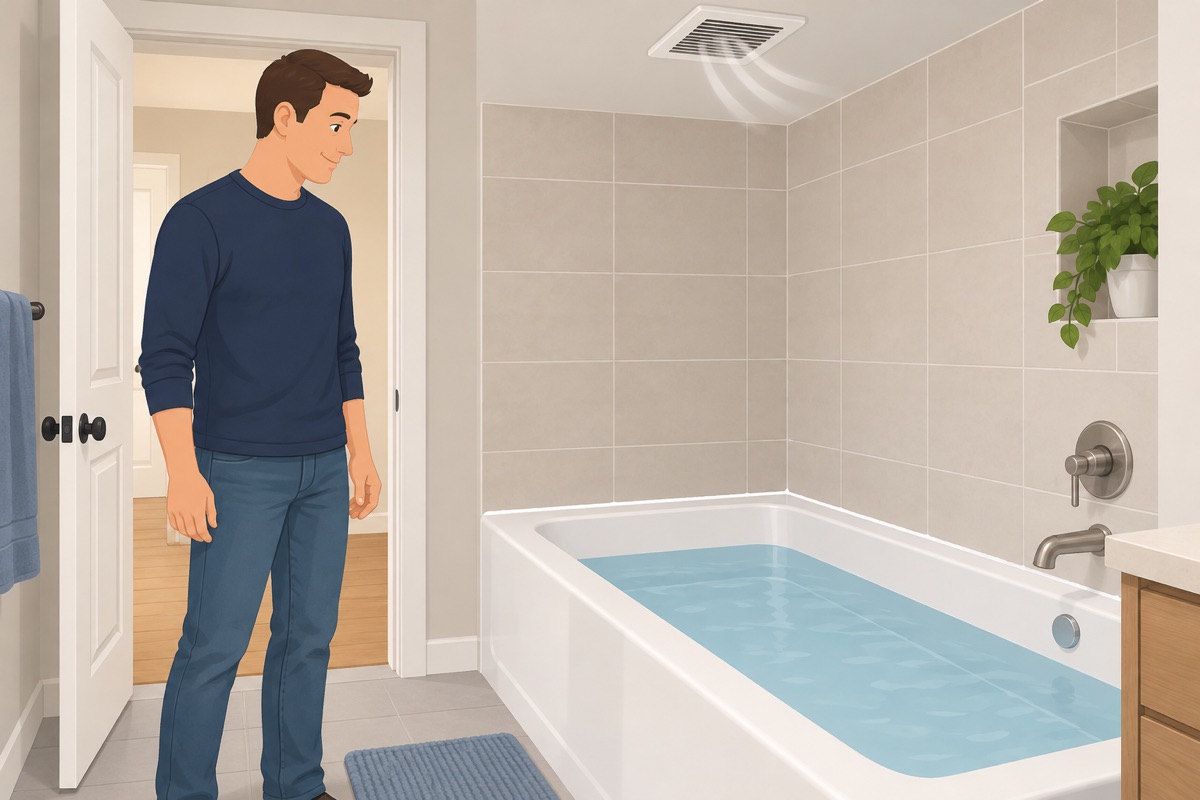
Leave the tub full until the bead has set as the label says, then drain it. Keep water off the caulk for the full cure time on the tube, with the fan running. Then look along the whole seam.
Quality check
- The new bead is continuous, with no gaps, holes, or thin spots
- It sticks to the tub and the tile along both edges — nothing lifts when you press it
- No old caulk is left under or next to the new bead
- The full cure time on the tube has passed before the first shower
Common mistakes
- Caulking over the old caulk. New silicone does not stick to old silicone, and a bead laid over mildew seals it in. Every bit of the old bead comes out, down to clean tub and tile. Mistake #1 in this task.
- Caulking a seam that is still wet. Water left in the joint keeps the new bead from bonding, and it peels within weeks. Let the seam dry completely, with a fan on it, before the tape and the bead.
- Caulking an empty tub. A tub settles a little when it is full of water and a person. Caulked empty, the bead stretches and tears the first time the tub is used. Fill it with water before you caulk and leave it full until the bead has set, as the label says.
- Pulling the tape too late. Tape pulled after the caulk skins over tears the edge of the bead. Pull it right after smoothing, slowly, away from the bead.
- Using the tub before the caulk cures. Silicone dries on the surface long before it cures through. Water on it too early washes it out or leaves it soft. Wait the full cure time on the tube before the first shower.
Questions
How do you recaulk a bathtub?
Cut the old bead out along both edges with a knife or a plastic tool and pull it out in strips. Scrape off the film, clean the seam with a mildew cleaner as its label says, rinse, and let it dry completely. Fill the tub with water, run painter's tape along the tile and the tub, push one steady bead of silicone into the joint, smooth it in one pass, and pull the tape right away.
Can I put new caulk over old caulk?
No. New silicone does not stick to old silicone, and a bead laid over mildew seals it in. Every bit of the old bead comes out, down to clean tub and tile, and the seam has to be completely dry before the new bead goes on.
Should the tub be full of water when you caulk it?
Yes. A tub settles a little when it is full of water and a person. Caulked empty, the bead stretches and tears the first time the tub is used. Fill it before you caulk, leave it full until the bead has set as the label says, and keep water off the caulk for the full cure time on the tube.
When should I stop and call a pro?
This is a surface job: old caulk out, the seam cleaned and dried, a new bead in. Stop and get help if: tiles next to the tub are loose or sound hollow, the wall or the floor next to the tub is soft or stained, or water shows up behind the tile or under the tub — that is a leak or a failing wall, and new caulk only hides it; mold comes back through the grout or the wall after cleaning, or the wall smells musty — the mold may be behind it; the gap between the tub and the wall is wider or deeper than the caulk's label allows; or the tub moves or flexes when you step in. In a home from before 1980, old caulk, the grout next to it, and old tile adhesive may contain asbestos: do not sand, grind, or power-scrape them — cut the old caulk out by hand, or have it tested first. Mildew cleaners and caulk removers are chemicals: use them only as their labels say, with the fan running, and never mix a bleach product with an ammonia or acid cleaner.