How to replace a shower head
Short answer
To replace a shower head: turn the shower off at its handle and cover the drain, unscrew the old head without letting the arm turn, brush the arm's threads clean, wrap them with thread tape if the new head's sheet asks for it, screw the new head on by hand plus the small turn its sheet allows, and check for drips at the head and at the wall plate. Difficulty 1 of 5; for a first-timer, plan on about half a day. Read “When to stop” below before you start.
Draft guide written from standard practice, not yet reviewed by a licensed pro. Follow product labels where they differ.
Difficulty 1 of 5 · about half a day · you can do this
Photo of your room, the look you pick, then this guide with the materials counted for your room.
What you need
- Shower head (fixed, handheld, or combo)
- Thread seal tape (PTFE)
- White vinegar (only for a head stuck with scale)
- New shower arm and wall plate (only if the old arm is damaged)
Tools
- Adjustable wrench or channel-lock pliers
- A rag or a rubber jar opener, to pad the jaws
- Old toothbrush or a small brush, for the threads
- A towel for the tub and a rag for the drain
Step by step
Step 1 of 9
Read the new head's sheet
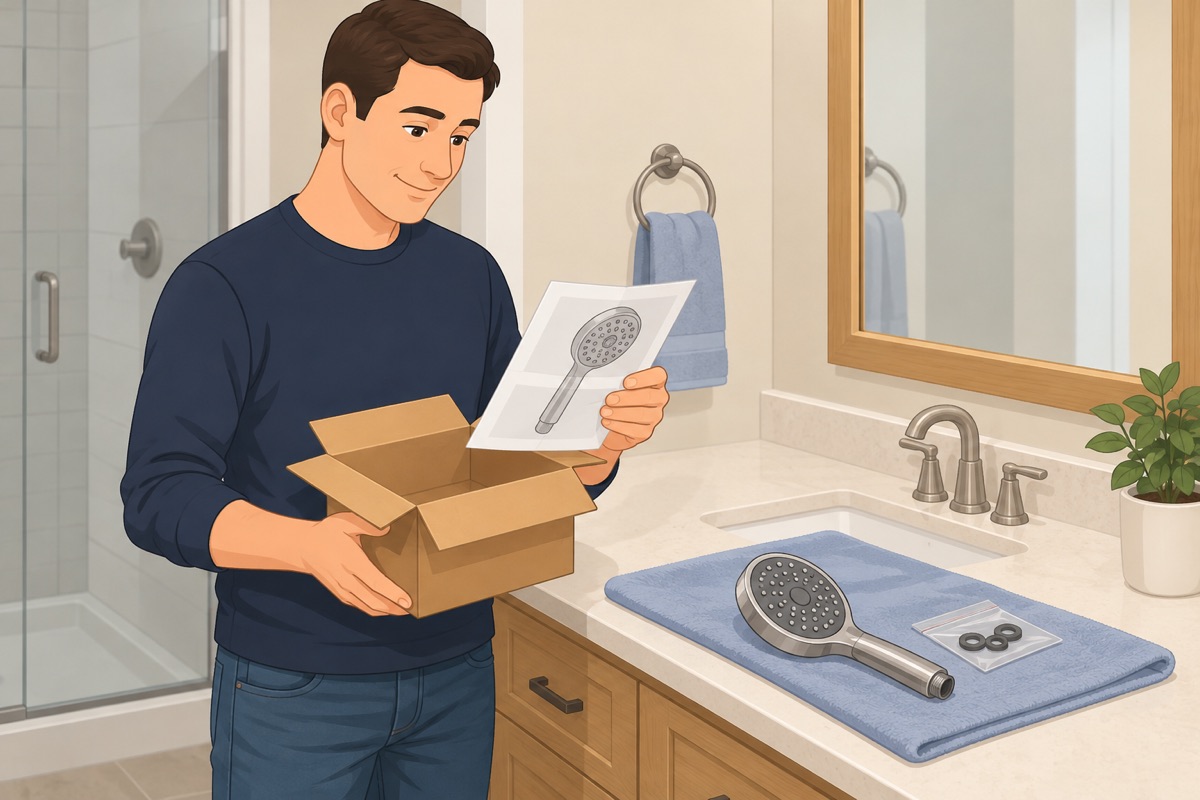
Read the new head's instructions before you start: what comes in the box, whether it wants thread tape or seals with its own washer, and how far to tighten it. A handheld or a combo head also comes with a hose and a bracket or a diverter that goes on the arm first.
Step 2 of 9
Look at the arm and the wall around it
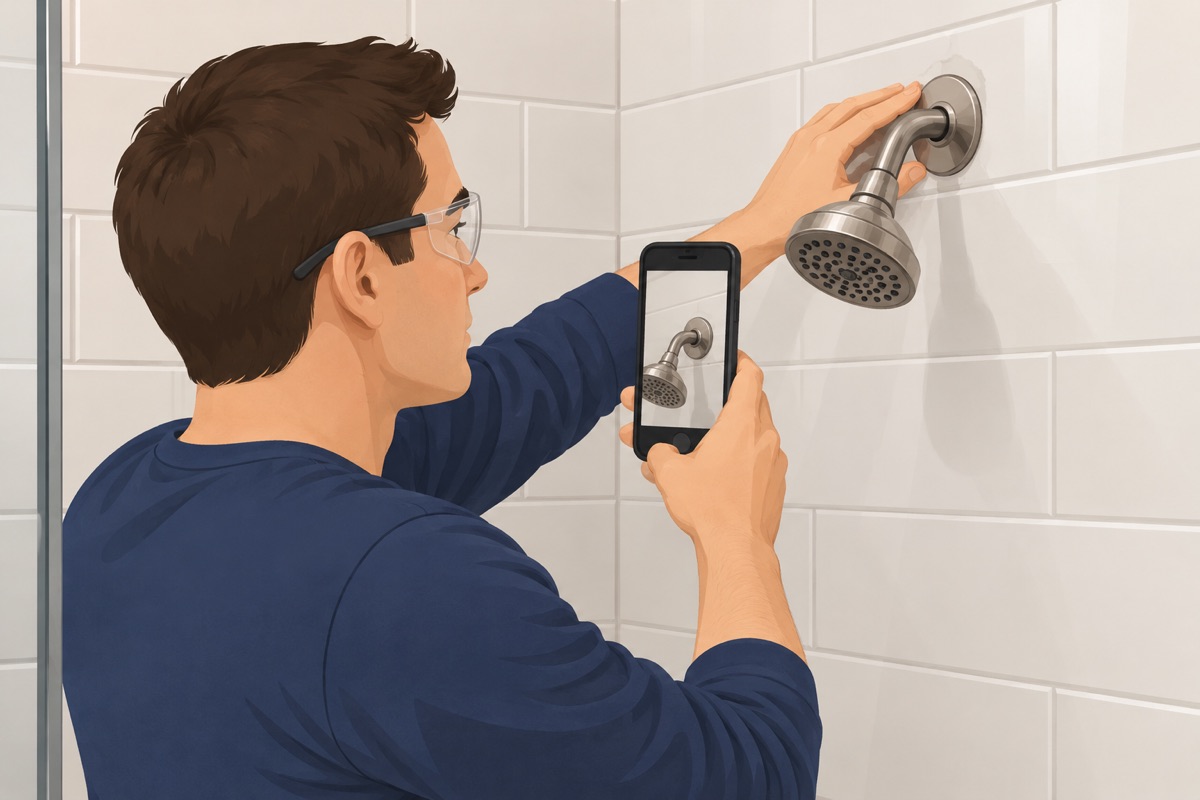
Look at the arm where it leaves the wall and at the wall plate around it. Water stains, soft drywall, cracked or loose tile around the arm, or an arm that wobbles in the wall are a stop — see the stop-gate. Take a photo of how the old head and its parts go together.
Step 3 of 9
Shower off, drain covered
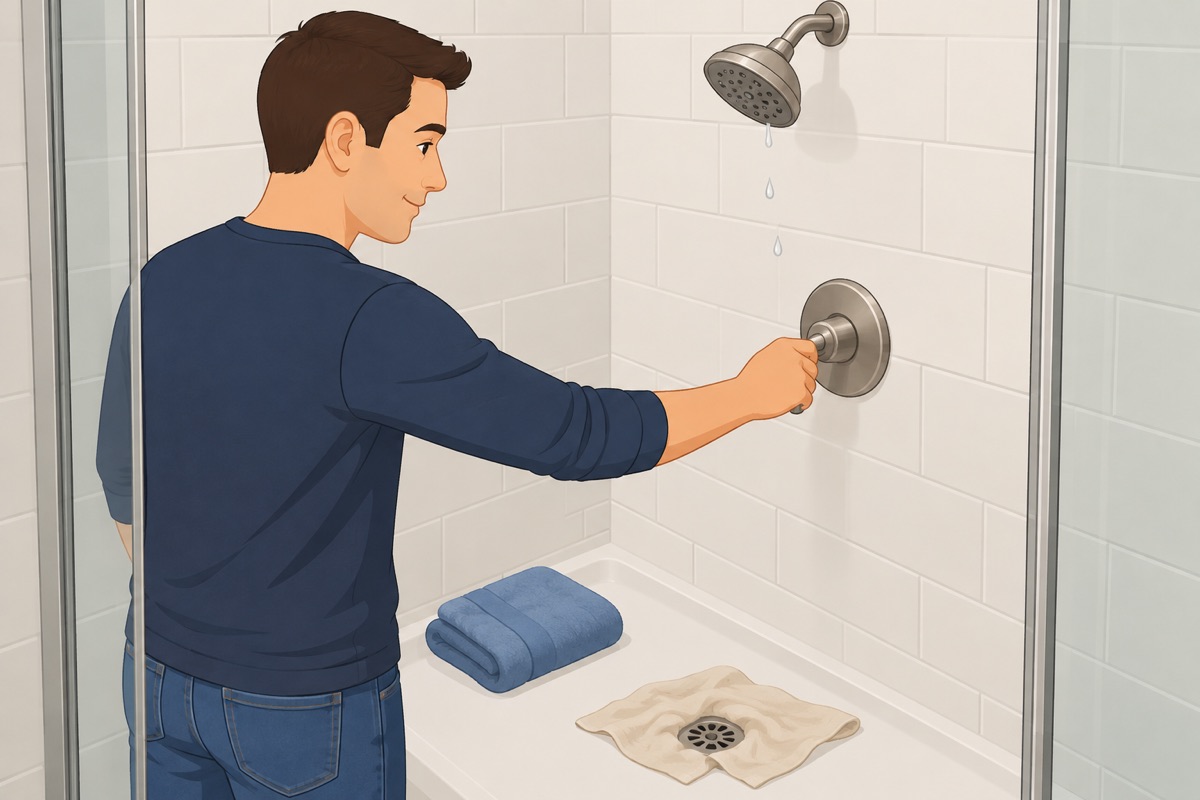
Turn the shower off at its handle and let the head drain. Close the drain or cover it with a rag, and lay a towel in the tub or the shower pan so a dropped wrench does not chip it.
Before the old head comes off
- The shower is off at its handle and no water runs from the head
- The drain is covered and a towel lies in the tub or the shower pan
- The arm is firm in the wall, with no water stain, soft wall, or loose tile around it
- You know where the home's main water shutoff is, in case the arm or the fitting in the wall leaks
Step 4 of 9
Take the old head off without turning the arm
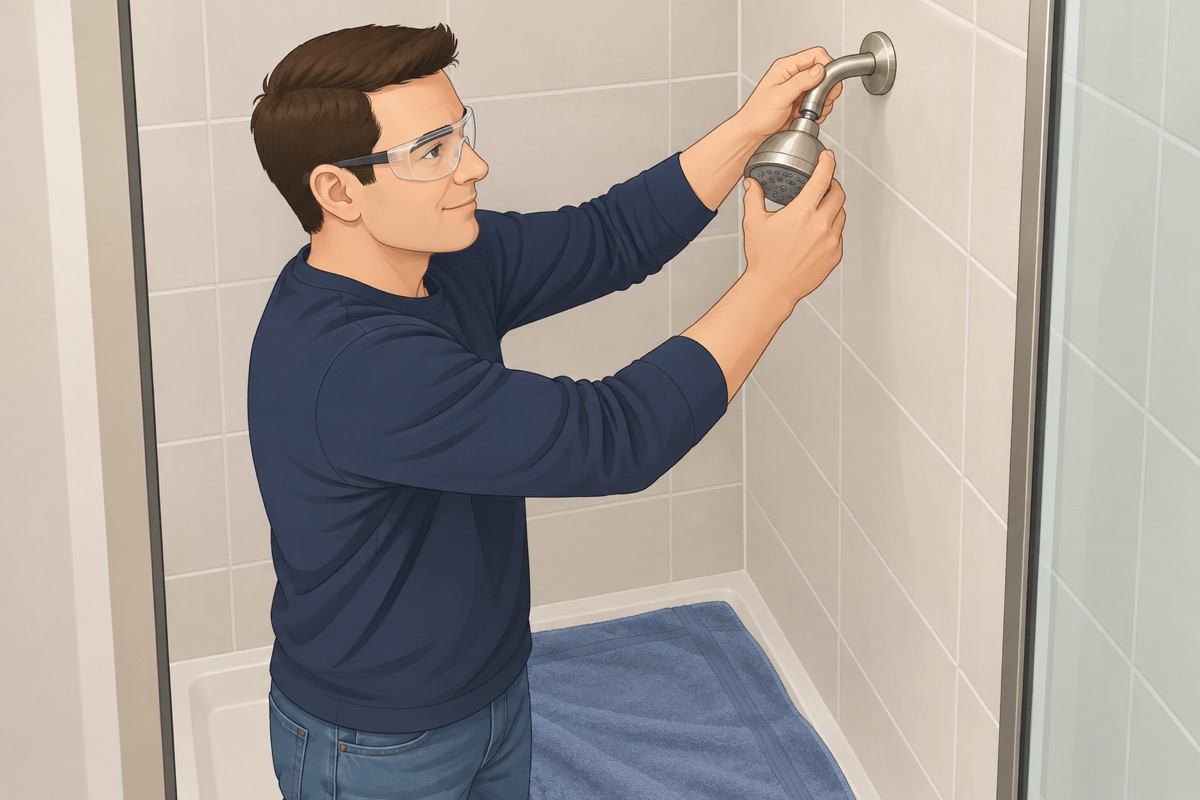
Turn the old head counterclockwise by hand. If it is stuck, pad the wrench jaws with a rag and turn only the head's nut, while your other hand steadies the arm near the wall. If the arm turns too, stop. A head stuck with scale loosens after a soak: tie a bag of white vinegar around it for a while, then try again.
Step 5 of 9
Clean the arm's threads
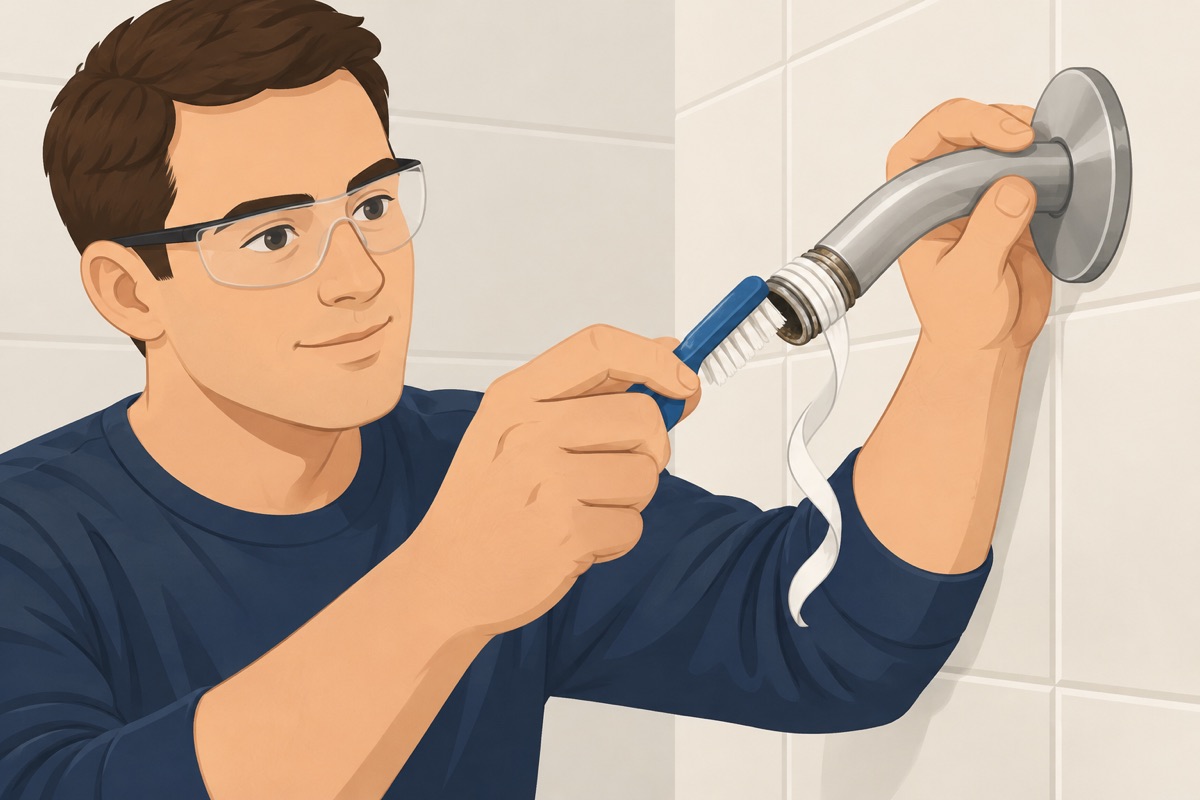
Pull off the old tape and brush the threads clean of scale and old sealant, then wipe them dry. Look at the threads: if they are crushed, cracked, or rusted through, the arm needs replacing — step 6.
Step 6 of 9
Swap the arm only if you need to
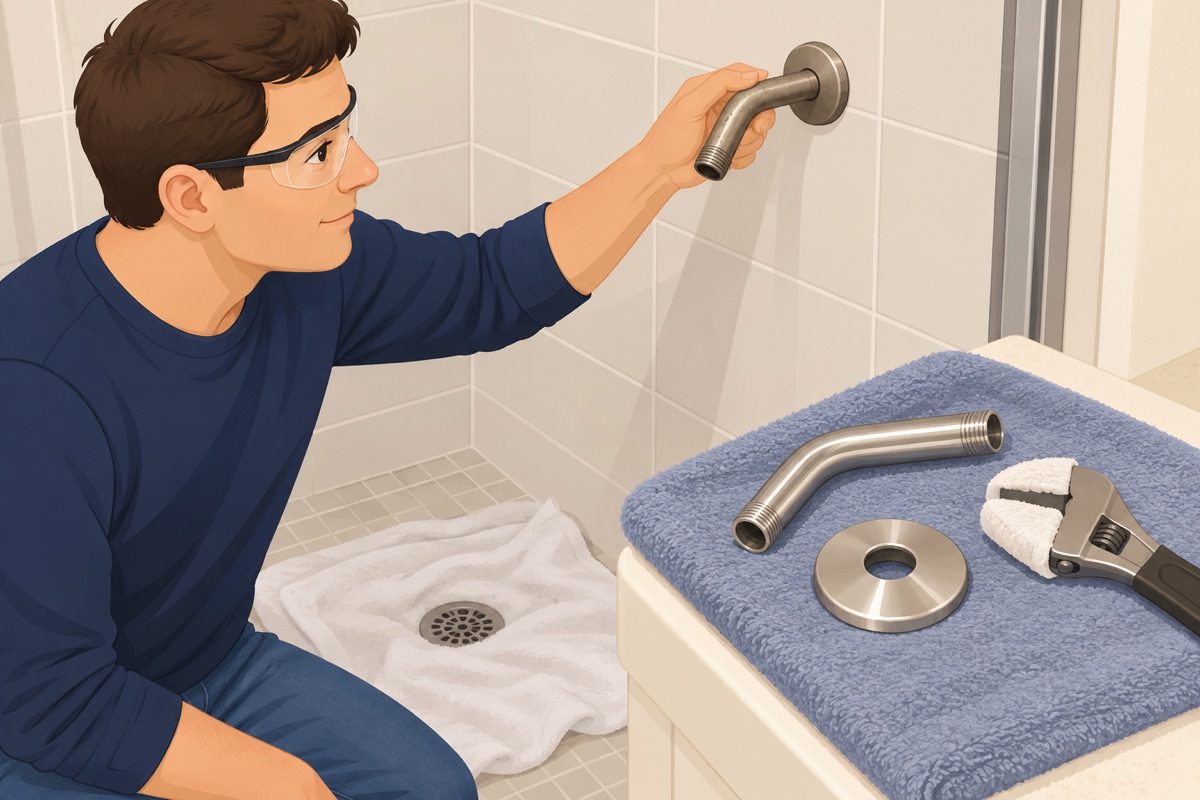
Most swaps keep the old arm. Replace it only if its threads are damaged or the new head's sheet calls for a different arm. Turn it gently counterclockwise; if it does not break loose with moderate force, stop — see the stop-gate. Wrap the new arm's threads the way its sheet says, thread it in by hand until it is snug and points the way the old one did, and slide the wall plate back against the wall. Pad the jaws on a finished arm.
Step 7 of 9
Wrap the threads and screw the new head on
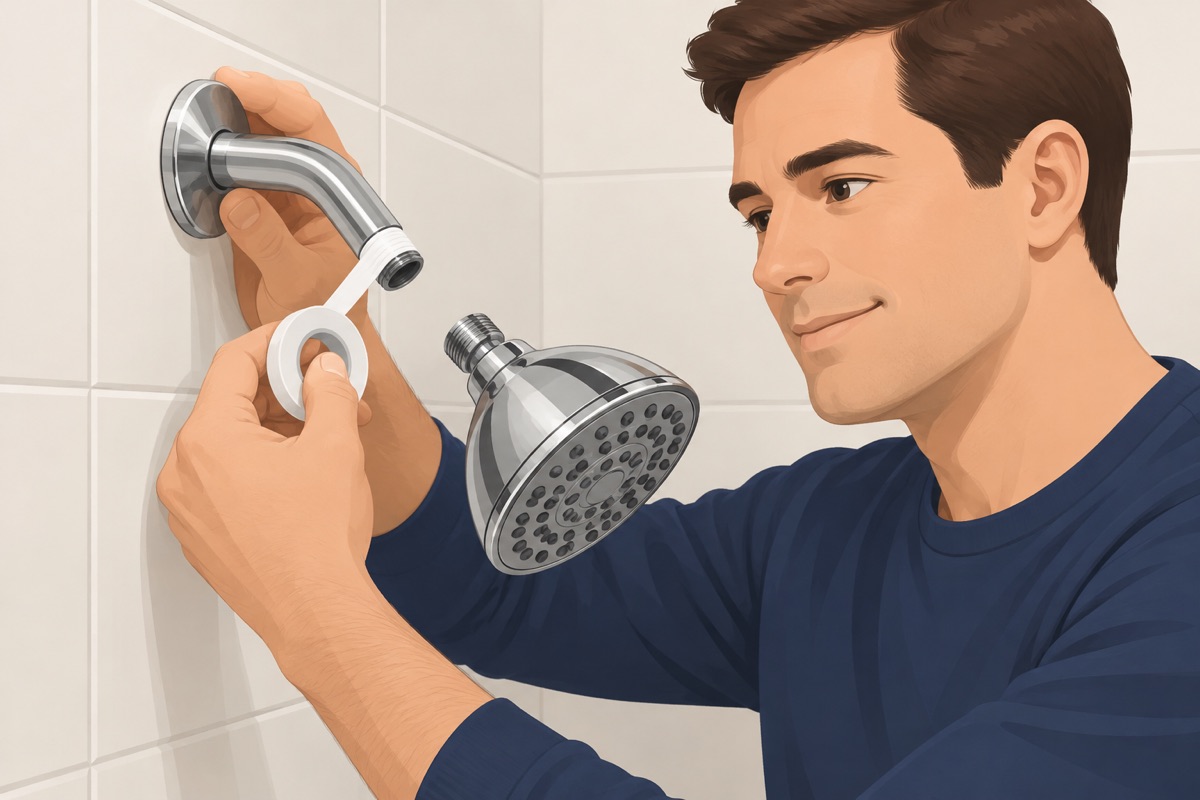
If the sheet asks for tape, wrap it clockwise around the arm's threads, the way the head will turn on, as many turns as the sheet says. Check that the head's washer sits flat in its nut. Start the head by hand: it should turn freely; if it binds, back it off and start again. Hand-tight, then only the small extra turn the sheet allows, with padded jaws.
Step 8 of 9
Handheld or combo: the bracket and the hose
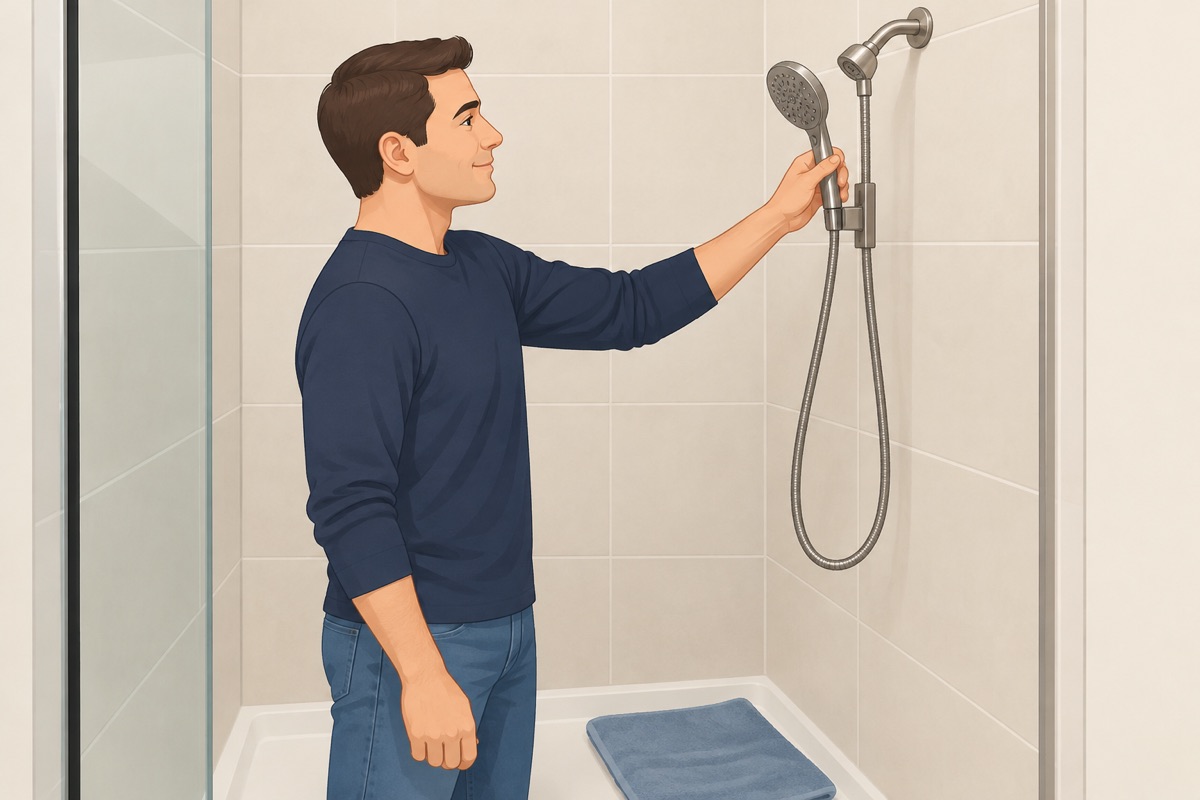
For a handheld or a combo head, the bracket or the diverter goes on the arm the same way as a fixed head. Then the hose: a washer at each end, both nuts started by hand and snugged the way the sheet says. Hang the hand shower in its bracket and check that the hose does not kink.
Step 9 of 9
Run the water and look for leaks
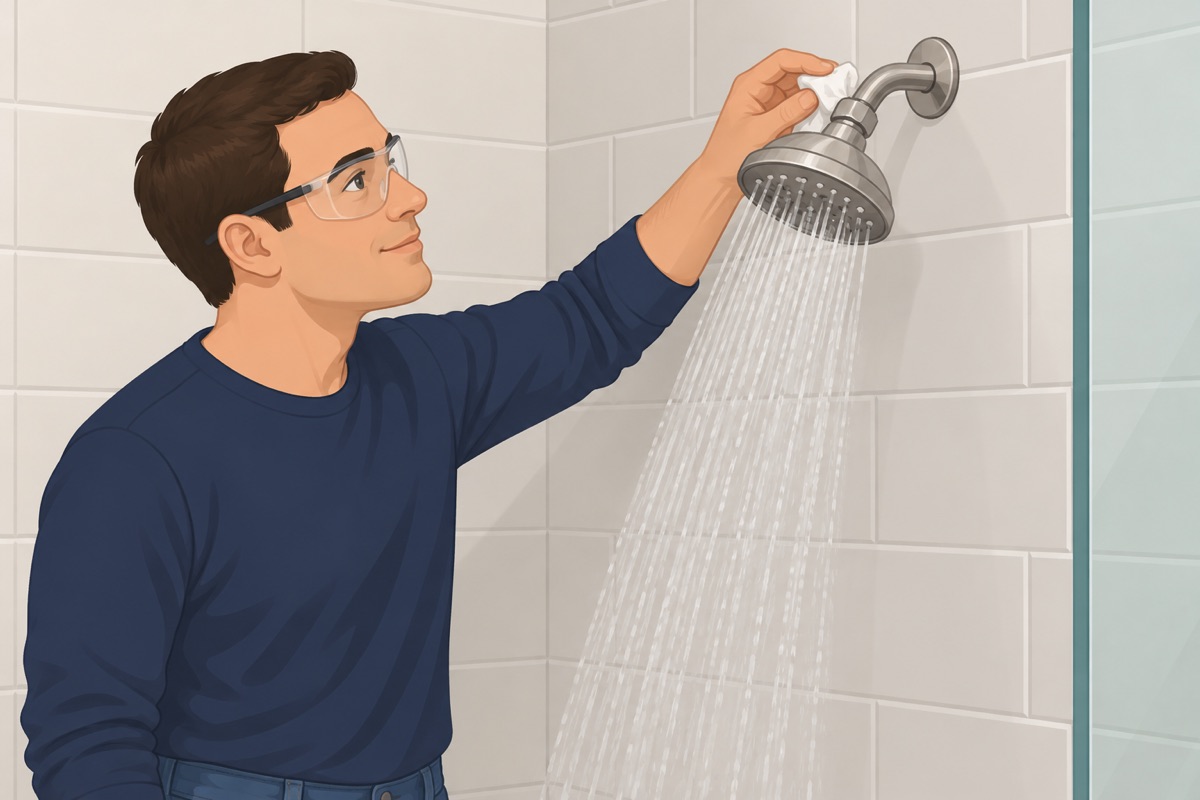
Run the shower hot and cold at full flow and hold a dry tissue around the head's nut, the hose ends, and the wall plate. A drip at the head's nut: snug it a little more. A drip at the wall plate, or water running down behind it: stop and call a plumber. Look again the next day.
Quality check
- No drip at the head's nut or the hose ends with the shower running hot and cold
- No water at the wall plate around the arm, during the shower or after
- The arm did not turn in the wall, and it points the way it did
- Every spray setting and the hand shower work as the sheet says
Common mistakes
- Leaving the drain open. The washer, the flow parts, or a small screw from the new head fall straight into an open drain. Cover the drain and lay a towel in the tub before anything comes apart.
- Turning the arm instead of the head. A stuck head can take the arm with it, and an arm twisted in the wall can crack the fitting behind the tile, where the leak stays hidden. Turn the head's nut, not the arm, and stop if the arm moves. Mistake #1 in this task.
- Leaving old tape and scale on the threads. Shreds of old tape and scale keep the new head from seating, and it drips at the nut. Brush the threads clean and dry before new tape goes on.
- Cranking the new head on. A head that will not turn freely by hand is cross-threaded, and forcing it ruins the threads. One that is cranked cracks its plastic nut or crushes the washer. Start by hand, and give it only the small extra turn its sheet allows, with padded jaws.
- Caulking over a drip at the wall plate. Water at the wall plate comes from the arm's threads or the fitting inside the wall. Caulk only hides it while the wall soaks it up. A drip there goes to a plumber.
Questions
How do I replace a shower head?
Turn the shower off at its handle, cover the drain and lay a towel in the tub. Unscrew the old head counterclockwise by hand, or with padded jaws on the head's nut while your other hand steadies the arm. Brush the threads clean, wrap them with thread tape if the new head's sheet asks for it, start the new head by hand, and give it only the small extra turn its sheet allows. Run the shower hot and cold and hold a dry tissue around the nut and the wall plate.
What if the shower arm turns when I unscrew the head?
Stop. Turn only the head's nut, with padded jaws, while your other hand steadies the arm near the wall. An arm that turns with the head, or a stuck arm that will not break loose with moderate force, can crack the fitting behind the wall, where the leak stays hidden. That is a plumber's call, not a new head.
Do I need thread tape on a new shower head?
Only where the new head's sheet asks for it: some heads seal with their own washer and say no tape. If it does, brush the old tape and scale off first, then wrap the tape clockwise around the arm's threads, the way the head turns on, as many turns as the sheet says, and check that the washer sits flat in the head's nut.
When should I stop and call a pro?
This guide swaps the head on the shower arm you have, and the arm itself only if it unscrews easily. Stop and call a plumber if: the arm will not turn loose with moderate force, or something inside the wall turns with it — twisting a stuck arm can crack the fitting behind the wall; water drips from around the arm or the wall plate after the swap, or there are water stains, soft drywall, or loose tiles around the arm; the water does not stop at the shower handle, or the valve drips with the shower off; or the new head is a shower system that needs a new valve, a new pipe, or an outlet in a new place — that is work inside the wall. A heavy rain head or a long extension arm follows its maker's sheet on weight and support. Never lever a wrench against the tile.