Replace a bathtub: what a pro does and what you can do
Contractor-only. Your job is to measure, pick the tub, get bids that name every part, clear the room, and watch the fill-and-drain test at hand-over.
Difficulty 5 of 5 · licensed pro
Stop here
Photo of your room, the look you pick, then this guide with the materials counted for your room.
What you need
- Bathtub (the plumber supplies it; this line is the one you picked)
- Job folder for bids, permit, and the manuals
Tools
- Tape measure
- Flashlight
- Phone camera
- Notebook for bid comparison
Step by step
Step 1 of 11
Accept that this one is not yours to do

A new tub means a new drain connection under the floor, work on the valve inside the wall, and new waterproofing and tile around the tub. Your part is to measure, pick, hire well, and check the result. Read the stop-gate and confirm you understand it.
Before you go further
- You will not disconnect the drain, open the valve wall, or pull the tub yourself
- You understand this is licensed work and may need a permit
- In a building from before 1980, the tile and adhesive get an asbestos test before demolition
Step 2 of 11
Measure the alcove and find the drain side
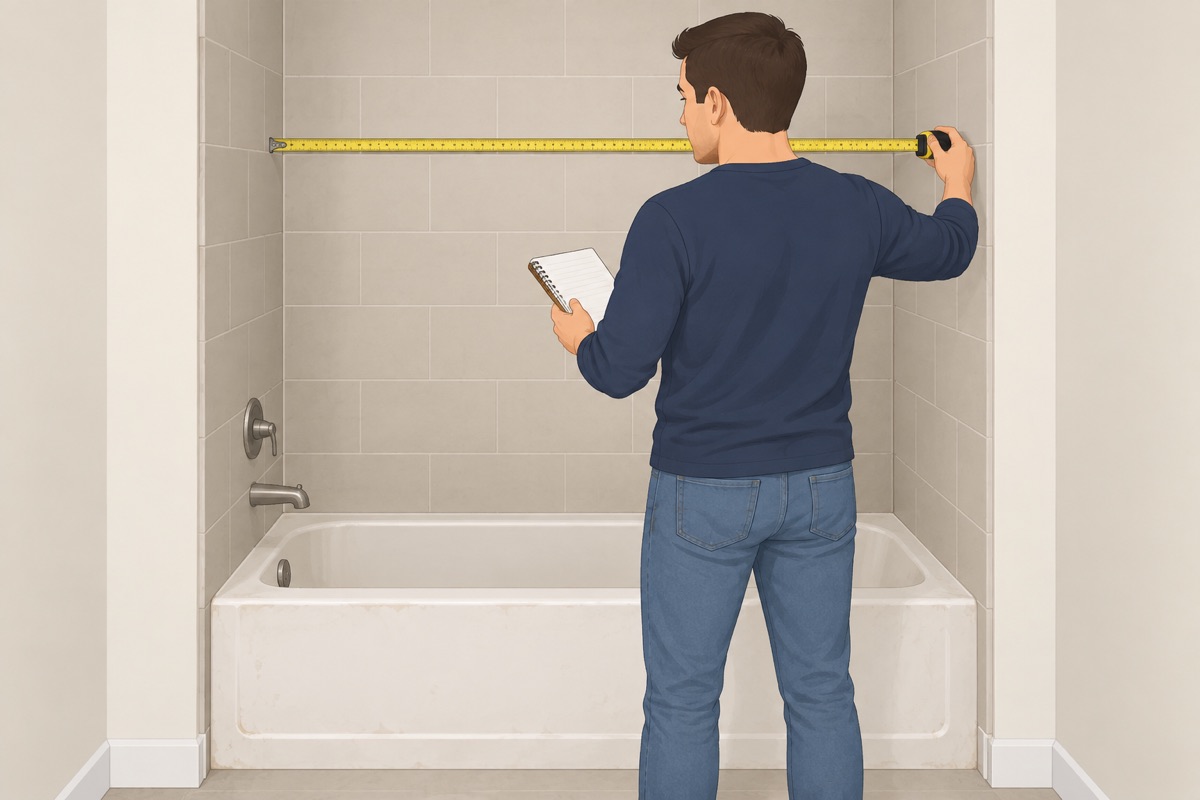
Measure the alcove wall to wall at the back, the middle, and the front, and write down the smallest. Measure from the floor to the top edge of the old tub. Standing in front of the tub, note whether the drain is at the left or the right end — the new tub must match. Note whether it is an alcove tub between three walls, a drop-in, or a freestanding tub.
Step 3 of 11
Measure the way in
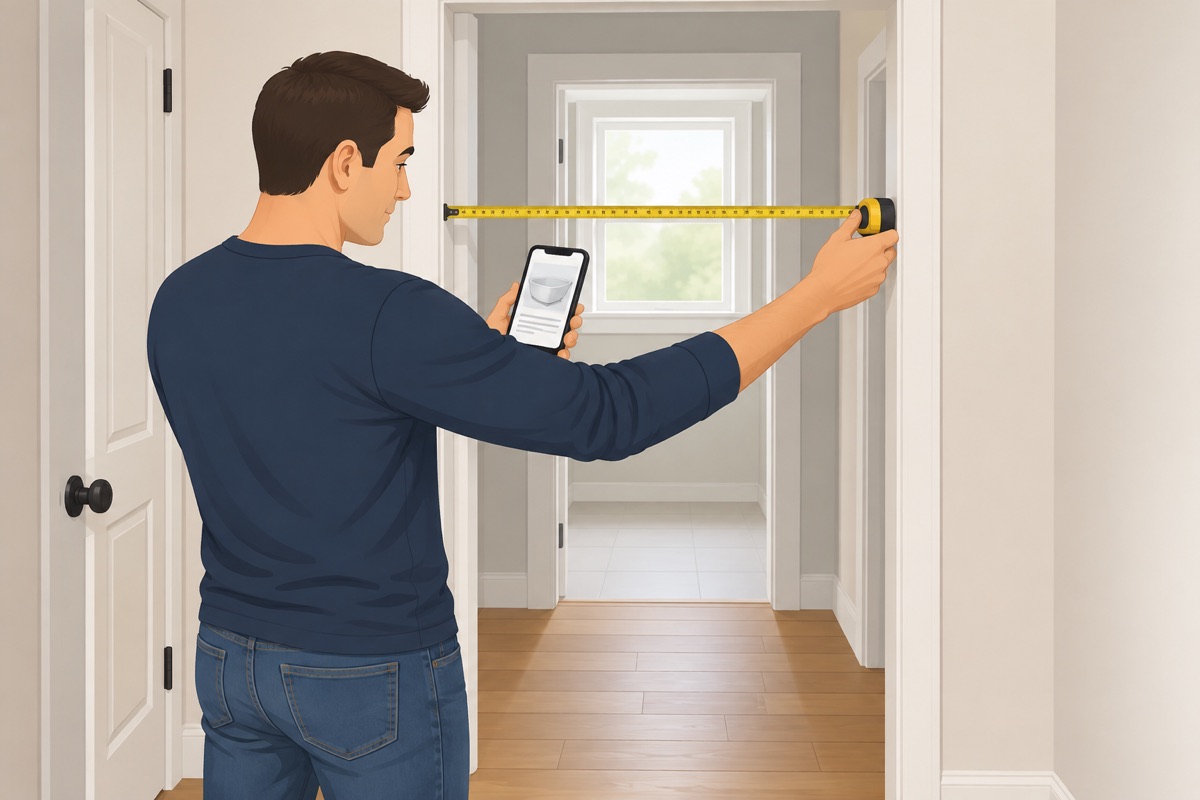
Measure every doorway and every hallway turn between the front door and the bathroom, including the bathroom door. Compare them with the new tub's size on its spec sheet. If the tub will not pass, pick another tub now — most replacements use a separate tub with tile or wall panels above it for this reason.
Step 4 of 11
Photograph what the bid depends on
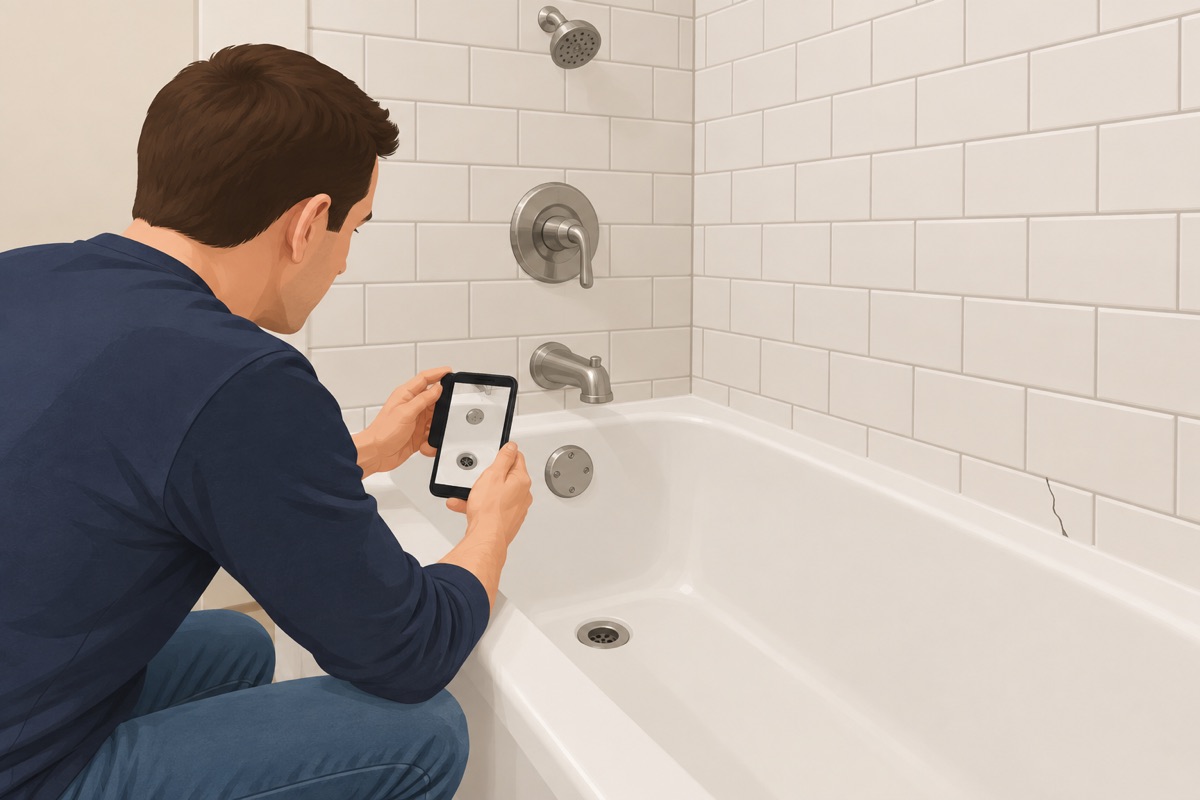
Photograph the tub, the drain and overflow, the valve and its handle, the tile up to the ceiling, the floor along the tub, and the access panel behind the valve if there is one. Photograph any soft spot, stain, crack, or loose tile. The same photos go to every contractor so the bids are comparable.
Step 5 of 11
Pick the tub and what goes on the walls
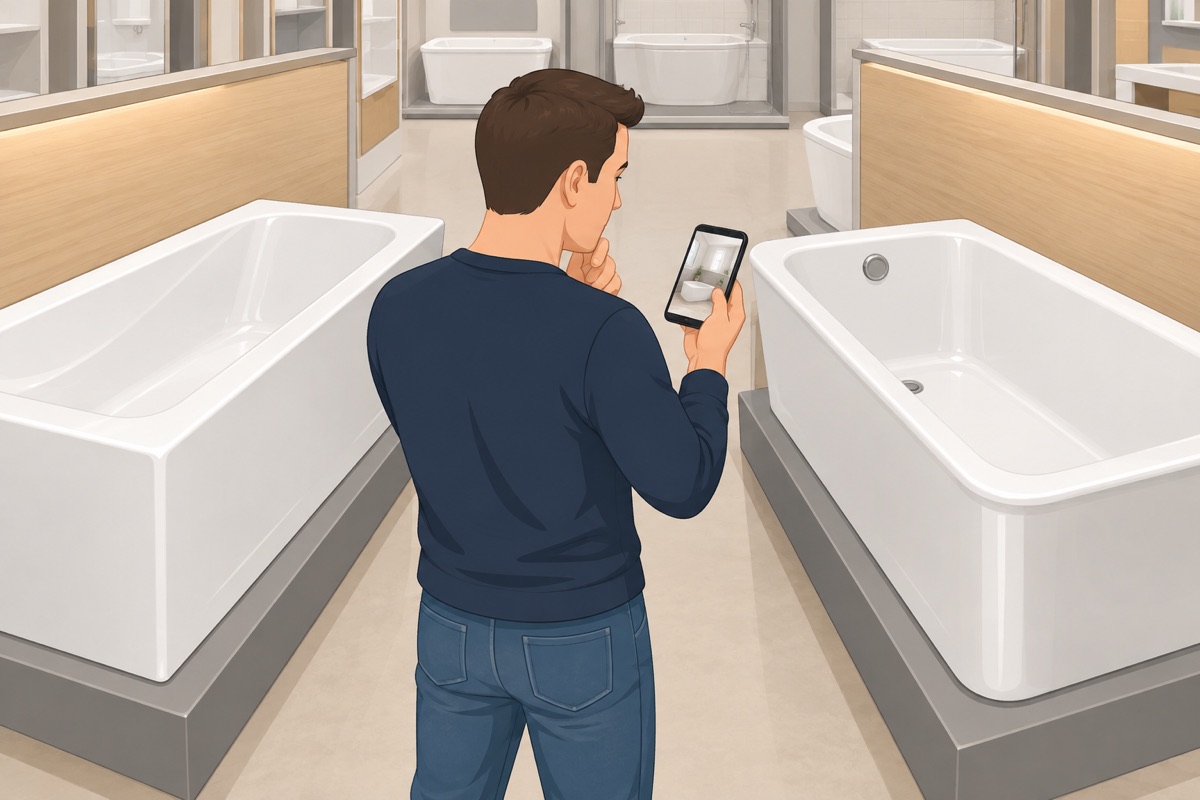
Choose the tub material (acrylic, enameled steel, or cast iron), its size, and its drain side. Choose tile or wall panels above it. The old valve is exposed anyway, so ask the plumber whether it should be replaced and whether your city requires an anti-scald (pressure-balancing or thermostatic) valve when it is.
Step 6 of 11
Check the license, the insurance, and the record

Look up each contractor's license with your state's contractor license board (CSLB in California) and confirm it is active and in the name of the business bidding the job. Ask for proof of liability and workers' compensation insurance. Get a written price before anyone starts work.
Step 7 of 11
Get three bids that name every part

Each bid should name the tub and its model, the drain and overflow kit, the valve and trim, removal of the old tub and the wall tile, new backer board, a continuous waterproofing membrane to the same standard as the shower waterproofing guide (corners, valve, and spout sealed), the tile, grout, and silicone, repairs to the floor at the tub, haul-away, and who pulls the permit where your city requires one. Anything not written down is not included.
Step 8 of 11
Sign a contract with a sane payment schedule

The contract should carry the license number, the full scope, the dates, the total, and the payment schedule. Keep the down payment small and within your state's legal limit, if it has one. Hold the last payment until the tub passes the fill-and-drain test and any permit is signed off.
Before you sign
- License and insurance checked
- The bid names the tub, drain kit, valve, waterproofing, tile, haul-away, and permit
- The last payment is held until the fill-and-drain test and any permit sign-off
Step 9 of 11
Clear the room and the path
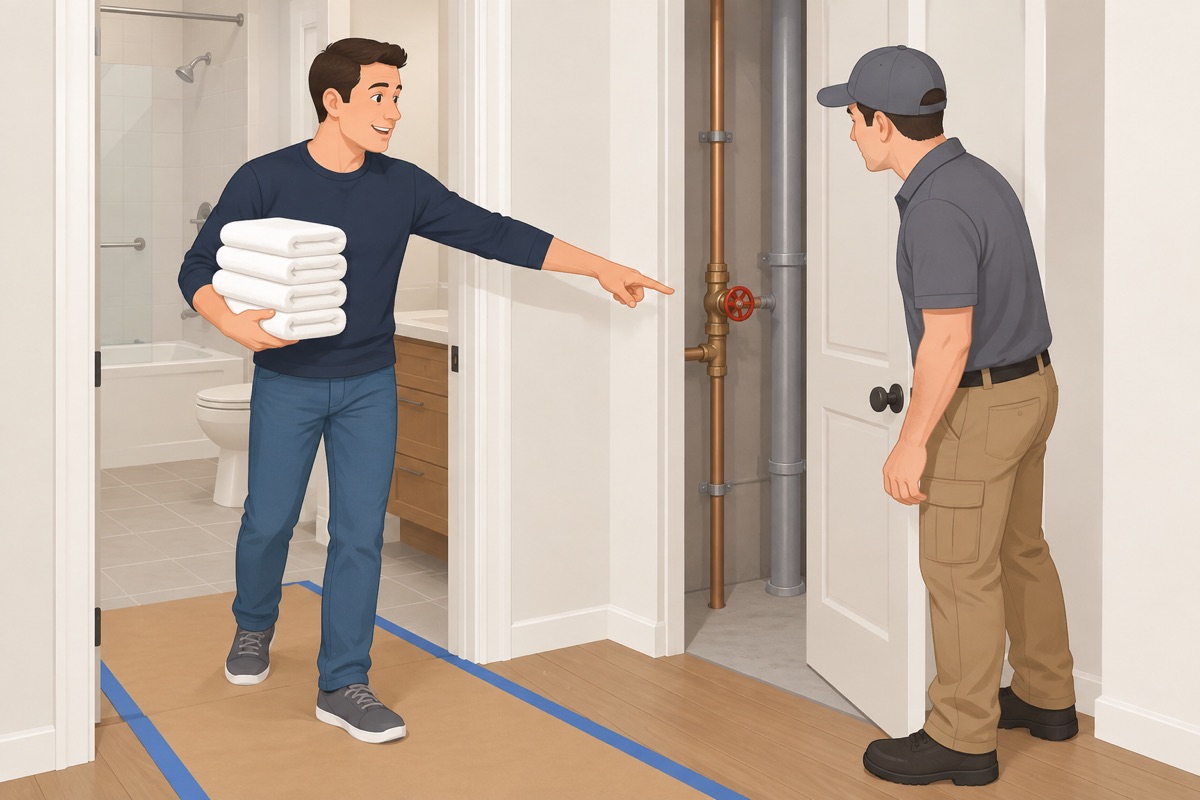
Empty the bathroom: cabinets, shelves, rugs, and everything on the walls near the tub. Clear the path from the front door and protect the floor along it. Show the crew where the main water shutoff is. Plan where you will shower for the days the tub is out, and keep kids and pets away from the work.
Step 10 of 11
Watch the fill-and-drain test
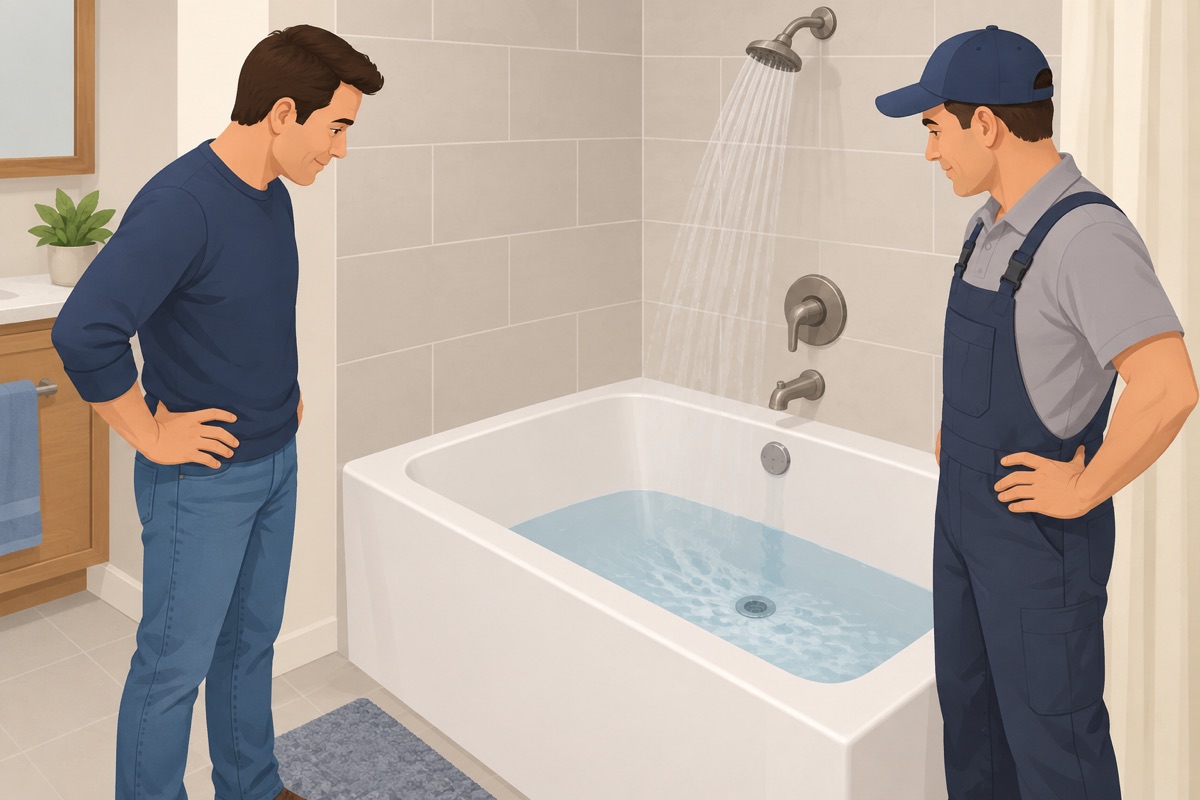
Before the crew leaves, fill the tub until water reaches the overflow and check that the overflow takes it away. Then open the drain and watch the tub empty with no gurgling and no water coming back up. If there is an access panel or a ceiling below you can see, look for drips. Run the shower hot and cold and check the hot limit the valve manual describes. Do not use the tub until the silicone has cured for the time on its label.
Step 11 of 11
Close the job and keep the paperwork

Collect the tub and valve manuals, the warranties, the final invoice, and the permit sign-off if there was one. Photograph the finished walls before anything goes back on them.
Before the final payment
- The tub filled to the overflow, the overflow drained, and the tub emptied with no leak
- The shower runs hot and cold and the valve's hot limit is set
- Silicone is continuous where the tub meets the tile and the floor
- Permit signed off if one was needed
- Manuals and warranties are in the job folder
Common mistakes
- Disconnecting the drain or the valve yourself. The drain, the overflow, and the valve are where a tub job leaks, and those leaks show up weeks later in the ceiling below. Leave them connected; the plumber disconnects and reconnects them. Mistake #1 in this task.
- Ordering the tub with the drain on the wrong side. Alcove tubs are made left-hand or right-hand drain. Stand in front of the tub and look at which end the drain is on — the new tub has to match, or the drain has to move under the floor.
- Picking a tub that cannot get into the bathroom. A one-piece tub-and-shower unit rarely fits through a finished doorway, and a cast iron tub takes several people to carry. Measure the path before you pick the tub, not after it is delivered.
- Accepting a bid that just says "new tub". The tub, the drain kit, the valve, the wall demo, the waterproofing, the tile, haul-away, and the permit are separate items. If a bid does not name them, ask in writing, or you cannot compare bids.
- Paying before the fill-and-drain test. A slow drain, a dry overflow, or a drip under the tub is easy to fix while the crew is there and hard to fix after the tile is grouted. Watch the test before the last payment.
Draft guide written from standard practice, not yet reviewed by a licensed pro. Follow product labels where they differ.
Get this job planned for your roomRelated guides
- How to waterproof a shower yourself: step by step
- How to tile shower walls yourself: step by step
- How to grout tile and caulk the corners yourself: step by step
- How to install a bathroom vanity and sink yourself: step by step
- How to install a kitchen backsplash yourself: step by step
- How to install kitchen cabinets yourself: step by step