How to build a low front yard fence
Short answer
Check your city and HOA rules before you pick the height, find the property line, file your 811 ticket, then string the line, dig the post holes as deep as your frost line and the fence maker say, set the posts, hang the rails, pickets, slats or panels, and hang the gate. Difficulty 3 of 5; for a first-timer, plan on 2 weekends. Read the “Stop here” box below before step 1.
Draft guide written from standard practice, not yet reviewed by a licensed pro. Follow product labels where they differ.
Height, style and setback come from your city and HOA, not from a catalog.
Difficulty 3 of 5 · 2 weekends · careful
Stop here
Photo of your room, the look you pick, then this guide with the materials counted for your room.
What you need
- Pickets, slats, or panels for your style
- Posts for your fence system
- Concrete mix for the posts
- Gravel for the bottom of the post holes
- Rails or brackets for your fence system
- Exterior screws or nails rated for treated lumber
- Gate kit (hinges, latch, anti-sag brace)
- Post caps
- Exterior stain, sealer, or paint for wood
Tools
- Post-hole digger and a digging bar
- Long tape measure
- Stakes, mason's line and a line level
- Post level and a 4 ft level
- Circular saw or miter saw
- Drill/driver
- Wheelbarrow and buckets
- Safety glasses and work gloves
Step by step
Step 1 of 12
Check the rules before you pick the height
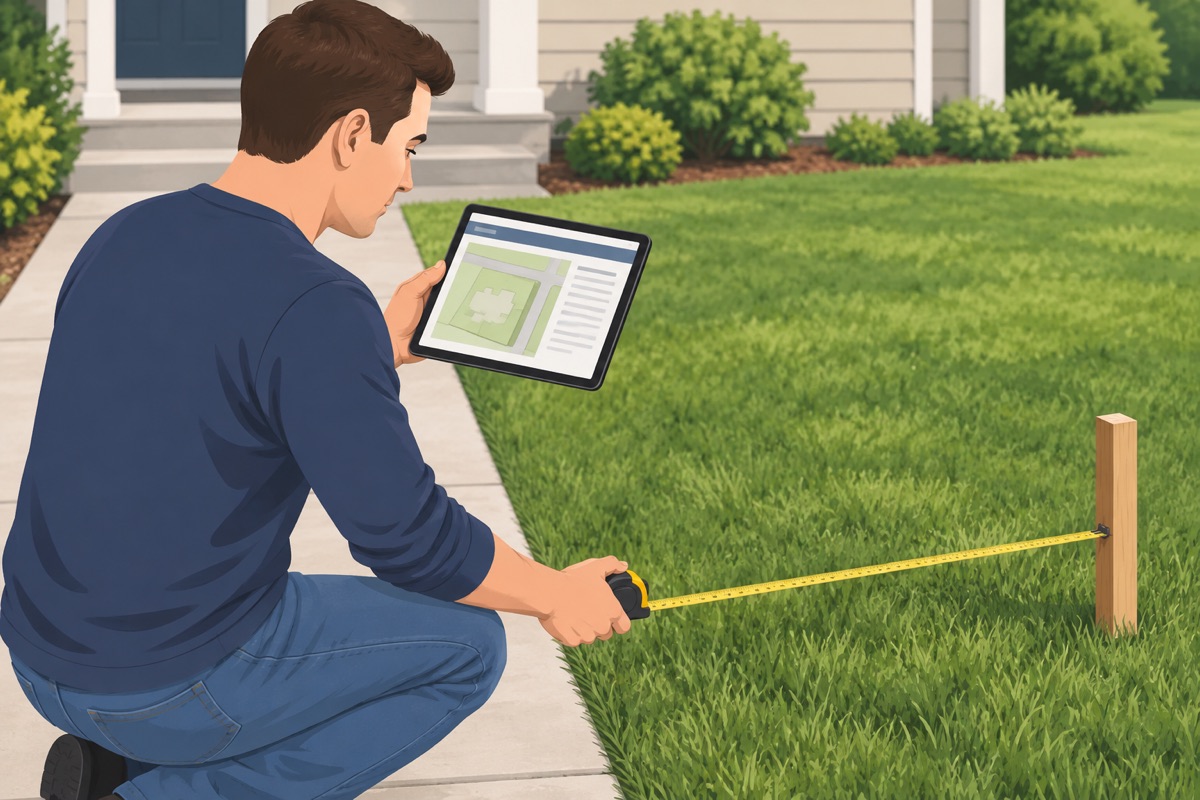
Ask your city's planning or building department, and your HOA if you have one, what a front fence may be: the height, the style (some areas want open pickets), how far back from the sidewalk or the street it must sit, the rules at a corner or a driveway where drivers need to see, and whether you need a permit. Build only what they allow.
Step 2 of 12
Find the property line
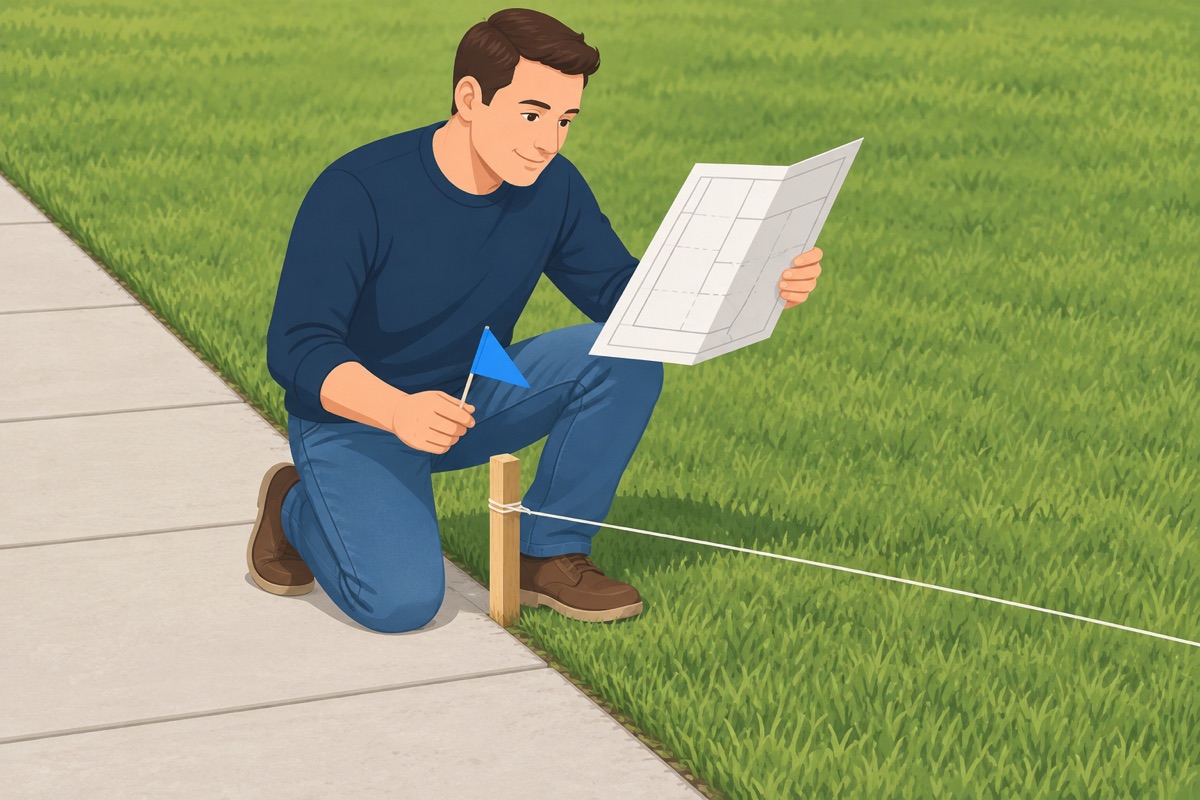
Find your front property line from your survey or your city's records; if you cannot tell, a licensed land surveyor finds it. The strip next to the street often belongs to the city. On a shared side line, agree with your neighbour in writing on the fence, the style, the cost, and which side faces whom.
Step 3 of 12
File your 811 ticket
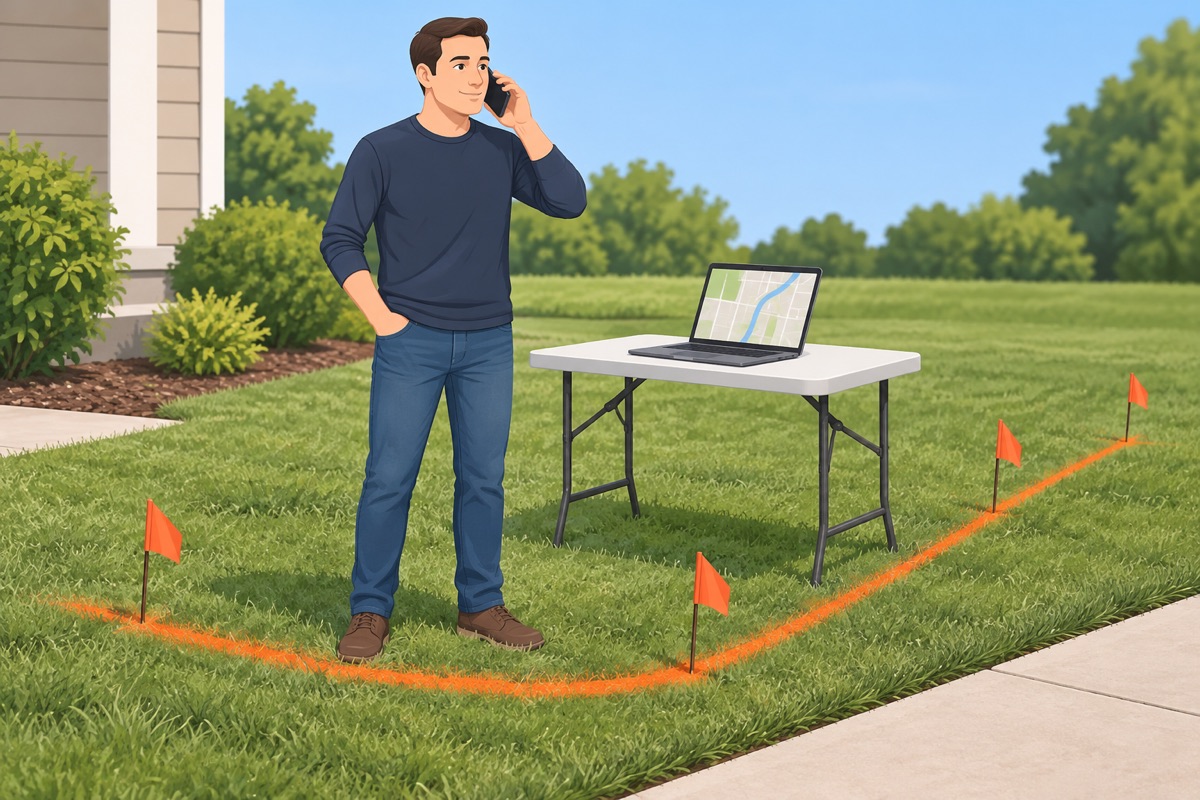
811 is free and required nationwide before you dig, even for a post hole. Call or file online a few working days ahead; your state sets the exact wait and how long the ticket lasts. Mark your own private lines too: sprinklers and a line to a yard light.
Before you touch the ground
- 811 marks are in and every utility on the ticket answered
- The height, the style, the setback, and any permit are checked with your city and your HOA
- The fence line is on your side of the property line, or your neighbour agreed in writing
Step 4 of 12
Take out the old fence, if there is one
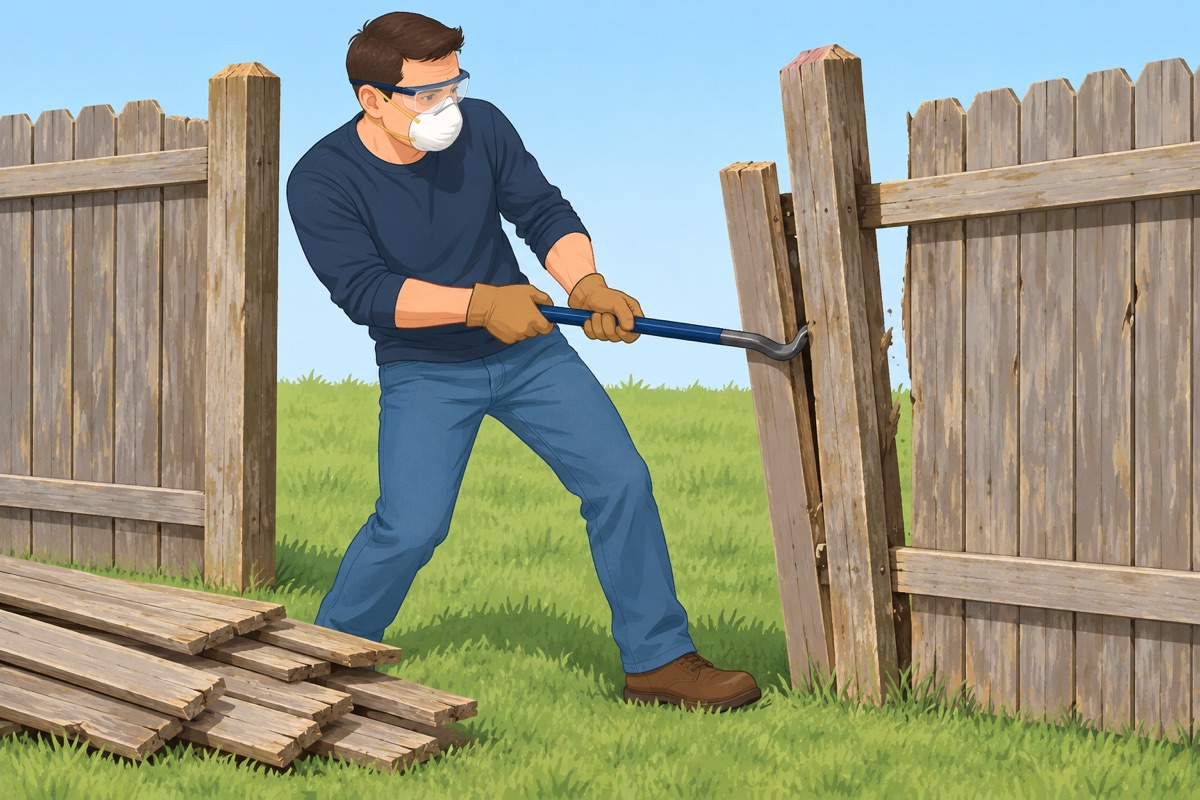
Unscrew or cut the old fence into sections, pull or dig out the old posts with their concrete — by hand near any 811 mark, and if you hit anything that is not soil, rock, or the old concrete, stop, leave it, and call 811 or the utility — and fill the holes. Old painted wood at a home from before 1978: test the paint before you cut or sand it — see the stop-gate.
Step 5 of 12
String the line and mark the posts
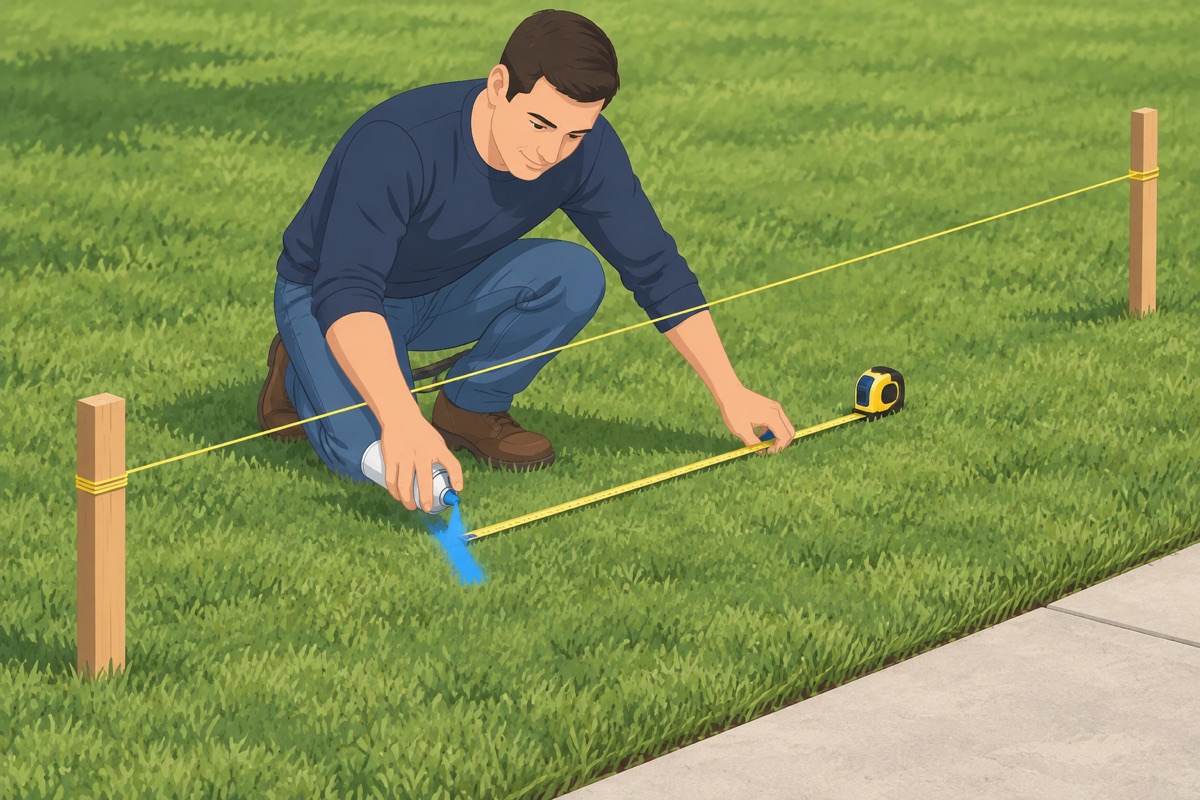
Drive a stake past each end and corner and pull a mason's line tight at the face of the posts, inside your setback. Mark the end, corner, and gate posts, then the line posts at the spacing your style or kit gives. Size each gate opening to the gate kit's instructions.
Before you dig a single hole
- 811 marks are in and every utility on the ticket answered
- No hole sits on a marked line or a private line (sprinklers, a line to a yard light)
Step 6 of 12
Dig the holes

Dig each hole as wide as the fence maker asks, and as deep as your local frost line and the fence maker give — whichever is deeper — plus a few inches for gravel. If you hit anything that is not soil or rock — a pipe, a wire, a warning tape — stop, leave it, and call.
Step 7 of 12
Set the end and corner posts
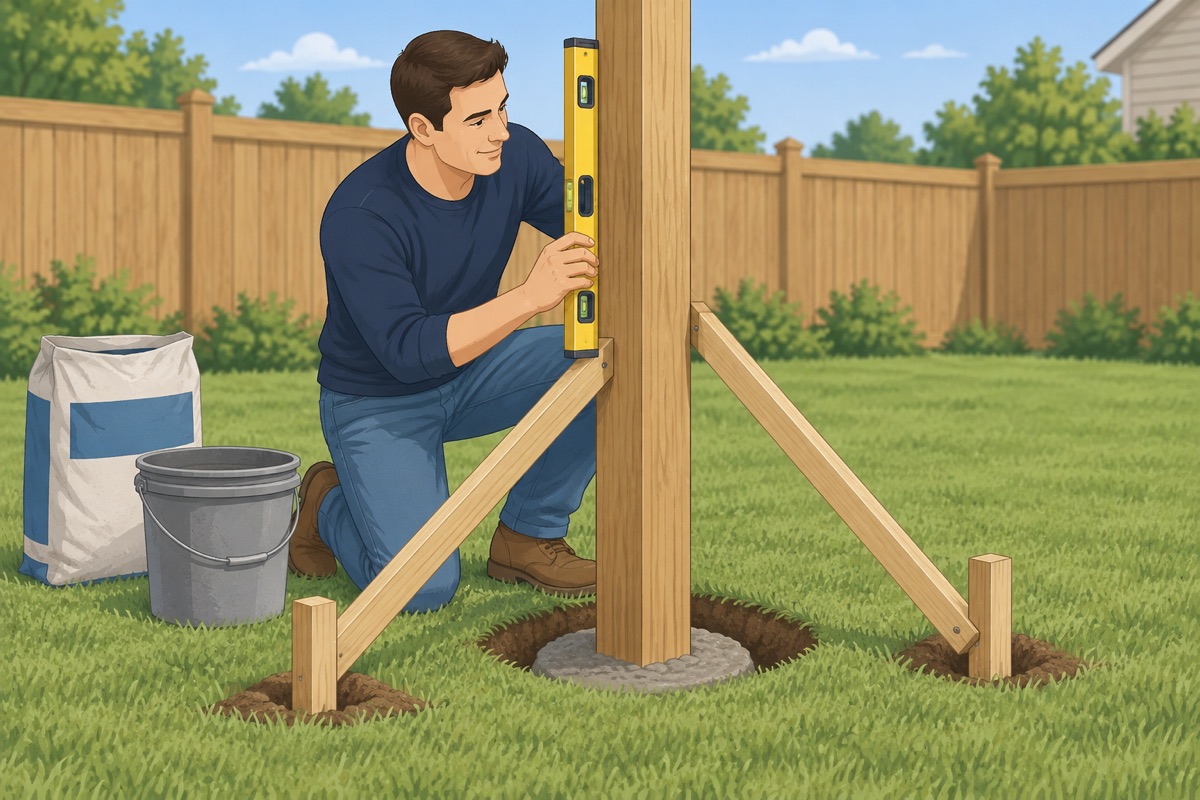
Tamp a few inches of gravel into each hole. Stand the end and corner posts at the height on the string, brace each with two stakes so it stands plumb on two faces, and fill with concrete per the bag, or the system's own footing. Crown the top so water runs away from the post.
Before the concrete goes in
- The post is plumb on two faces and at the right height on the string
- It is braced so it cannot move while the concrete sets
- The hole is as deep as your frost line and the fence maker ask
Step 8 of 12
Set the line posts to a string
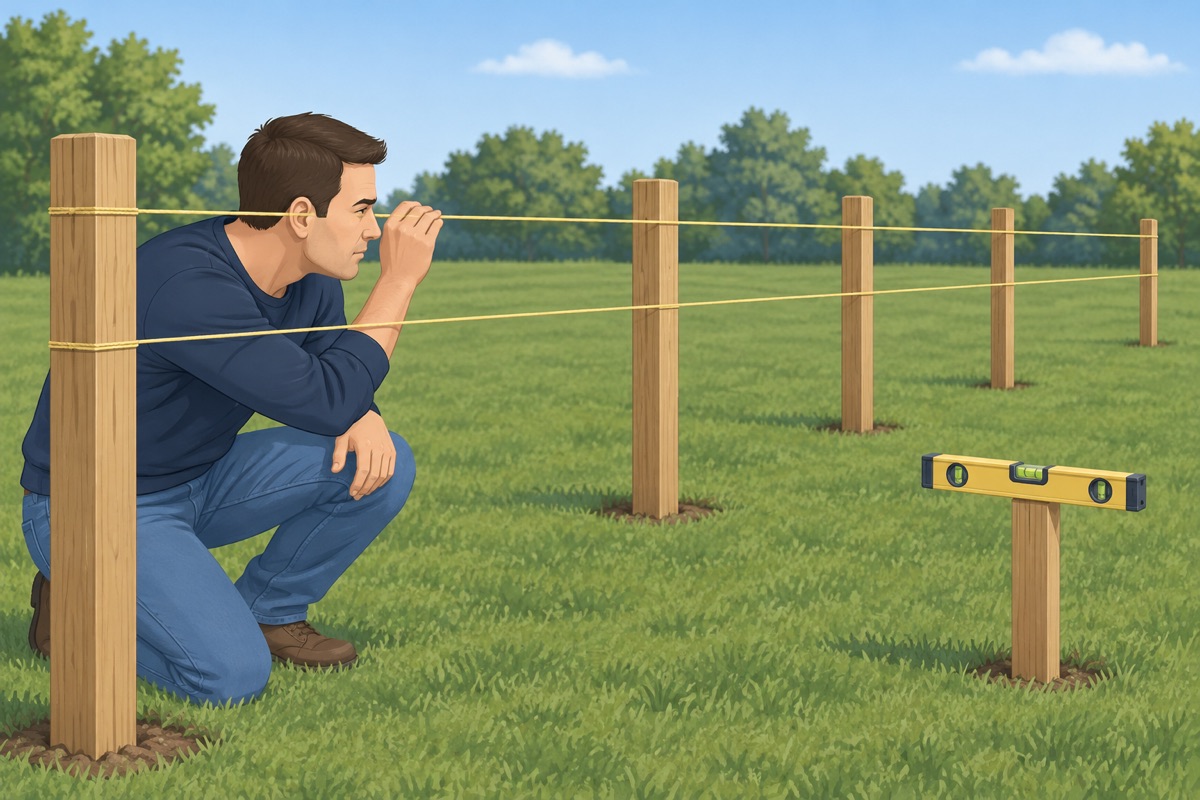
Run strings between the end posts at the top and near the bottom, and set every line post the same way, just touching both strings. Wait the time on the concrete bag before you hang anything, with the braces on.
Step 9 of 12
Rails or brackets, level

Wood: fasten the rails level between the posts, with screws or brackets rated for treated lumber. Metal or vinyl: fit the rail brackets or the panels exactly as the system's manual shows, checking each section for level. On a slope, follow the manual: step or rack the panels as the system allows.
Step 10 of 12
Pickets, slats, or panels
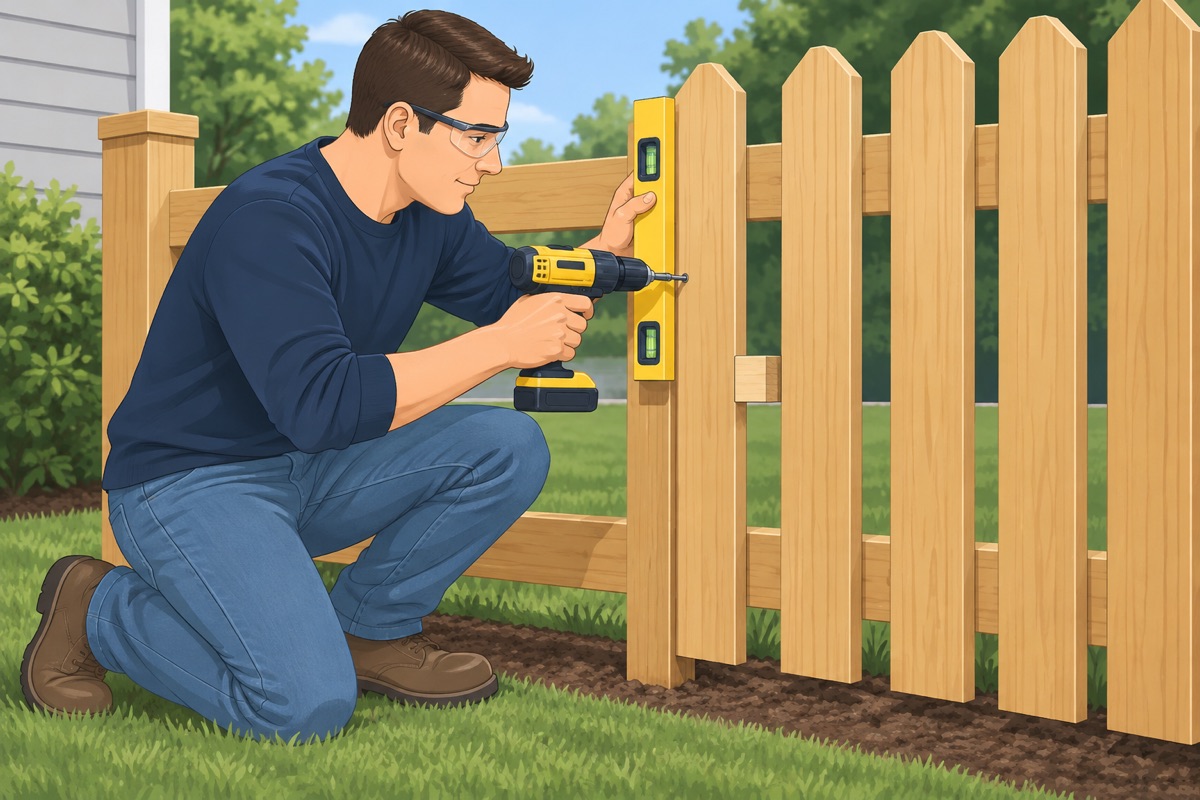
Pickets: set the first one plumb, space the rest with a spacer block, and check plumb every few. Slats: start at the bottom, level, with an even spacer between boards. Keep wood a little above the soil everywhere.
Before you fasten the pickets or slats
- The concrete set for the time on the bag and the rails are level
- Wood bottoms clear the soil — wood must not touch it
- The good face of the fence faces the street, or the side you and your neighbour agreed on
Step 11 of 12
Hang the gate
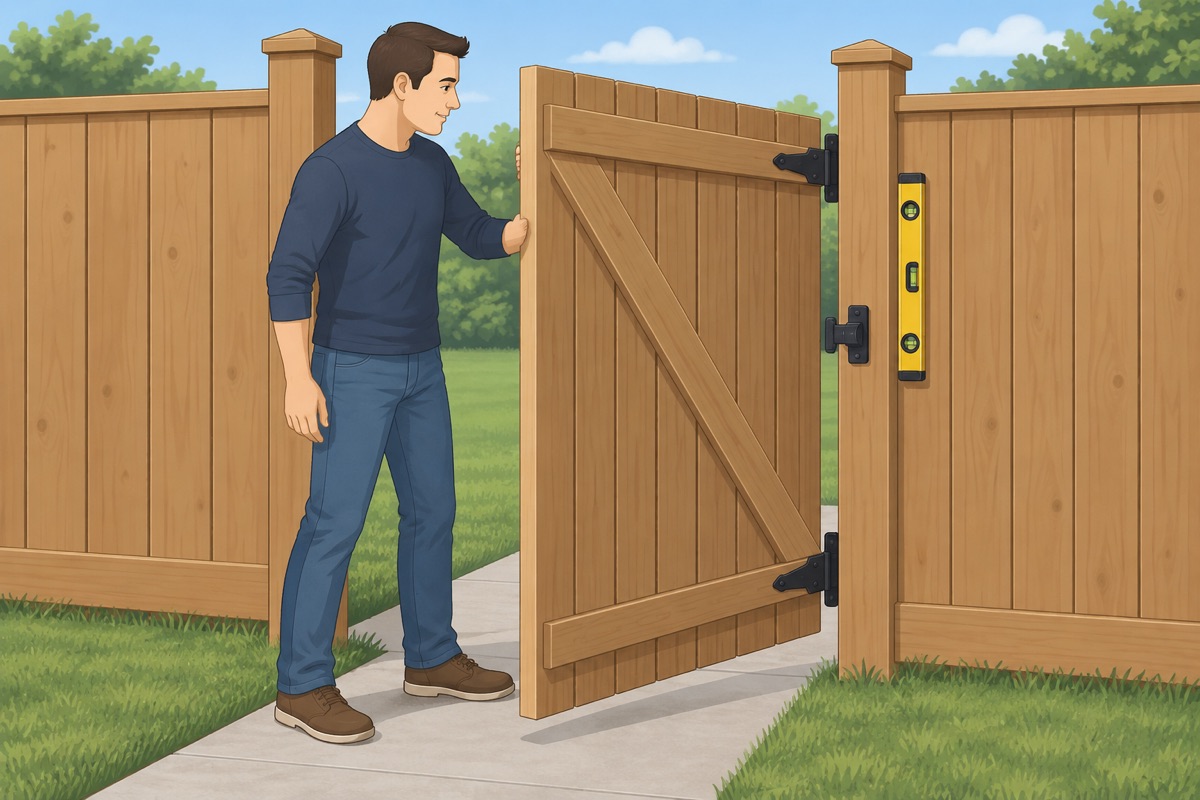
Hang the gate on the sturdier post with the hinges and the gap the gate kit gives, braced from the bottom hinge corner up to the latch side, or with the kit's anti-sag hardware. Check that it swings clear of the walk and latches.
Step 12 of 12
Caps, finish, and a last walk
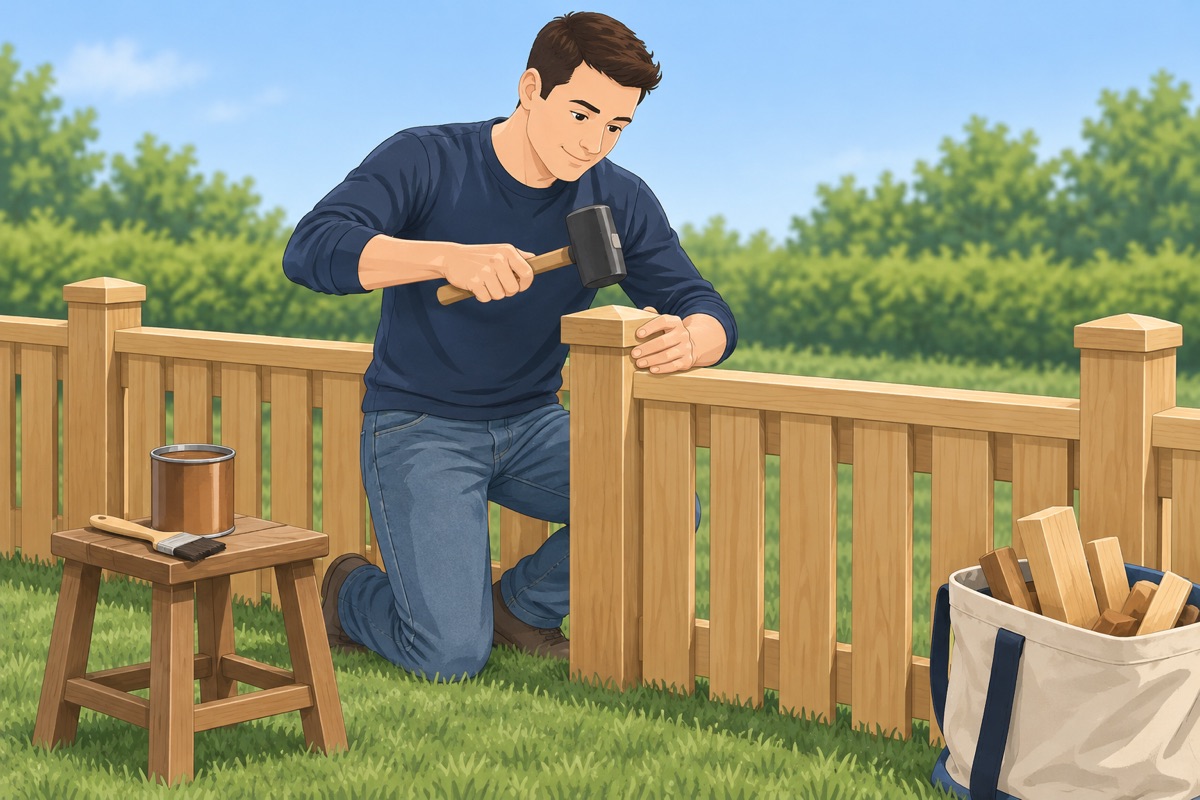
Cap every wood post. Let new wood dry for as long as the stain or sealer can says, then finish it. Pick up the stakes and offcuts, fill low spots at the posts, and walk the fence.
Quality check
- Every post is plumb and the top of the fence runs in a straight line
- The height and the setback are what your city and HOA allow
- The gate swings clear of the walk and latches
- No screw tips, nails, or splinters stick out on the street side
- No wood touches the soil
Common mistakes
- Building the height you want, not the height allowed. Front yards usually have lower limits than back yards, and corners have sight-line rules. A fence over the limit can be ordered down at your cost. Ask first.
- Building on the city's strip or past the setback. The strip by the street is often the city's. A fence there, or closer than your setback, can have to come out. Find the line before you set a stake.
- Digging before the 811 marks. A post hole is deep enough to reach a gas, power, or water line, and front yards are where the service lines come in. Wait for every utility to answer, and hand-dig near any mark. Mistake #1 in this task.
- Posts set too shallow. A short fence still leans if its posts are shallow, and frost lifts posts that stop above the frost line. Dig to the depth your frost line and the fence maker give.
- Wood touching the soil. Pickets and slats that sit in the soil wick water and rot from the bottom. Keep every board a little above the ground.
Questions
What do I check before building a front yard fence?
Ask your city's planning or building department, and your HOA if you have one, for the height, the style, how far back from the sidewalk or street the fence must sit and any corner or driveway sight-line rules. Find your front property line from your survey or city records; the strip next to the street often belongs to the city. On a shared side line, get your neighbour's agreement in writing. Build only what the rules allow.
Do I need to call 811 before digging fence post holes?
Yes. 811 is free and required nationwide before you dig, even for a post hole. File a few working days ahead; your state sets the exact wait and how long the ticket lasts. Wait for every utility to answer, hand-dig near any mark, and if you hit anything that is not soil or rock, stop, leave it and call 811 or the utility.
How deep should fence posts be set?
As deep as your local frost line and the fence maker's instructions give, whichever is deeper, plus a few inches of gravel at the bottom. The guide gives no fixed number because it depends on where you live. Posts set too shallow lean, and frost lifts posts that stop above the frost line. Metal and vinyl systems set their posts by their own manual.
When should I stop and call a pro?
Stop and sort it out before you dig if: you do not know where your property line is — a front fence often has to sit back from the sidewalk, and the strip next to the street can belong to the city; your city, your HOA, or a corner or driveway sight-line rule limits the height, the style, or the setback, or asks for a permit — build only what they allow; or the fence would sit on a shared line your neighbour has not agreed to in writing. Never dig without an 811 ticket and every utility's answer; if you hit anything buried, stop, leave it alone, and call 811 or the utility. Post depth comes from your local frost line and the fence maker's instructions, never from a guess. A fence that holds back soil on a slope is a retaining wall and needs a pro. Metal and vinyl fence systems set their posts by their own manual: follow it over this guide. Taking out an old painted wood fence at a home from before 1978? The paint may contain lead: test it before you sand, scrape, or cut it.
You may also need
- How to build a wood or vinyl privacy fence yourself: step by step
- How to do a final check after outdoor work yourself: step by step
- How to replace a front entry door yourself: step by step
- How to build a paver walkway yourself: step by step
- How to measure a door opening before buying a door yourself: step by step