How to build a paver patio yourself: step by step
Laying the pavers is the easy, satisfying part. The patio lasts or sinks because of the base under it: dig deep enough, compact the gravel in thin layers, and slope it away from the house.
Difficulty 4 of 5 · 3 weekends · careful
Stop here
Photo of your room, the look you pick, then this guide with the materials counted for your room.
What you need
- Concrete patio pavers (2-3/8 in thick)
- Paver base gravel (crushed, compactable)
- Bedding sand (coarse concrete sand)
- Paver edge restraint
- 10 in edging spikes
- Polymeric joint sand
- Woven landscape fabric (under the base)
Tools
- Plate compactor — About $80–110/day. Ask for a rubber pad for the final pass over the pavers.
- Masonry wet saw — About $70–100/day with a diamond blade. The water keeps the silica dust down.
- Paver splitter (straight cuts, no dust)
- Two 1 in screed pipes and a straight 2×4
- Flat and pointed shovels
- Wheelbarrow
- Steel garden rake
- Stakes, mason's line and a line level
- 4 ft level
- Hand tamper
- Rubber mallet
- Stiff push broom and a leaf blower
- P100 respirator, safety glasses, hearing protection, knee pads
Step by step
Step 1 of 15
Mark the patio and its finished height
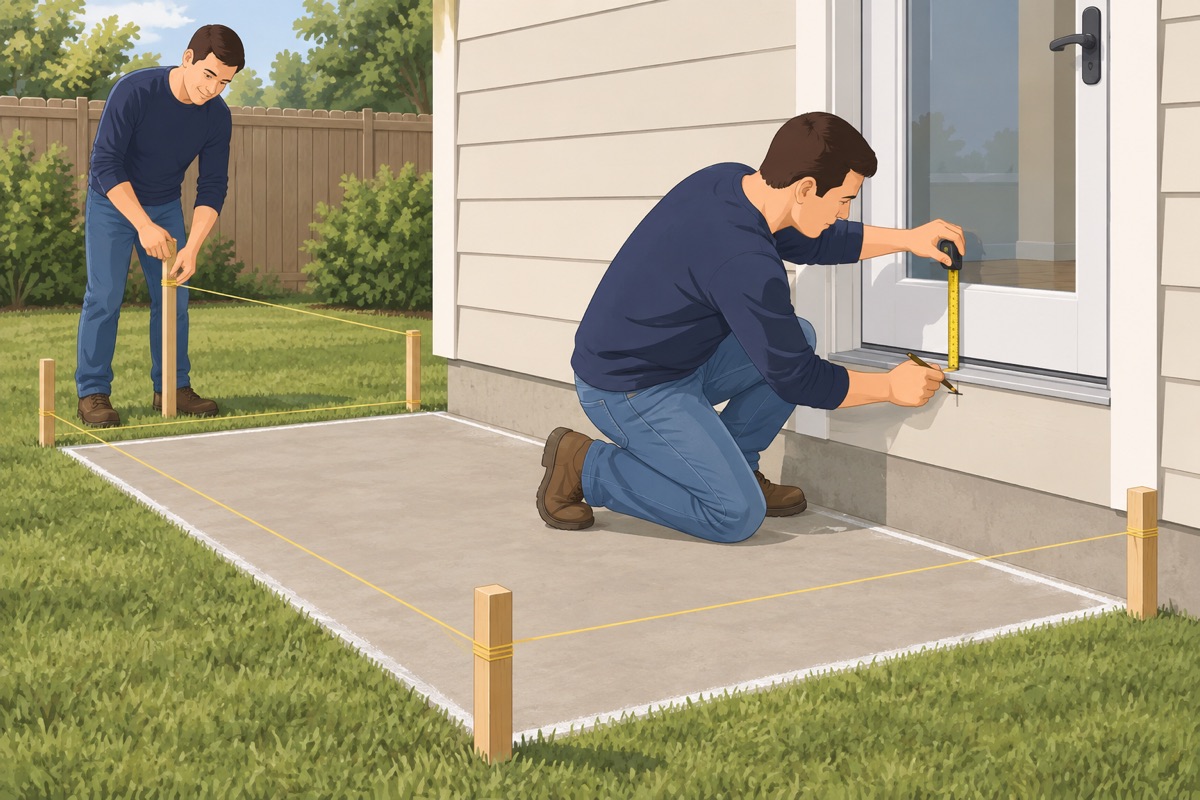
Set stakes and string a little outside the patio outline so the base can run past the pavers at the edges (how far: per the paver maker's guide). At the house, mark the finished height of the pavers: below the door threshold (how far below is set by code — check with your city) and below the bottom of the siding or the weep screed — the metal edge at the bottom of stucco.
Step 2 of 15
Set the slope with the strings
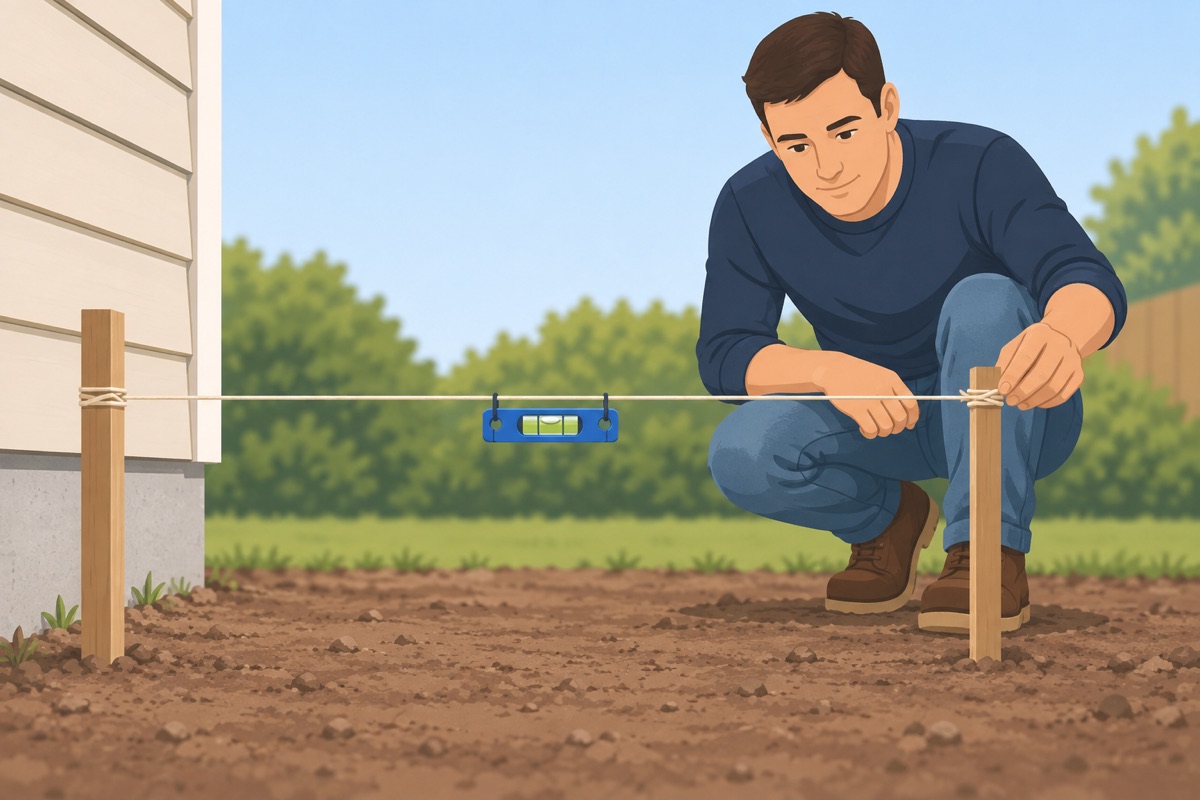
Level the strings with a line level, then lower the far end 1/8–1/4 in per ft away from the house — on a 12 ft patio that is 1-1/2 to 3 in. Now the strings show the finished surface; measure down from them everywhere you dig.
Step 3 of 15
Dig out about 7 in below the strings
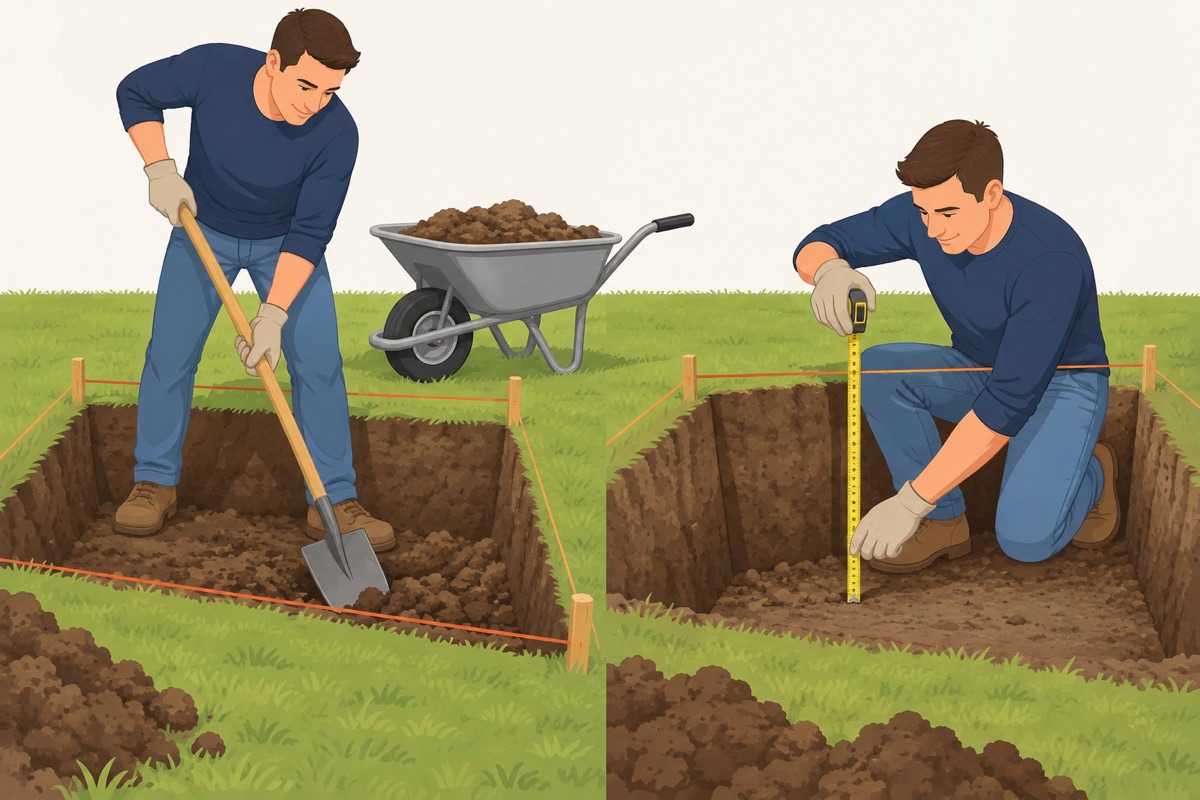
That is about 4 in of compacted base, 1 in of sand and the paver (about 2-3/8 in) — adjust to your paver's thickness and its maker's guide; soft soil or a driveway needs a deeper base. Keep the bottom of the hole parallel to the strings so it has the same slope. Pull roots, dig out soft spots and fill them with base.
Before you dig
- 811 marks are in and none cross the patio area, or you will dig by hand inside the marked zone
- The finished surface is marked below the door threshold and slopes away from the house
- The patio does not cover a cleanout, a meter, a shut-off or a septic lid
Step 4 of 15
Compact the soil
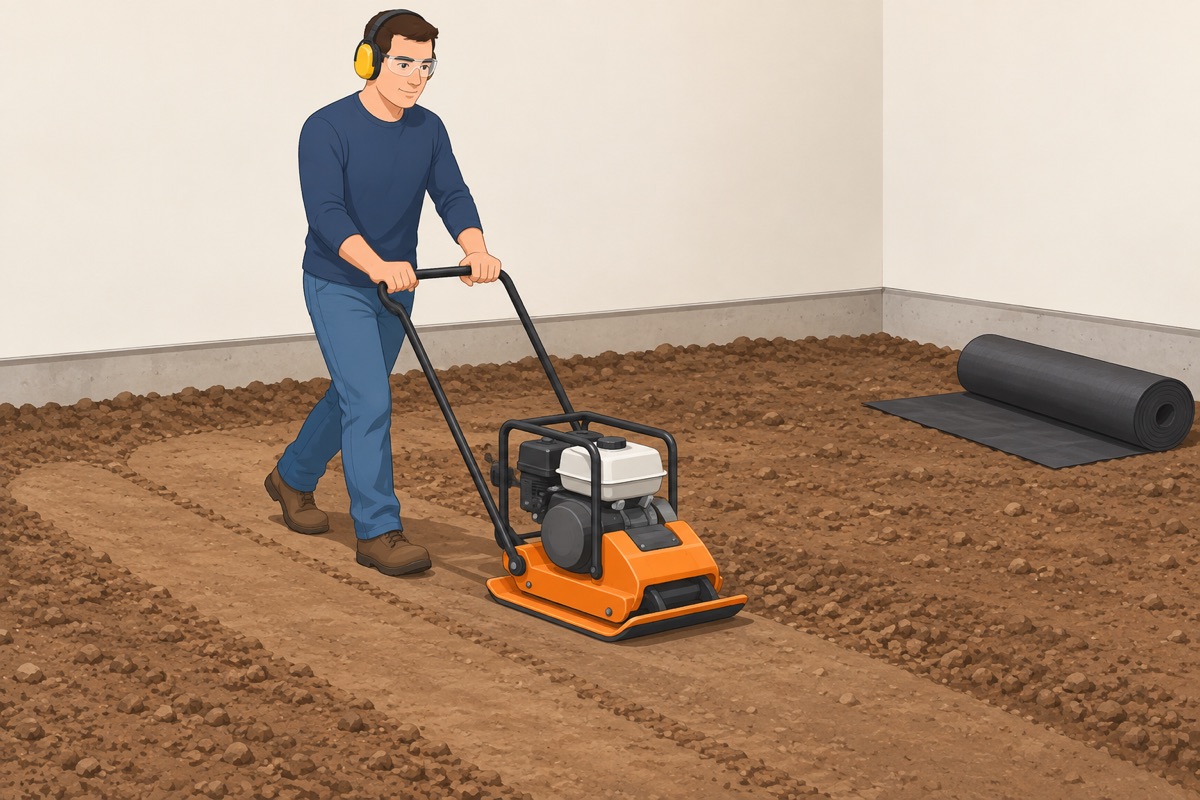
Run the plate compactor over the bare soil in overlapping passes, in two directions. On soft or clay soil, lay the woven fabric now, overlapping the seams as its label says.
Step 5 of 15
Build the base in 2 in layers
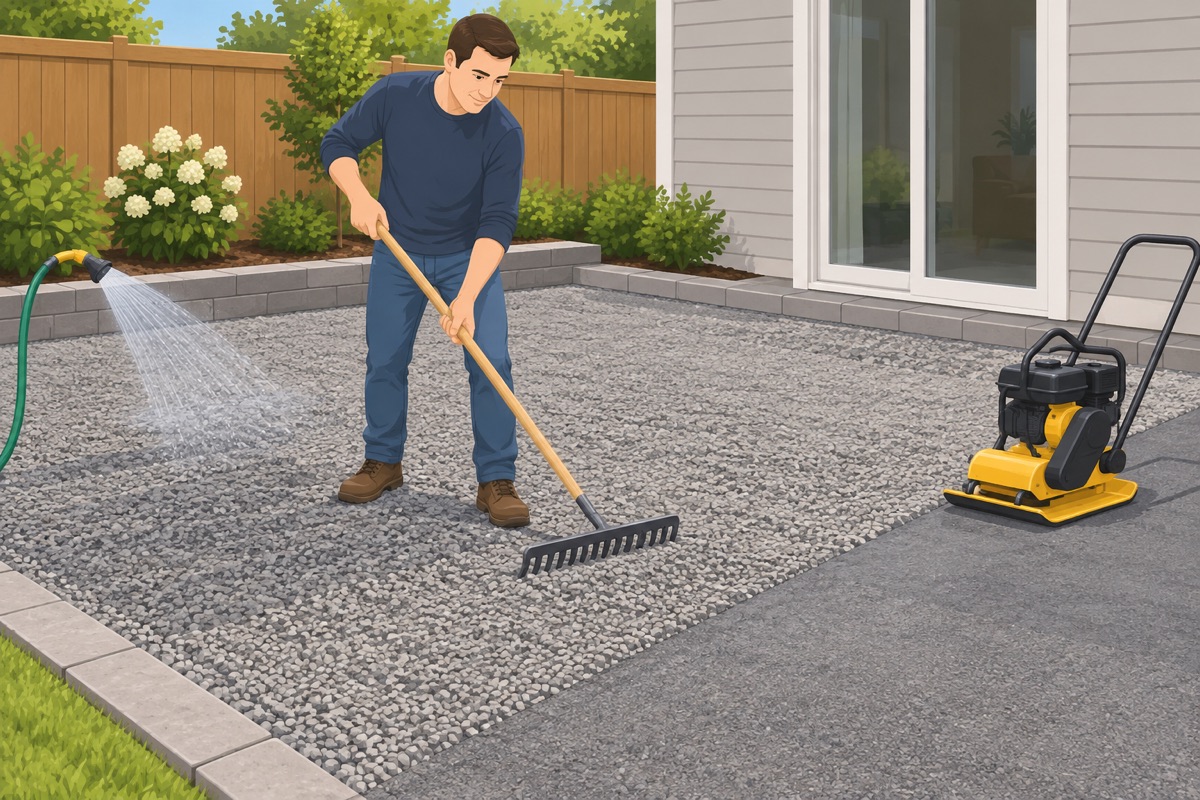
Spread base gravel about 2 in thick, rake it even, mist it until damp (not muddy) and compact it with several overlapping passes in two directions. Repeat until the base is 4 in thick. Your boot should leave no print on a finished layer.
Step 6 of 15
Check the base height and flatness
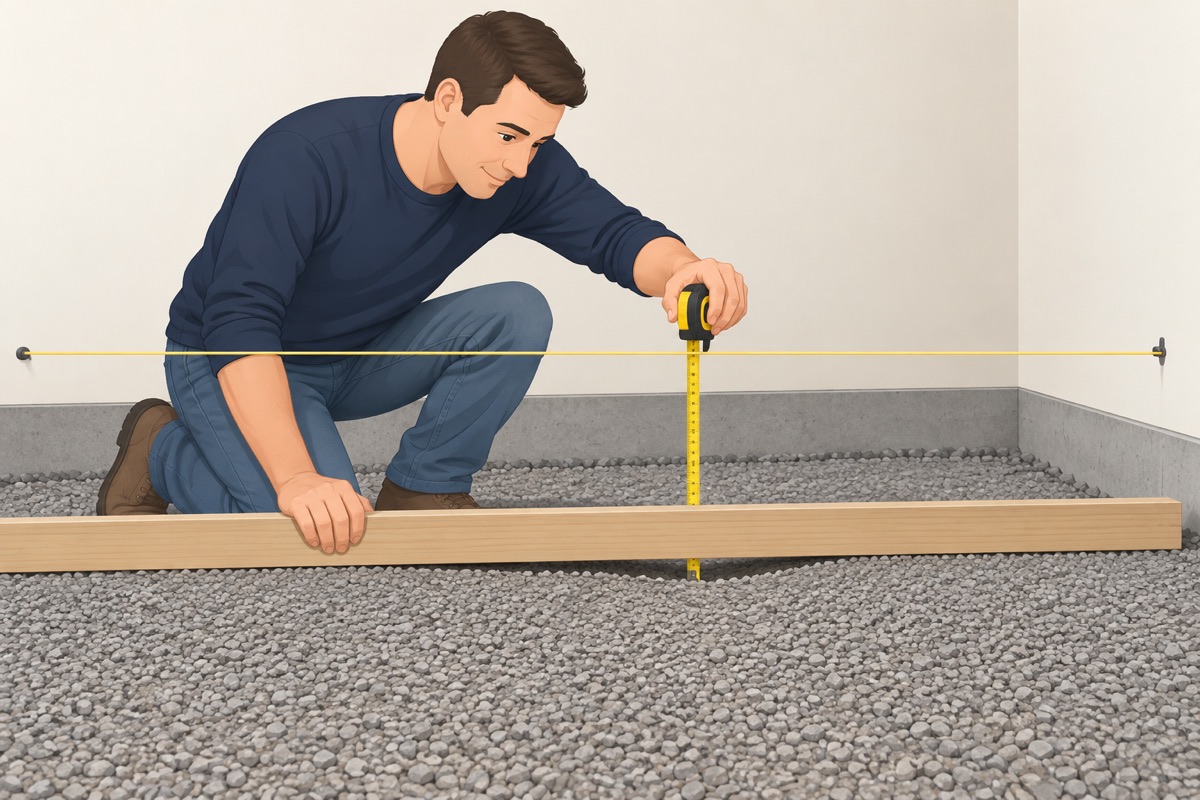
Measure down from the strings at many points: the top of the base should sit the paver thickness plus 1 in below them everywhere. Lay a long straight board across it; fill dips with base and compact, scrape off high spots. The paver maker's guide gives the flatness tolerance.
Step 7 of 15
Set the restraint on your starting edge
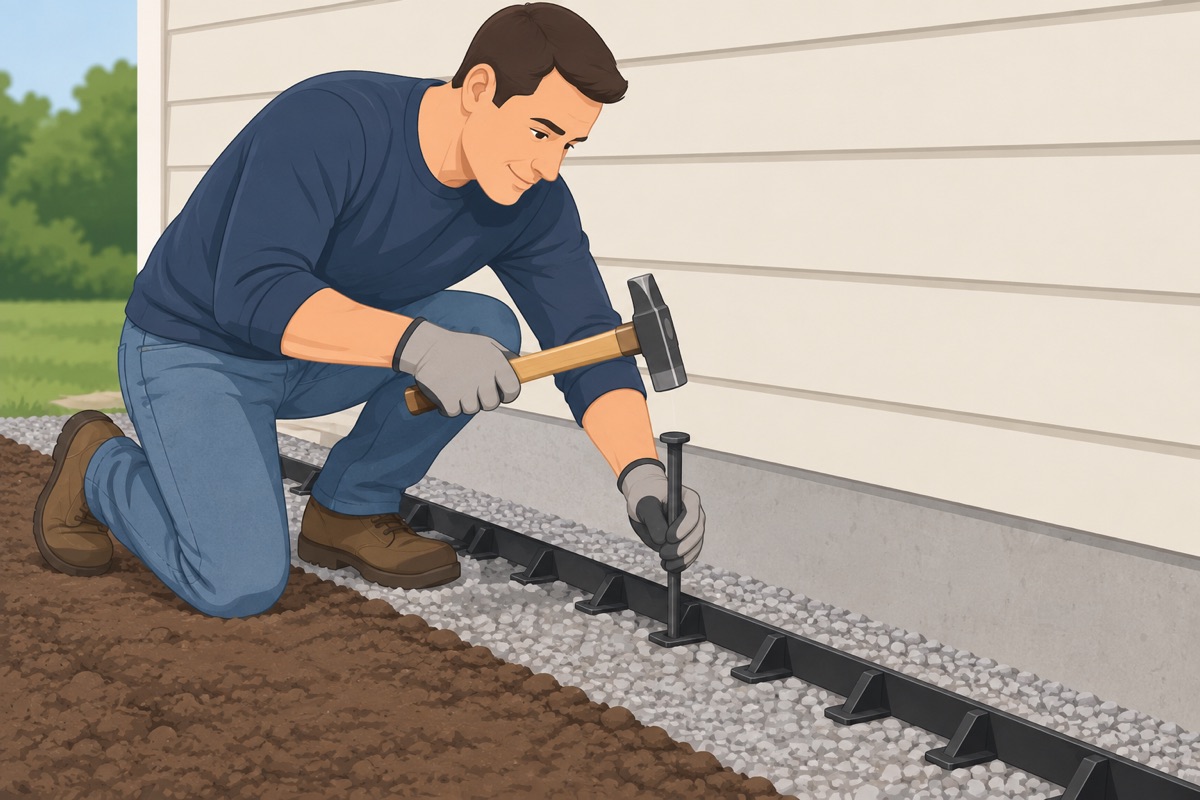
Pick a straight starting edge — along the house or a string line — and spike the edge restraint there now, on the base. The other free edges get their restraint after the pavers are laid and cut.
Step 8 of 15
Screed the bedding sand 1 in thick
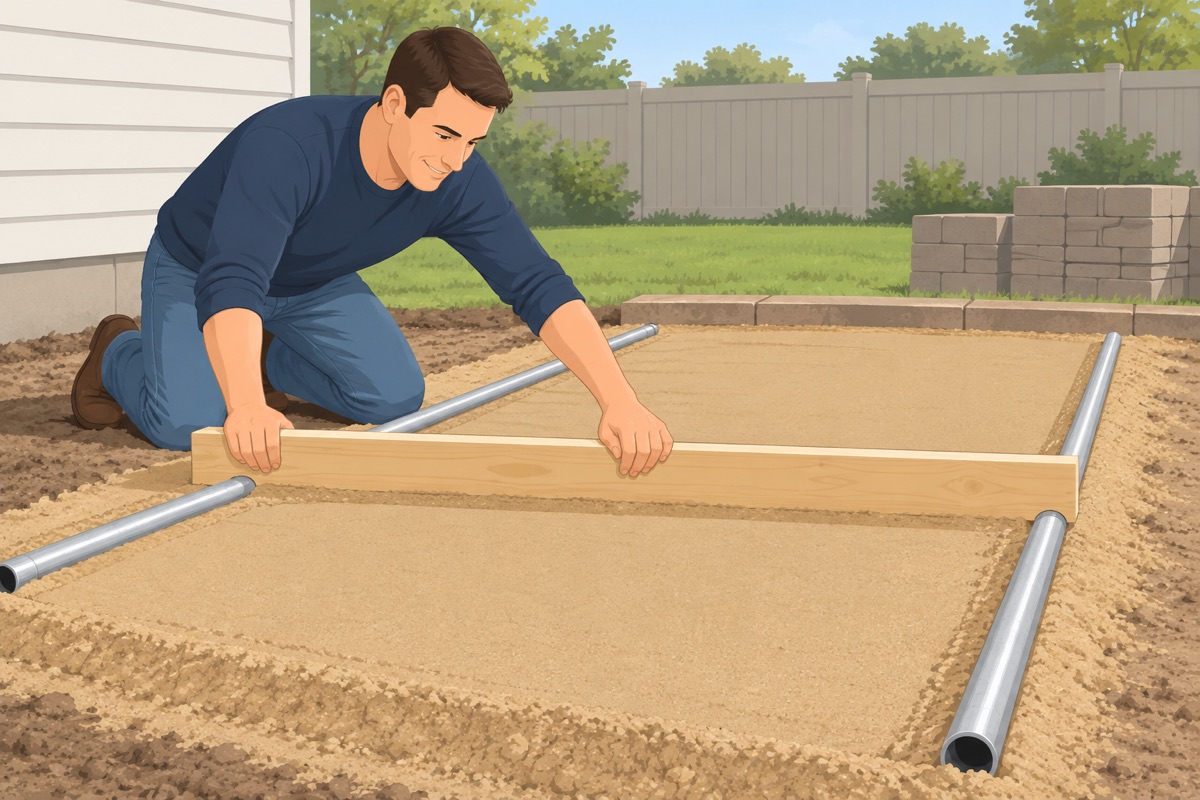
Lay the two 1 in pipes on the base, parallel, a few feet apart. Pour sand between them and pull the straight 2×4 across the pipes to leave a flat 1 in bed. Lift the pipes out, fill their grooves with sand and smooth them with a trowel. Screed only what you will cover today, and do not step on it.
Step 9 of 15
Lay the pavers
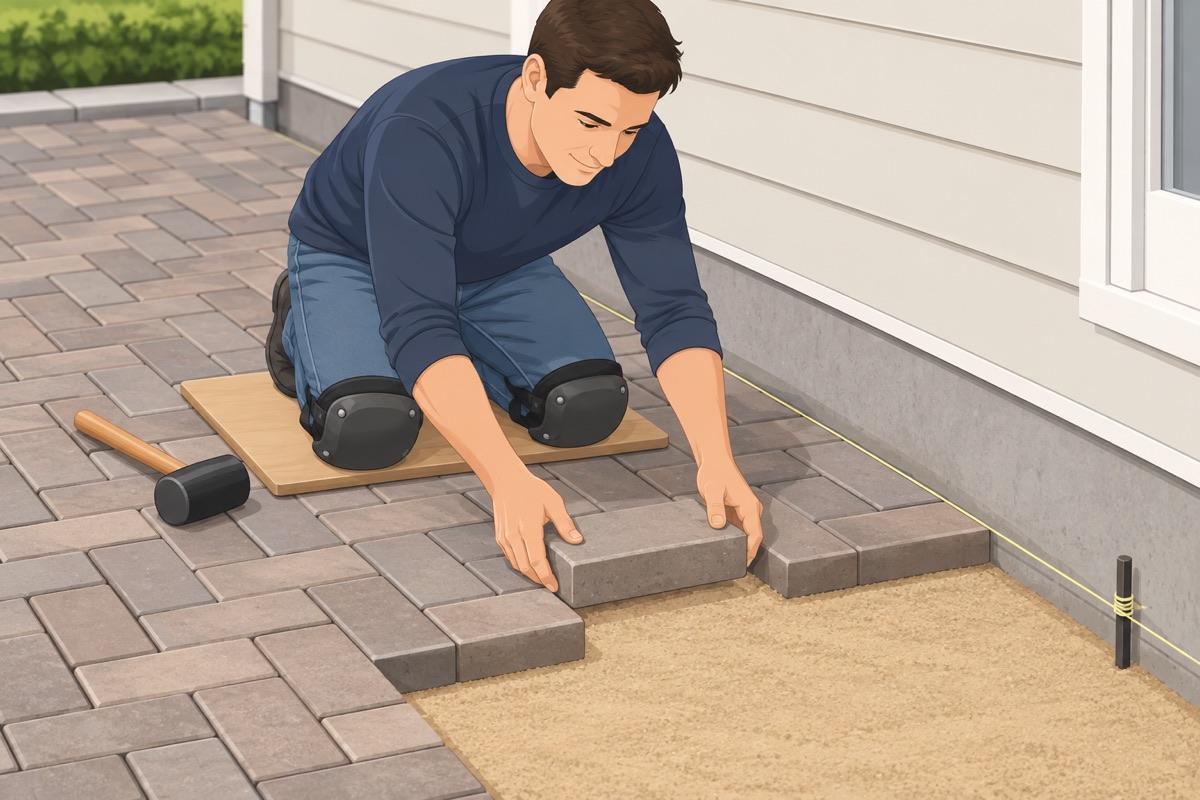
Start at the starting edge and set each paver straight down onto the sand — do not slide it. Keep the joints as tight as the paver's spacer bumps set them. Work from the pavers you already laid, kneeling on a board. Every few rows, check the lines against a string and tap the rows straight with the rubber mallet.
Step 10 of 15
Cut the edge pieces
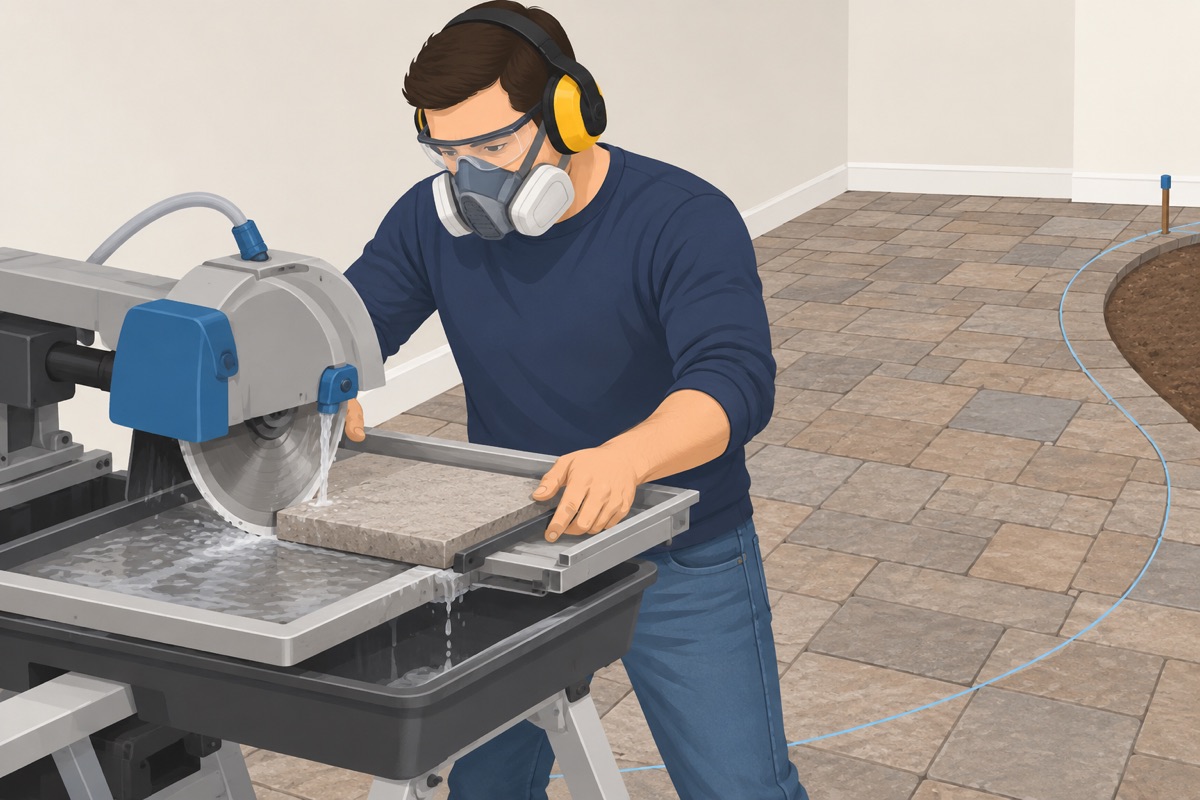
Mark the final edge across the laid pavers with a chalk line or a straight board. Cut with the wet saw or the splitter. Plan the edge so no piece is a thin sliver — small pieces work loose; shift the edge line a little if you need to.
Before you cut
- You cut wet (wet saw) or with the splitter — no dry cutting
- P100 respirator, safety glasses and hearing protection are on
- The cut line leaves no thin slivers at the edge
Step 11 of 15
Spike the restraint on every free edge
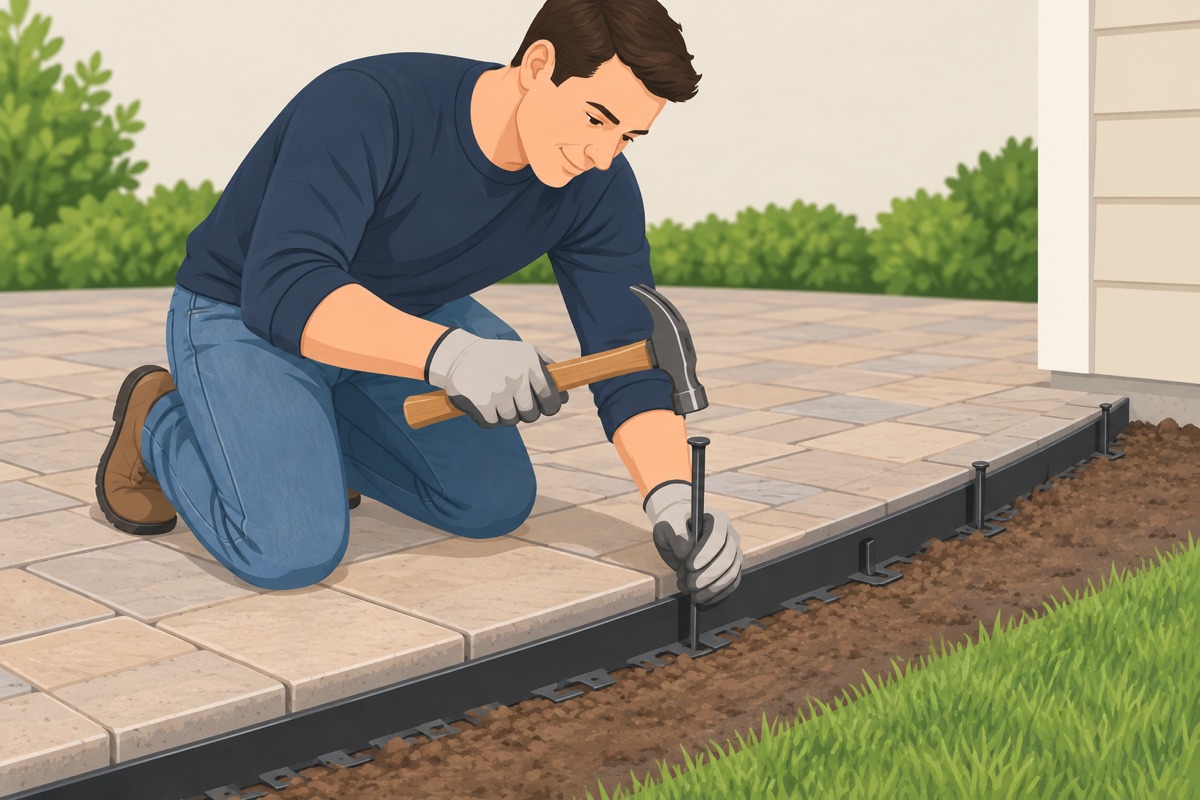
Set the restraint tight against the cut pavers, on the base, and drive the 10 in spikes through it about every foot (per the restraint's instructions).
Step 12 of 15
Compact the pavers into the sand
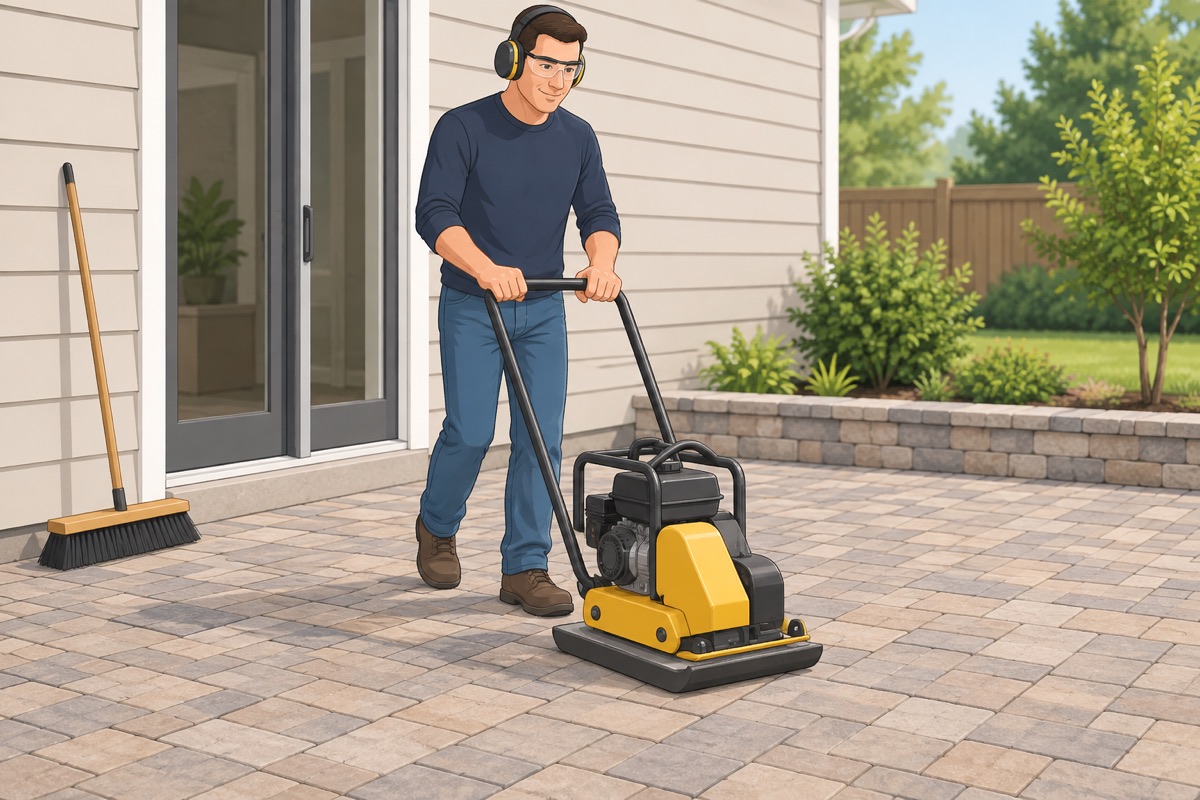
Sweep the surface clean and dry. Run the plate compactor, with its rubber pad, over the pavers in two directions: it beds them in the sand and levels small lips. Replace any paver that cracks.
Step 13 of 15
Sweep in the polymeric sand
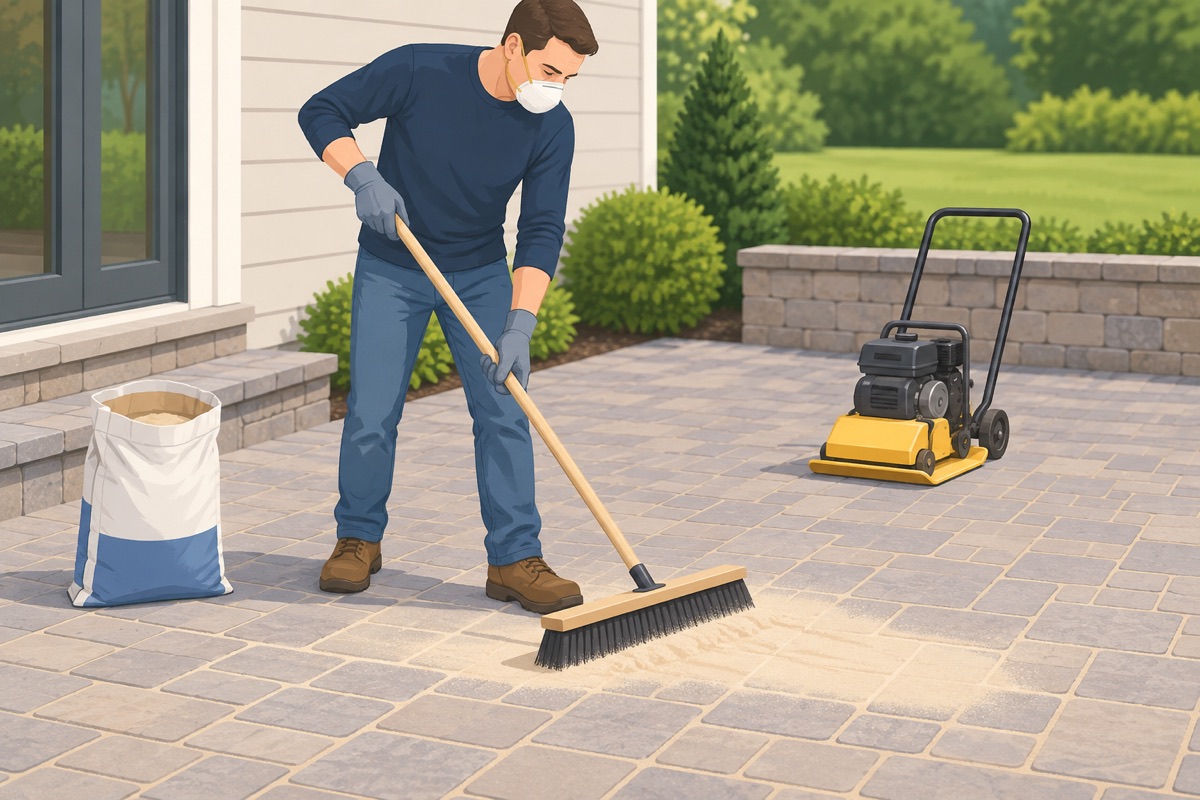
Only on a dry surface, with no rain forecast for the time the bag gives. Pour the sand on, sweep it into every joint, run the compactor again to settle it and top up the joints to the level the bag names.
Step 14 of 15
Clean the surface, then mist per the bag
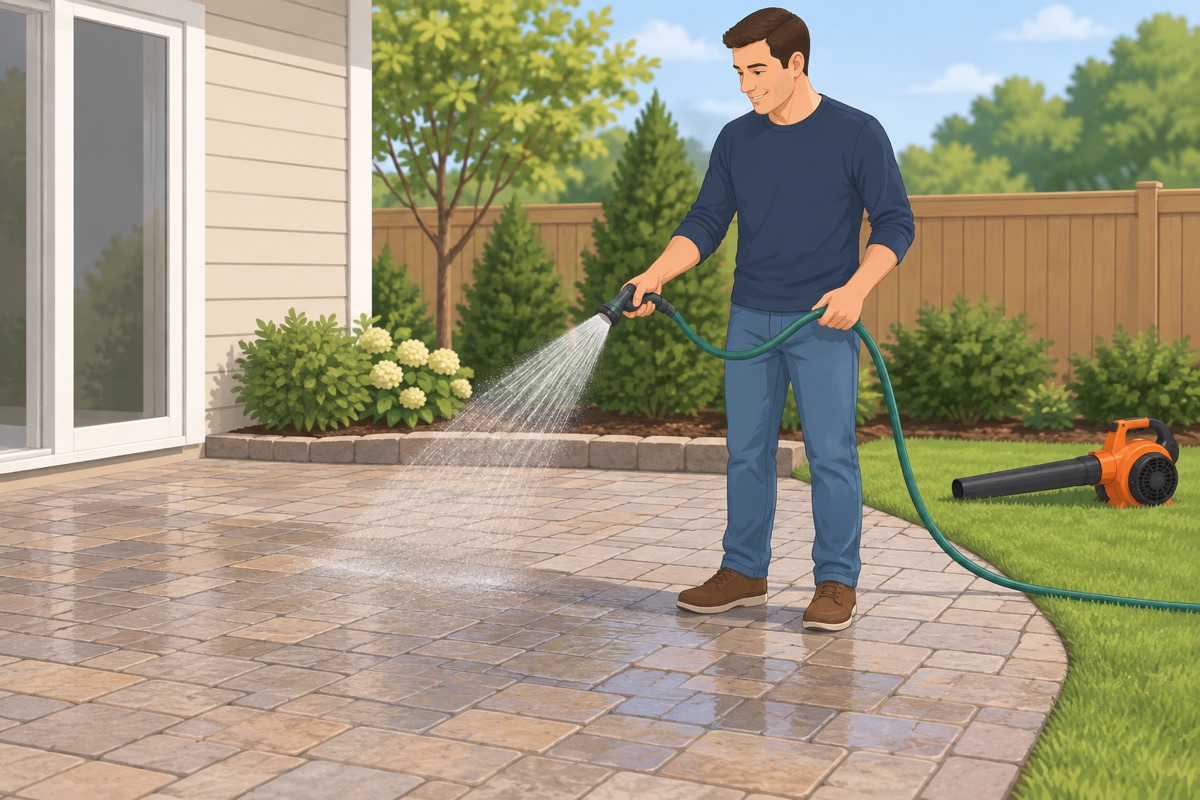
Sweep, then blow every grain off the paver faces — whatever stays there hardens into a haze. Mist with a shower setting, as many times and with the waits the bag gives. Do not flood it: too much water washes the binder out. Keep off it for the time on the bag.
Before you wet the sand
- No rain forecast for the time on the bag
- Joints are full to the level the bag names
- Every grain is swept and blown off the paver faces
Step 15 of 15
Backfill the edges and clean up
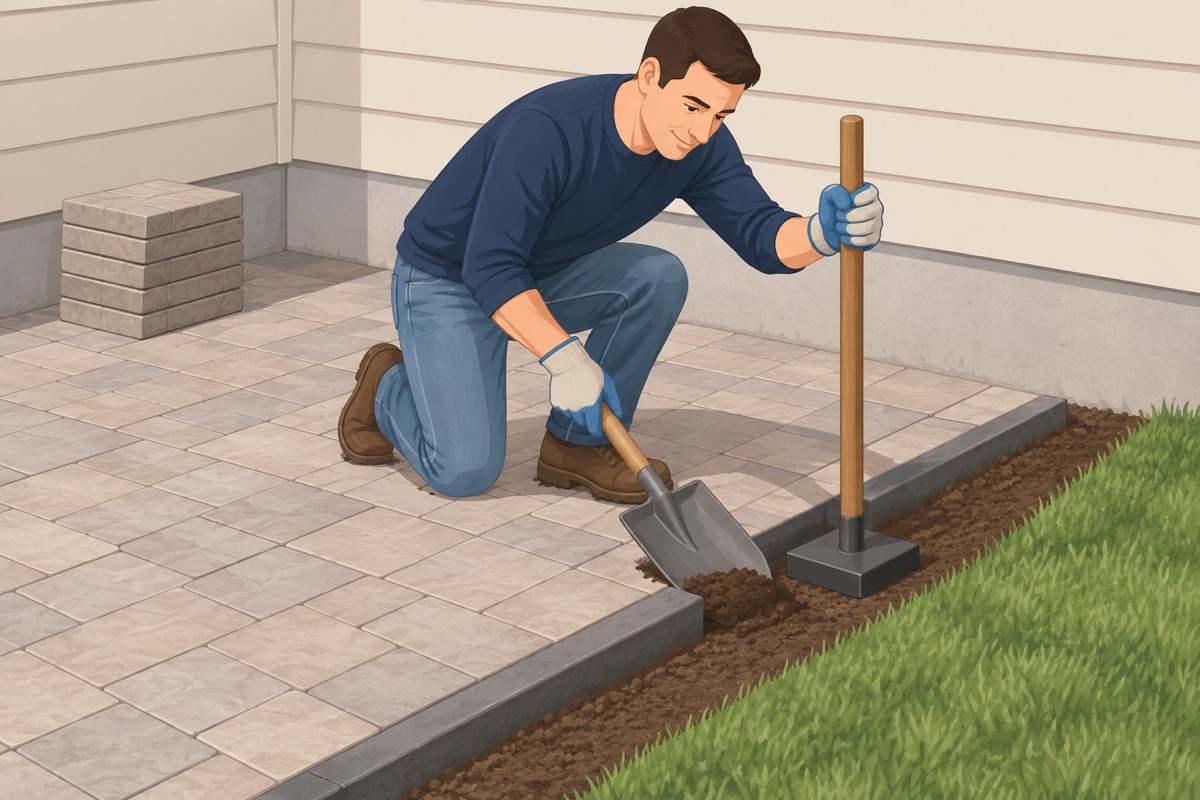
Pack soil against the outside of the restraint and cover it with sod, DG or mulch. Return the rentals. Keep a few spare pavers for repairs.
Common mistakes
- No slope, or slope toward the house. Puddles on the patio and water against the foundation. Set the strings to fall 1/8–1/4 in per ft away from the house before you dig.
- A thin or loosely compacted base. The patio sinks in ruts within a year. Compact the gravel in 2 in layers, damp, with several passes each, until your boot leaves no print.
- Walking on the screeded sand. Footprints become dips under the pavers. Screed a section, then lay pavers on it working from the pavers already laid.
- No edge restraint. The edges drift apart and the joints open. Spike restraint along every free edge.
- Polymeric sand left on the surface, or flooded. A haze that never comes off, or joints that wash out. Sweep every grain off before you mist, and water exactly as the bag says.
Draft guide written from standard practice, not yet reviewed by a licensed pro. Follow product labels where they differ.
Get this job planned for your roomRelated guides
- How to install click-lock LVP flooring yourself: step by step
- How to tile a bathroom or kitchen floor yourself: step by step
- How to check a subfloor before new flooring yourself: step by step
- How to level a floor with self-leveling underlayment yourself: step by step
- How to install floor transition strips yourself: step by step
- How to build a ground-level floating deck yourself: step by step