How to assemble and anchor a pergola kit yourself: step by step
A kit pergola is a big piece of furniture you bolt to the ground: square posts, a helper for the beams, and anchors that hold it down in wind. The manual does the thinking; your job is level, square and anchored.
Difficulty 3 of 5 · 1.5 weekends · careful
Stop here
Photo of your room, the look you pick, then this guide with the materials counted for your room.
What you need
- Pergola kit
- Post bases for concrete
- Wedge anchors
- Concrete mix for footings (no slab)
Tools
- Hammer drill with a masonry bit — Bit size per the anchor's label.
- Drill/driver or impact driver
- Socket wrench set
- Two ladders and a helper
- 4 ft level
- Post level
- Tape measure
- Clamps
- Safety glasses, work gloves, hearing protection
Step by step
Step 1 of 12
Check the rules and the spot
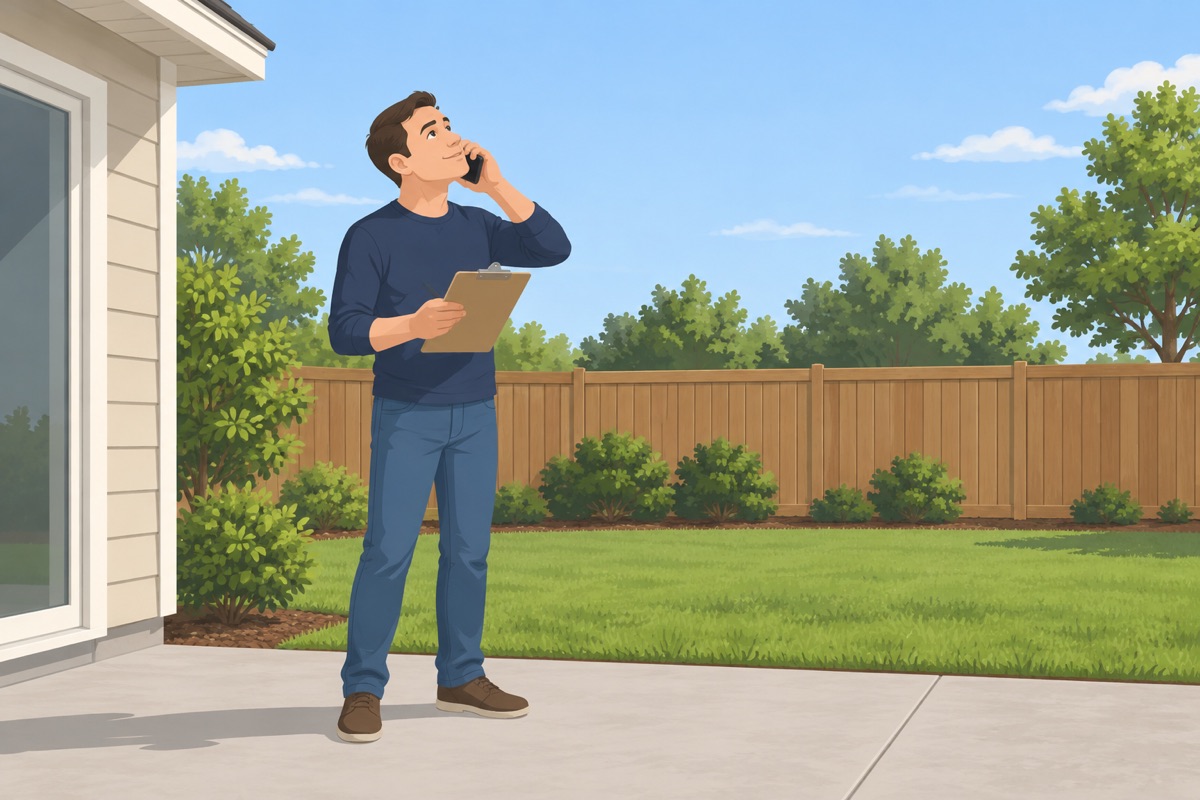
Confirm with your city the height, the size, and the setback from the property line allowed without a permit, and with your HOA if you have one. Pick a spot clear of overhead wires and away from the house — this kit stands on its own.
Step 2 of 12
Check the slab, or plan footings
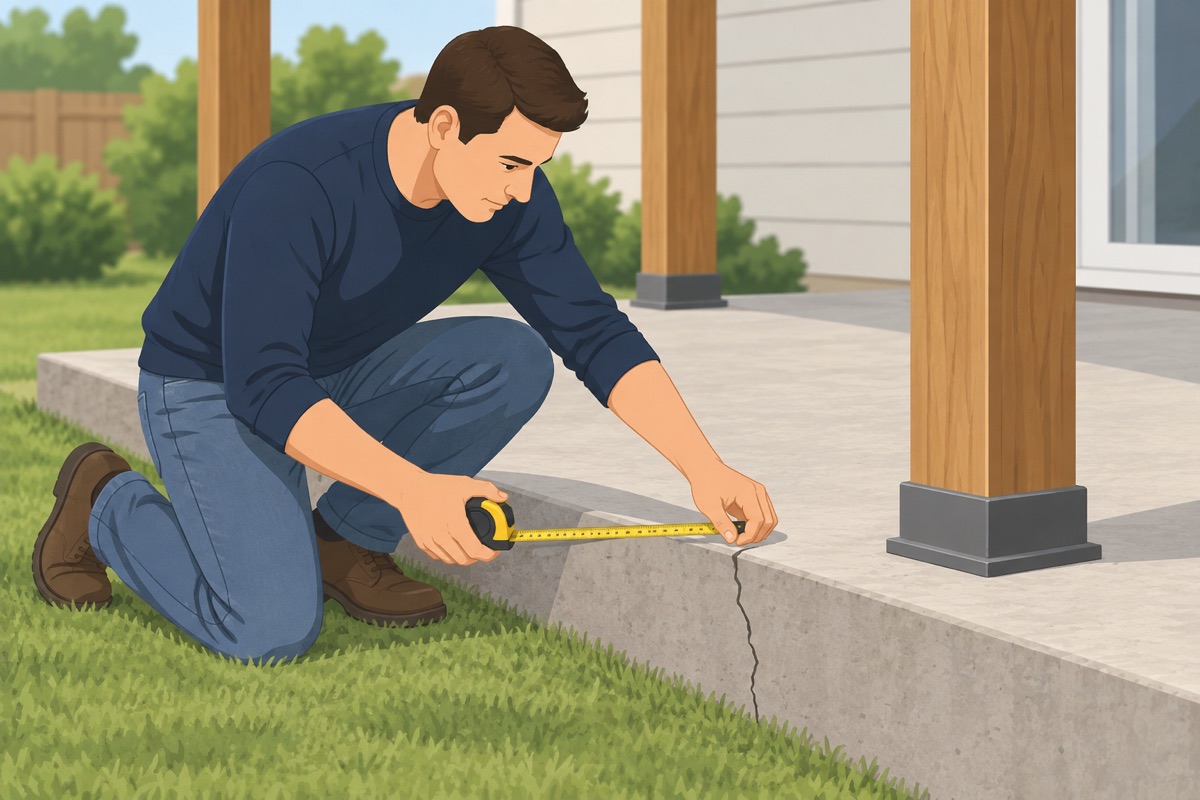
Find how thick the slab is at an edge and look for cracks where the posts will stand. Sound concrete as thick as the anchor's label asks for: anchor to it. No slab or a weak one: pour footings per the manual and your city (811 first).
Step 3 of 12
Unbox and check the parts
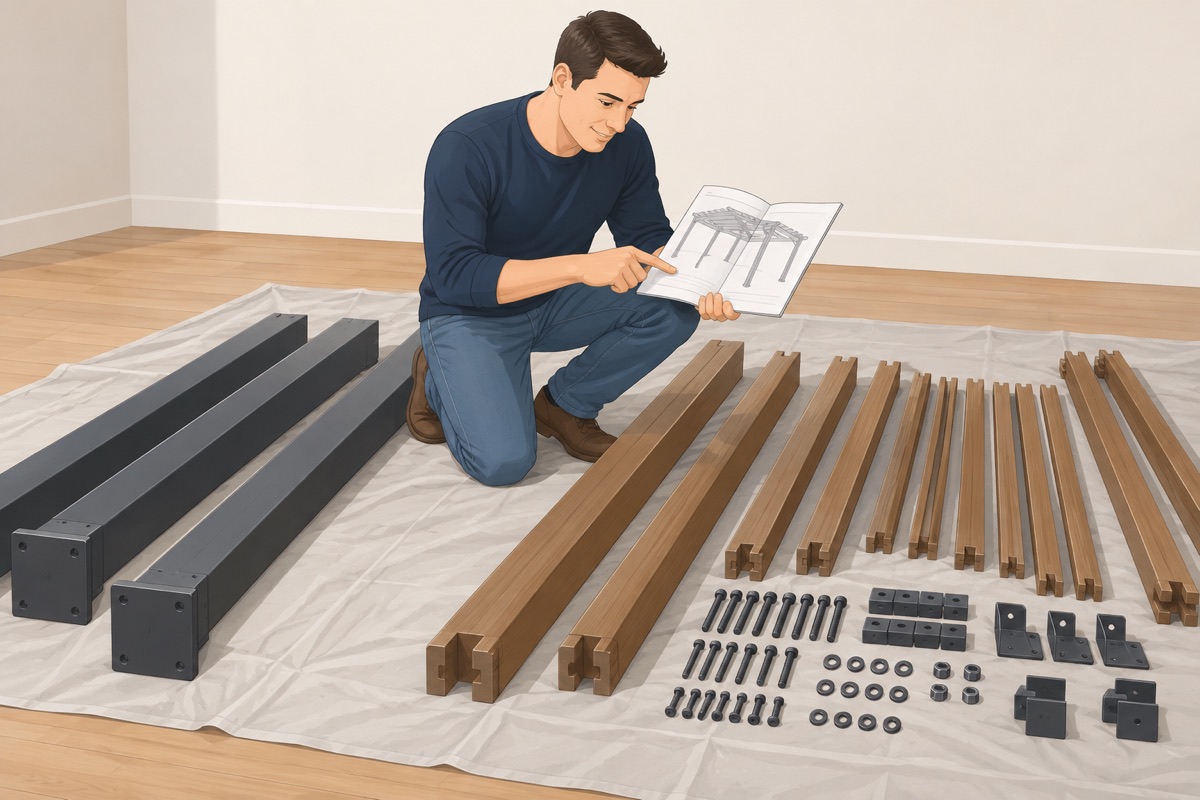
Lay every part out on a tarp and check them against the manual's list. Missing a part is easier to fix now than with a beam in the air.
Step 4 of 12
Mark the post spots and square them
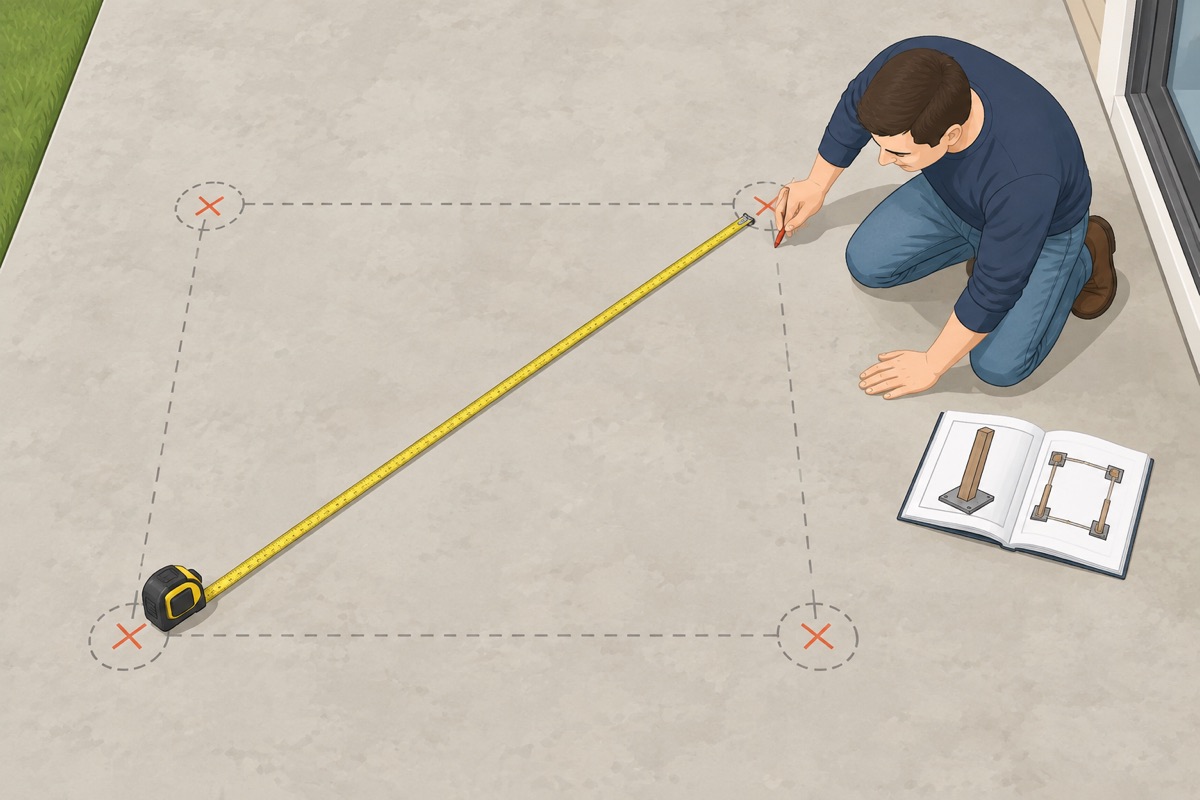
Mark the post centers from the manual's dimensions. Check the corners with the 3-4-5 rule and measure both diagonals — they must match.
Step 5 of 12
Drill the anchor holes
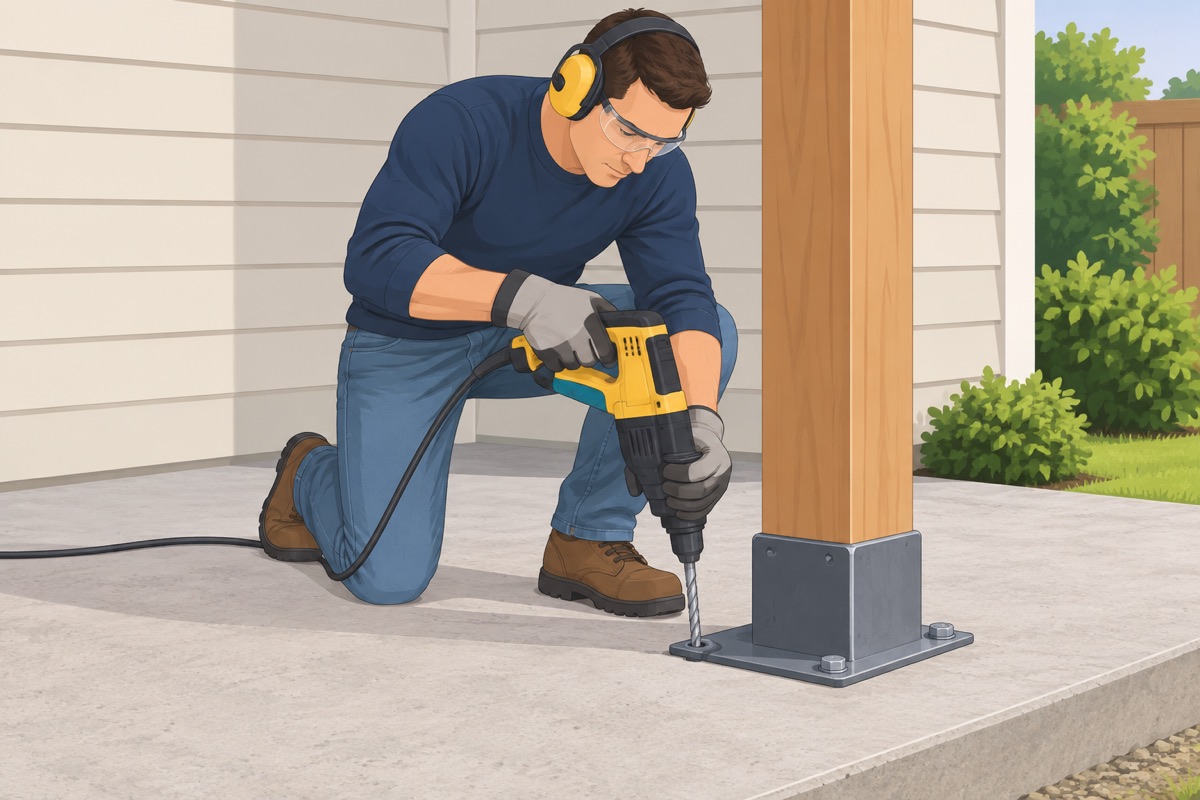
Set each post base on its mark, mark its holes, and drill with the hammer drill to the depth on the anchor's label. Blow and brush the dust out of each hole.
Before you drill
- The kit's height and size are within what your city allows without a permit, or you have the permit
- The pergola does not touch or attach to the house
- The slab is sound and thick enough for the anchor, and every hole keeps the edge distance on the anchor's label
- The post spots are square: the diagonals match
Step 6 of 12
Set the anchors and the post bases
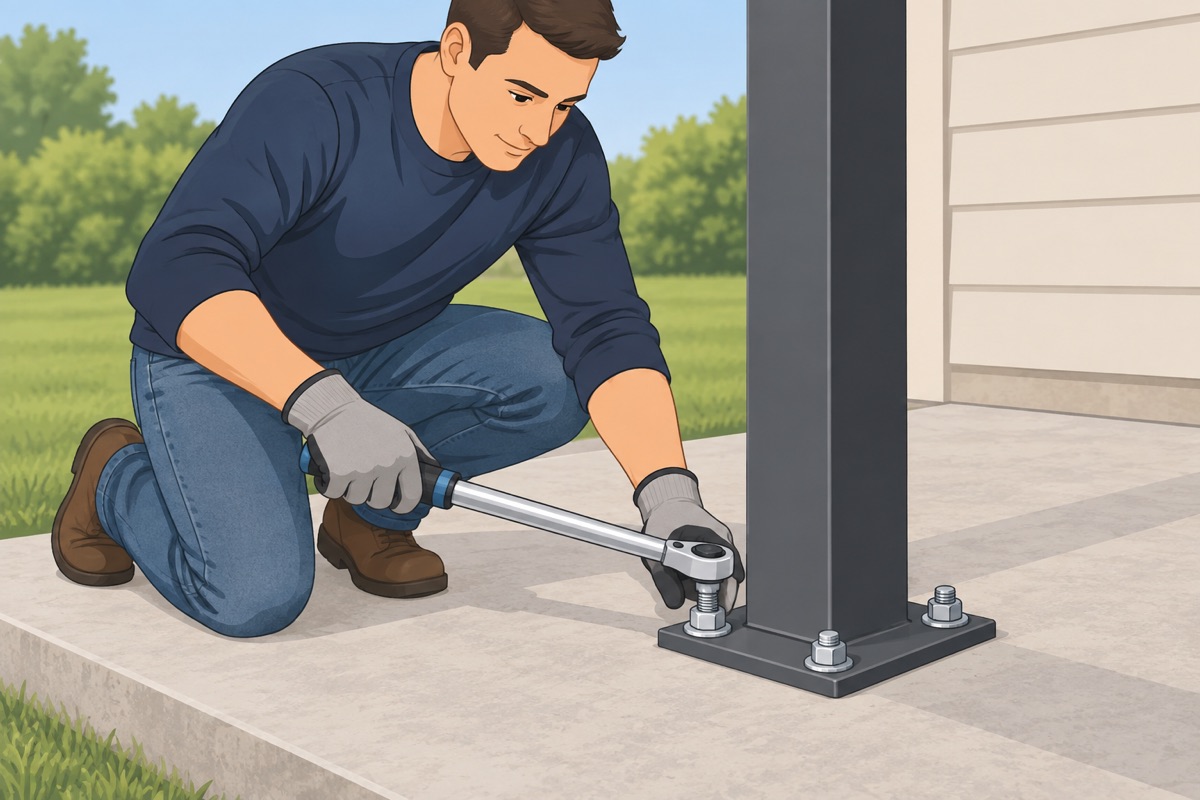
Tap the wedge anchors through the post base into the holes and tighten the nuts to the torque on the anchor's label.
Step 7 of 12
Stand and fasten the posts
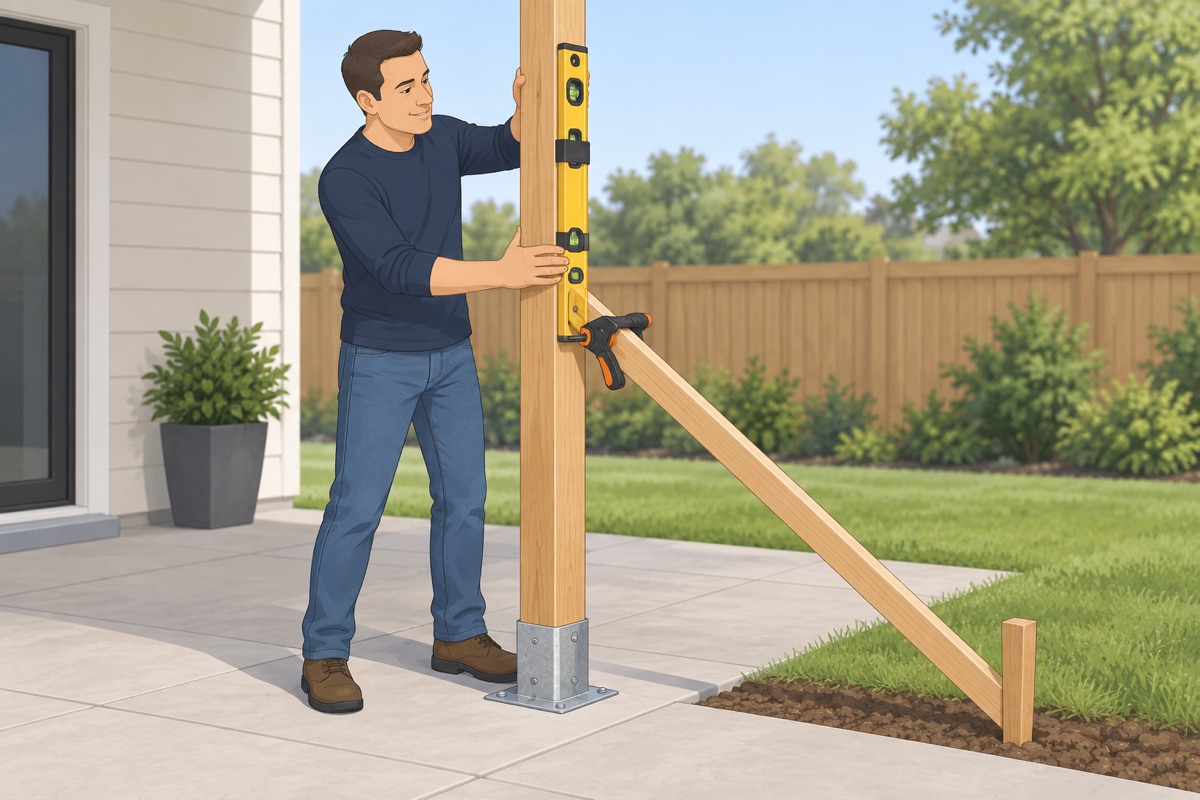
Set each post in its base, plumb it on two faces with the post level, fasten it as the manual says, and brace it until the beams are on.
Step 8 of 12
Raise and fasten the beams
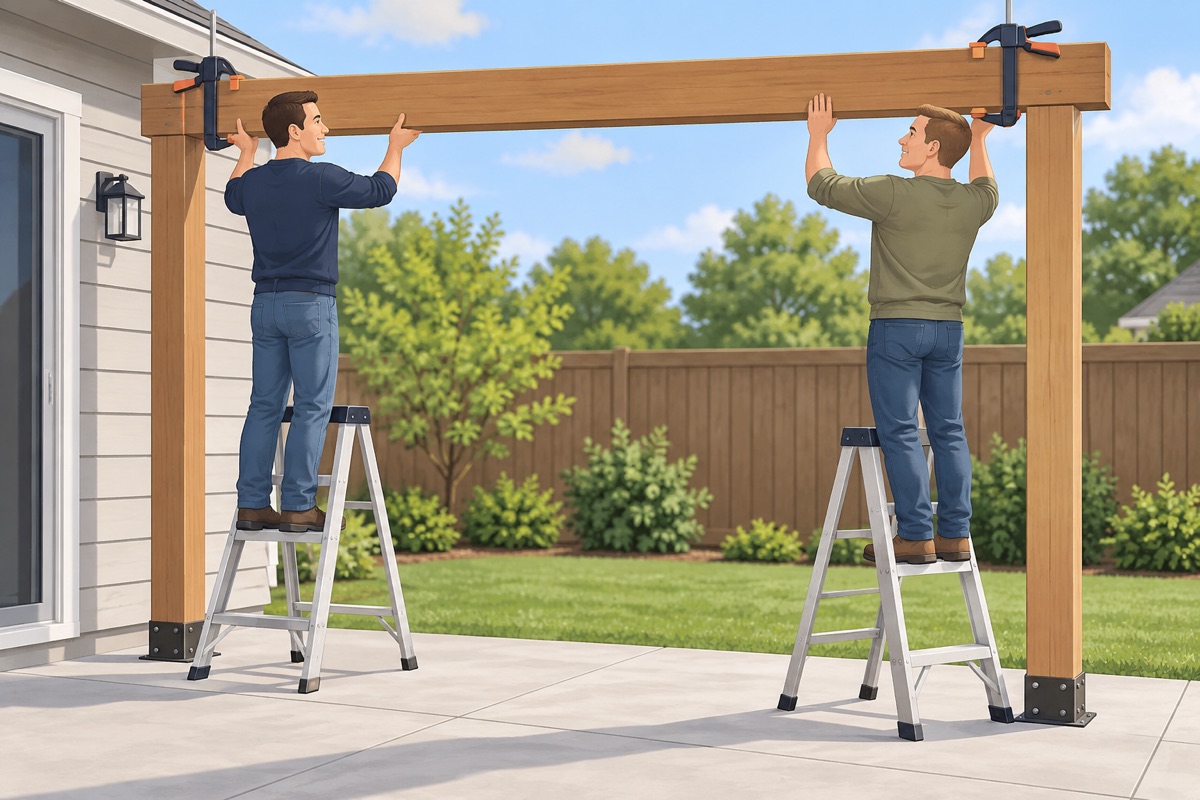
With a helper on a second ladder, lift each beam onto the posts, clamp it, check level, and bolt it per the manual.
Step 9 of 12
Set the rafters
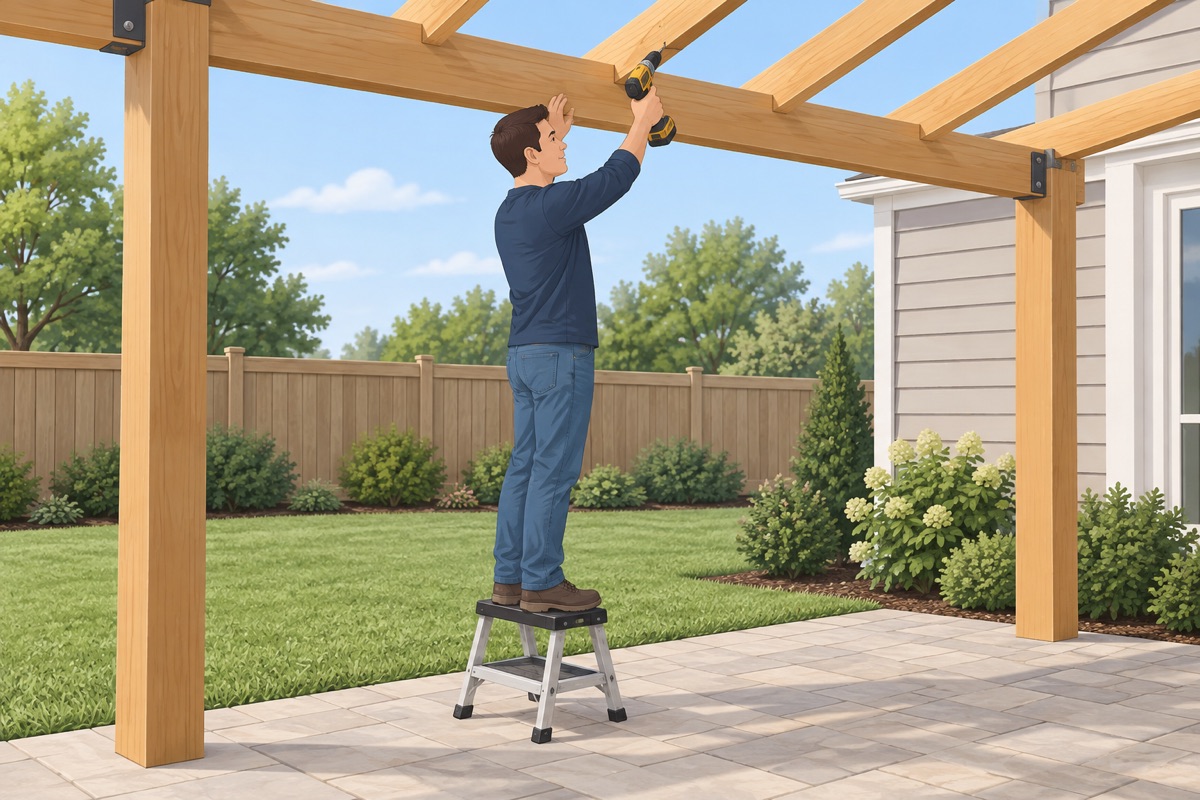
Lay the rafters across the beams at the spacing the manual gives and fasten each one. Check the diagonals of the top once more.
Step 10 of 12
Add the top slats
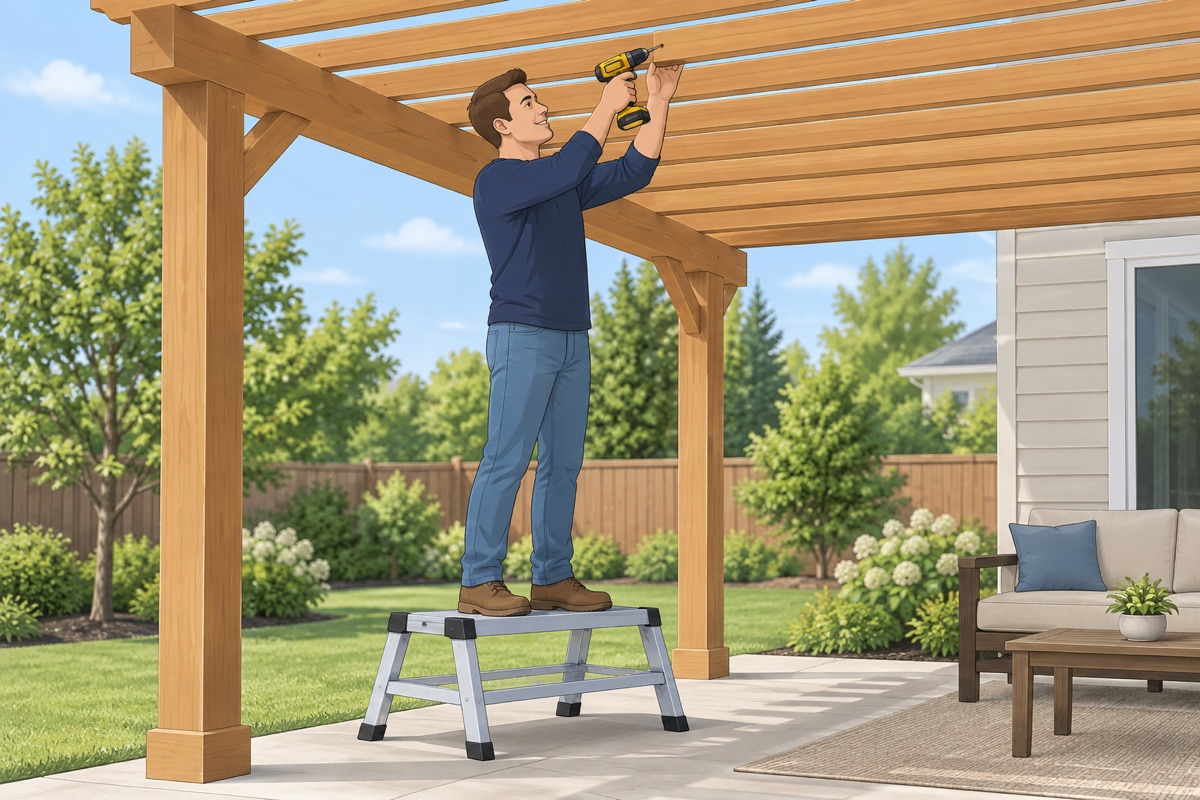
Fasten the top slats or purlins as the manual shows. They stiffen the top — do not skip them.
Step 11 of 12
Check plumb and tighten everything
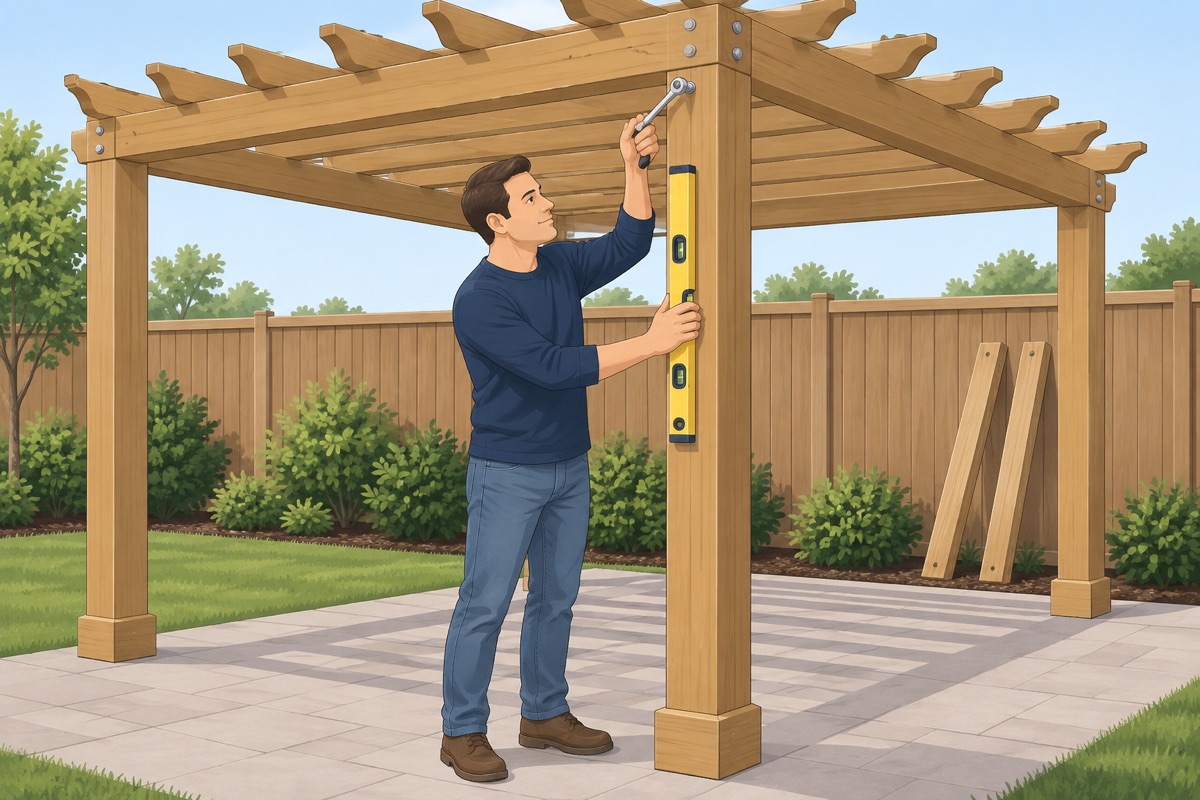
Remove the braces, check every post for plumb, and go over every bolt and anchor nut once more.
Step 12 of 12
Finish and check it again next season
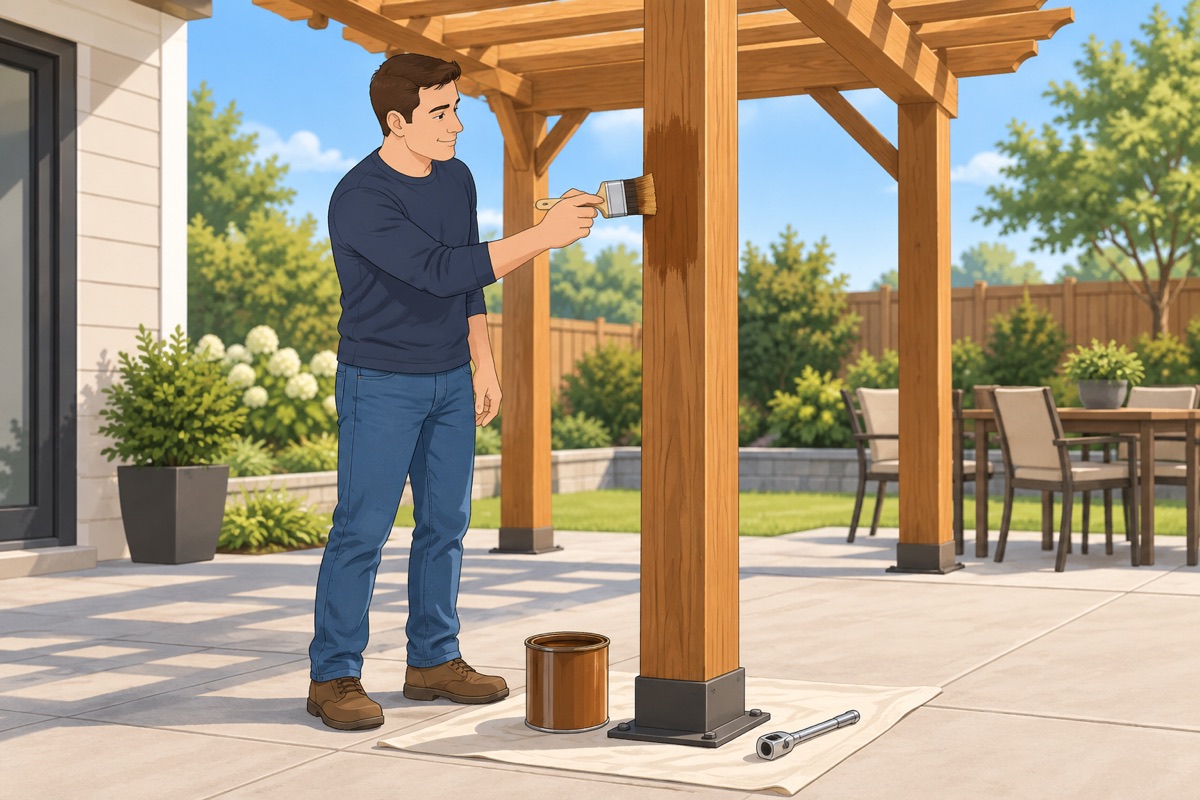
Wood: stain or seal per the can. After the first season, re-tighten the bolts and anchor nuts — wood shrinks.
Common mistakes
- Posts out of square. The beams will not line up with the bolt holes, and the top racks. Match the diagonals before you drill.
- Anchors too close to the slab edge. The concrete breaks out and the anchor pulls free. Keep the edge distance on the anchor's label.
- Leaving the pergola unanchored. A gust lifts it like a kite. Every post base gets anchored before the top goes on.
- Raising the beams alone. Long beams swing and fall. Two people, two ladders, clamps to hold each beam while you fasten it.
Draft guide written from standard practice, not yet reviewed by a licensed pro. Follow product labels where they differ.
Get this job planned for your roomRelated guides
- How to measure a door opening before buying a door yourself: step by step
- How to install a prehung interior door yourself: step by step
- How to install door casing yourself: step by step
- How to install baseboards yourself: step by step
- How to fill nail holes and caulk trim yourself: step by step
- How to build a wood or vinyl privacy fence yourself: step by step