How to build a ground-level floating deck yourself: step by step
A low deck that sits on blocks instead of hanging from the house: in most places no footings to dig and no permit, and a square, level frame is the whole job. The composite boards go down fast once the frame is right.
Difficulty 4 of 5 · 3 weekends · careful
Stop here
Photo of your room, the look you pick, then this guide with the materials counted for your room.
What you need
- Composite deck boards
- Pressure-treated 2×6 joists (ground-contact rated)
- Concrete deck blocks
- Compactable gravel for the block pads
- Joist hangers and structural screws for treated lumber
- Hidden fastener clips
- Joist flashing tape
- Landscape fabric (under the deck)
Tools
- Circular saw
- Miter saw (clean board ends)
- Drill/driver or impact driver
- 4 ft level
- Tape measure
- Stakes, mason's line and a line level
- Hand tamper
- Speed square and chalk line
- Clamps
- Flat and pointed shovels
- Safety glasses, hearing protection, N95 mask (cutting)
Step by step
Step 1 of 14
Set the deck height
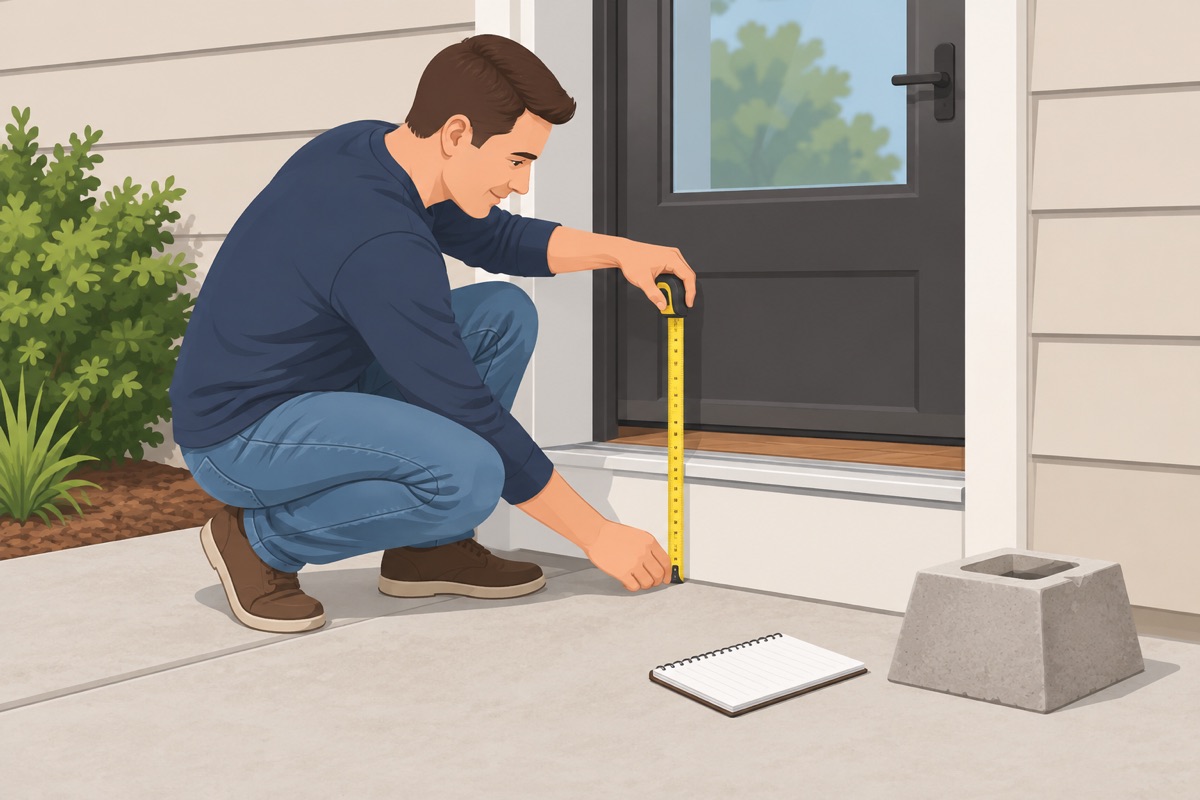
Measure from the door threshold down to the ground. The deck surface goes 1–2 in below the threshold. Subtract the board thickness, the joist (a 2×6 is 5-1/2 in) and the block: what is left is your room for the gravel pads and the air under the frame. If it does not fit, dig the area down; if the deck would sit more than 30 in above the ground anywhere, it is a permit job.
Step 2 of 14
Lay out the deck and the block grid
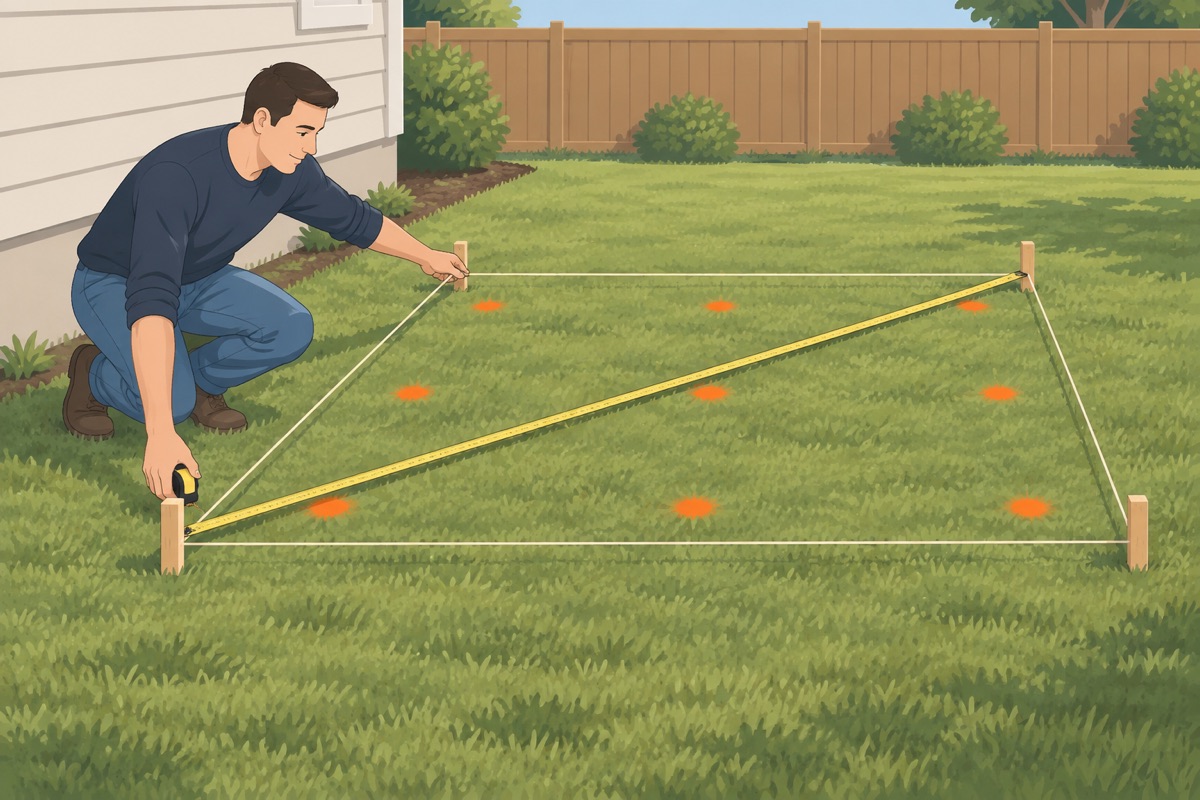
String the outline and square it with the 3-4-5 rule. With the boards running away from the house, the joists run parallel to it. Mark the block spots: one under each joist every 4–6 ft (per the block's rating), with a row near each end.
Step 3 of 14
Clear, slope and cover the ground
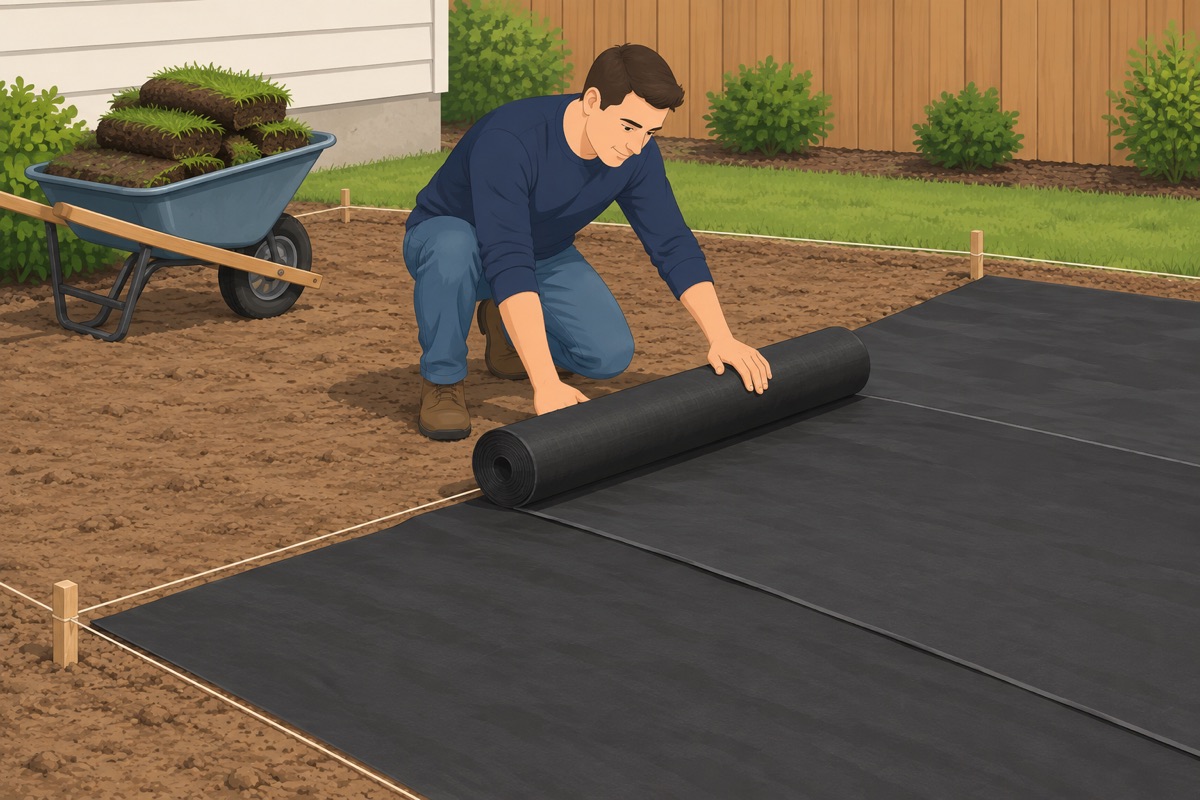
Take out sod and roots under the deck area, give the soil a slight fall away from the house so water drains out, and lay landscape fabric with its seams overlapped. Water must never pool under the deck.
Step 4 of 14
Make a gravel pad for each block
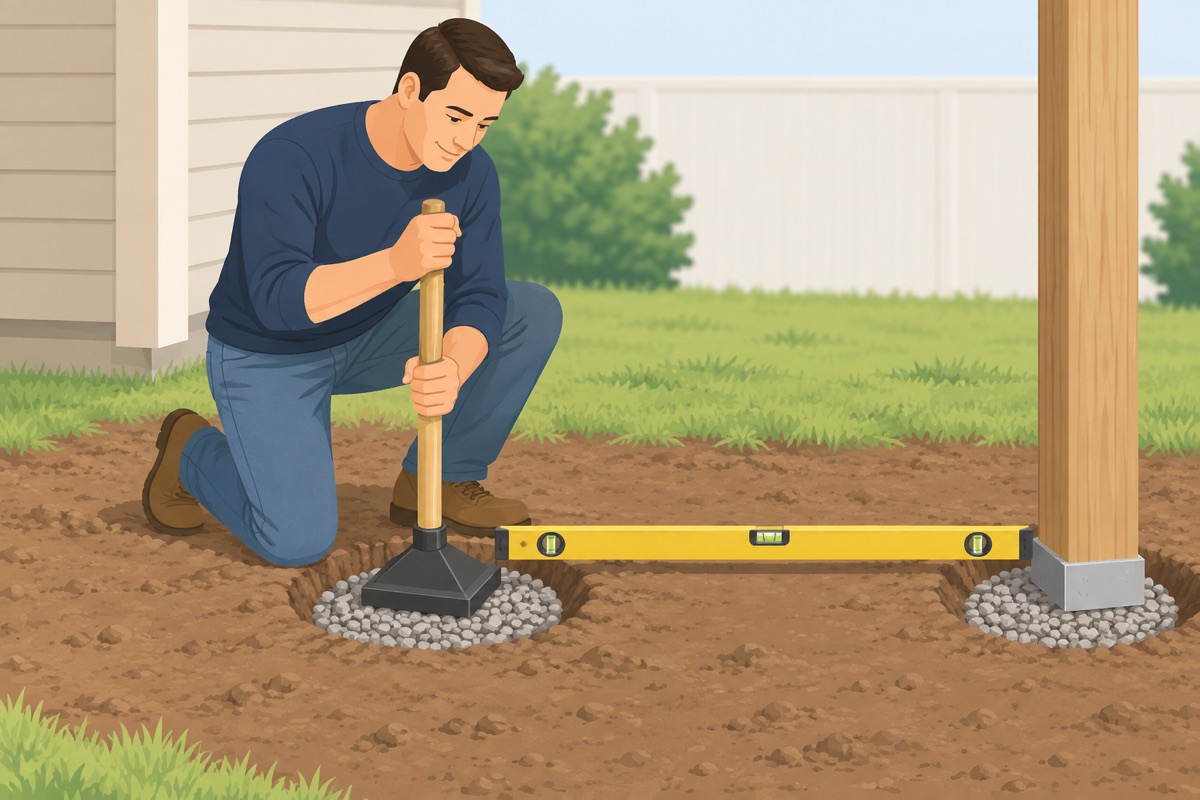
Dig each spot a few inches deep and a bit wider than the block, fill it with compactable gravel and tamp it hard. Lay a level across neighbouring pads: they should sit at the same height, or follow the drainage fall you chose.
Before you dig the pads
- 811 marks are in and no pad sits on a marked or private line
- The deck is under 30 in high everywhere, not attached to the house, and within your city's permit-free size (you checked)
- The deck surface stays 1–2 in below the door threshold
Step 5 of 14
Set and level the blocks
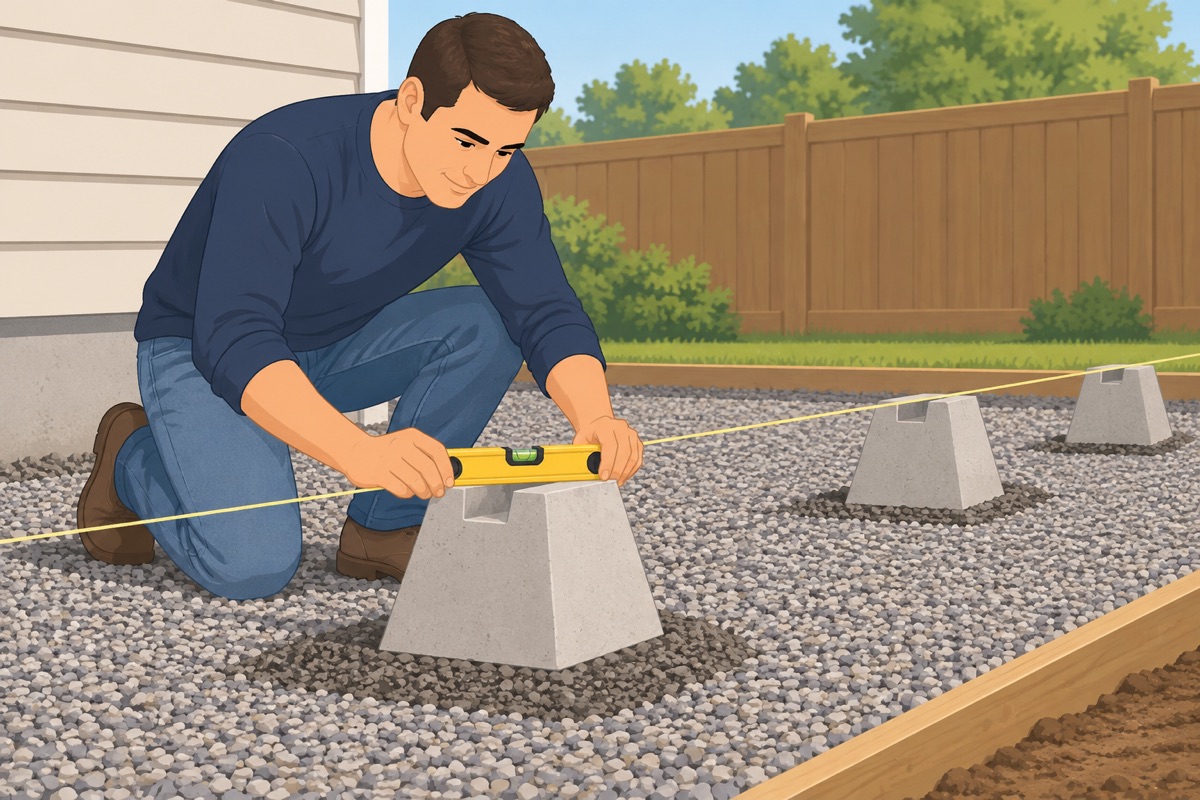
Set each block on its pad and level it both ways. Run a string across the tops of a row: every block should just touch it. Raise a low block with more compacted gravel, never with wood.
Step 6 of 14
Cut the joists and the rim joists
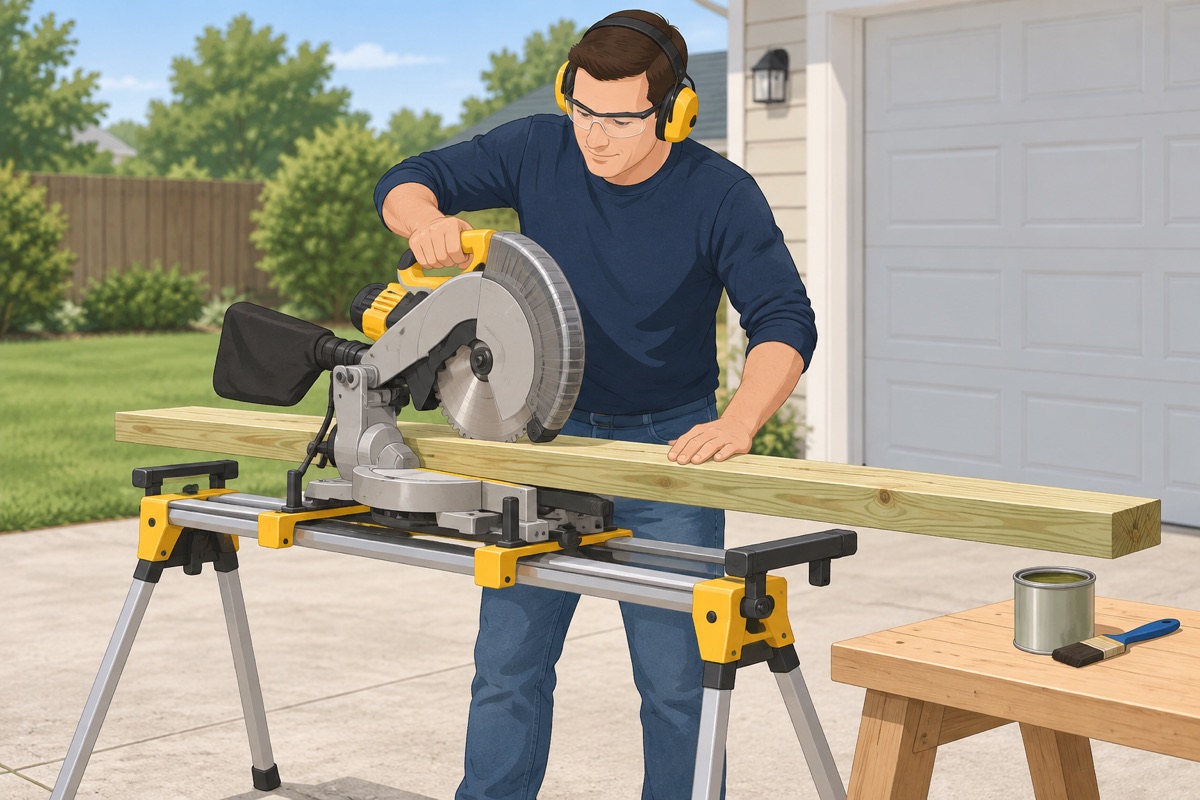
Cut every joist to the same length with square ends. Mark the rim joists every 16 in on center for the joists. Brush end-cut preservative on each cut end of treated lumber, per its label.
Step 7 of 14
Build the frame on the blocks
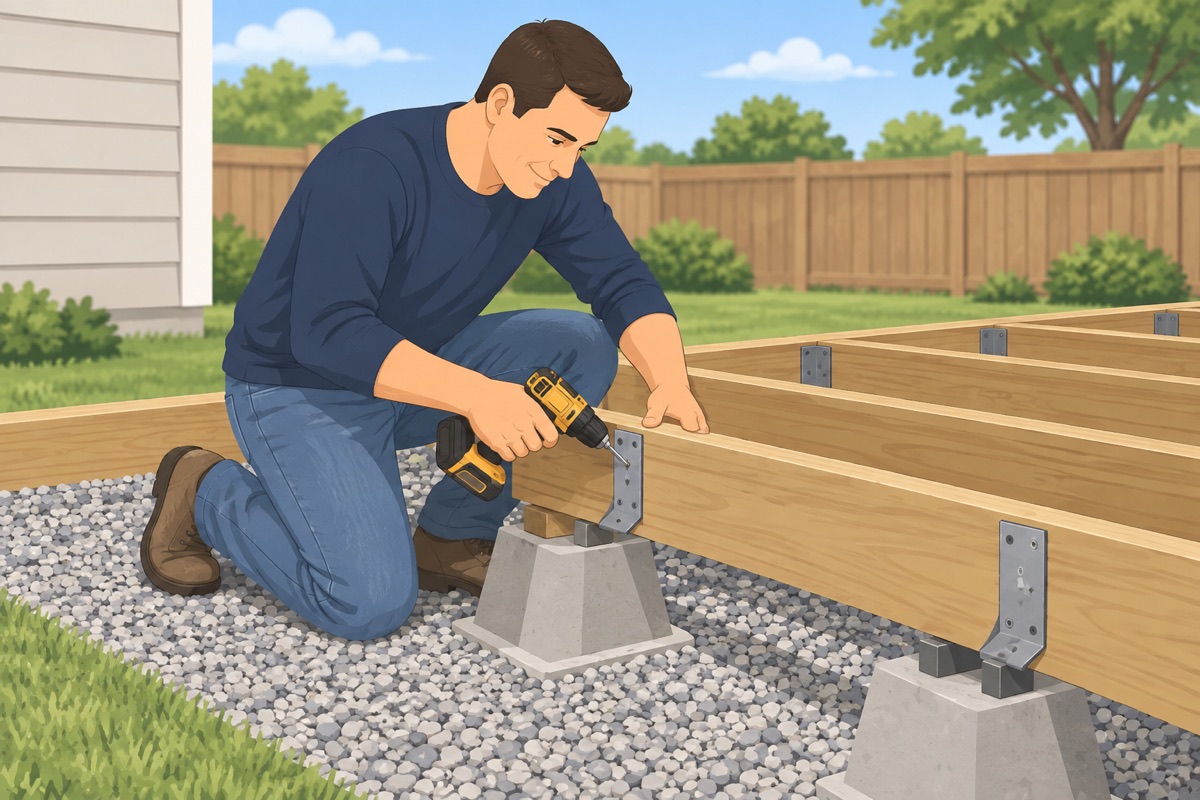
Fasten the rim joists to the joist ends with joist hangers or structural screws, then set the frame into the slots on top of the blocks.
Before you fasten the frame
- Screws, nails and hangers are rated for pressure-treated lumber
- Joists are 16 in on center, or closer if the board's guide asks for it
- No wood touches the soil — the frame sits on blocks only
Step 8 of 14
Square and level the frame
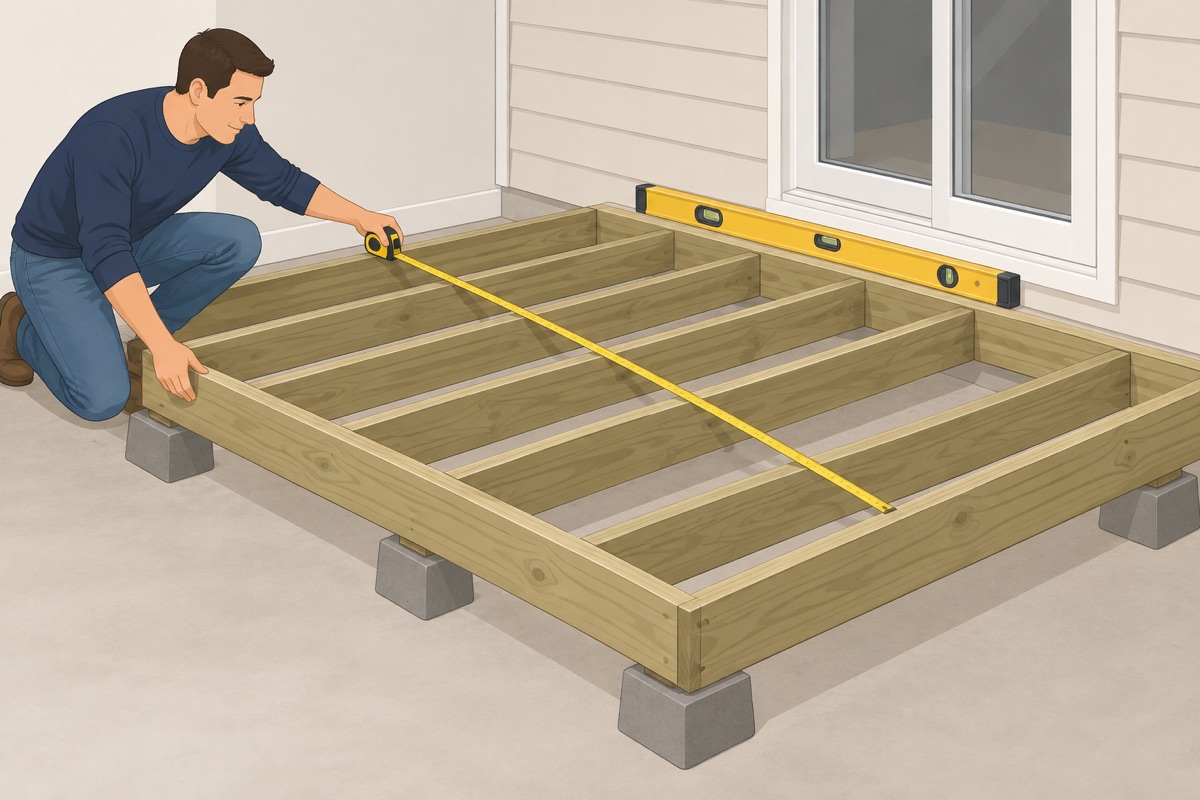
Measure both diagonals; nudge the frame until they match — then it is square. Check it is level along the house; a slight fall away from the house is fine. Every joist sits firmly in its blocks; nothing rocks.
Step 9 of 14
Tape the joist tops
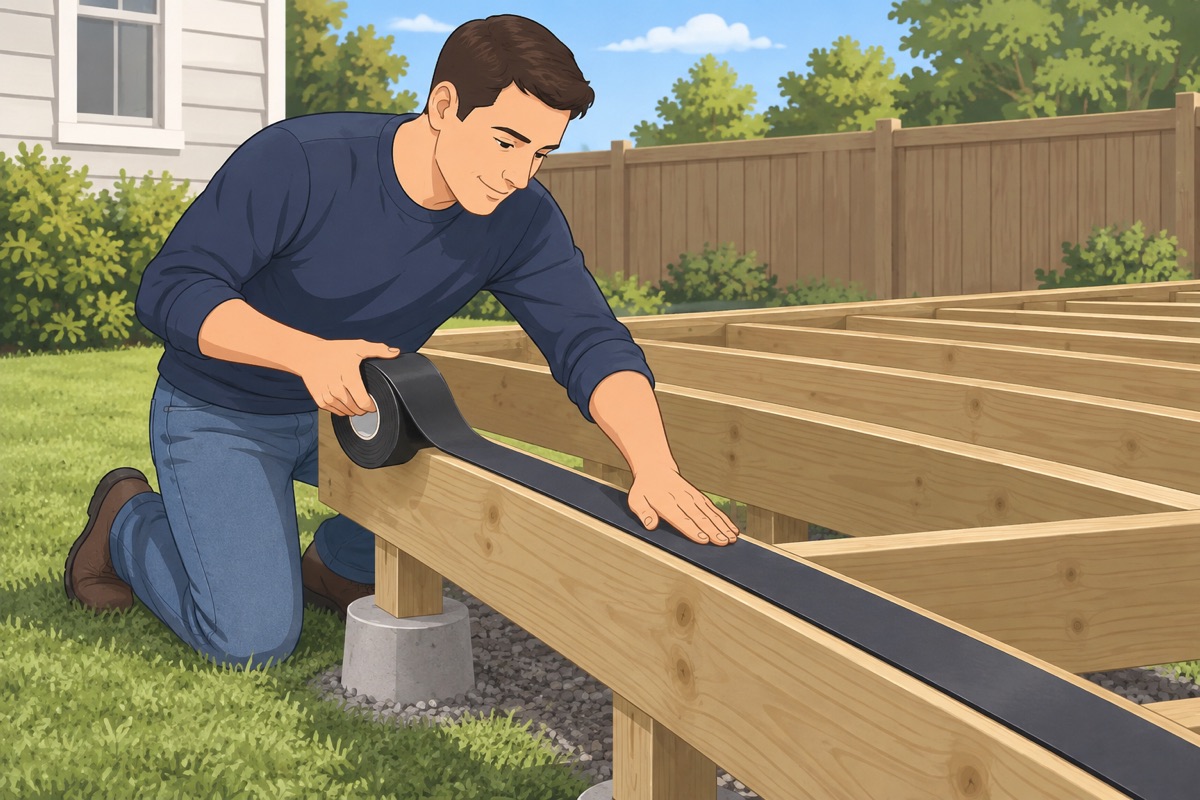
Optional but cheap: run joist flashing tape along the top of every joist so water does not soak into the wood under the boards.
Step 10 of 14
Set the first board dead straight
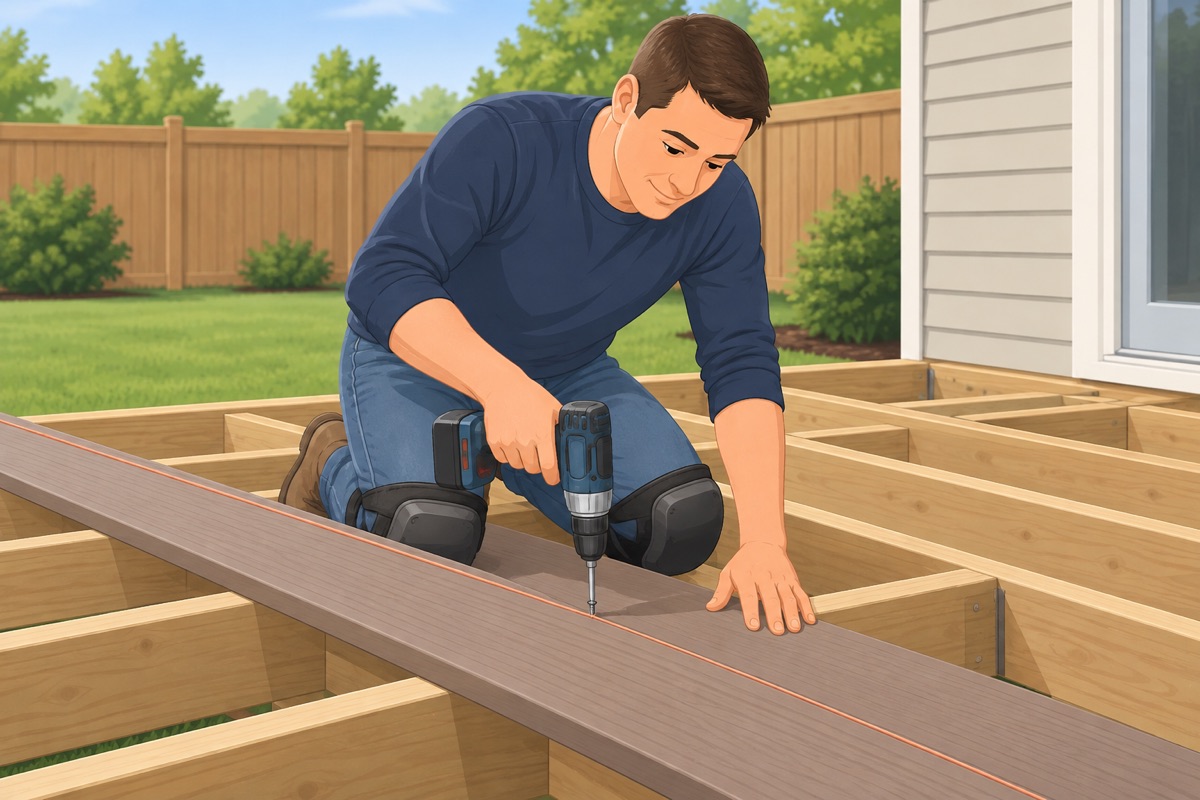
Start at one side of the deck with a full board, fastened with the starter clips the board maker names. Snap a chalk line and check the first board against it — every other board follows this one.
Step 11 of 14
Lay the boards with hidden clips
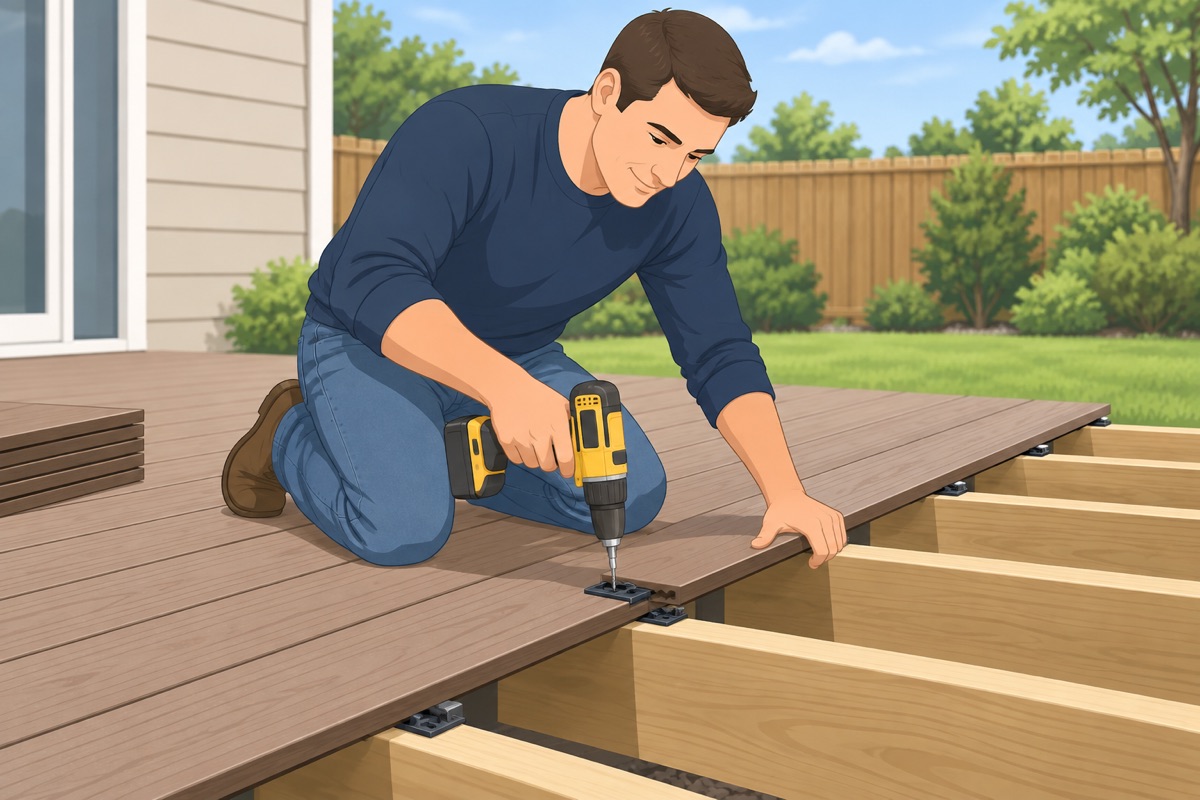
Slide each board onto the clips of the one before and screw a clip at every joist; the clips set the 1/4 in side gap. Where two boards meet end to end, leave the end gap from the board's temperature chart and add a second joist or blocking there so both ends are supported.
Before you fasten the boards
- You have the board maker's install guide and its end-gap chart for today's temperature
- The clips are the ones the board maker names
- Boards run away from the house, and every end joint lands on a doubled joist or blocking
Step 12 of 14
Cut the ends in one line
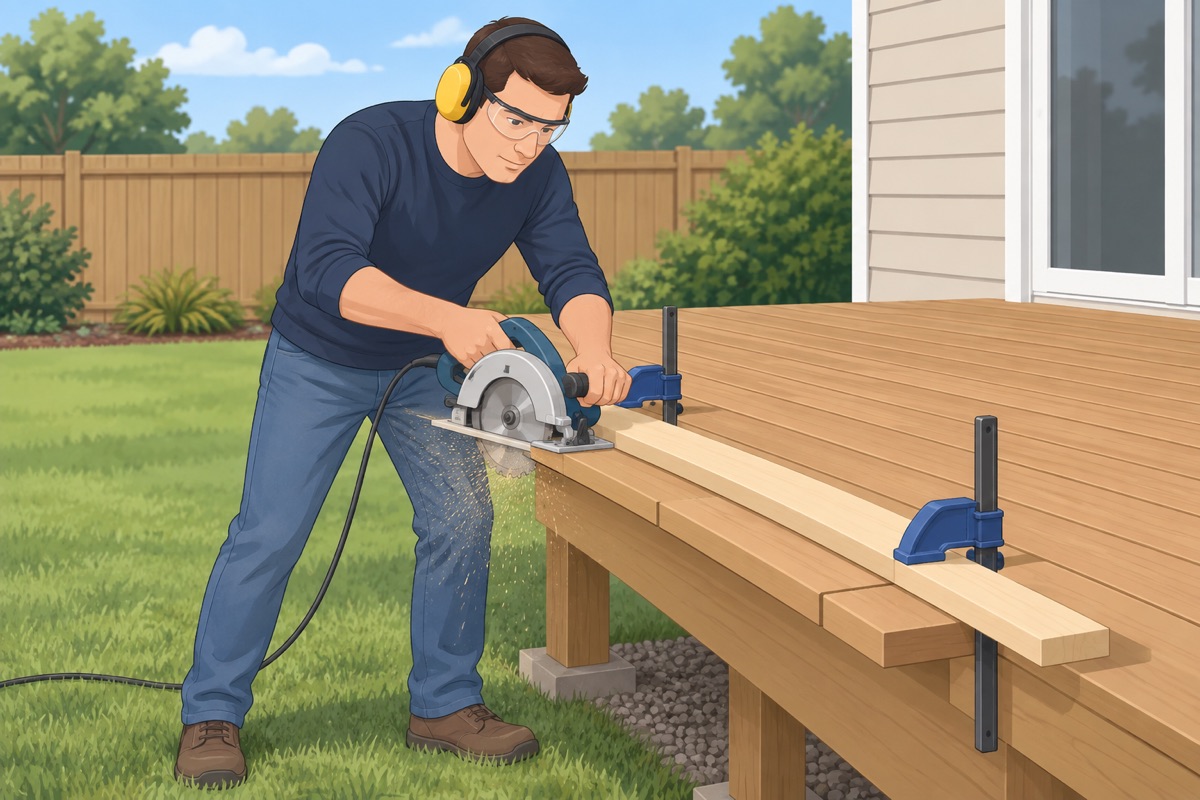
Let the boards run long, snap a chalk line and cut them all at once with the circular saw set to the board's depth. Leave the overhang past the rim that the board's guide gives.
Step 13 of 14
Add the fascia and any step
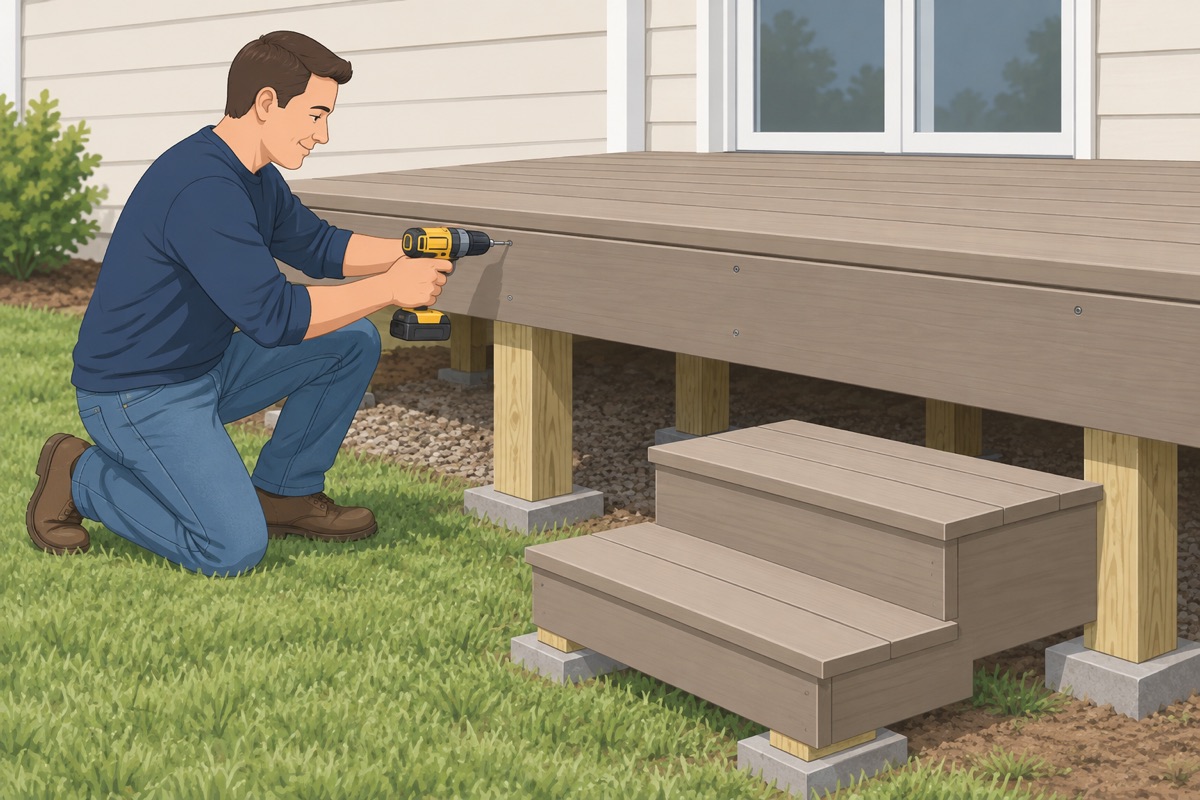
Screw matching fascia boards over the rim joists with the fascia screws the board maker sells, with the gaps its guide names. A step down to the yard of 1–2 steps is a box step built the same way, on blocks.
Step 14 of 14
Clean up and check
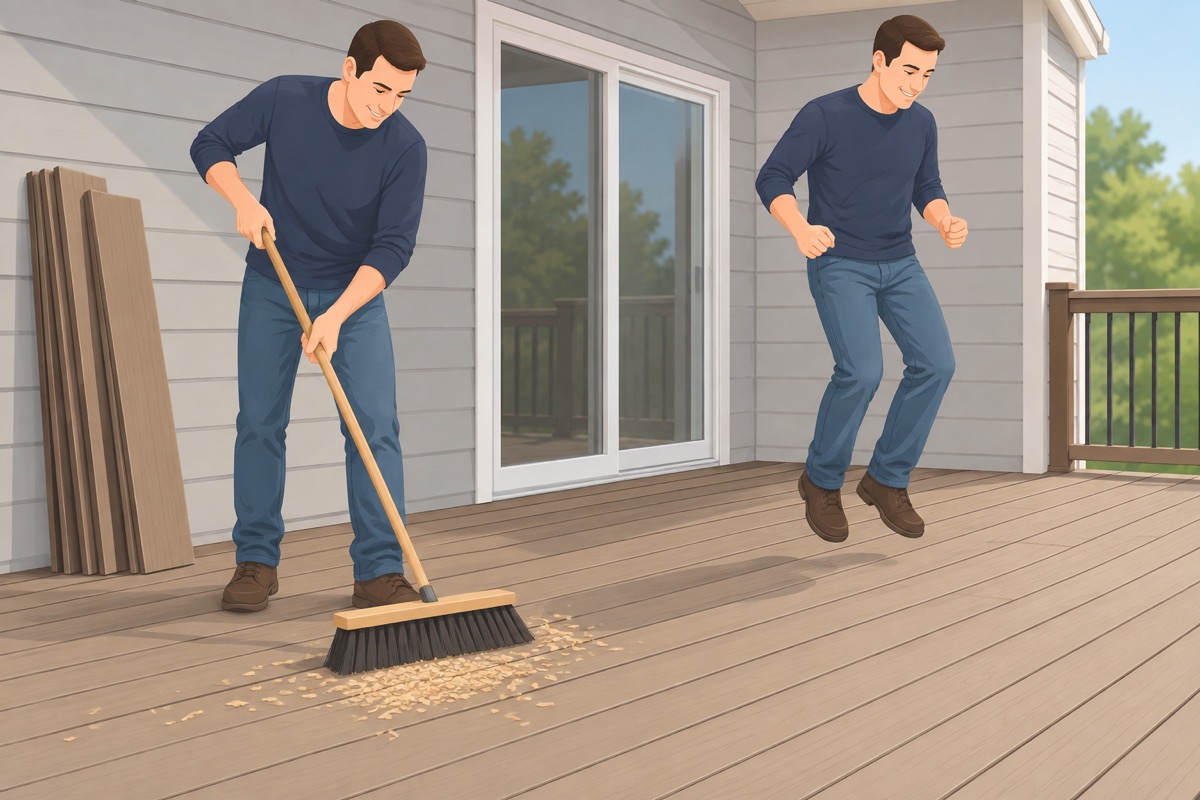
Sweep off the shavings, check every clip is tight and walk the deck for bounce. Keep leftover boards for repairs. Clean composite with soap and water, per its maker.
Common mistakes
- A deck surface too close to the door. Rain runs under the door. Keep the deck 1–2 in below the door threshold.
- Wood on or in the soil. Even treated lumber rots in wet soil. Frame on blocks over gravel, never shim with wood, and leave air under the joists.
- Plain screws and hangers in treated lumber. The treatment corrodes plain steel. Use hardware rated for pressure-treated lumber.
- A frame out of square. Every board runs crooked and the edge tapers. Match the diagonals before the boards go on.
- No gaps at the board ends. Composite grows and shrinks with heat and cold; butted ends buckle or open wide. Leave the end gaps from the board's temperature chart.
Draft guide written from standard practice, not yet reviewed by a licensed pro. Follow product labels where they differ.
Get this job planned for your roomRelated guides
- How to install click-lock LVP flooring yourself: step by step
- How to tile a bathroom or kitchen floor yourself: step by step
- How to check a subfloor before new flooring yourself: step by step
- How to level a floor with self-leveling underlayment yourself: step by step
- How to install floor transition strips yourself: step by step
- How to build a paver patio yourself: step by step