Plan a pool: permit, barrier, contractor: what a pro does and what you can do
Contractor work from the first shovel. Your part is the rules, the site, a bid that names everything, the inspection sequence, and the barrier before anyone swims.
Difficulty 5 of 5 · licensed pro
Stop here
Photo of your room, the look you pick, then this guide with the materials counted for your room.
What you need
- Job folder for bids, permit, and the manual
- Pool barrier fence with a self-closing, self-latching gate
Tools
- 100 ft tape measure
- Phone camera
- Notebook for bid comparison
Step by step
Step 1 of 9
Accept that this one is not yours to do

Digging, the shell, plumbing, electrical bonding and the barrier are all licensed, permitted work. Your part is the rules, the site, hiring well, following the inspections, and the barrier. Read the stop-gate and confirm you understand it.
Before you go further
- You will not dig, wire, or fill anything yourself
- You understand this needs a permit, engineering and inspections
- You have a place to keep bids, the permit, and the manuals together
Step 2 of 9
Ask the city first

Ask your city about the permit, the setbacks from the property lines and the house, easements, how much of the lot can be covered, and the barrier rules — fence, gates, alarms, cover. Ask your HOA too. Write down what they say.
Step 3 of 9
Look at the site

Note sun and shade, slopes, big trees and their roots, and any overhead wires — pools must keep a clearance from power lines that the code sets. Measure the widest access from the street: the excavator has to get in.
Step 4 of 9
Know what is buried
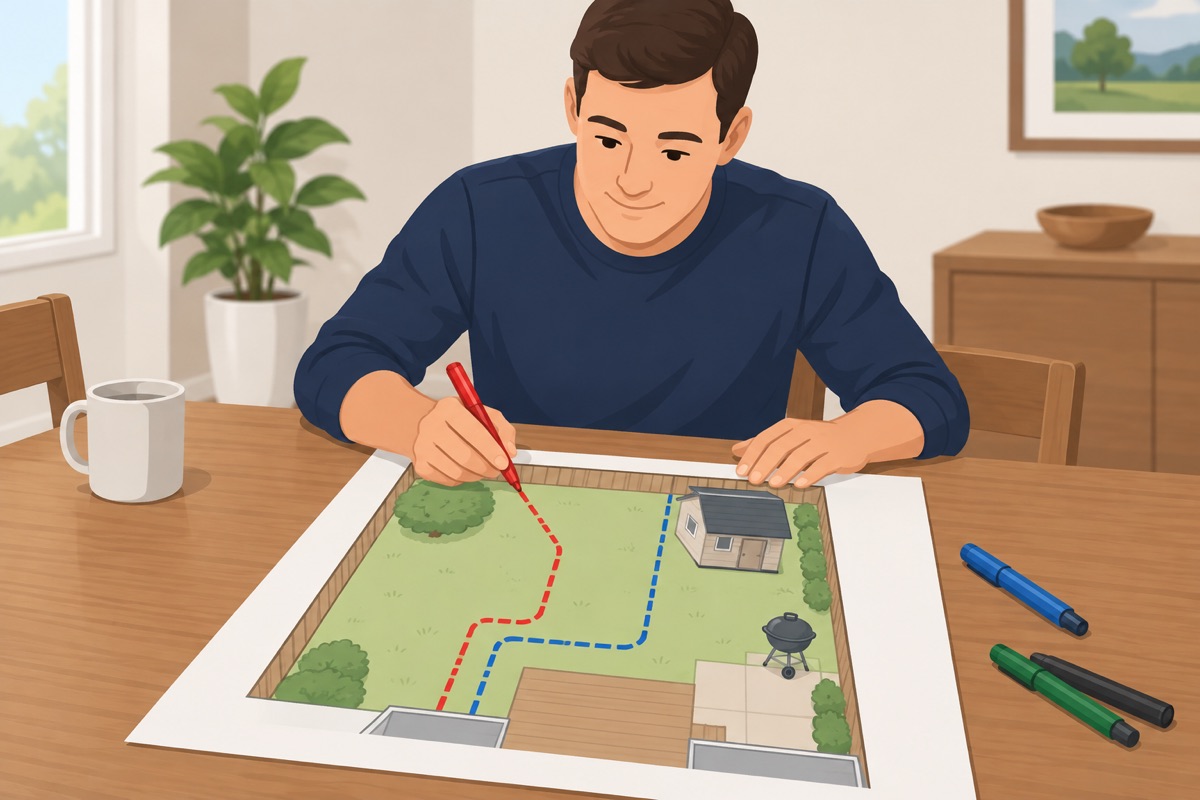
The contractor must call 811 before digging. Find what 811 does not mark: your sewer or septic line, a gas line to a grill, sprinkler lines, a line to a shed. Mark them on your sketch for the bidders.
Step 5 of 9
Get three bids that name everything
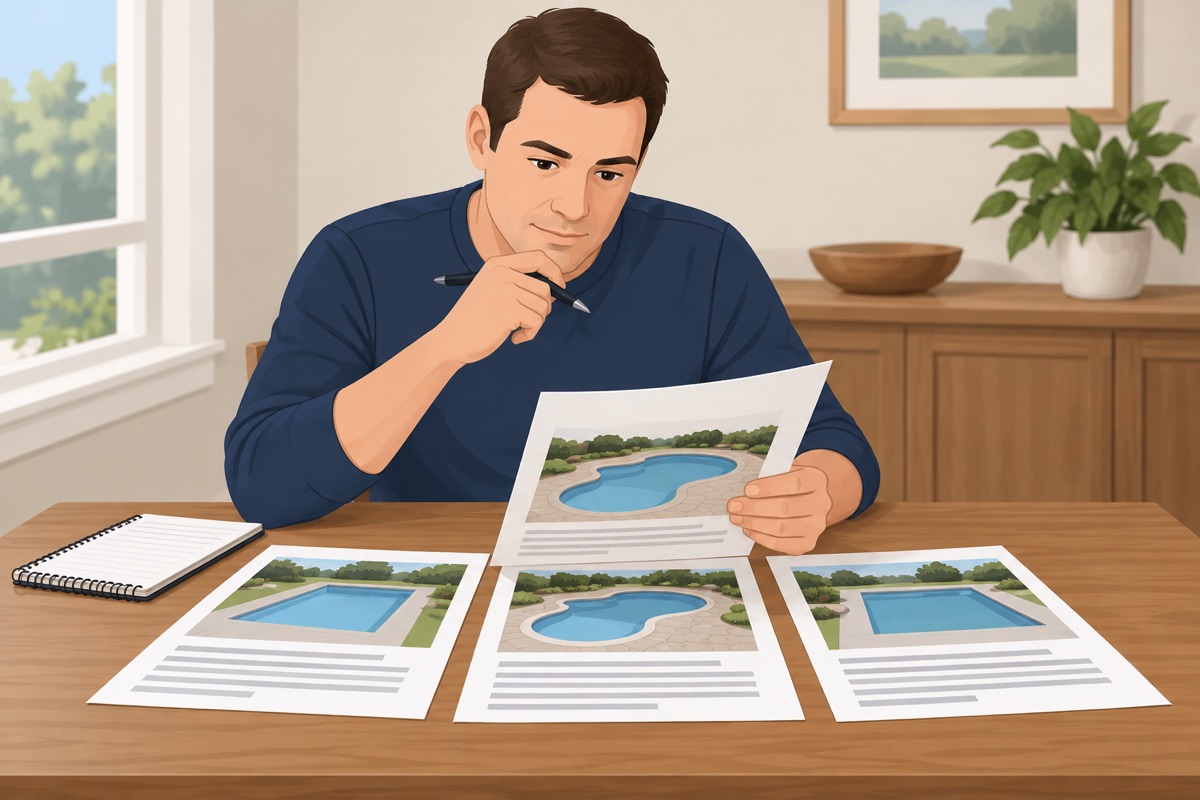
Each bid should name the permit and plans, the engineering and any soils report the city requires, excavation and haul-off, the shell, plumbing and equipment, electrical with bonding and GFCI, the barrier, the deck, the startup, and the inspections. Anything not written down is not included.
Step 6 of 9
Check the license and sign a clear contract

Look up the license with your state's contractor license board (CSLB in California) and ask for proof of insurance. Keep the down payment within your state's legal limit — California sets a special, lower limit for pool contracts. Tie each payment to a stage that has passed inspection.
Step 7 of 9
Follow the inspection sequence
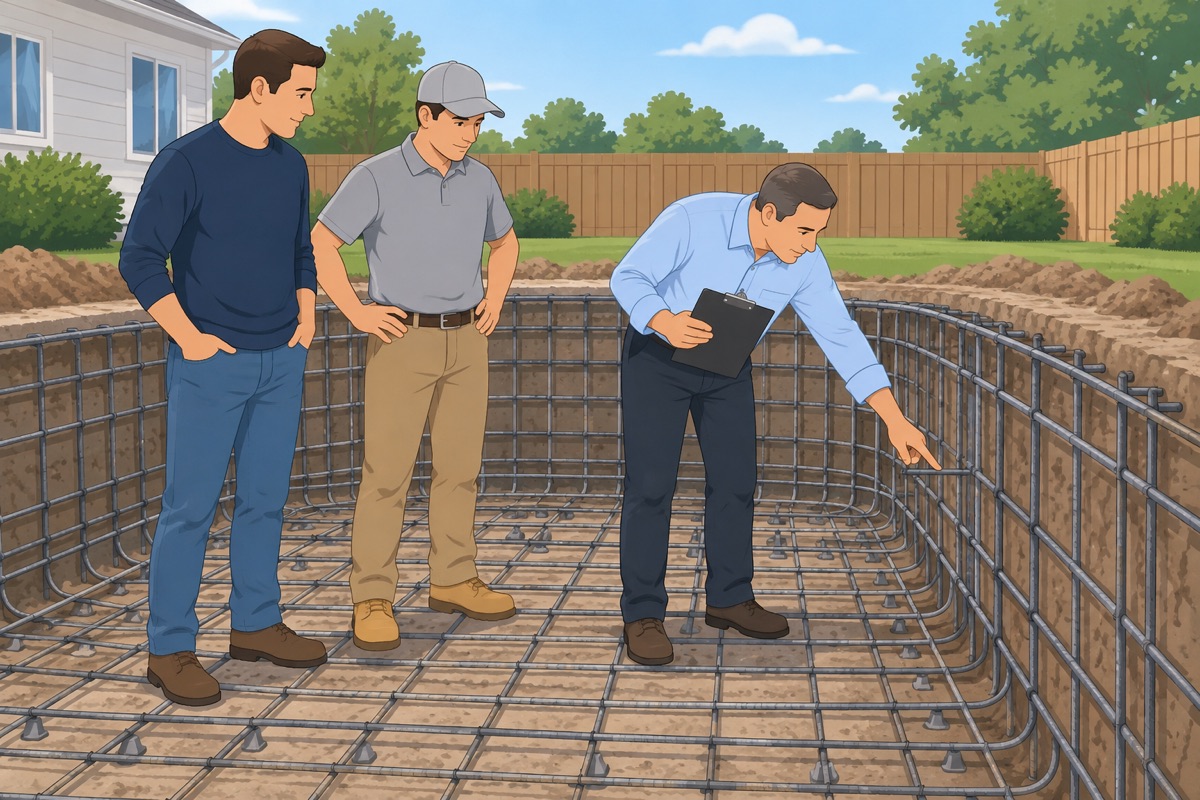
Ask for the inspection list on the permit card: usually the layout, the steel and bonding before the shell, the plumbing pressure test, the electrical, the barrier, and a final. Check that each one is signed off before the next stage covers it.
Step 8 of 9
Finish the barrier before anyone swims
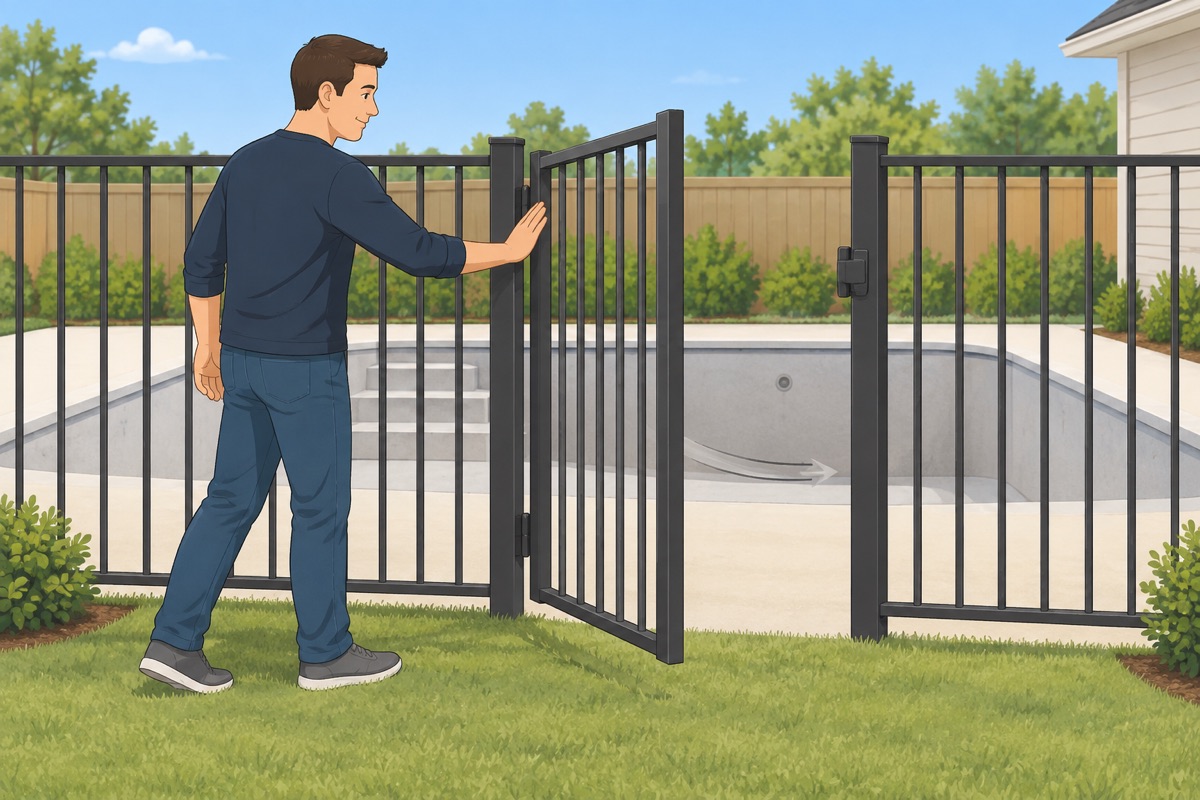
The fence, the self-closing and self-latching gates, and any alarms or cover your state requires go in before the pool is filled. Open each gate all the way and let go: it must close and latch by itself.
Step 9 of 9
Close the job and keep the paperwork
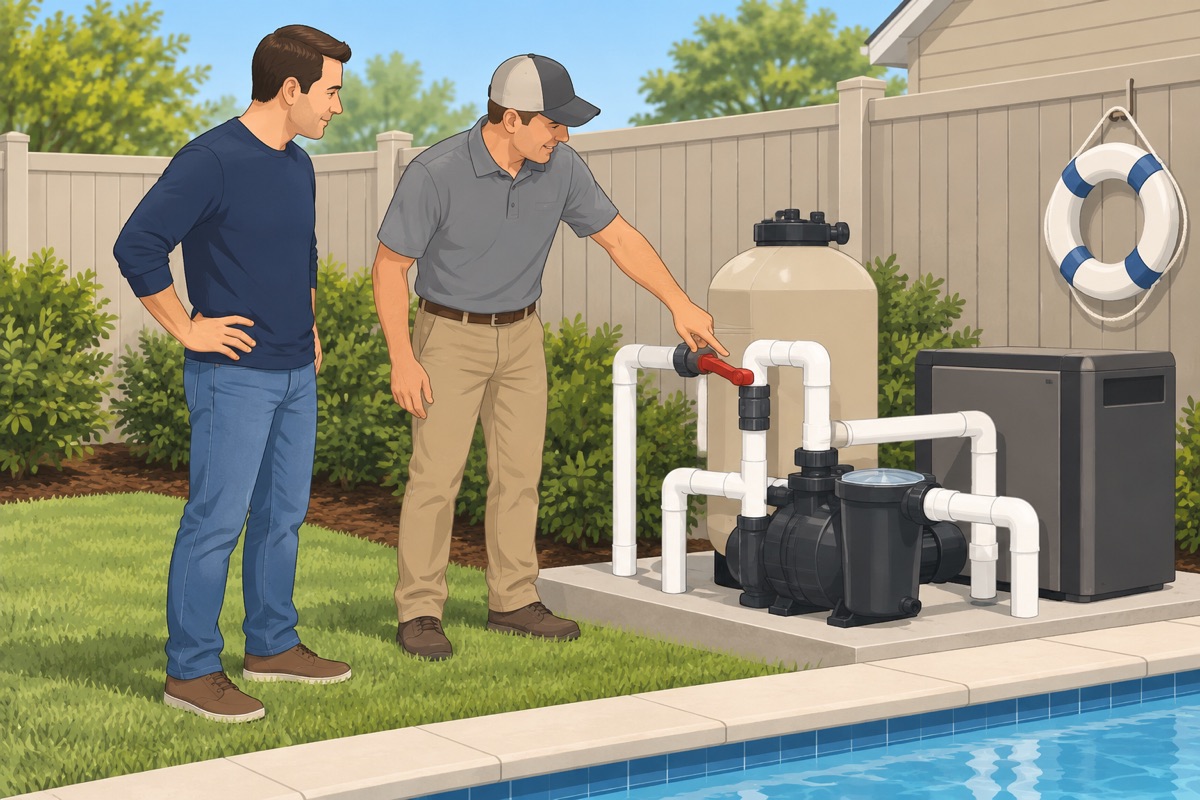
Walk the final inspection with the contractor. Ask them to show you the equipment, the shutoffs and the drain covers. Keep the permit sign-off, the manuals and the warranty in the job folder, and keep rescue gear by the water.
Before the final payment
- License and insurance checked before signing
- Every inspection on the permit card is signed off, including the final
- The barrier is complete and every gate closes and latches by itself
- Equipment, shutoffs and drain covers were shown to you
- Manuals and warranty are in the job folder
Common mistakes
- Starting any digging or wiring yourself. A pool dig can hit utilities and undermine the house, and pool wiring without bonding can electrify the water. Every part of it is licensed work. Mistake #1 in this task.
- Assuming the contractor handles the rules. Setbacks, easements and barrier rules decide where a pool can go. Ask the city yourself so you can check the plans.
- A bid that just says "pool". Permit, engineering, haul-off, bonding, the barrier and the deck are separate items. If the bid does not name them, you cannot compare bids.
- Letting work get covered before it is inspected. Steel, bonding and plumbing disappear under concrete. Ask to see each inspection signed off on the permit card before the next stage.
- Filling the pool before the barrier is done. A full pool without a finished barrier is a drowning risk the day it is filled. The barrier comes first.
Draft guide written from standard practice, not yet reviewed by a licensed pro. Follow product labels where they differ.
Get this job planned for your roomRelated guides
- How to install click-lock LVP flooring yourself: step by step
- How to tile a bathroom or kitchen floor yourself: step by step
- How to check a subfloor before new flooring yourself: step by step
- How to level a floor with self-leveling underlayment yourself: step by step
- How to install floor transition strips yourself: step by step
- How to build a paver patio yourself: step by step