How to caulk windows on the outside
Short answer
To recaulk windows from the outside: check each ground-floor window for rot and leaks first, test old paint and caulk in an older home, cut the old caulk out by hand, clean and dry the joint, fill deep gaps with backer rod, run one steady bead of exterior caulk on a dry day, leave the weep holes open, and wait the time on the label before paint or rain. Difficulty 1 of 5; for a first-timer, plan on about half a day. Read the “Stop here” box below before step 1.
Draft guide written from standard practice, not yet reviewed by a licensed pro. Follow product labels where they differ.
Difficulty 1 of 5 · about half a day · careful
Stop here
Photo of your room, the look you pick, then this guide with the materials counted for your room.
What you need
- Exterior caulk rated for your window and siding materials
- Foam backer rod (only for a deep or wide gap)
- Plastic drop cloth
- Mildew cleaner (only where there is mildew)
Tools
- Caulk gun with a smooth trigger
- Utility knife
- Putty knife or 5-in-1 tool
- Stiff brush and clean rags
- Screwdriver, to probe the wood for rot
- Step ladder
- Gloves and eye protection
Step by step
Step 1 of 9
Walk around and read the stop-gate
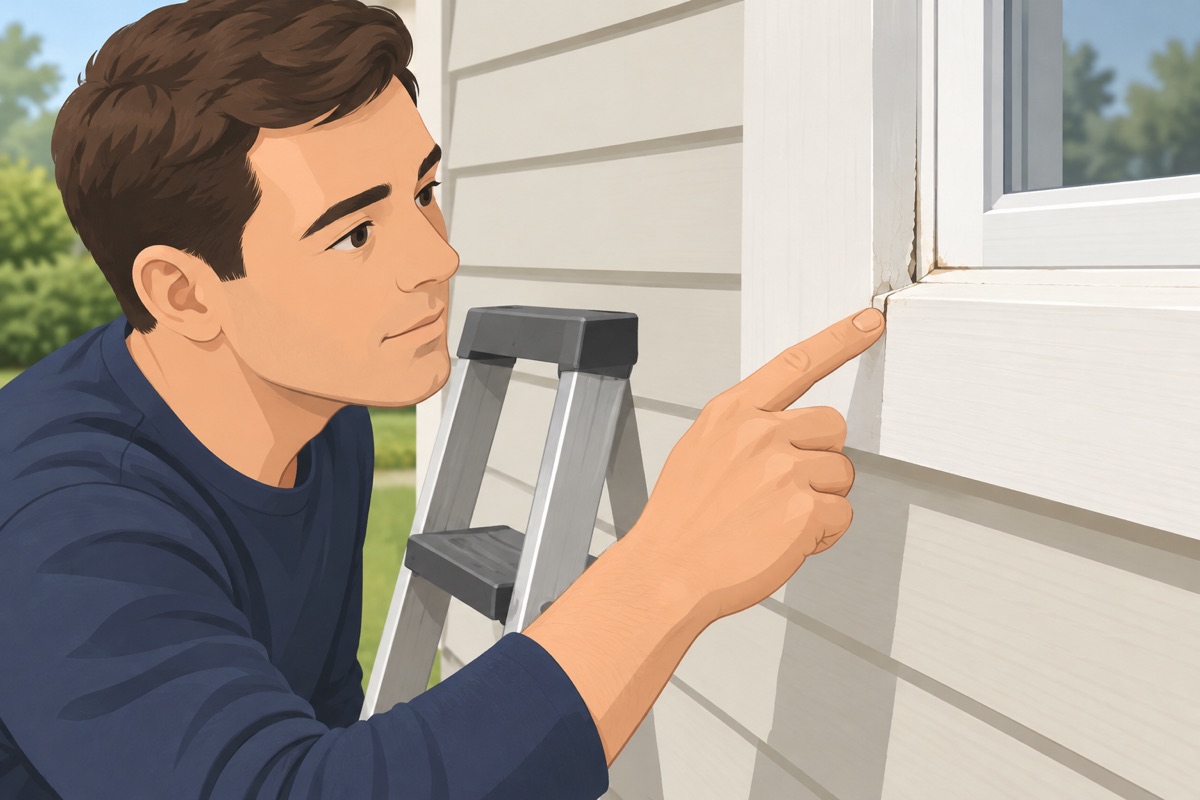
Look at every window from the outside: caulk that is cracked, pulled away, or missing. Press the frame, the sill, and the trim with a screwdriver: wood that is soft or crumbles is a stop. Look inside around the same windows for stains, peeling paint, or soft drywall. Make a list of the windows you can reach from the ground or a step ladder.
Step 2 of 9
Pick the caulk and the day
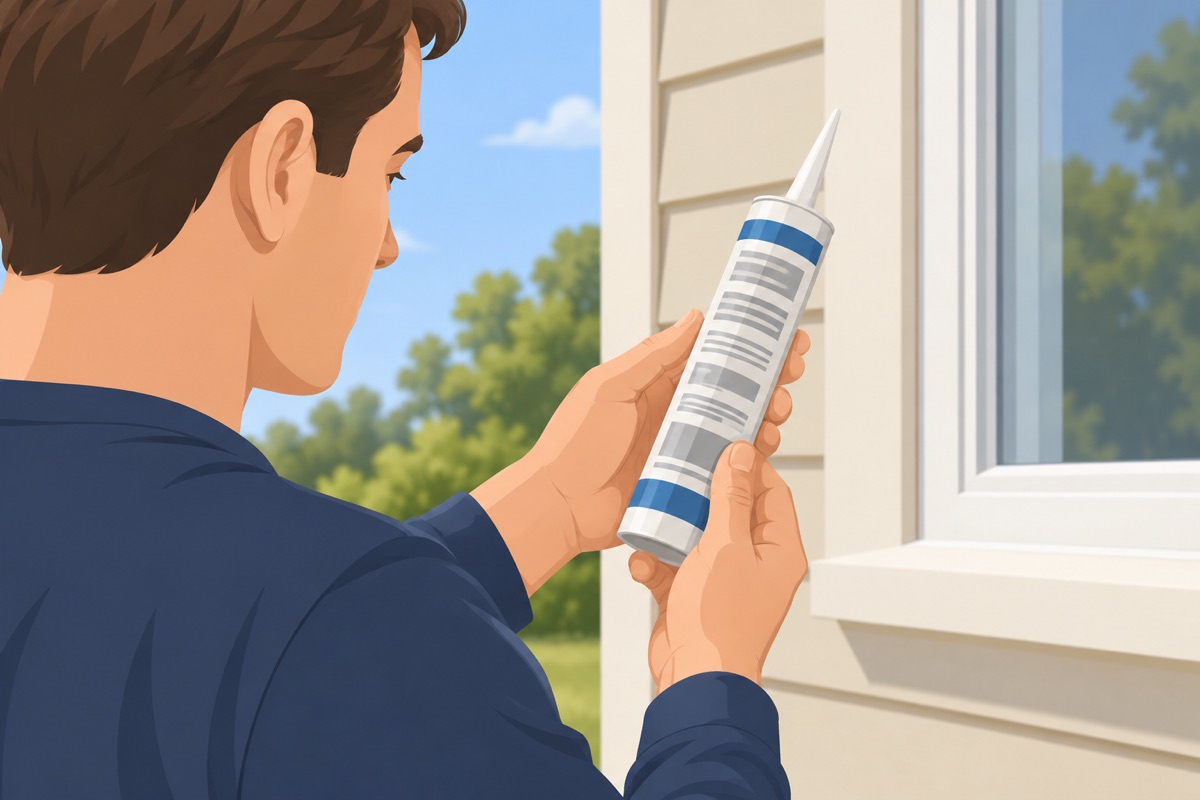
Buy an exterior caulk whose label lists your materials — wood, vinyl, aluminum, or masonry — and that is paintable if the trim gets painted. Read its temperature range and how long it needs before rain, and pick a day that fits both. In a home from before 1978, or 1980 for old caulk, or of unknown year, test before anything is scraped.
Before the old caulk comes out
- Every window on today's list is on the ground floor, reached from the ground or a step ladder on firm, level ground
- Ladders and tools stay at least 10 ft from the overhead service drop
- The frame, the sill, and the trim are solid: a screwdriver does not sink into the wood
- No water stains, peeling paint, or soft drywall inside around these windows
- In a home from before 1978 (lead) or 1980 (asbestos), or of unknown year: the paint and the old caulk tested negative — or an EPA lead-safe certified firm does this job
- The weather for today and the cure time on the label is dry and inside the label's temperature range
Step 3 of 9
Lay a drop cloth under the window
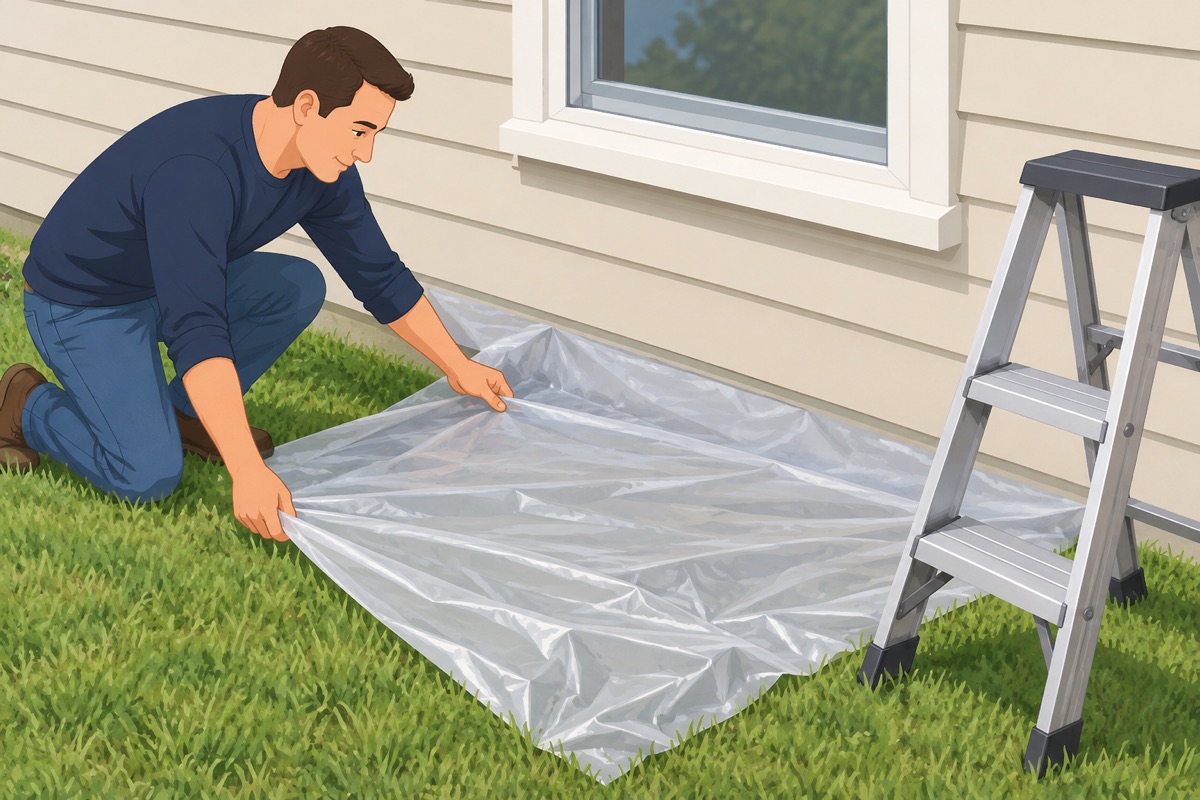
Spread the plastic drop cloth on the ground under the window, so the old caulk and any paint chips land on it, not in the soil. Set the step ladder on firm, level ground.
Step 4 of 9
Cut the old caulk out by hand
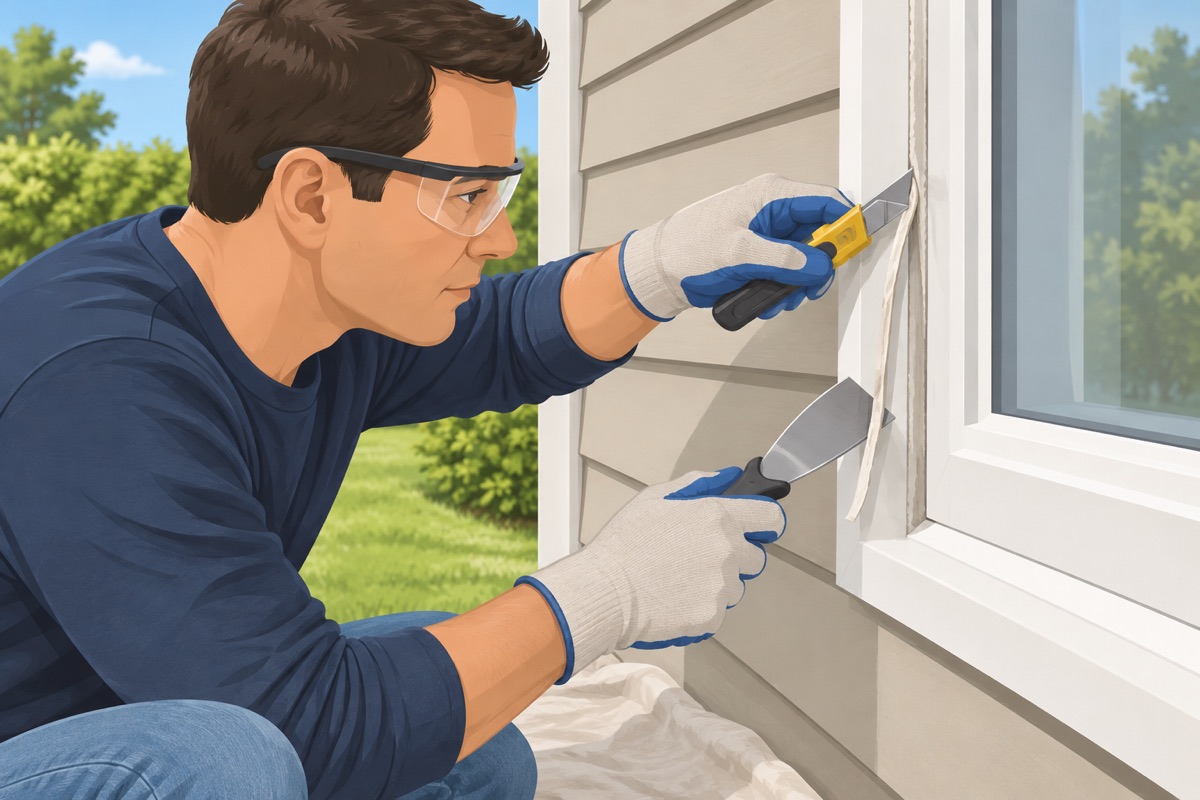
Score both edges of the old bead with the utility knife, where it meets the window and where it meets the siding, and pull it out in strips. Scrape the rest off with the putty knife without gouging the wood. No heat gun, no grinder, no power scraper. Keep the weep holes clear.
Step 5 of 9
Clean the joint and let it dry
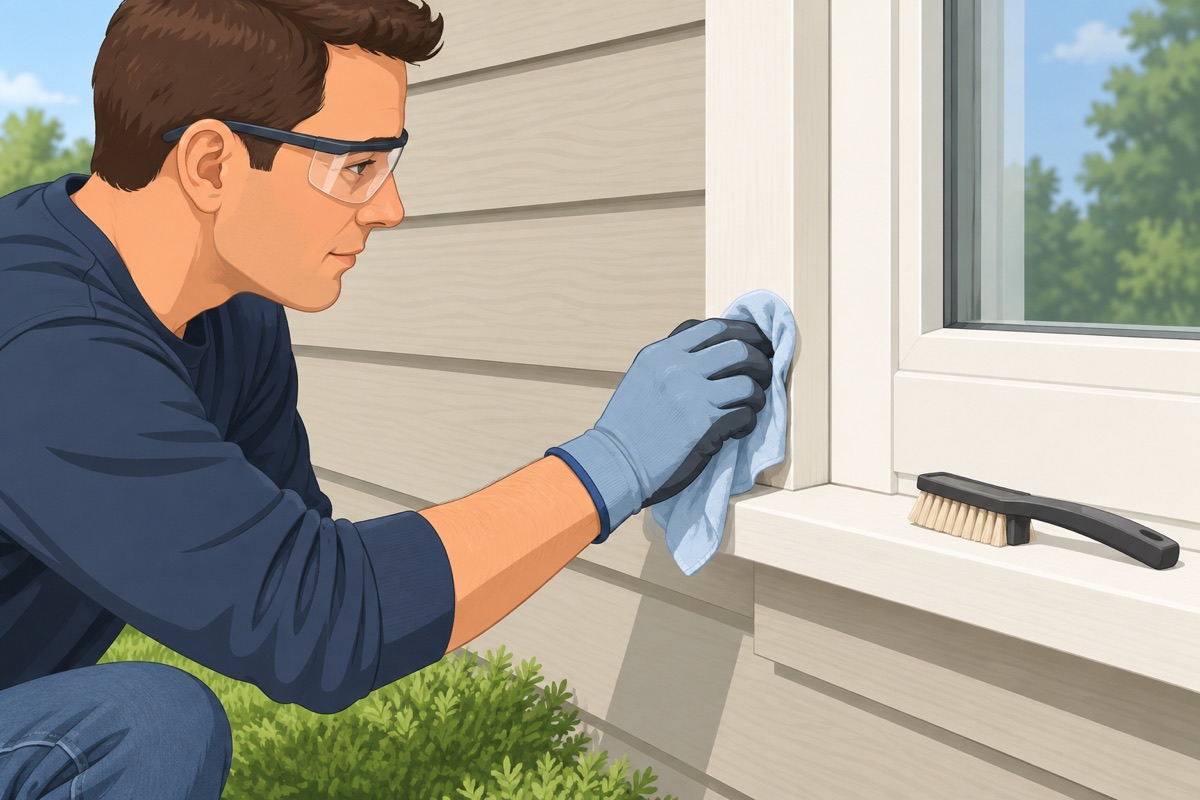
Brush the dust out of the joint and wipe it with a damp rag. Where there is mildew, use the mildew cleaner as its label says, and rinse. Let the joint dry completely, as the caulk's label asks, before you go on.
Step 6 of 9
Press backer rod into deep gaps
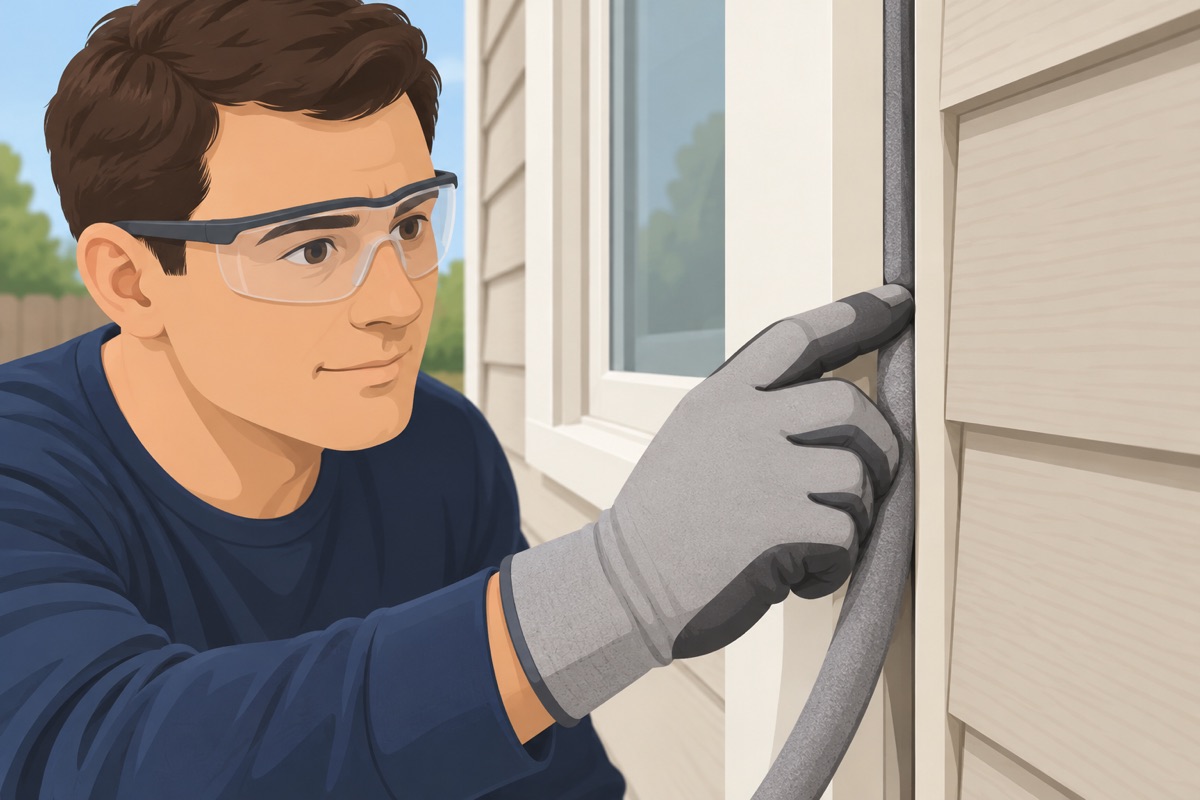
Where the gap is deeper or wider than the caulk's label allows, press backer rod into it with the putty knife, so the space left for caulk is the depth the label asks. Do not stretch or puncture the rod.
Step 7 of 9
Run one steady bead
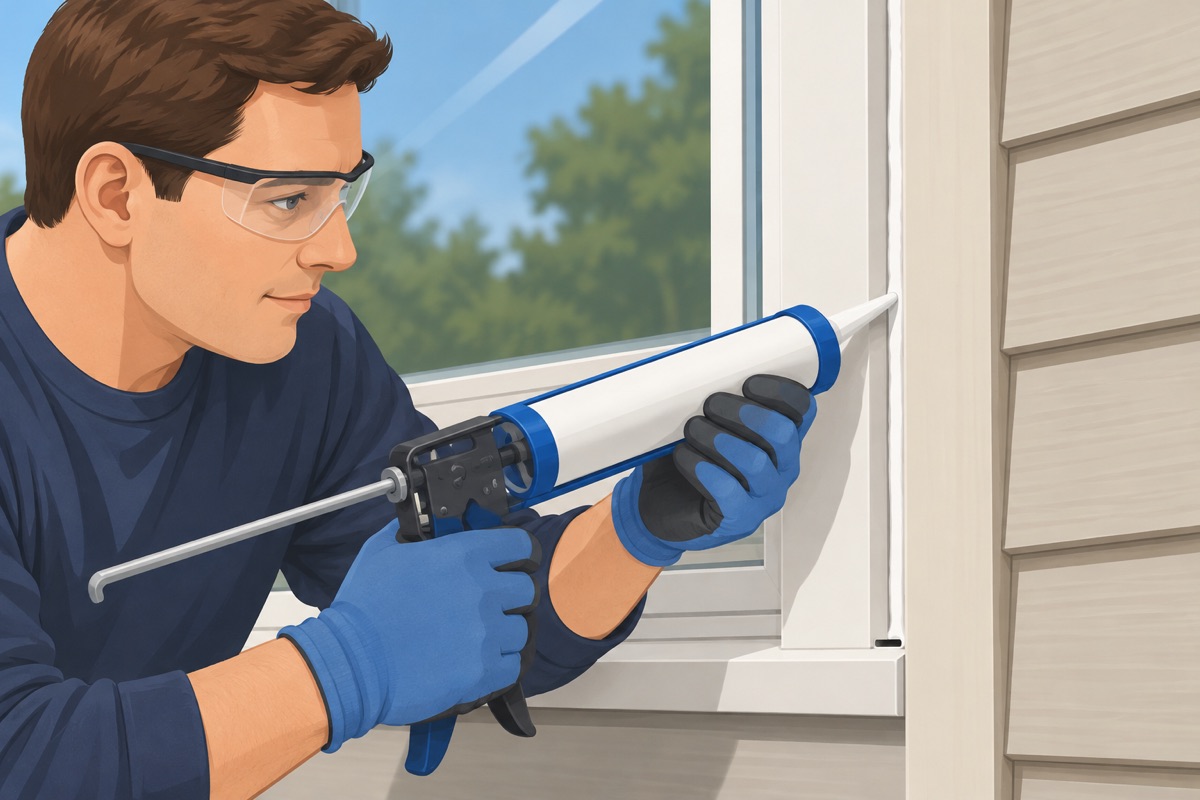
Cut the tube tip at an angle, small at first, and pierce the seal inside the nozzle. Run one steady bead along the joint at an even speed, top and sides first, pushing it into the gap. Leave every weep hole and every gap the window maker wants open. Ease the pressure off the gun at the end of each run so it does not drip.
Step 8 of 9
Smooth the bead and clean up
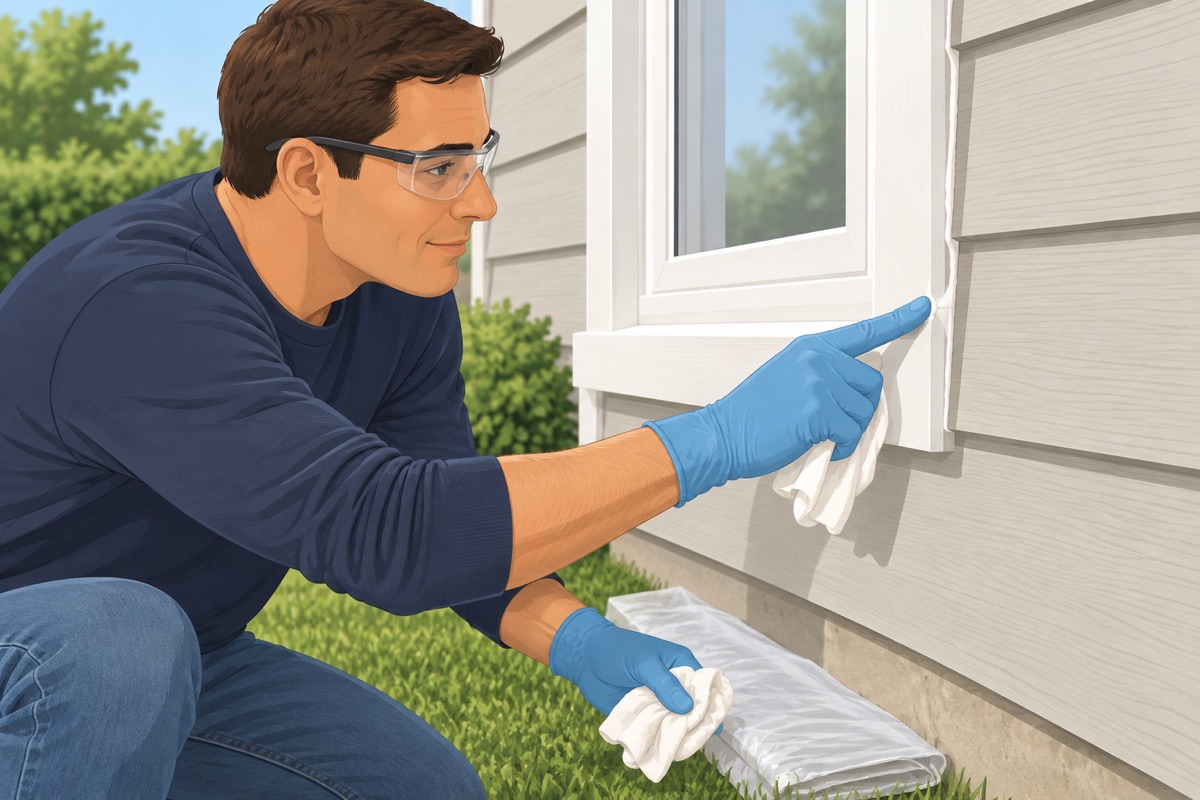
Smooth each run within the working time on the label, with a caulk tool or a gloved finger, pressing it into the joint, and wipe off the excess right away. Fold the drop cloth inward, dirty side in, and throw it out with the scraps as your local rules say.
Step 9 of 9
Let it cure, then check
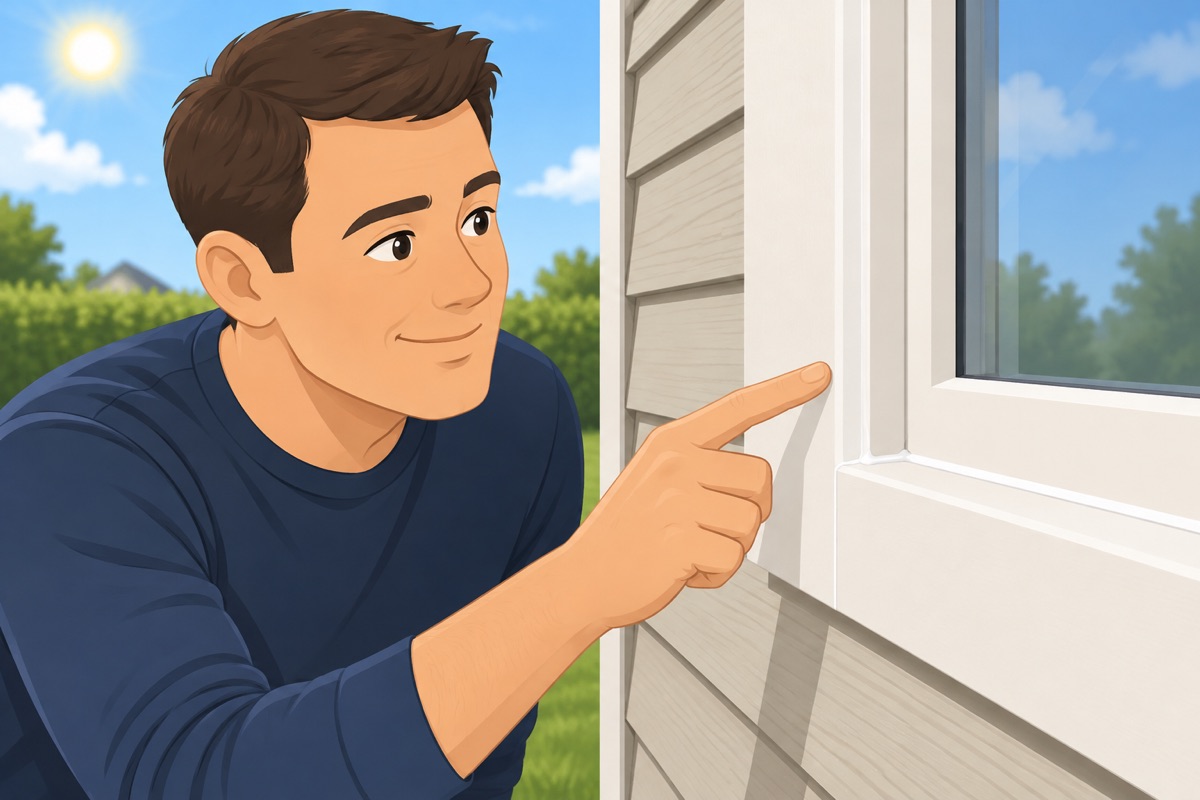
Leave the caulk alone for the time on its label before rain or paint. Then look at every window you did.
Quality check
- Each joint carries a continuous bead with no gaps, holes, or thin spots, stuck to both sides
- Every weep hole, and every gap the window maker wants open, is still open
- The window opens, closes, and locks as before
- Paint goes on only after the time on the label, and only on a paintable caulk
- The scraps and the drop cloth are cleaned up, folded dirty side in
Common mistakes
- Caulking over the old caulk. New caulk does not hold on old, cracked caulk, and the water gets in behind both. Cut the old bead out down to clean wood, vinyl, or siding. Mistake #1 in this task.
- Caulking a wet or dirty joint. Caulk does not stick to dirt, mildew, or a damp joint, and it peels in the first season. Clean the joint and let it dry as the label says, and pick a dry day.
- Filling a deep gap with caulk alone. A gap deeper than the label allows takes far more caulk, cures slowly, and cracks. Press backer rod in first so the bead is the depth the label asks.
- Sealing the weep holes. The small slots at the bottom of many windows let water that gets into the frame drain out. Caulked shut, the water stays inside the wall. Leave them open, and every gap the window maker says to leave.
- Painting too soon, or painting silicone. Paint on caulk that has not cured cracks and wrinkles, and paint does not stick to pure silicone at all. Wait the time on the label, and use a paintable caulk where you will paint.
Questions
How do you caulk windows on the outside?
In a home from before 1978 (lead paint) or 1980 (asbestos in old caulk), test first or hire an EPA lead-safe certified firm. Lay a drop cloth under the window, score both edges of the old bead with a utility knife and pull it out, then scrape the rest off without gouging the wood. Brush and wipe the joint and let it dry completely. Press backer rod into gaps deeper than the caulk's label allows, run one steady bead along the joint, top and sides first, smooth it within the label's working time, and leave it alone for the time on its label before rain or paint.
Should I caulk the weep holes at the bottom of a window?
No. The small slots at the bottom of many windows let water that gets into the frame drain out; caulked shut, the water stays inside the wall. Leave every weep hole open, and every gap the window maker says to leave.
What caulk should I use on exterior windows?
An exterior caulk whose label lists your materials, such as wood, vinyl, aluminum or masonry, and that is paintable if the trim gets painted: paint does not stick to pure silicone. Read its temperature range, the widest gap it fills and how long it needs before rain, and pick a day that fits. Gaps deeper or wider than the label allows take backer rod first.
When should I stop and call a pro?
This guide replaces the caulk where a window's outside trim or frame meets the siding, on windows you can reach from the ground or a step ladder on firm, level ground. Stop and hire it out if: the window is on a second story or anything above 10 ft — that is a pro job; the frame, the sill, or the trim is soft, cracked, or crumbles under a screwdriver — that is rot to repair, not a gap to fill; water shows inside the house around the window — stains, peeling paint, or soft drywall — the leak may be in the window or the flashing behind the trim, and caulk only hides it; or the glass is loose or its glazing putty is falling out — reglazing is a different job. Never caulk shut the weep holes at the bottom of a window or the gaps the window maker says to leave open: they let water out. Keep ladders and tools at least 10 ft from the overhead service drop. In a home from before 1978, the trim's paint may contain lead, and in one from before 1980, the old caulk and glazing may contain asbestos: do not sand, grind, heat, or power-scrape them — test first, or hire an EPA lead-safe certified firm — and when a child under 6 or a pregnant person lives in the house, the certified firm does it unless the test came back negative. In a condo or a home with an HOA, the outside of the windows may be the association's: ask first.